5 Game-changing Nail Art Techniques

Hey guys! Today, we’re going to go over some nail art techniques.
I’m just going to review some basics so we can sharpen up your nail art skills.
These tips and techniques will help you achieve some beautiful, clean-looking art.
Tools and materials:
- Thick black gel
- Thin black gel
- Sheer topcoat
- Thick white gel
- Makeup sponge
1. When to wipe off the inhibition layer
We’re going to start with some cured gel. It’s shiny because I don’t have a topcoat on yet.
When gel cures, it has an inhibition layer, unless it’s a no-wipe gel. The inhibition layer is a little bit sticky which might get in the way when you’re creating your art.
It can make the lines a little blurry or muddled. It might make it hard for you to get the technique or effect you’re going for.
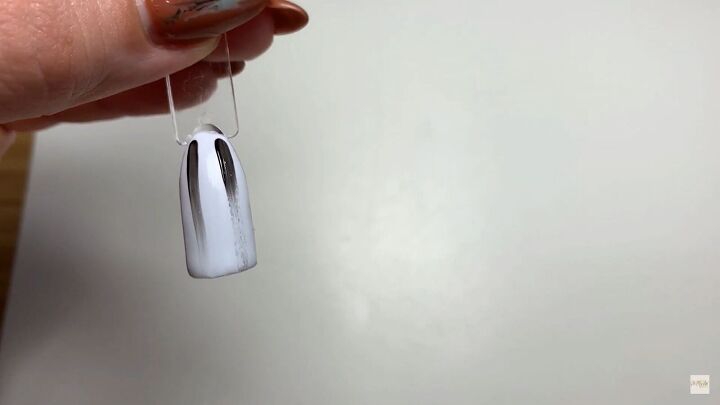
To demonstrate and feel the difference use a wipe to wipe off half of the inhibition layer.
If you try a brush stroke effect on the wet, or sticky half it gives more of a fading, streaking effect. You won’t get a raw-looking brushstroke effect.
Now try the same thing on the dry side. It gives it a whole different texture. On a dry nail, you have a little bit more of a grip and you’re going to be able to make finer, straighter lines.
Wiping off your inhibition layer will elevate your brush stroke and technique and give it a little more dimension, and texture.
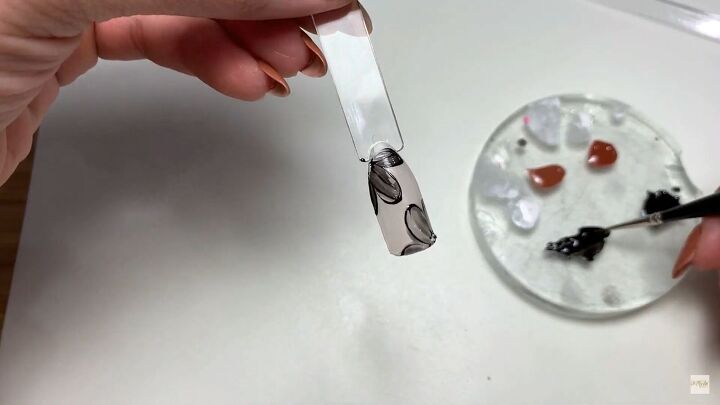
2. Thin gel versus thick gel
Now we’re going to use a nail with a sheer background and wipe off the inhibition layer. Just make sure your alcohol pad isn’t too saturated.
We’re going to be using two different gels. Some gels are thicker than others. It’s good to play around with them a little to get a better understanding of which gels are good for different techniques.
Knowing these tricks will save you from having to go out and buy art gels. Don’t bother with the art gels. They are good because they are very thick, but they are not necessary. You can just use thick gels from the bottle and it’ll be the same thing.
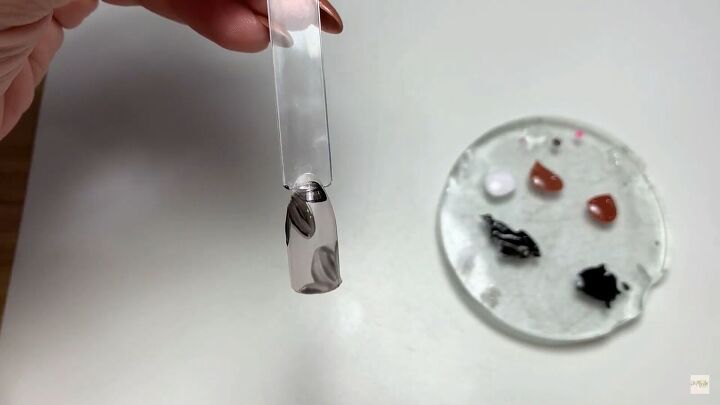
To get an idea of what you’re working with, try taking a thick black and a thin one. We’re going to make little flowers. I’m using O.P.I. Onyx for the thin gel and Black Velvet by Perfect Match for the thick one.
The flower with the thin gel is very light. It’s going to create a more sheer look.
Now we’re going to compare it to a thicker black. From the first coat, you can already see a huge difference. With the thicker black, you can see the brushstrokes which really helps when you’re doing very simple art.
Being able to see the stroke makes it a little bit more detailed and artsy. The thicker gels make art much easier. The thin gel is great for creating sheer art.
3. Play with background colors
I love switching it up and making sheer backgrounds for art.
Often when people have accent art, it’ll be on a white background. White does look nice, but I love the difference a sheer color makes in the art.
4. Ombre
Ombre used to be a big pain for me. I would always get bubbles trying to do it with a sponge. Now I have an ombre brush that I can use also, but I want to show you how to work with a sponge. Ombre takes a lot of patience and time.
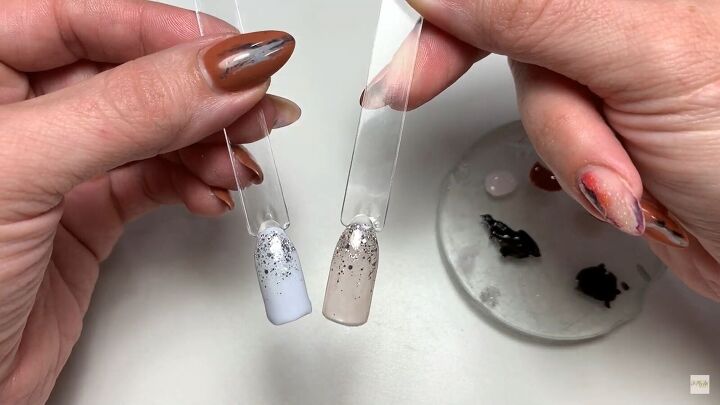
I’m using Flawless White from Perfect Match. Despite what you might think, using a thin gel will not help your ombre look. Use a small makeup sponge.
Dip it in the polish but don’t saturate it too much. If you’re using a regular makeup sponge, cut it down to a nice small size since we’re working on a small surface.
Make sure the sponge is just barely saturated for the first layer. Less is more. Dab it on very gently.
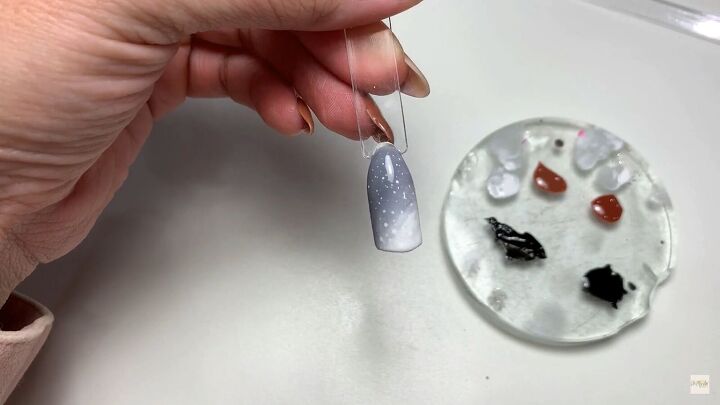
Cure the nail after you put on that first layer. Then you can put on the second layer.
Keep layering and curing until you get the desired effect. I added some dots for a sort of galaxy-looking effect.
5. Use sharp detailing
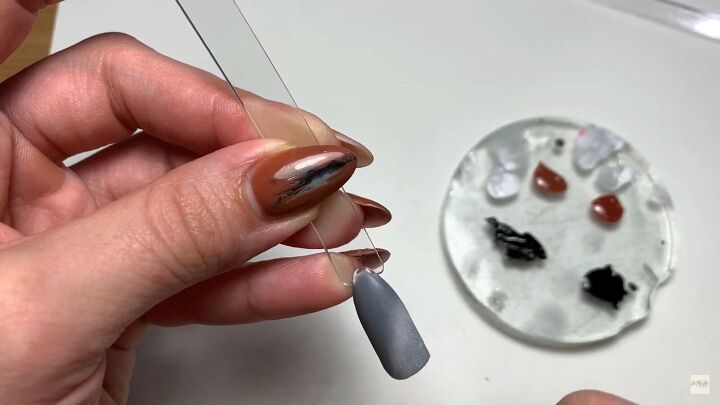
Using some sharp, detailed lines will truly elevate your art. Putting a black outline around our black flowers is a good way to see this in action.
You can even add more details when you have a sheer flower like the one we made with the thin gel.
Nail art techniques
These 5 nail art techniques should really help you elevate your nail game to the next level.
Leave me a comment and let me know if you found these tips helpful.
Next up, check out my post on How to DIY an Easy Garlic Polish for Nail Growth.
The author may collect a small share of sales from the links on this page.


Comments
Join the conversation