How to Apply Gel Nail Extensions Step-by-Step

If you’ve never applied nail extension gel before then, in this tutorial, I’m going to walk you through how to apply gel nail extensions step-by-step.
Nail extension gel is a great way to make your nails longer while also giving them a natural-looking finish. Let’s get started!
Tools and materials:
- Alcohol pad
- Nail dehydrator
- Nail primer
- Nail extension gel
- Spatula
- Nail pen
- UV light
- Nail file
- Top coat
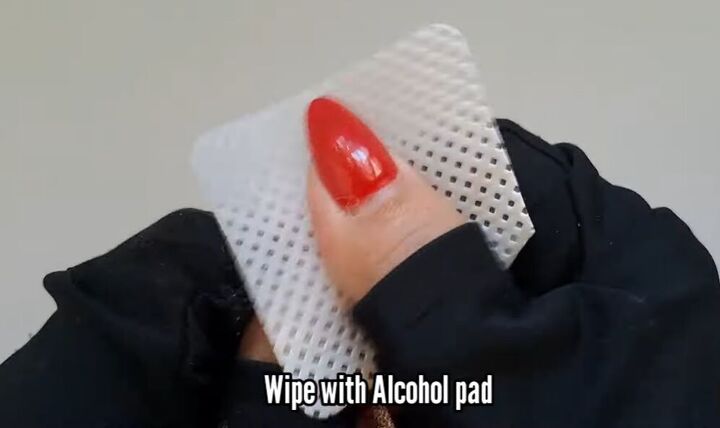
1. Wipe nails clean
Start by wiping your nails clean with an alcohol pad.
2. Apply nail dehydrator
Next, apply a nail dehydrator and let your nails air dry for 30 seconds.
3. Apply nail primer
Now apply a nail primer and then let your nails air dry for a minute.
4. Apply nail extension gel
Pick up some nail extension gel with a spatula and apply it to your nail.
5. Mold it onto nail
Now, use a nail pen to mold the gel onto your nail. You want to get it right down to the edges and the bottom of your nail.
Make sure you’re very precise with this step.
6. Repeat
Repeat the same process on your other nails.
7. Cure nails
Once you’ve done all of your nails, cure them under a UV light for one minute (per hand).
8. File and buff nails
Now file and buff your nails.
9. Apply top coat
The final step is to wipe your nails and apply a top coat.
DIY nail extension gels
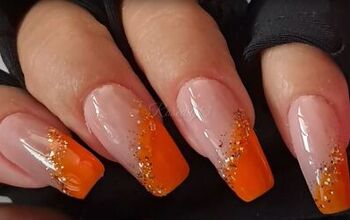
Here are the finished nails with the nail extension gel.
The gel has added length to the nails, and because it's quite thick, it's very durable, much more so than applying fake nails, in my opinion.
The light pink color of the nail gel also creates a really natural-looking finish.
I hope you found this tutorial helpful and you’ll give the technique a go for yourself!
Next, learn How to Make Fake Nails With Tissue Paper in 5 Minutes.
Enjoyed the project?
Suggested materials:
- Alcohol pad
- Nail dehydrator
- Nail primer
- Nail extension gel
- Spatula
- Nail pen
- UV light
- Nail file
- Top coat
The author may collect a small share of sales from the links on this page.


Comments
Join the conversation