Shape and Create: Simple DIY Name Necklace

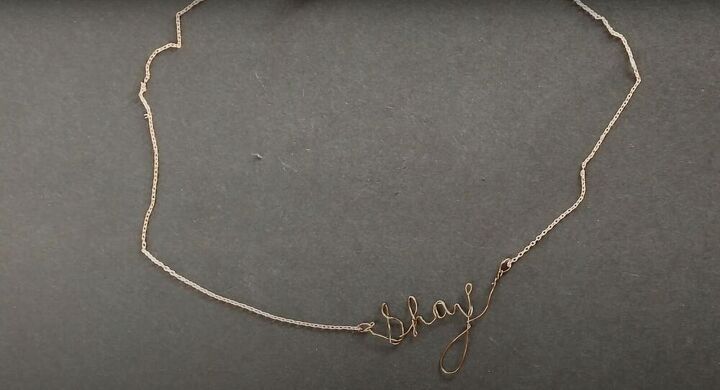
In an effort to create a completely one-of-a-kind necklace, I created this wire-name necklace. I love how mine turned out and wanted to show you guys how it’s done. Remember that when it comes to shaping the words, the best course of action is to just practice. Nothing is ever perfect on the first try.
Tools and materials:
- Jewelry making pliers
- Wire
- Chain
- Clasp
- Gold wire
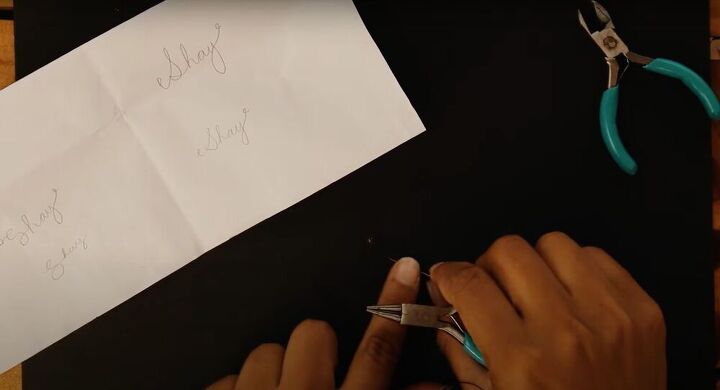
Practice your name
The first step is to draw out your name onto a paper in the shape that you want it to be - adding in little loops on either end for the chain. Just like when writing cursive, make sure that when you're tracing out your name your pencil stays on the paper the entire time. This is because the wire will need to be made of one singular piece. Once that’s done, grab some jewelry-making pliers and begin shaping the wire.
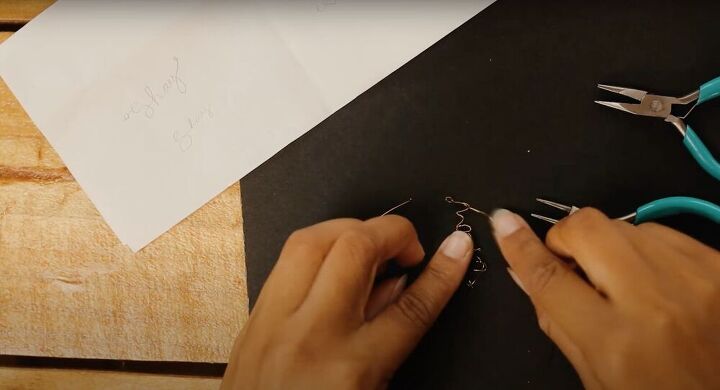
Form your name
Start your name shaping with an initial loop. Next, cut a piece of wire (long enough for your whole name) off the spool, making it easier to work with and manipulate. Feel free to use your hands while shaping, saving the pliers only for the small details - I found that to be the easiest. Your initial focus should be forming the letters. Fix up the small details later. Once my name was formed, I snipped off the excess wire and made sure to finish with a loop for the chain. Finally, I went back to fix up the small details until I was happy with my name.
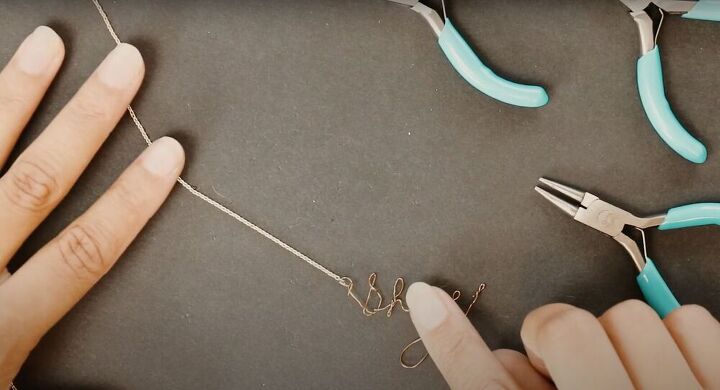
Attach the chain
Cut the chain to the length you want it to be. Make sure it fits and then cut the chain in half (for the clasp). Next, cut out two small pieces of wire, feed them through the ends of each chain and create a small loop. Then trim the wire and feed the loop through the loops on the ends of the names. Squeezing the wire together to secure it once it’s in place. (This can also be done using jump rings).
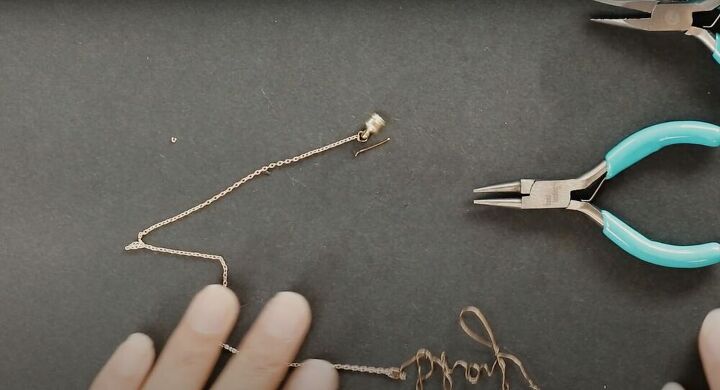
Attach the clasp
Use the same method as before to attach the clasp to the chain. Weave a piece of wire through the end of the chain and then the end of the clasp. Attach the two, secure them in place, and cut off any excess wire. (Pro tip: Have your loops by your name be higher rather than lower to keep the chain from turning upside down).
I hope you enjoyed learning how to make a name necklace. This project was so fun to do and really didn’t require many supplies. If you did make this necklace, I’d love to see it in the comments down below!
The author may collect a small share of sales from the links on this page.


Comments
Join the conversation
Hey gurl!! Great, easy to follow instructions!! I actually make and sell jewelry as a side business. Nothing huge, mostly festivals, events & a couple of shop sell my wirewrapped gemstone jewelry. But I am awful at explaining how to do what I do unless someone is sitting next to me & I can show them manually how to do something. But I really like how well you explained it and got to the point quickly!! I tend to over explain & it gets confusing~ as you can probably tell by this comment... LOL. Anyhow- great instructions!!
Nice tutorial, thank you for sharing. There is one thing that needs to be said about working with wire, you need to protect the wire from damage from the jaws of the pliers There is a product called "Tool Magic" that you dip the jaws into a few times to coat them. This will protect the wire from being marred. This coating can be easily removed if not needed in the future.