How to Sew Cute DIY Halloween Pajamas Perfect for Scary Movie Nights

This tutorial will teach you how to sew DIY Halloween pajamas. If you use Halloween fabric, it makes the ideal outfit to watch scary movies, eat popcorn and candy corn, and scream to your heart’s delight! Let’s get started on making your own DIY cozy and festive pajama set!
Tools and materials:
- Fabric with Halloween design (2 yards)
- Scissors
- Marking chalk
- Sewing machine
- Pins
- Drawstring (can be a ribbon, cord, or string)
- Safety pin
- Buttons
- Needle and thread
- Pajama shorts, t-shirt, and collared shirt for the pattern
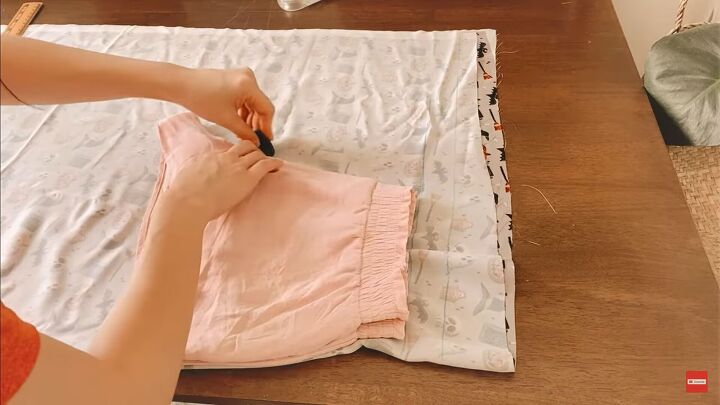
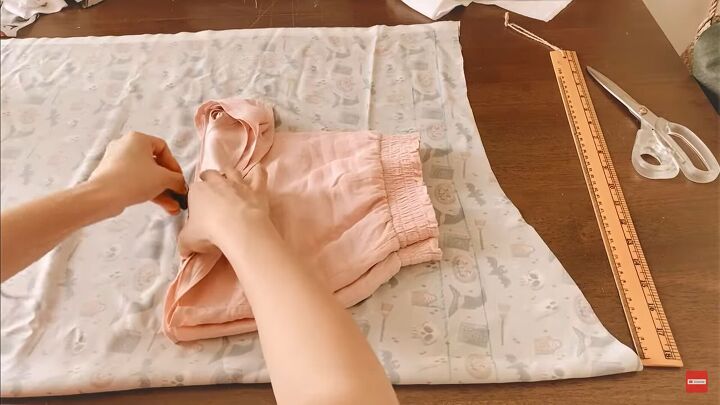
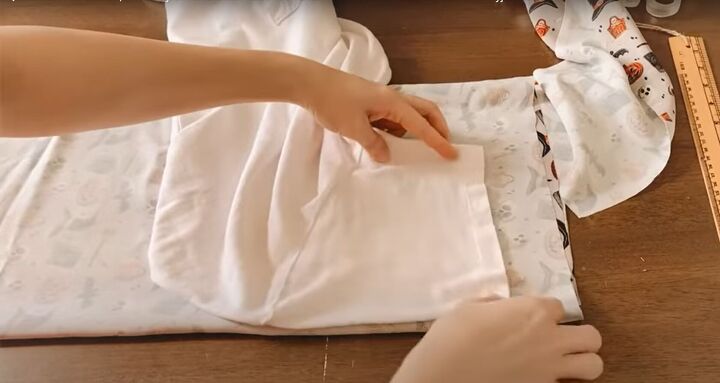
1. Make the shorts pattern
First, fold your fabric in half. Lay your own pair of comfy pajama shorts that you folded in half on the center seam, directly on top of the fabric.
Add 1½ inches to the length of the shorts.
Trace the outline of the shorts with a ½ inch seam allowance.
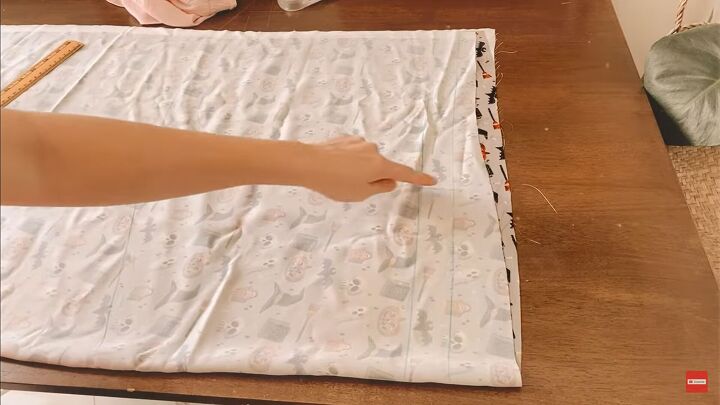
To make the back, continue with the folded fabric. Lay the folded shorts on top as well.
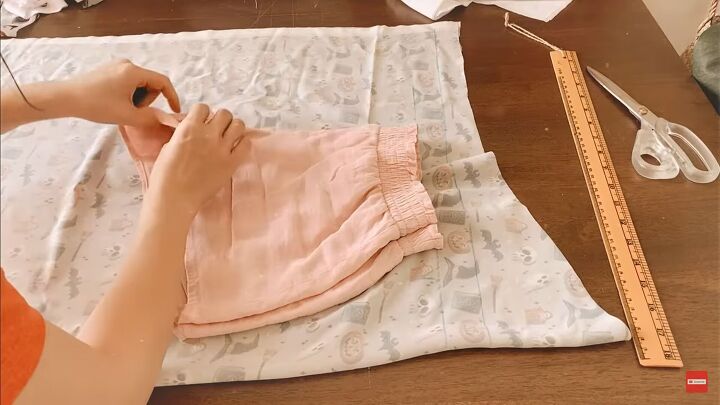
When you trace, pull out the crotch area to add an additional full inch to accommodate the backside area.
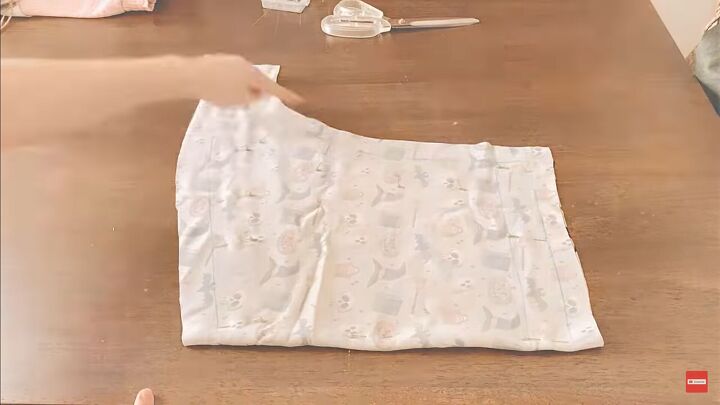
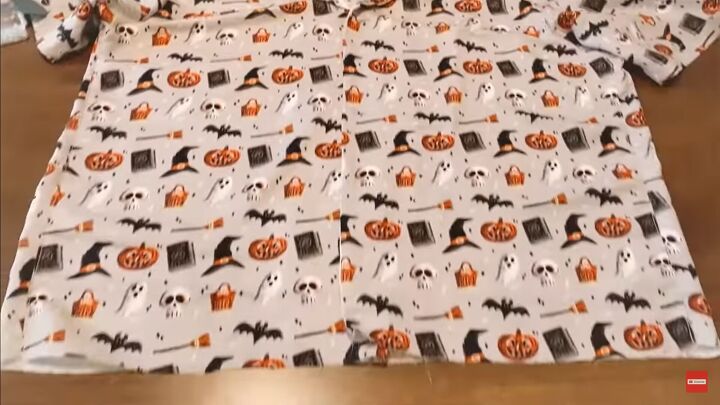
Cut out the fabric to match the pattern.
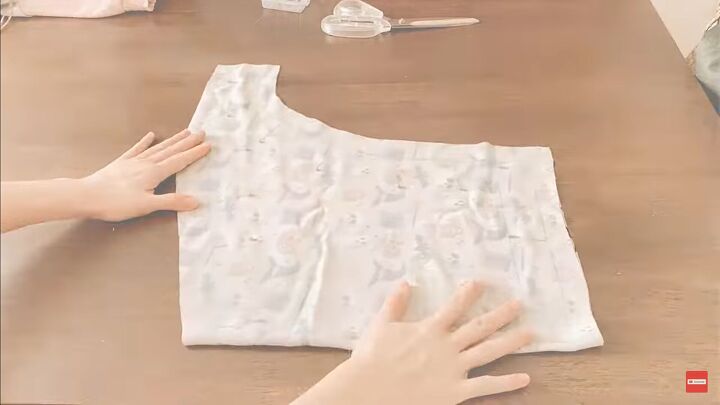
2. Make the top pattern
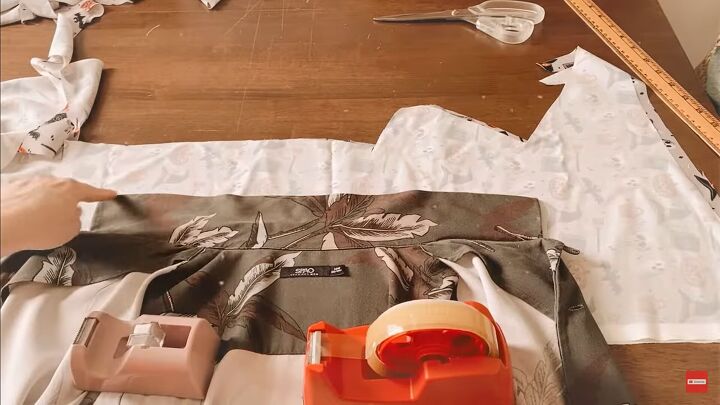
To make the back, fold a t-shirt in half so the sleeves lay directly on top of each other. Lay it on top of the folded fabric and trace the neckline, sides, armhole, and length. We will make the sleeves separately.
To make the front, you will need two pieces for the front and they should mirror each other. Use the folded t-shirt to trace the pattern but add an additional 2 inches from the edge of the fold to where you lay the t-shirt. (See the faint line above).
This is because the front of the pajama shirt will button up and we need more space in the front! Add a ½-inch seam allowance for the back and front pieces. Cut out the fabric.
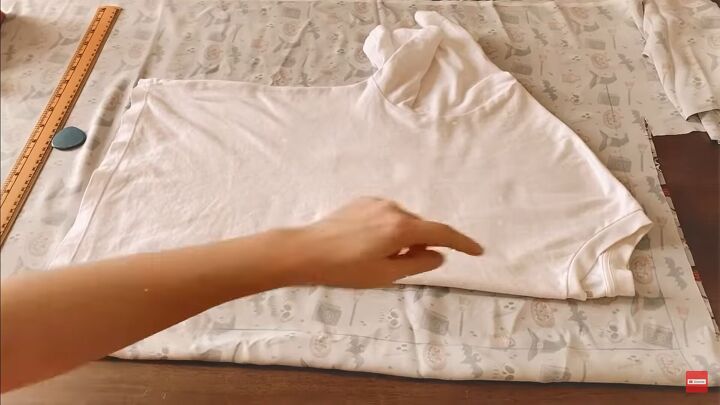
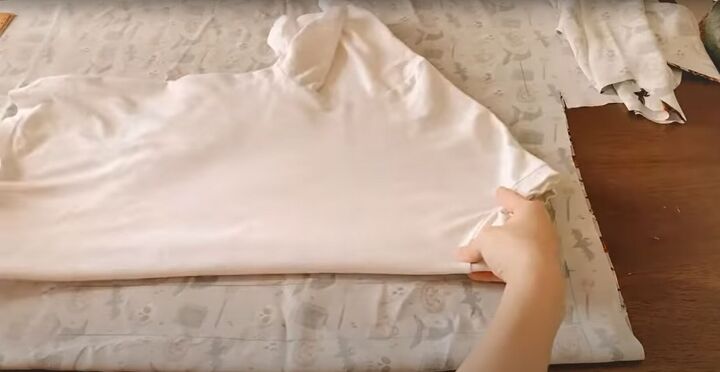
3. Make the sleeves
Lay an opened t-shirt sleeve flat on the folded fabric. Trace the sleeve and then cut it out.
4. Make the collar
Use your own collared shirt as a pattern. Lay the collar perfectly flat onto the folded fabric.
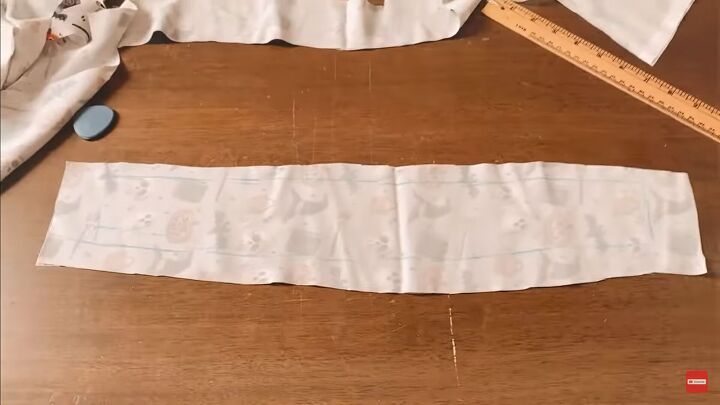
Trace, adding a ½-inch seam allowance all around. Cut it out and put to the side for now.

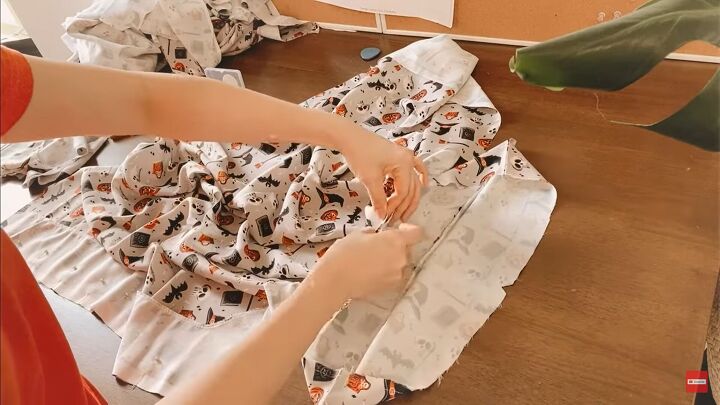
5. Sew the shorts
Pin both the front and back panels of the shorts with right sides touching.
Sew the center seam for both.

Lay the sewn front and back panels to the right sides are touching. Pin the side seams in place. Sew with a straight stitch.
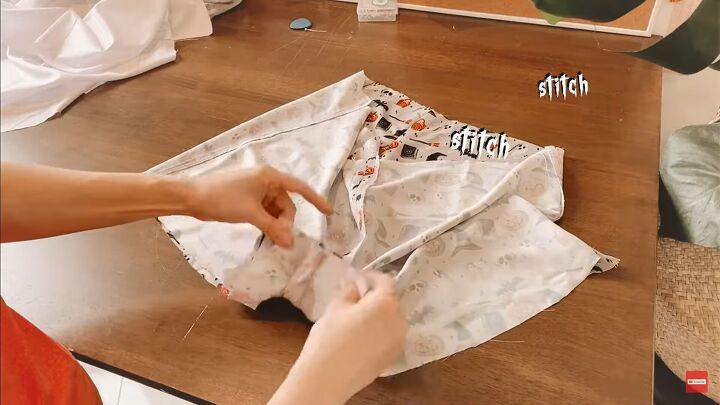
Now pull the crotch pieces together and sew them together on the wrong side.
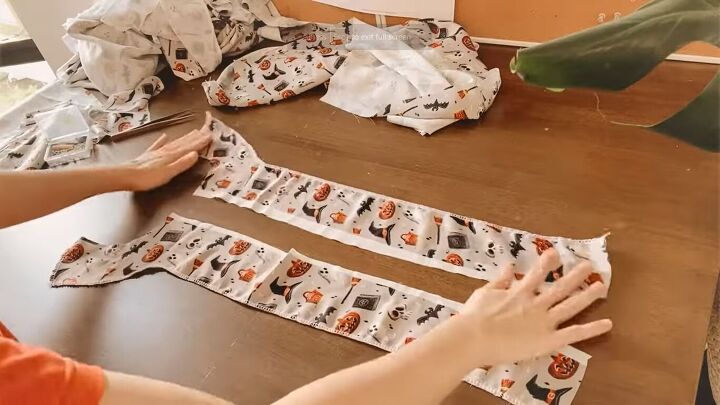
Now it’s time to get those shorts to fit your waist and be adjustable. Fold over the top about an inch to 1½ inches. Create a tunnel by sewing down at the fabric edge on the wrong side. Leave space to pull the drawstring through.
You may need to use a safety pin to pull the string through. Once it meets, pull it through to be able to tie.
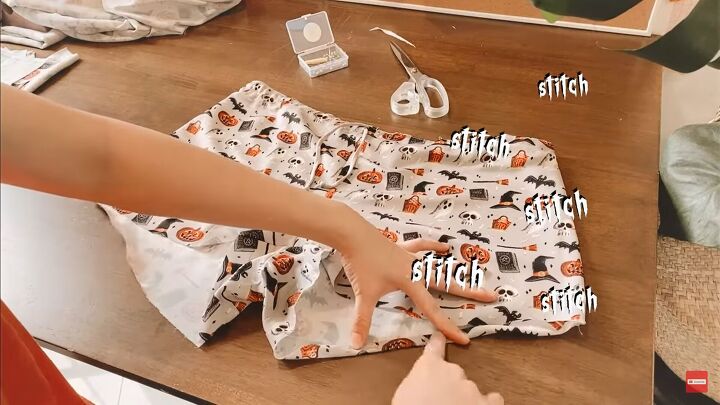
Hem the shorts by folding the fabric over once and sewing it down with a straight stitch.
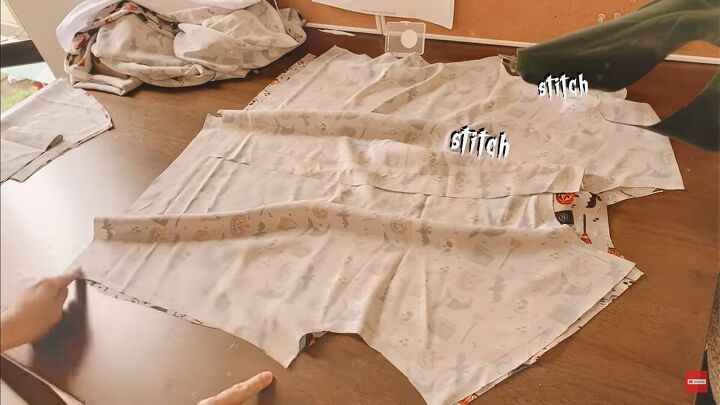
6. Sew the top
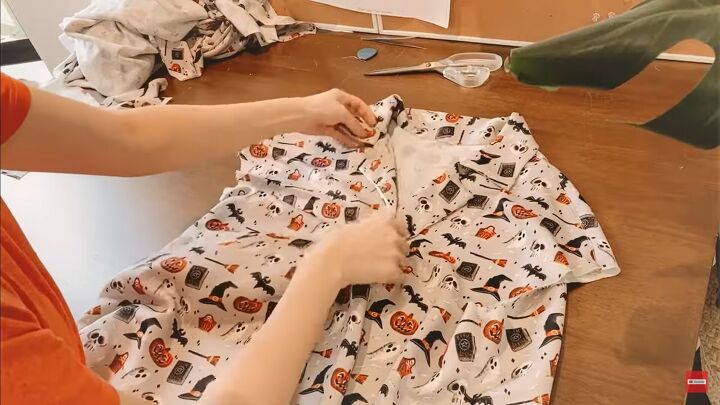
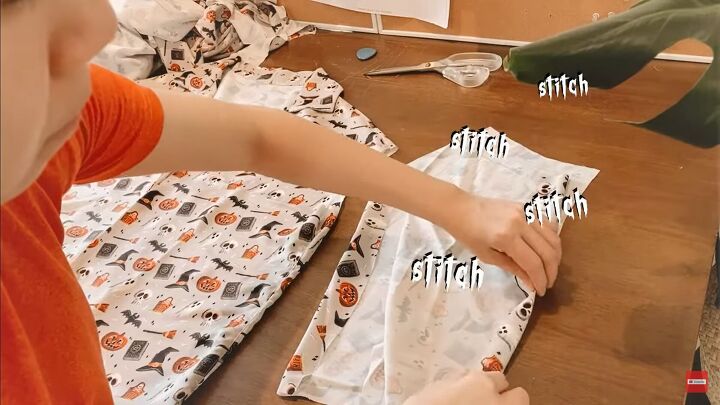
Lay the back of the shirt with the right side facing up. Lay the 2 front panels with the right side facing down. Sew the shoulder lines and the side seams only.
Sew the collar on the open edge and fold in half. Place to the side.
Make facing from the leftover fabric. Match the open edge of either front panel with the fabric. Cut the fabric.

Pin in place. Sew the facing.
Add the collar and place the facing over it.
Sew in place. Turn the shirt right side facing up to check collar placement.
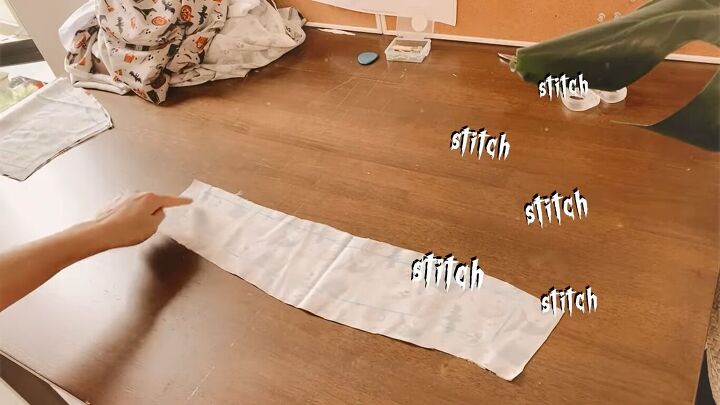
7. Add sleeves
Now it’s time for the sleeves. Double fold the flat end to hem.
Sew with a straight stitch. Then sew the side seam. Tuck the sleeve right side facing into the wrong side facing shirt. Match the side seams. Pin in place and then sew with a straight stitch.
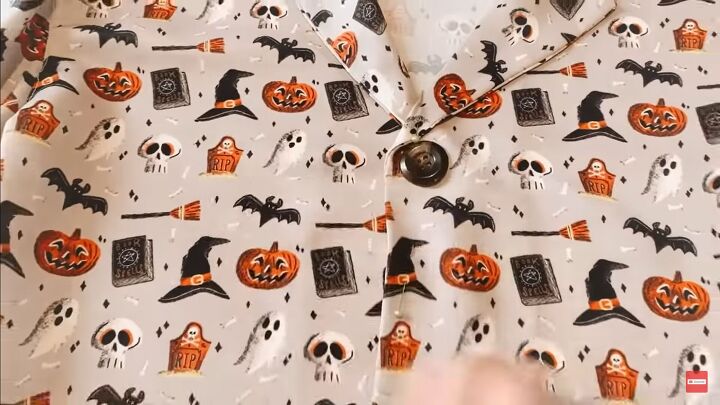
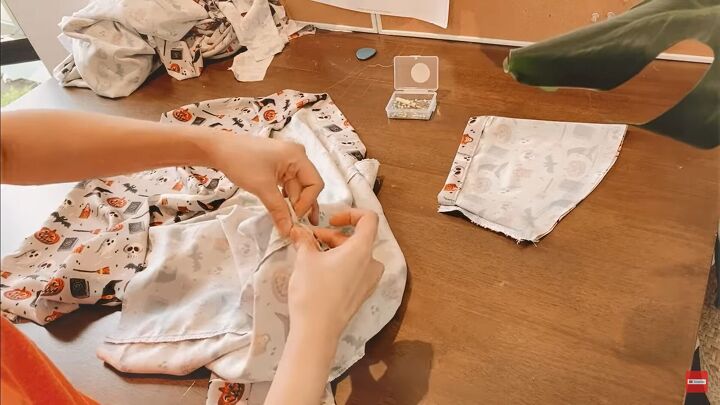
8. Add buttons
Lay the shirt so the right side is facing up. It’s time to add the buttons. Line them up. Place a pin to both sides to determine placement. Hand sew the buttons and make buttonholes.
9. Hem the shirt
Hem the bottom of the shirt by folding it up once and then sewing the hem down.
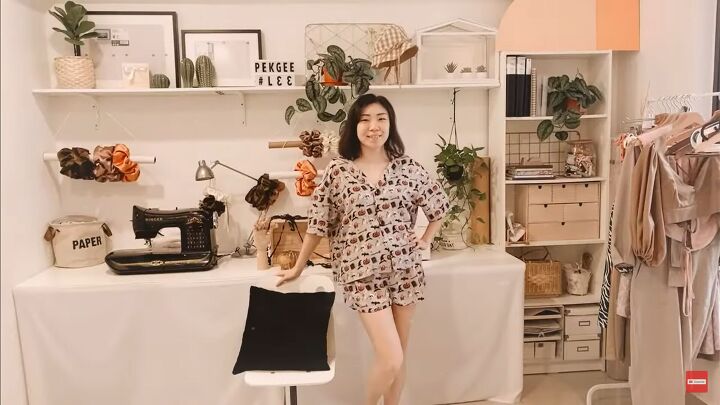
DIY Halloween pajamas tutorial
You are done! Let me know in the comments what you think about this pajama tutorial and what you did for Halloween! Wishing you the best this ghoulish season!
The author may collect a small share of sales from the links on this page.


Comments
Join the conversation