How to Embroider Jeans & Add Cute Cat Faces to the Knees

In today’s tutorial, I’m going to show you how to embroider jeans for my entry for the Make Thrift Try Challenge. These cute embroidered jeans are going to be made with little cat faces on a thrifted pair of jeans, so let’s get started!
Tools and materials:
- Water-soluble fabric marker
- Embroidery needle
- Embroidery thread
- Needle threader
- Pair of jeans
1. Mark the cat face onto your jeans
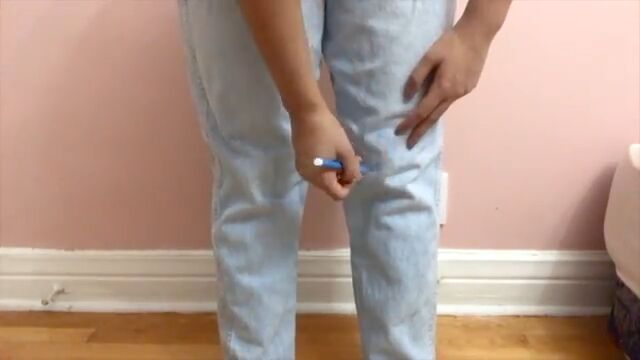
Mark the cat face onto the pair of jeans while you’re wearing them. It doesn’t have to be perfect; it’s just to know roughly where the cat will be.
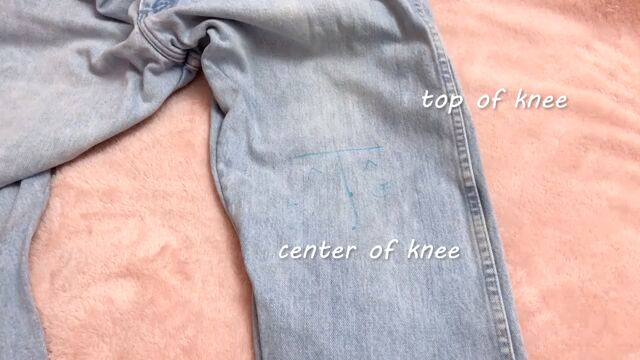
I also marked a line above my knee and went straight in the middle to make it symmetrical.
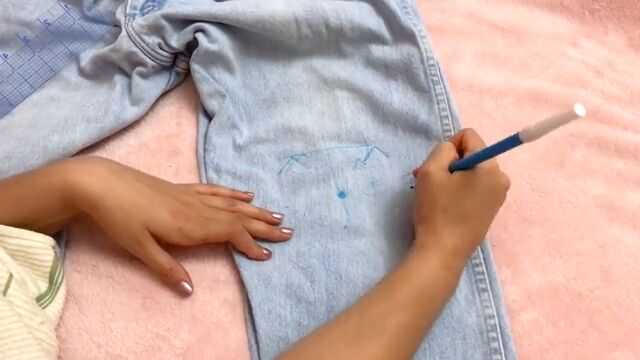
Then, I traced the cat face with more precision and with a water-soluble marker, so I could erase any mistakes with water.
2. Thread your needle
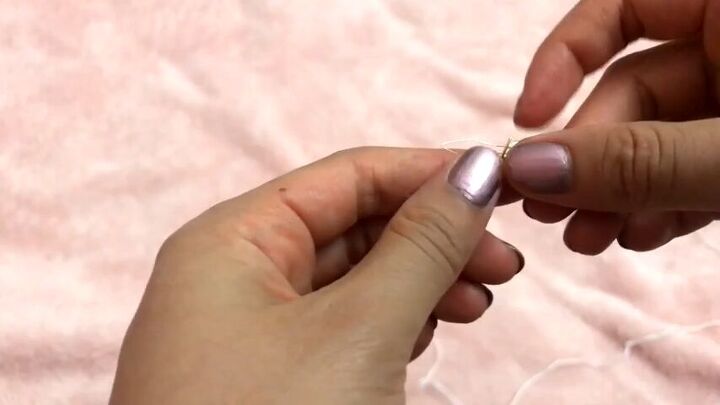
To start your DIY hand embroidery on denim, you need an embroidery needle, a needle threader, and embroidery thread. Start by inserting the needle threader into the eye of the needle.
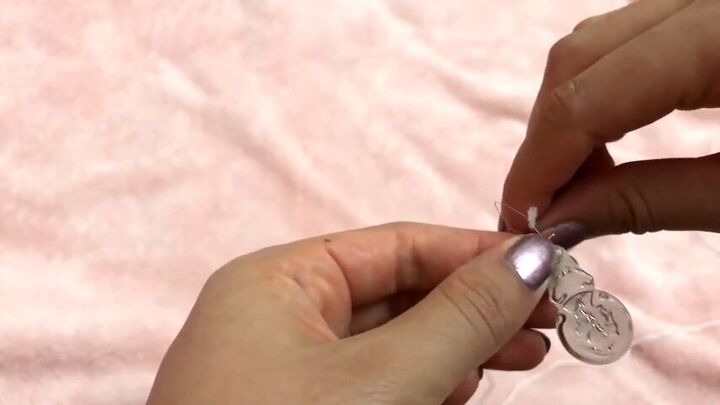
Then pass the thread through the loop and pull the needle threader out.
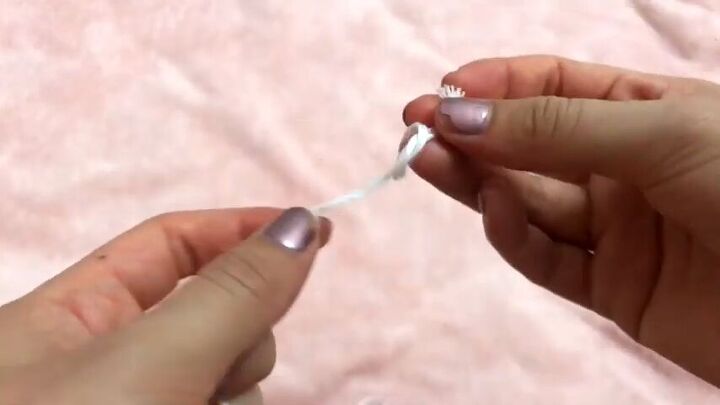
Make a knot at the end, and we’re ready to start embroidering.
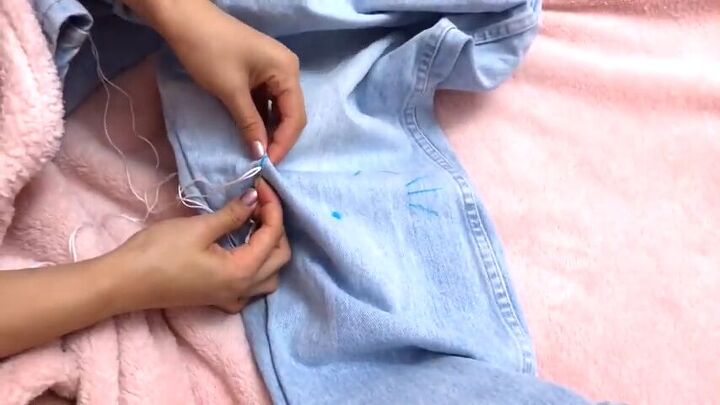
3. Embroider the ears
Most of this project will be made using a back stitch. Start about a centimeter (0.4 inches) before the beginning of your marking and make your first stitch. Bring the needle up a stitch length away and bring the needle down at the beginning of the previous stitch. Repeat this until you get to the end of your marking.
Once the first ear is done, don’t forget to make a knot at the back before continuing to the second ear.
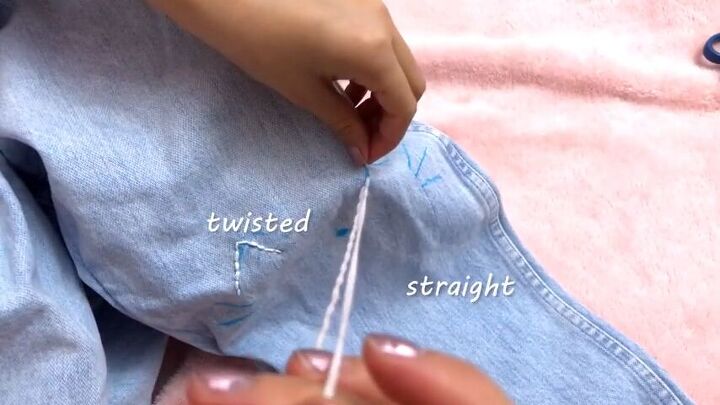
I also realized the thread kept twisting, so I fixed this by untwisting half of it and pulling the twisted part through the fabric so that only the straight part is left.

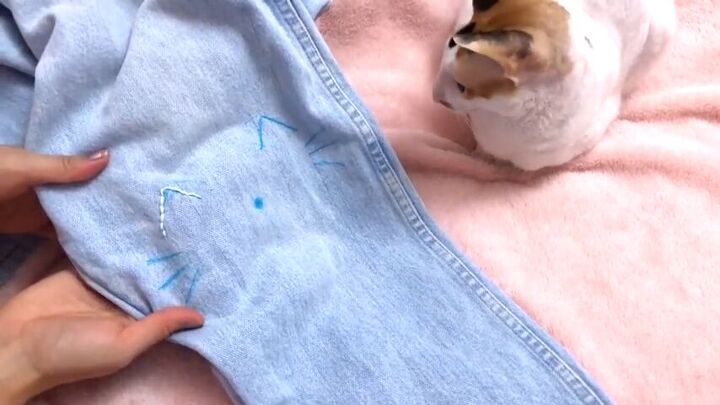
4. Embroider the nose
For the nose, outline it with a back stitch and then fill it in with a satin stitch. For this, you just need to make straight long stitches next to each other.
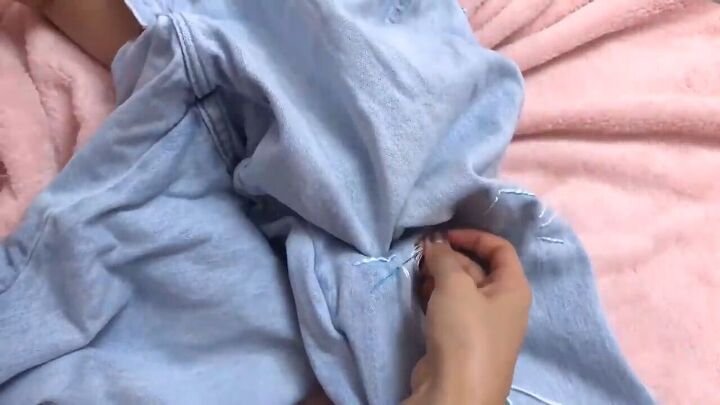
5. Embroider the whiskers
For the whiskers, just use a back stitch.
How to embroider jeans
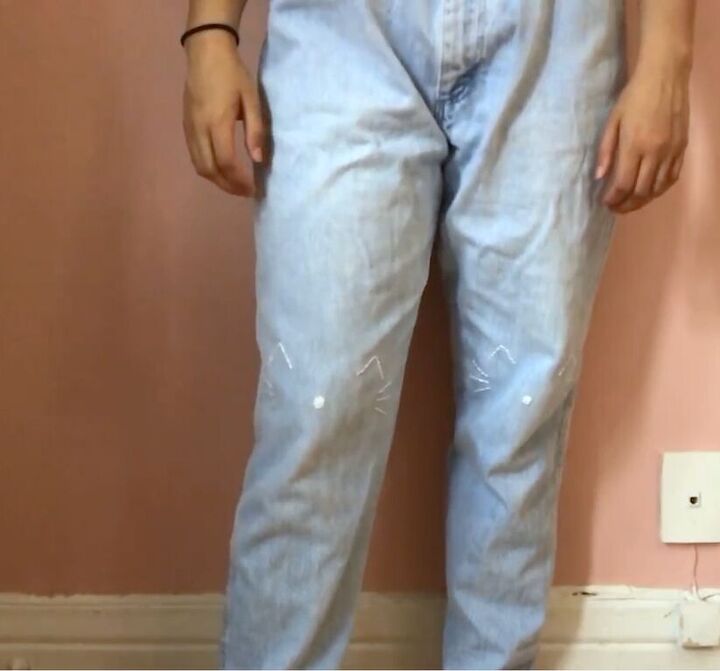
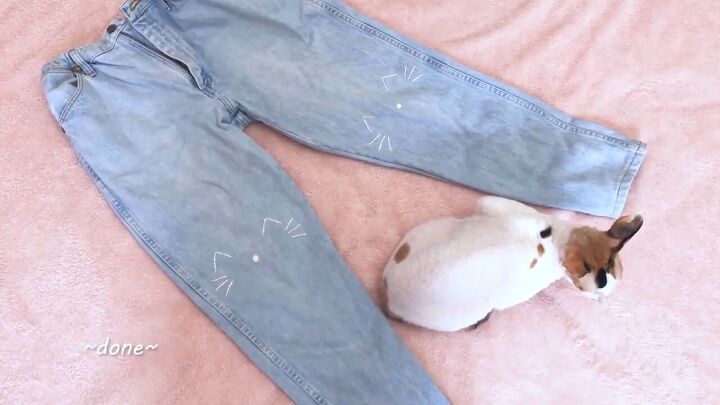
Remove the markings with water, and you’re done! Here are the finished DIY embroidery jeans. Now that you know how to embroider jeans, I’d love to know what other designs you plan to do, so let me know down below!
The author may collect a small share of sales from the links on this page.


Comments
Join the conversation
SO cute! I LOVE cats! Thanks for sharing!