How to DIY Easy Elasticated-waist Trousers

I made the elastic waist pants pattern by Vivan Shao Chen and I love them!
They were easy to make and they pair with everything. They're elasticated waist trousers with a grown-on waistband, front pleats and side pockets.
It's a perfect project for a beginner who wants to make a really well-finished and good-looking pair of pants without worrying about buttonholes or zippers.
Tools and materials:
- Bisque Trouser Pattern
- Paper for pattern
- Fabric
- 2 inch wide braided elastic
- Scissors
- Pins
- Safety pin
- Iron
- Sewing machine
- Serger (optional)
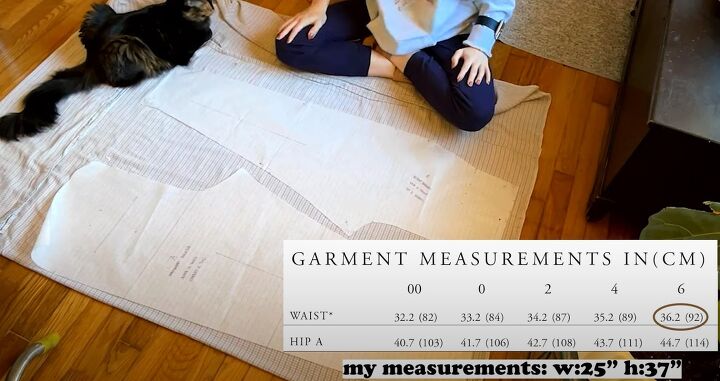
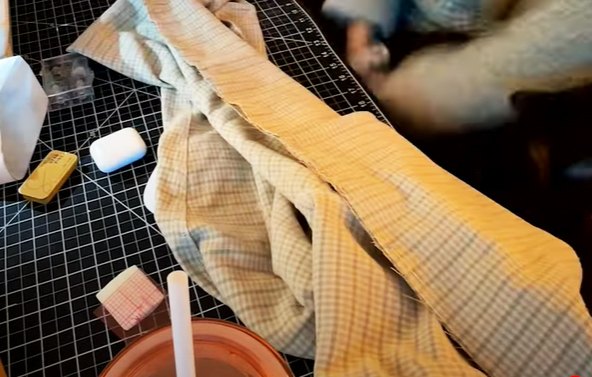
1. Cut out fabric
As the waist is elasticated, I chose my waist size based on my hip measurement, which is 37 inches (92 cm). I made this pair in size 6 and I had more than enough extra to pull them on.
When I make them again, I will go down by at least 2 sizes and maybe more, depending on the material. I would suggest that you make them in your usual size.
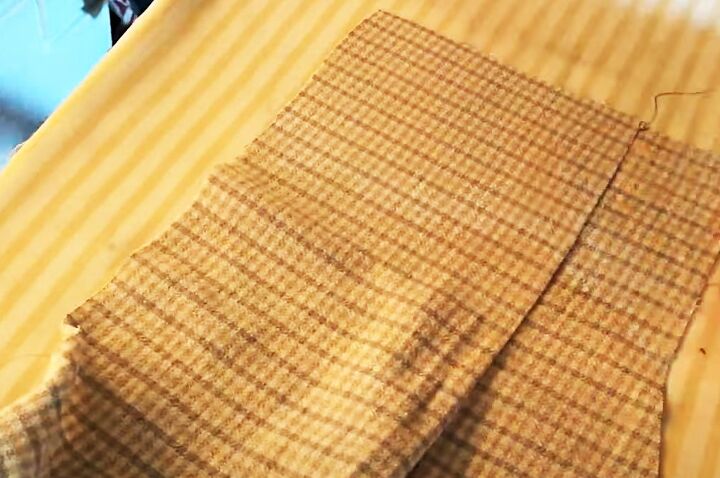
As I used a striped fabric for these pants, I made sure to line up the pattern pieces so the stripes would match when I sewed them together.
Cut out the fabric and transfer all the pattern marks to the pieces, including notches, darts and seam allowance.
2. Darts
Fold in and press the front and back darts and sew them. Note that the back darts have a straight section at the start.
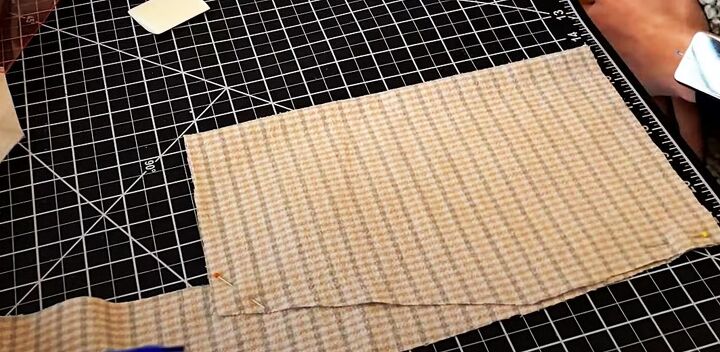
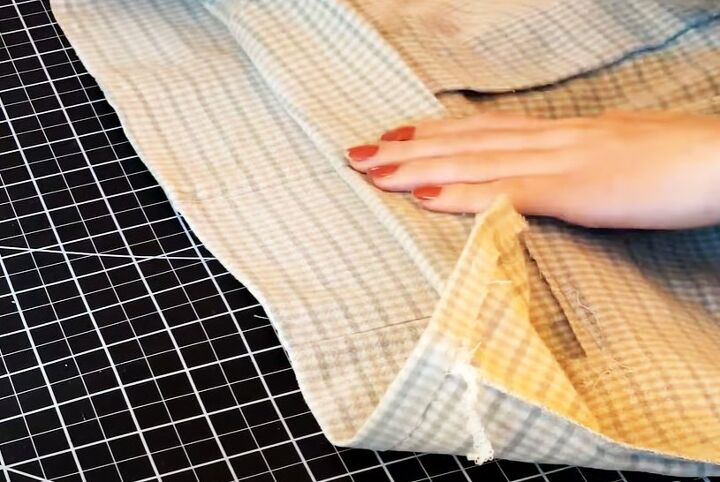
3. Pockets
French seam at the bottom of the pockets. Fold the pocket with the wrong sides together. Sew the bottom with a scant seam allowance.
Turn it wrong side out and press. Sew another line of stitching at the bottom keeping the pocket with the wrong side out.
Attach the pocket pieces to the slanted sections of the front legs and understitch the seam to keep the pockets in place.
Press the pockets and the pleats and baste the top of the pockets in place.
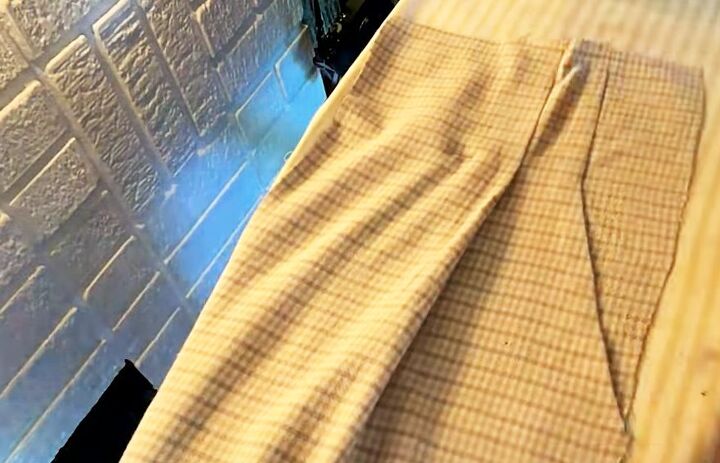
4. Assemble pants
Sew the front and back crotch seams and finish them with the serger or a zigzag stitch. Press the seam to one side and top stitch twice.
Repeat for the inside leg seams, sewing from the crotch down each leg.
Join the side seams. Finish the raw edges but don’t top stitch the seams.
5. Waistband
Fold the top edge of the waistband down by half an inch (1 cm) and press it.
Fold the waistband over to the wrong side again by at least 2 inches (5 cm), making sure it's deep enough to thread your elastic through, and pin in place.
Top stitch the waistband down, leaving an opening for the elastic.
Cut the elastic to fit around your waist unstretched, plus enough extra to join the ends together.
Use a safety pin to thread the elastic through the waistband, keeping it flat.
Overlap the ends of the elastic and sew them together in a square and across the diagonals.
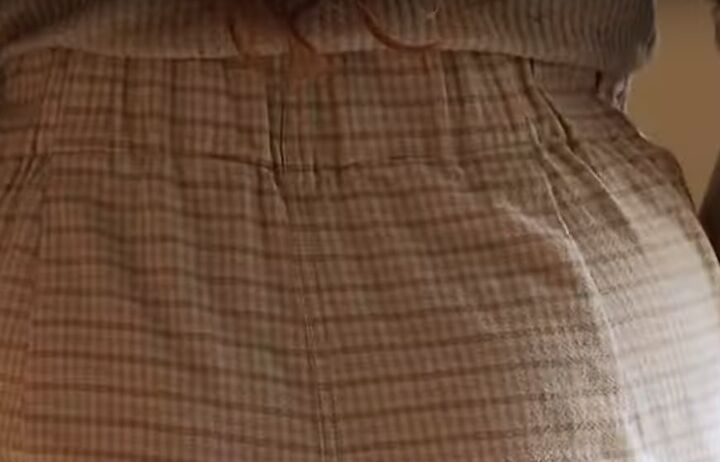
Sew the gap closed. Stitch some straight horizontal lines into the waistband to stop the elastic from twisting.
6. Finishing
Turn up the hem on each leg by half an inch (1 cm) and press it. Fold it up again by about 1 inch (2.5 cm) and top stitch it on the right side.
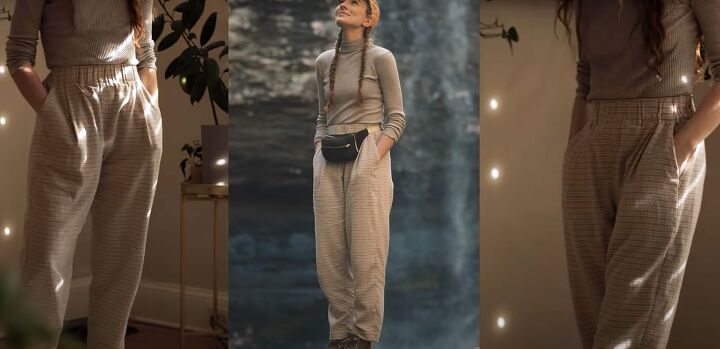
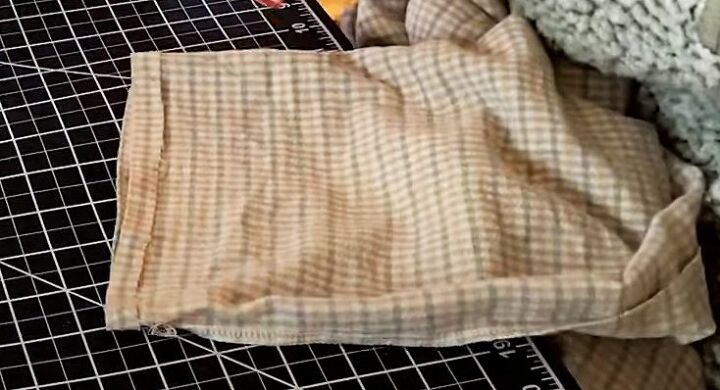
DIY elasticated waist trousers
These elastic waist pants came together so easily, I haven't stopped wearing them since I made them. I've worn them hiking and camping, and dressed them up with a smart top and heels.
They're so comfortable, I recommend making a pair in flannel to sleep in. I'm planning to make some more in wool.
Let me know in the comments below if you make a pair for yourself.
For more sewing content, check out my post on How to Sew a Super Cozy Color Block Fleece Jacket.
The author may collect a small share of sales from the links on this page.


Comments
Join the conversation