How to Sew a Super Cozy Color Block Fleece Jacket

For this project, I'm using a fougere pattern to make a color block fleece jacket.
This was a great way to learn how to sew fleece and sherpa and is perfect for intermediate sewers.
I made several modifications to the original pattern, adding side pockets and continuing the color blocking across the lower back. My sherpa fabric was thinner than I wanted, so I lined the upper part of my color blocked fleece jacket with flannel and enclosed the seams with bias binding.
Tools and materials:
- Fougere pattern
- Paper for pattern
- Fleece fabrics in complementary colors
- Flannel for lining (optional)
- Metal snaps
- Bias binding
- Scissors
- Pins
- Snap pliers (optional)
- Serger (optional)
- Sewing machine

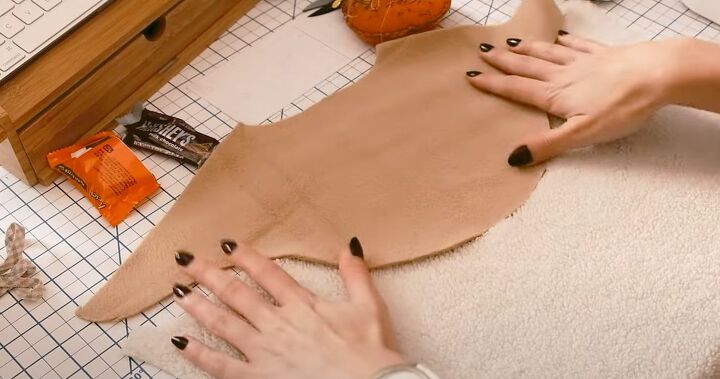
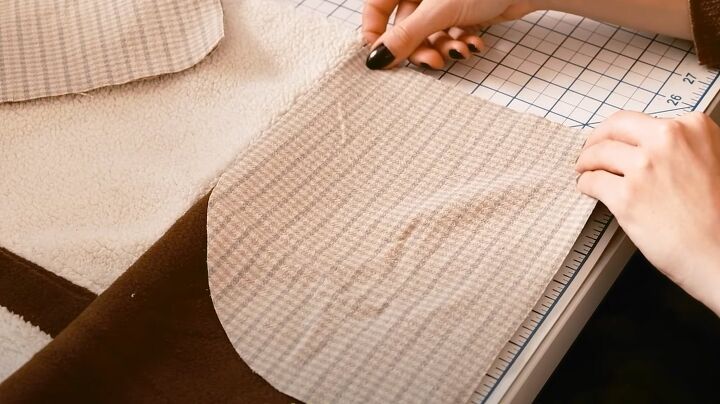
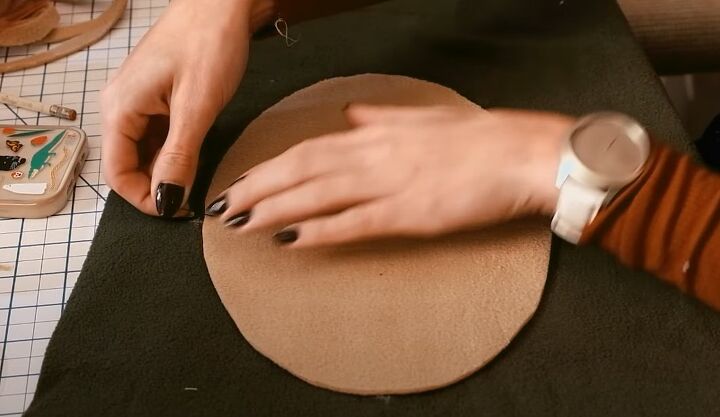
1. Cut out the fabric
Print out the pattern and tape it together. I created my own pattern for the side seam pockets.
Lay your pattern pieces on your fabric and cut them out.
2. Sew the upper front
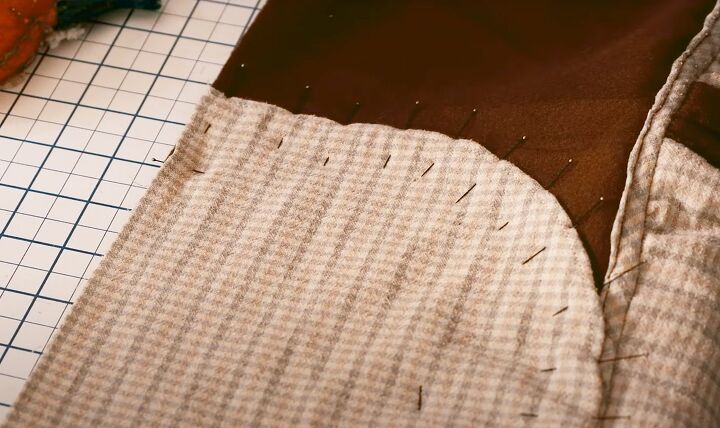
Pin and sew the upper bodice to the front placket.
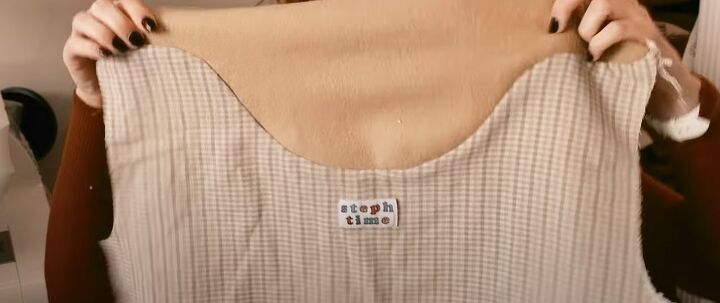
I cut the bodice pieces twice, once from sherpa and once from the flannel lining, then I basted the lining to the sherpa.
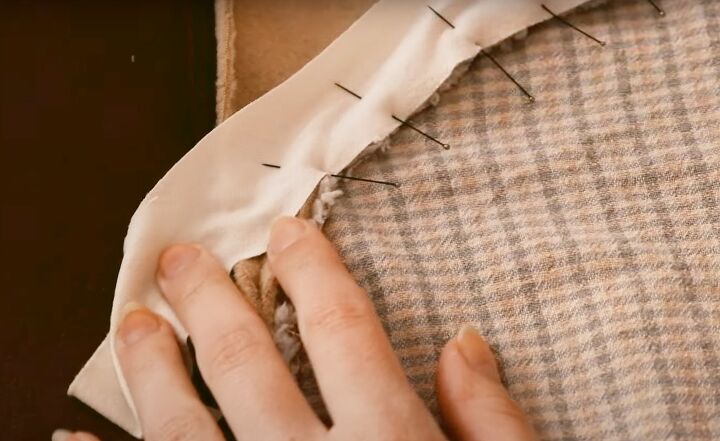
Attach the bodice to the yoke and bias bind the raw exposed seams.
Trim off the excess fabric along the seams to reduce bulk before stitching the second side of the binding.
Repeat for the other front piece.
3. Attach the lower front panel
Pin the bodice pieces together so the plackets overlap and attach the lower section.

Trim the seam allowance, turn the raw edges of the lining under and stitch.
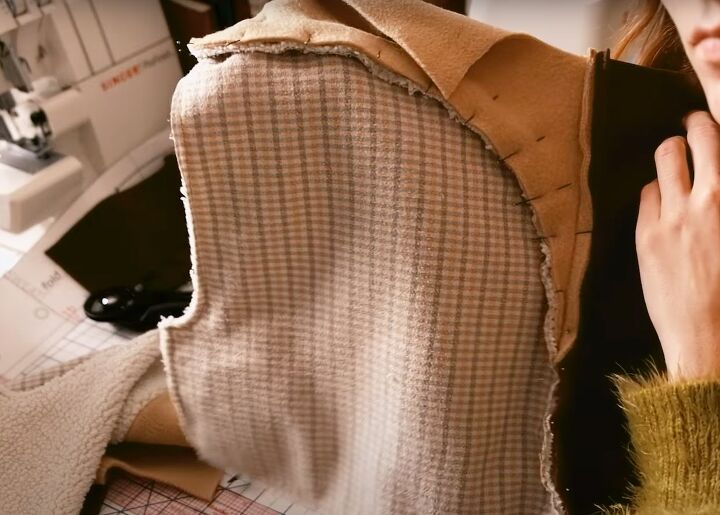
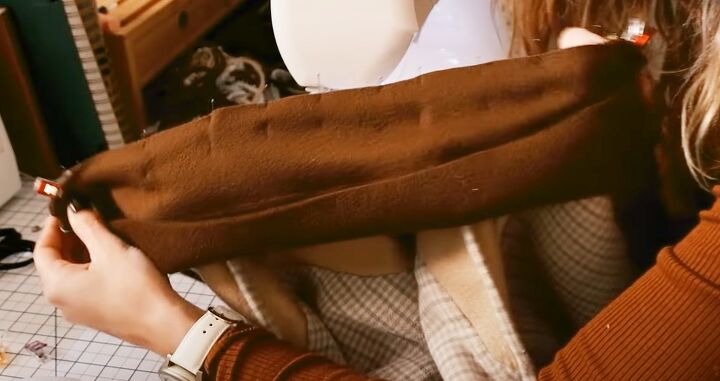
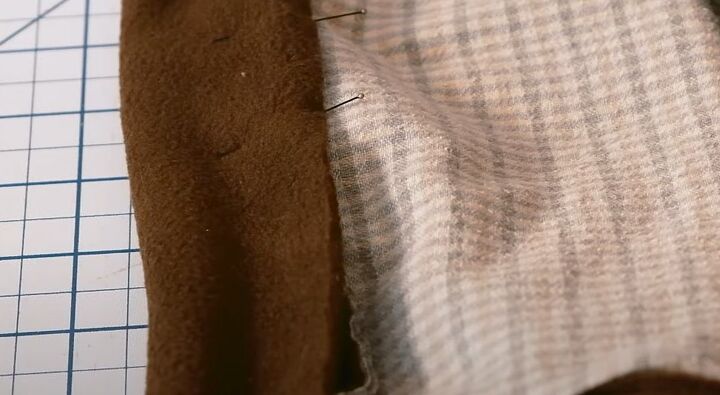
4. Sew back yoke
Attach the yoke to the sherpa.
Then, stitch the lining to the edge of the yoke on the inside, so the yoke is sandwiched between the sherpa and the lining.
You could do this in one stage, if your machine can handle the thickness of the fabric. I then serged the seam edges.
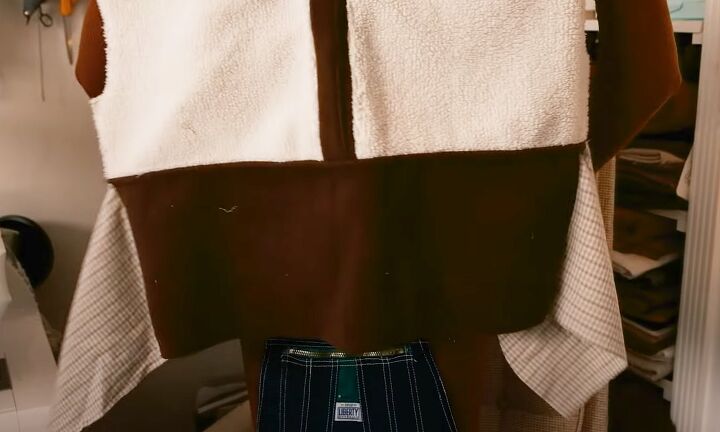
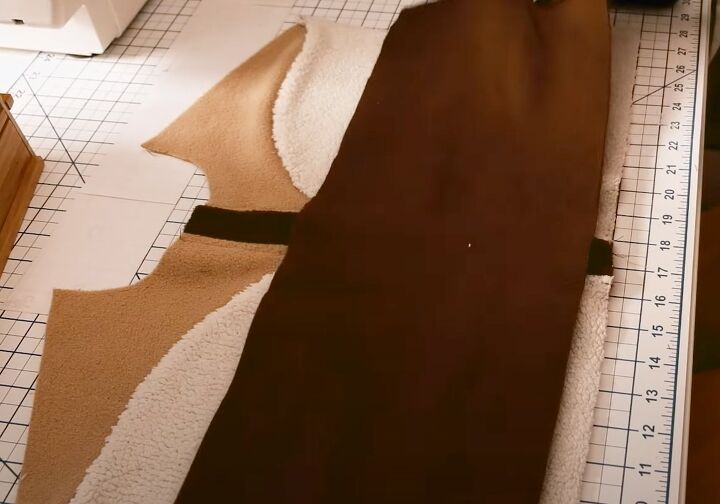
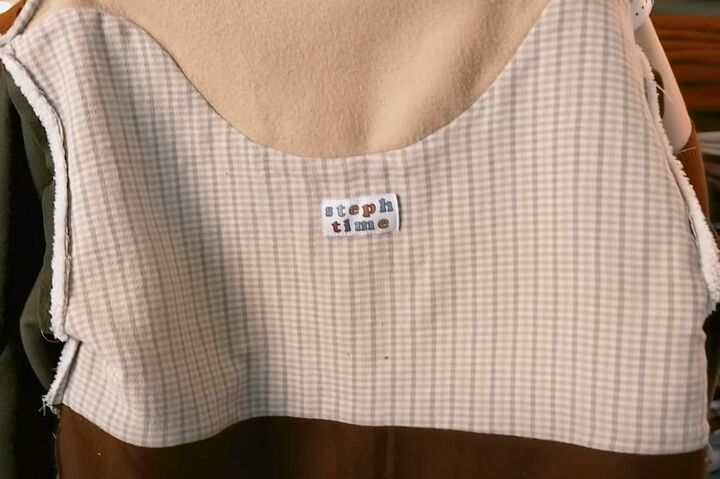
5. Attach the lower back panel
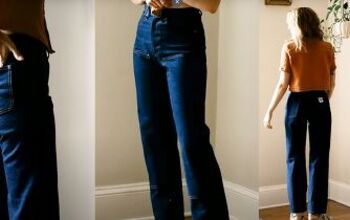
I decided to add a lower panel to the back, to match the one at the front. I had previously cut the main back pieces shorter to allow for this.
Lay the panel on top of the back sherpa with right sides together, then lay the right side of the lining over it.
Stitch it together through all 3 layers and serge the edges.
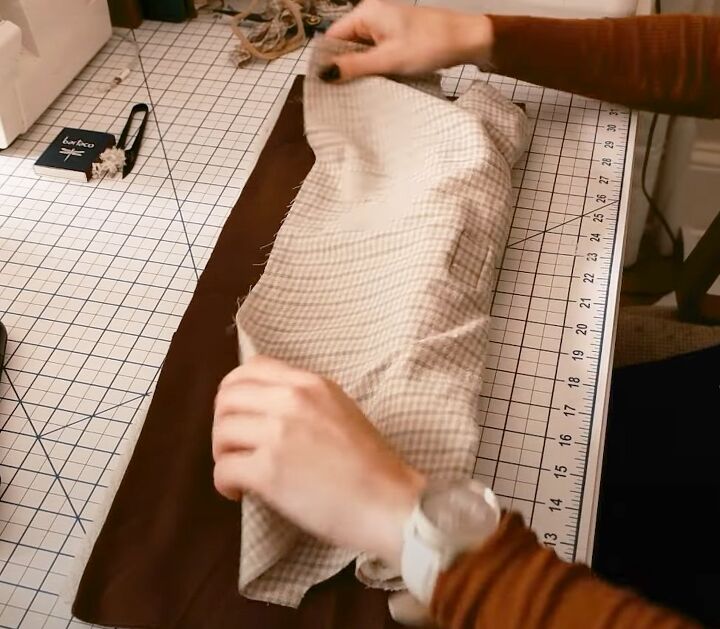
6. Add the in-seam pockets
Sew the two pieces of each pocket together.
Attach them to the sides of the lower front panel then stitch them to the front bodice, enclosing the pocket bag raw edges.
7. Sew the shoulder seams
Join the front and back yokes at the shoulder seams and try on the pullover for fit.
8. Sew the collar
Make the collar and pin and sew it to the neck opening. Turn the raw edge to the inside and top stitch it in place.
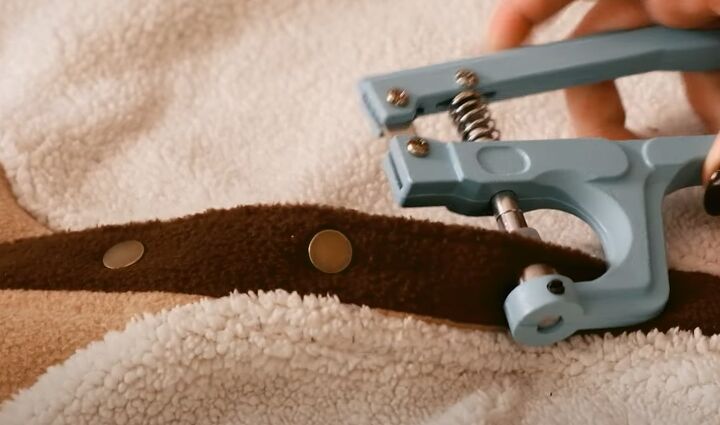
9. Attach snap fastenings
I did some tests with plastic and metal snaps and found the plastic ones broke when used on all the thicknesses of fleece, so I went with the metal ones.
I attached them to the front placket and at the neck with snap pliers that made the job a lot easier.
10. Sew sleeve patches
The fleece I used for the sleeve patches didn't need to be folded under. So, I cut off the extra seam allowance before sewing them to the sleeve.
11. Sew the waistband
Cut a strip 3 6/8 inch wide for the waistband.
Attach it to the lower edge, then fold it to the inside to enclose the raw edges and top stitch in place.
12. Insert the sleeves
Sew the long sleeve seam and insert the sleeve into the armhole. Trim and finish all the raw edges.
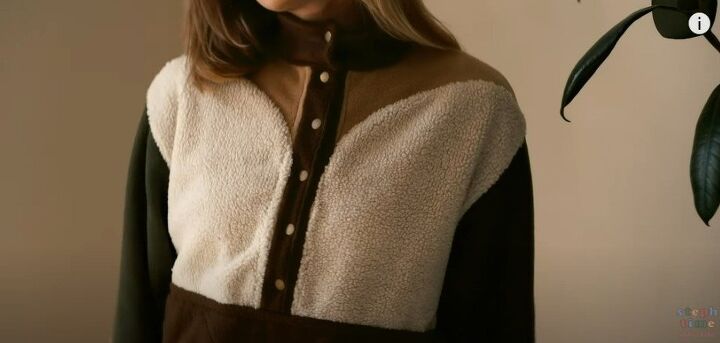
Color block fleece jacket
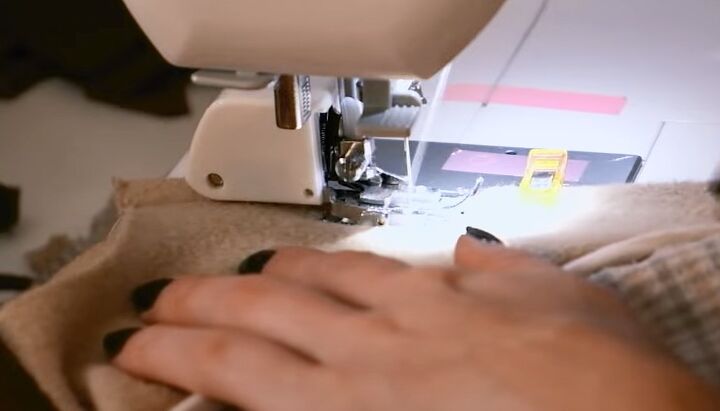
Having never sewn with fleece before, I discovered several new techniques and I’m looking forward to making my next color blocked pullover.
Feed the fleece through your machine slowly and carefully - this is not a project to rush.

I’m very pleased with how it turned out, it’s warm and cozy and perfect for winter hikes.
Have you ever sewn with fleece? Do let us know in the comments if you have any tips.
If you enjoyed this tutorial, check out my post on How to Make a Super Cute Checkerboard Purse.
The author may collect a small share of sales from the links on this page.


Comments
Join the conversation