Wow With This Glam Holiday Party Eye Makeup

This party makeup is perfect for the upcoming festive season!
With the help of a dual-ended eyeshadow product, you can create this exquisite, shimmery midnight blue smoky eye. You can even use this technique if you have hooded eyes. Let’s get started.
Tools and materials:
- Primer
- Foundation
- Blender sponge
- Eyebrow pencil
- White sparkle eyeshadow
- Bronzer
- Midnight blue glaze/crayon
- Medium blue eyeliner
- Mascara
- False lashes
- Lash bond
- Tweezers
- Concealer
- Cream bronzer (matte finish)
- Finishing powder
- Powder puff
- Peach cream to powder blush
- Blush brush
- Neutral lip balm
- Lip liner
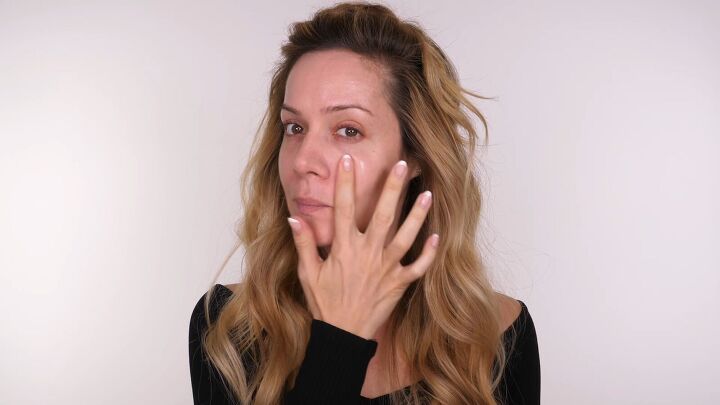
1. Prime your skin
Start off by prepping your skin with primer. Choose a product that suits your skin type, depending on how prone your skin is to excess oil or dryness. Use your clean fingers to apply a thin layer on your face.
2. Apply foundation
Next, apply a medium coverage foundation that matches your skin tone. With your finger, apply a few spots all around your face, including your eyelids, then blot it in with a makeup sponge.
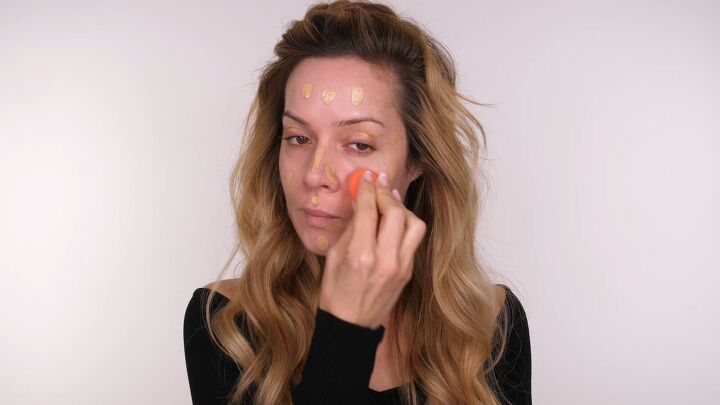
Optional: At this point, you can clean up and fill in your eyebrows. (I’ve done mine off-screen.)
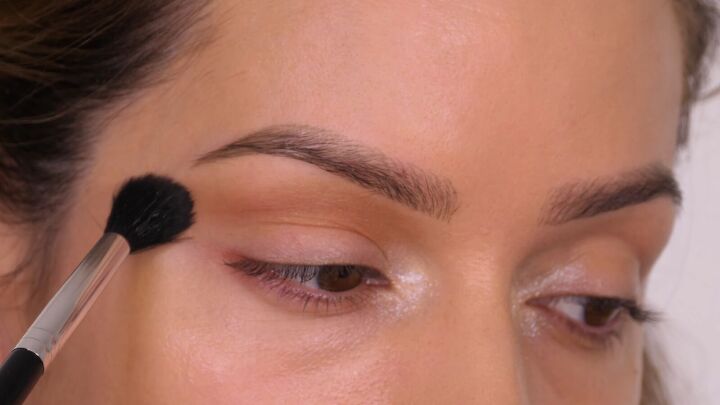
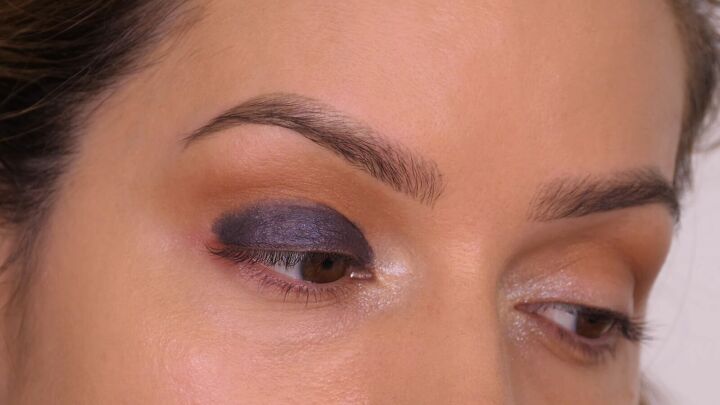
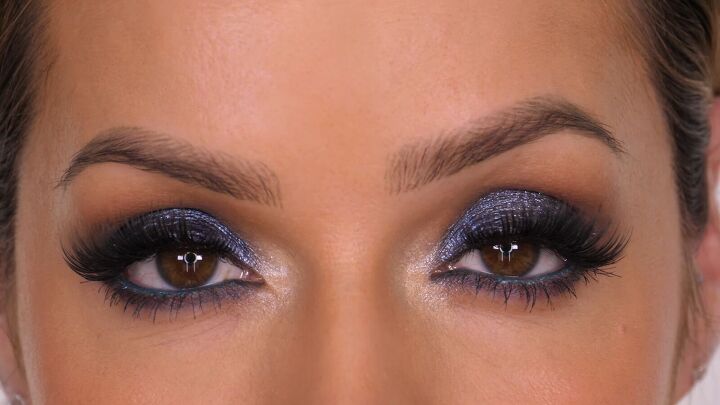
3. Apply shimmery eyeshadow to the corners
Using an eyeshadow brush, apply a shimmery white eyeshadow liberally, to the inner corner of your eyes, directly over the base makeup.
4. Apply bronzer to the sockets
To warm up the eyes, apply bronzer to sockets (at the top, above the mobile part of the eyelids) using a medium brush.
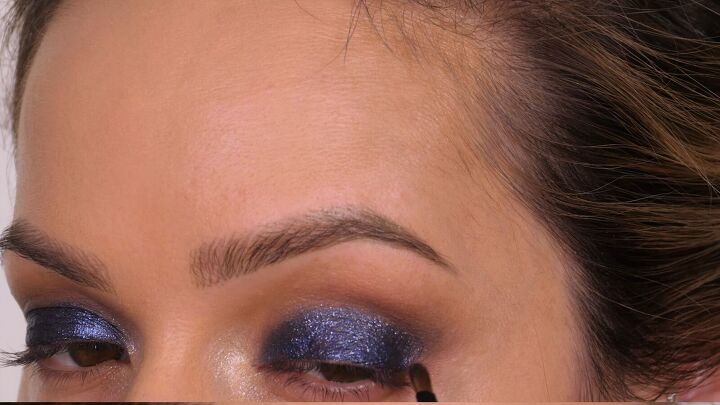
5. Apply midnight blue glaze crayon
Starting off with the crayon side, apply this to the eyelash line, up to where the eye naturally creases, which is where it meets the bronzer from the previous step.
After applying one layer, blend it with a brush.
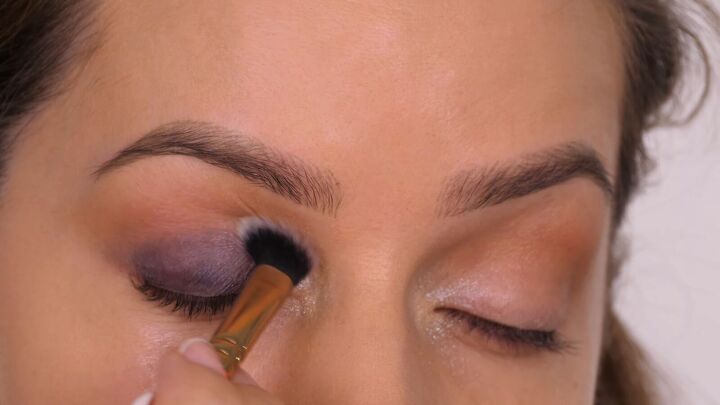
Then add a second layer of the crayon and it will stay in place until you remove your makeup.
To keep this blue eyeshadow-look beginner-friendly, we are sticking to the natural shape of the eyelids, just rounding them out a bit.
On the outer edge, and through the socket, use the brush dipped into a little bit of the crayon to give a softer blend.
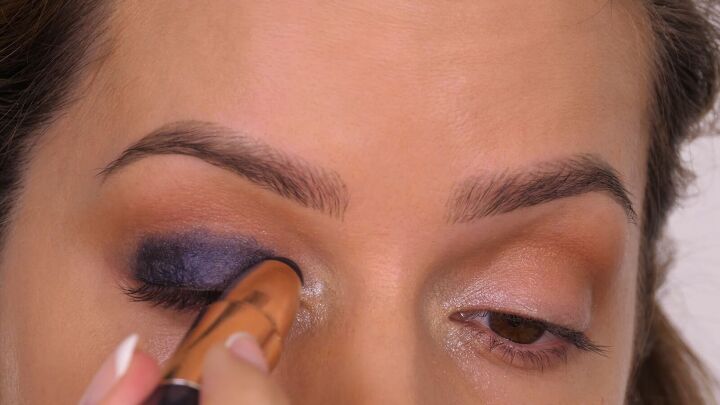
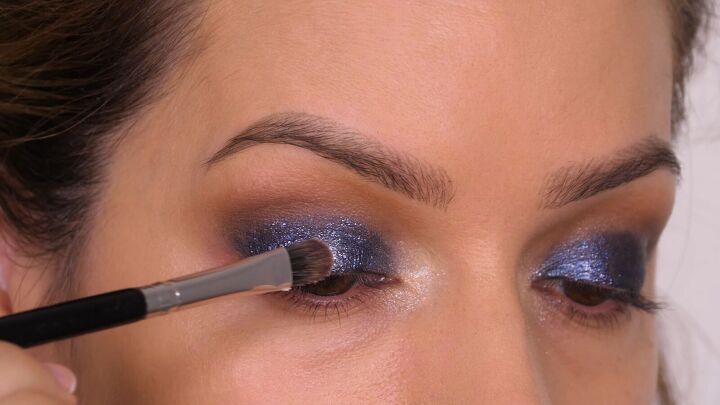
6. Apply midnight blue glaze
On the opposite side of the crayon, we have the glaze.
Apply this to your eyelids, ever so slightly lower than the blended edge. That way you can avoid an additional blending step.
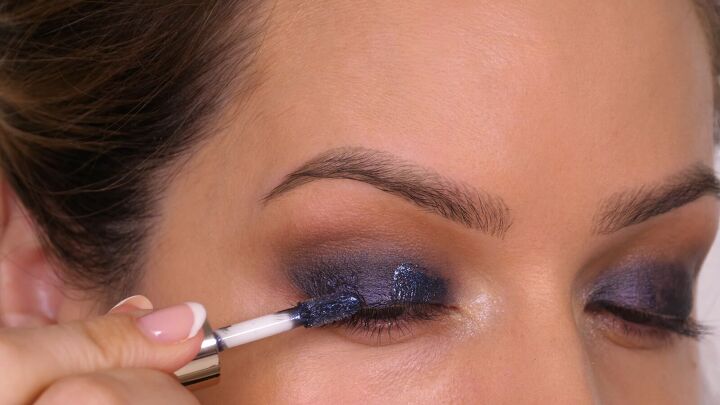
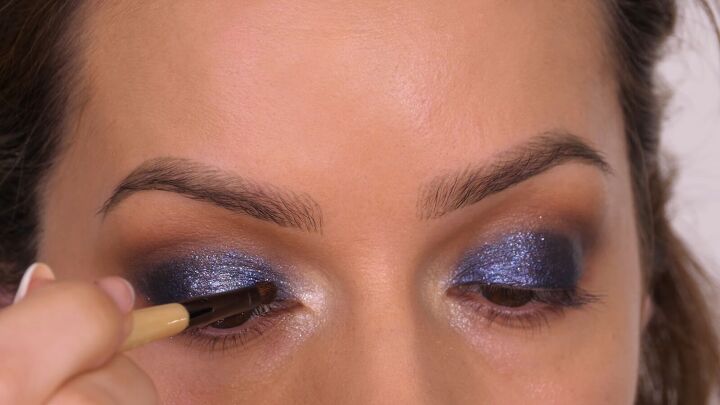
7. Reapply the white shimmer
Reapply the shimmery eyeshadow to the corners of your eyes but also add a bit to the center of your mobile lids. This will create a bit of dimension.
Optional: Add a bit more of the glaze between the inner corner of the eye and the center, to redefine that blue shade.
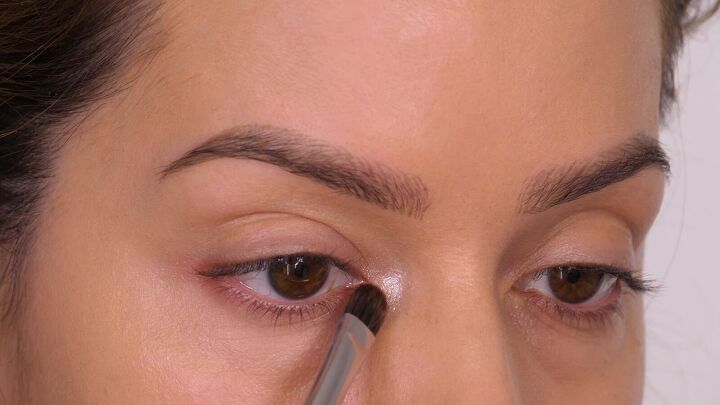
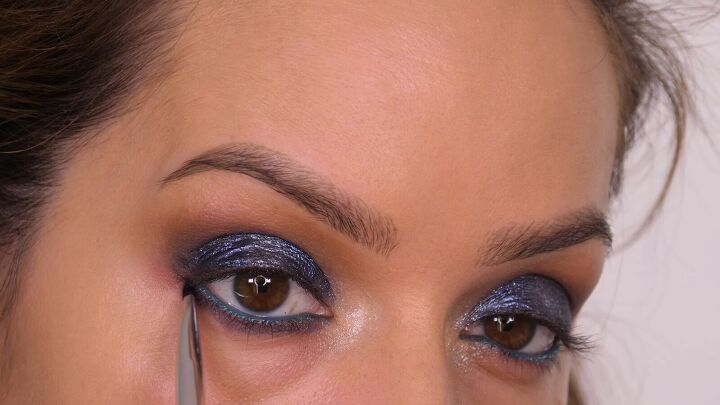
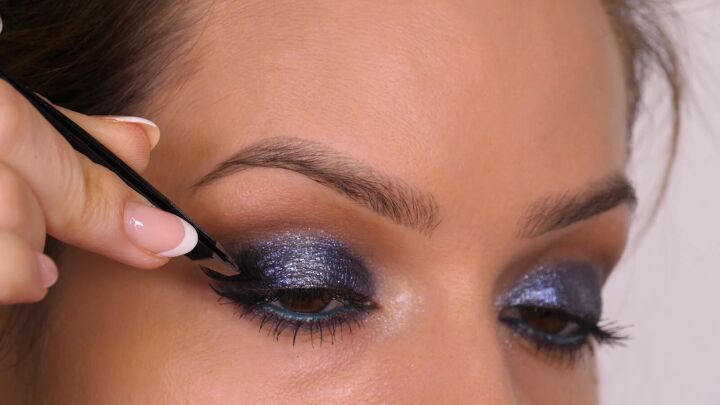
8. Add eyeliner to the water line of your lower lids
You can apply a medium blue shade, like I have done, or go for a black. The darker you go, the smokier it will look.
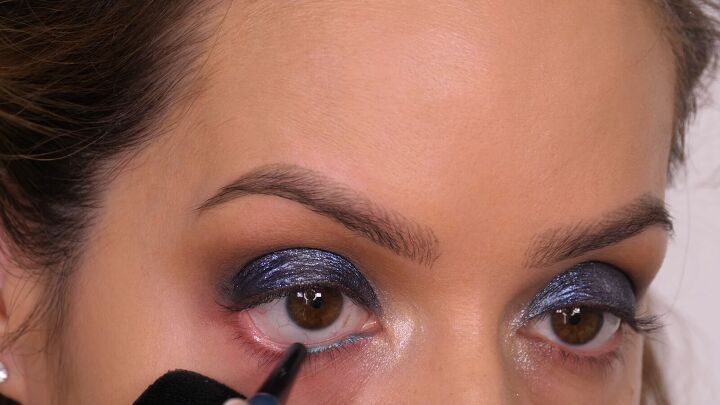
Then, directly under the water line, using a small brush, apply some of the midnight blue color from the crayon.
Don’t forget to connect the outer corner of the top lid with the lower one so that it completely frames the eye.
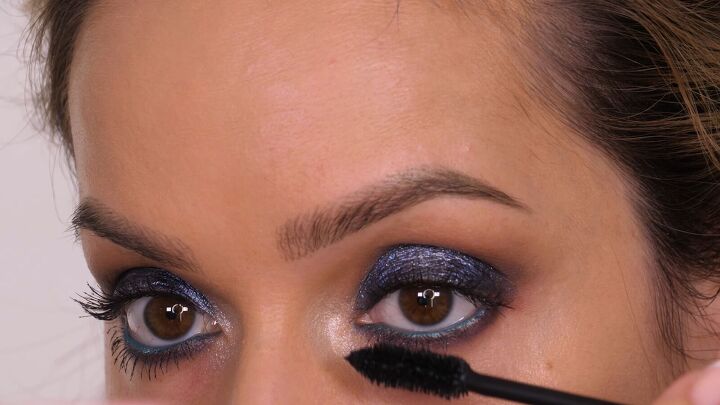
9. Apply mascara
Next up, apply mascara. Only use a light layer on the top lashes since we’ll be applying false lashes later.
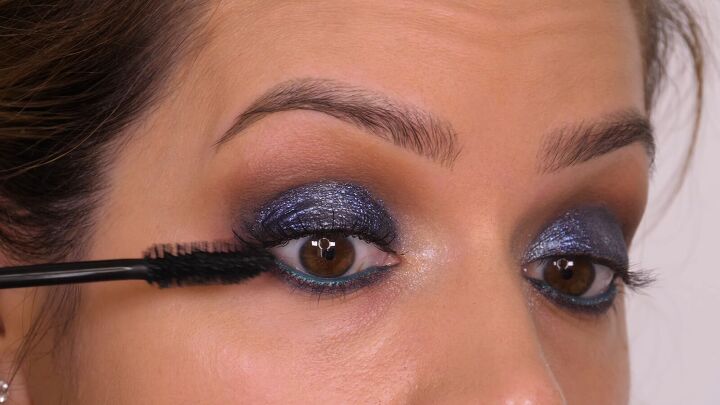
Go a bit heavier on your lower lashes.
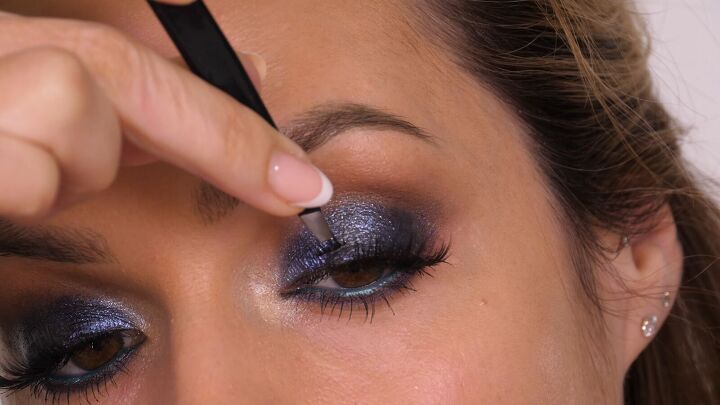
10. Apply false lashes
(See video 4:35 -5:09)
Here, you can cut the different sizes from the false lashes pack to suit your eyes.
Although they are made to go underneath your natural lashes, I’m using them on top. Start with a large section of the longer lashes at the far corners of the eyes.
Then gradually use the shorter lengths as you get to the inside corners.
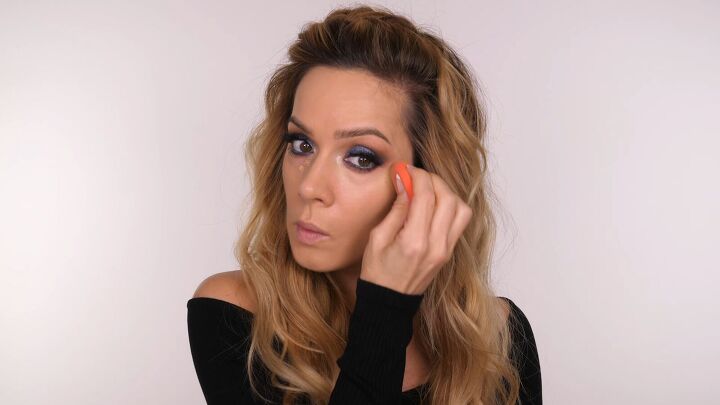
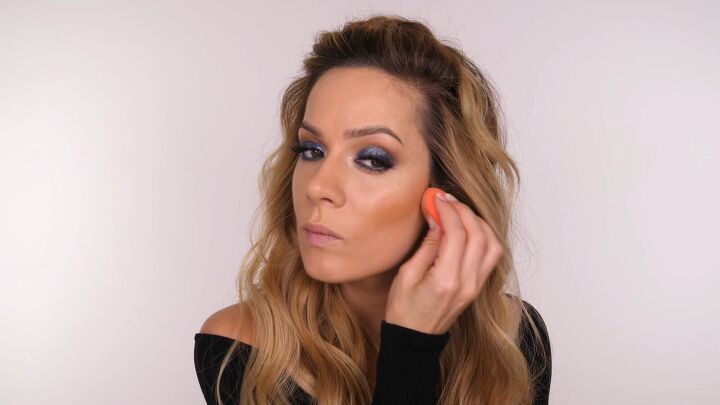
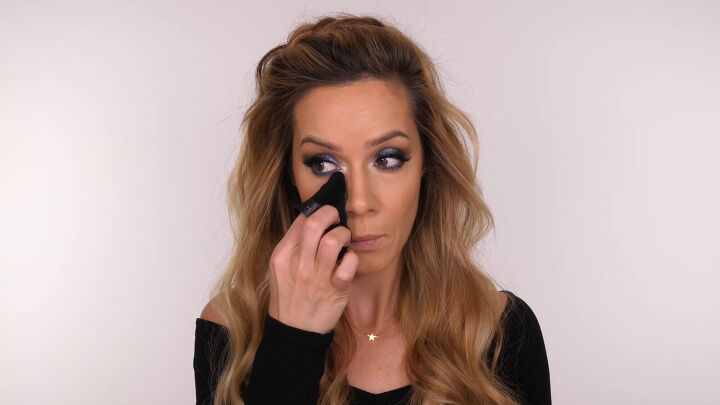
11. Apply concealer under the eyes sparingly
Apply a few dots of concealer under your eyes and blot with a makeup sponge.
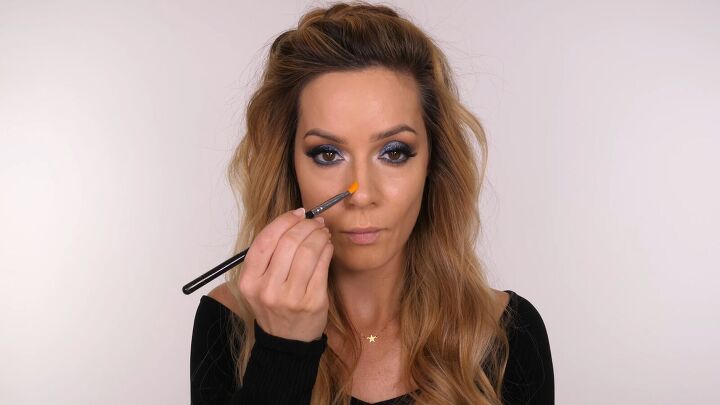
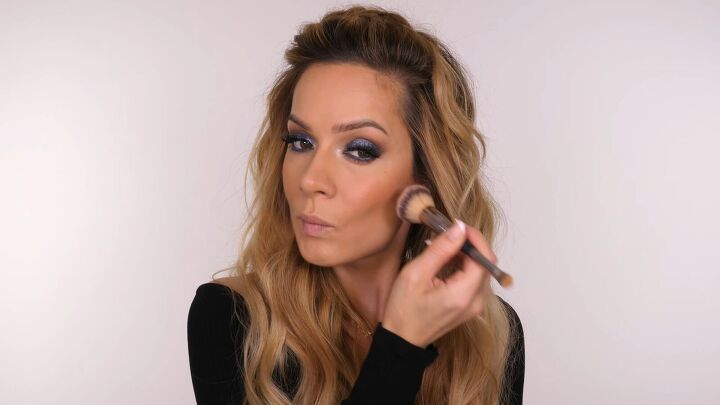
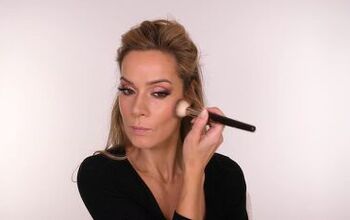
12. Add warmth to the skin
Add cream bronzer with a matte finish using a small brush, taking it down the sides of your nose to add warmth and shape.
Blend it down the sides of the nose with the brush.
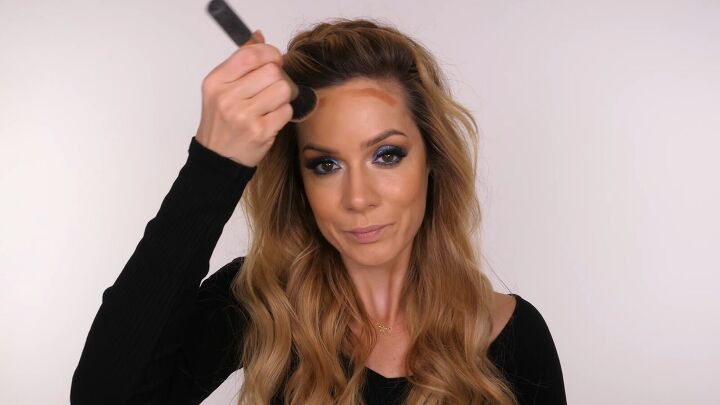
Also take the bronzer to the hollows of your cheekbones, blending upwards and around your hairline.
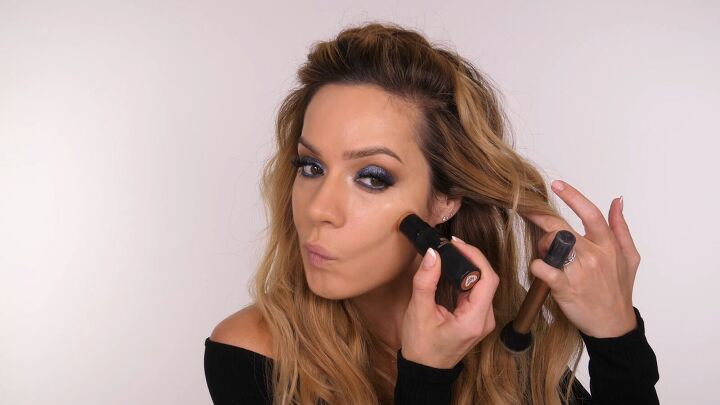
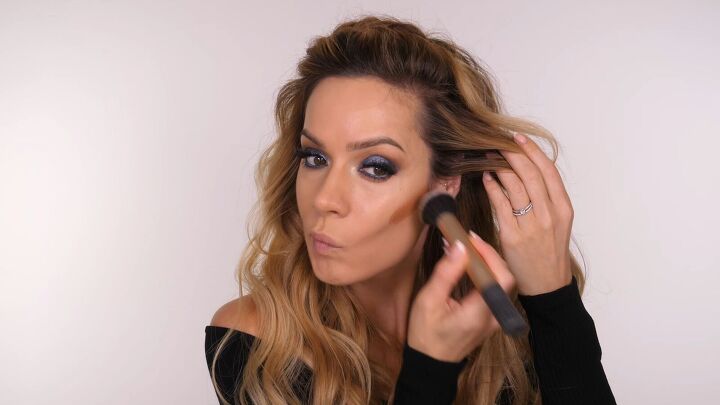
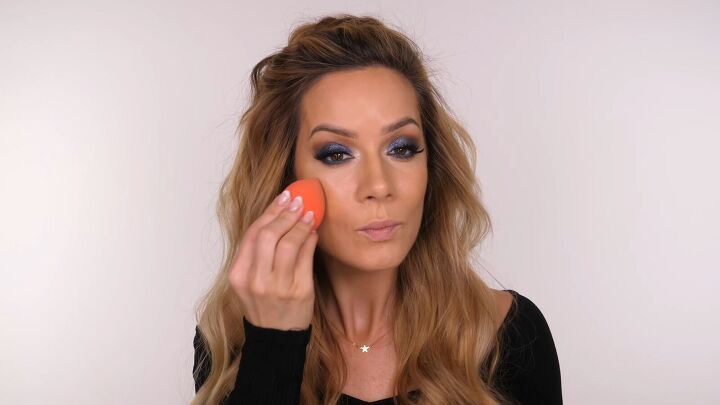
After blending with a brush, soften the bronzer with a makeup sponge.
Here is the application at the hairline:
Finally, go back in with your sponge to pat everything into place for a very natural finish.
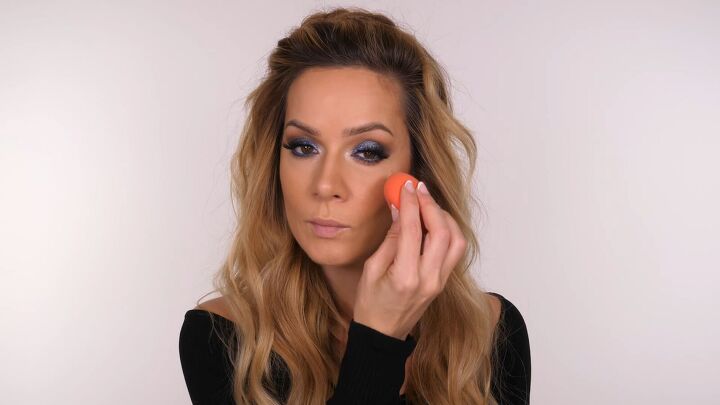
13. Apply finishing powder
Apply the powder with a velour puff, gently, over all the skin (excluding the eyelids!).
If your skin is super oily, you’ll want to use a setting powder before the finishing powder, since it’s more heavy duty.
14. Apply blush
Use a peach shade of cream to powder blush with a blush brush. Apply it in a stippling motion onto your cheekbones.
I always go over with my sponge, gently dabbing at the beginning of my blush, at the front of my cheeks for a seamless look.
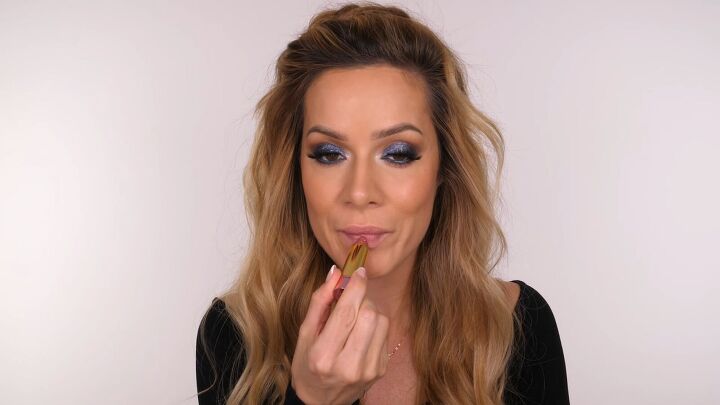
15. Add lip color
When you have a lot going on with your eye makeup, go simple with your lips.
The lip balm I’ve chosen goes on like a natural lip color, but when the light hits, it looks so beautiful. Plus, it’s super moisturizing.
16. Line your lips
To add a little more definition to the lips, go in with a lip liner.
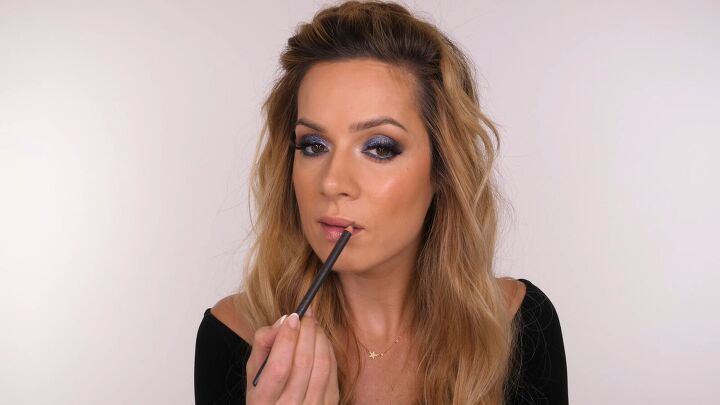
At first it will look a bit dark, but then you can blend it with a dry lip brush.

Party makeup
That completes my midnight blue party makeup! Please tell me what you think in the comments below.
For more makeup content, check out my post on an easy Glitter Green Eye Makeup Tutorial.
Products used:
- Tatcha Liquid Silk Canvas (Combo/Oily Skin)
- Tatcha Silk Canvas (Drier Skin Types)
- Haus Labs Triclone Skin Tech Foundation
- Beauty Blender Sponge
- Urban Decay Brow Blade (Used to fill in my brows off-camera)
- MAC Sparkler Eyeshadow - Clink Clink
- bareMinerals Endless Summer Bronzer - Faux Tan
- ICONIC London Glaze Crayon - After Hours
- STILA Stay All Day Graphic Liner - Jitterbug
- NARS Climax Mascara
- False Lashes - LashBase PROeffects+ Full Glam
- LashBase PROeffects+ Lash Bond
- Too Faced Born This Way Multi-Use Sculpting Concealer
- NUDESTIX Nudies Bronze - Bondi Bae
- Charlotte Tilbury Airbrush Flawless Finish Powder Fair 1
- LH Cosmetics - The Powder Puff
- NUDESTIX Nudies Matte Lux - Pretty Peach
- IT Cosmetics #7 Heavenly Luxe Complexion Perfection Brush
- MAC Cosmetics Fizzy Feels Lip Balm - Taste for Bubbles
- MAC Stone Lip Liner
The author may collect a small share of sales from the links on this page.


Comments
Join the conversation