Pantone-inspired Peach Fuzz Nails Tutorial

Hey there nail crew! Today, I'm thrilled to share with you a step-by-step tutorial on creating some fabulous nail art inspired by a stunning picture I stumbled upon.
This nail art features Pantone peach fuzz nail color with some added colors for variation.
Tools and materials:
- Clean-up tool
- Stamping plate
- Nail brush
- Isopropyl alcohol
- Nail file and buffer
- Peach dip powder
- Purply-pink dip powder
- Builder gel or rubber base (optional)
- Clear dip powder
- Activator
- Stamping polish in white, citrine, and lilac mist
- Sticky base coat
- Smudge-free top coat
1. Prep your nails
Start by prepping your nails. If you're using builder gel or rubber base, apply it and build up your apex.
For those using dip powder, apply two layers of clear dip powder before moving on to your chosen colors.
Make sure to use the clear base before each application of dip powder.
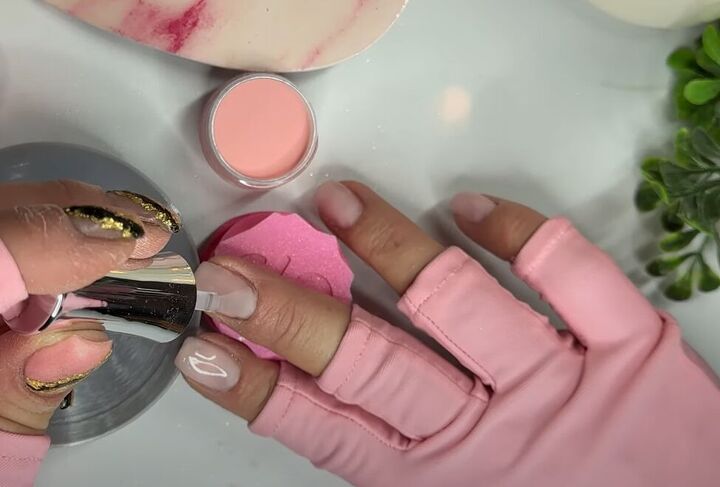
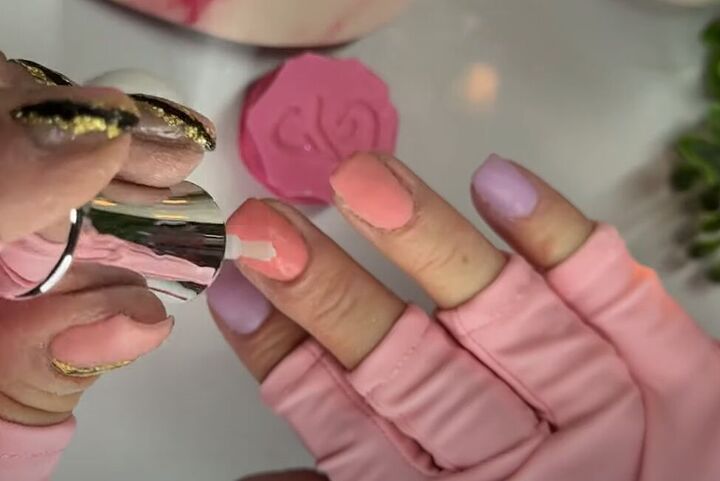
2. Apply your base colors
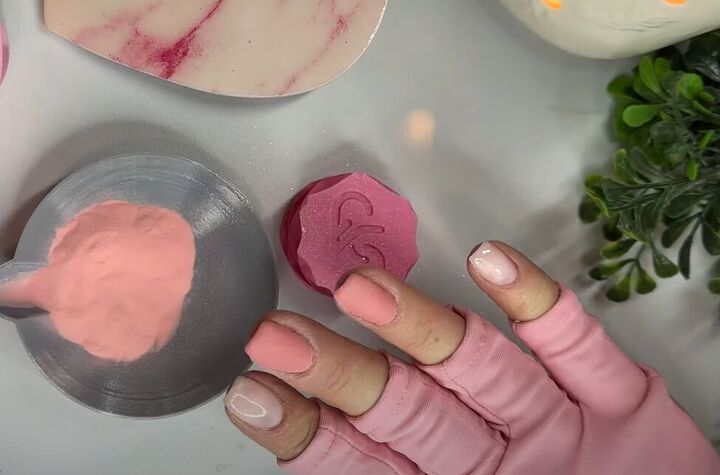
Apply the peach-colored dip powder on three nails and the purply-pink dip powder on the remaining two accent nails.
Make sure to trace around your cuticles with a clean-up tool to achieve clean lines.
Gently brush off any excess powder.
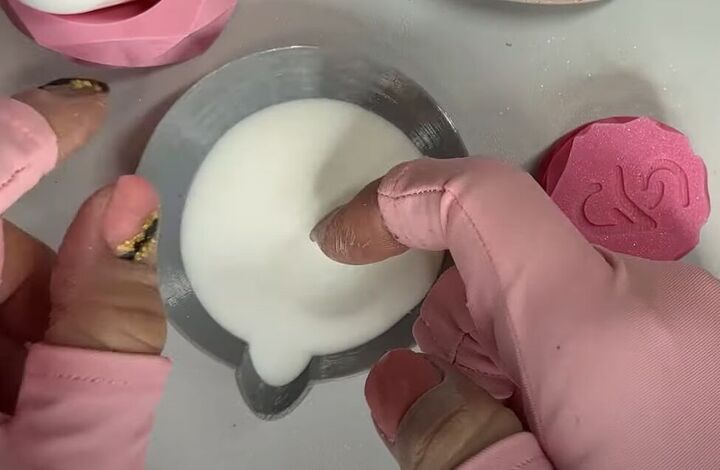
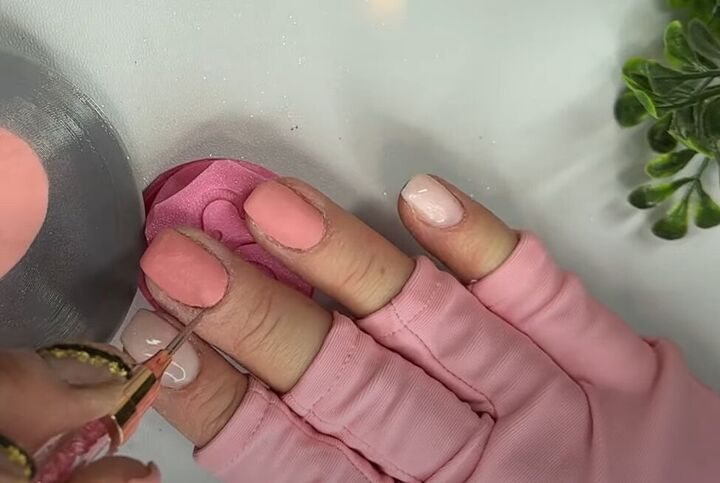
3. Seal with clear dip powder
After applying your chosen colors, seal them in with a layer of clear dip powder.
This not only protects your colors but also ensures a smooth surface for stamping.
4. Prepare for stamping
Once your nails are dry, apply activator.
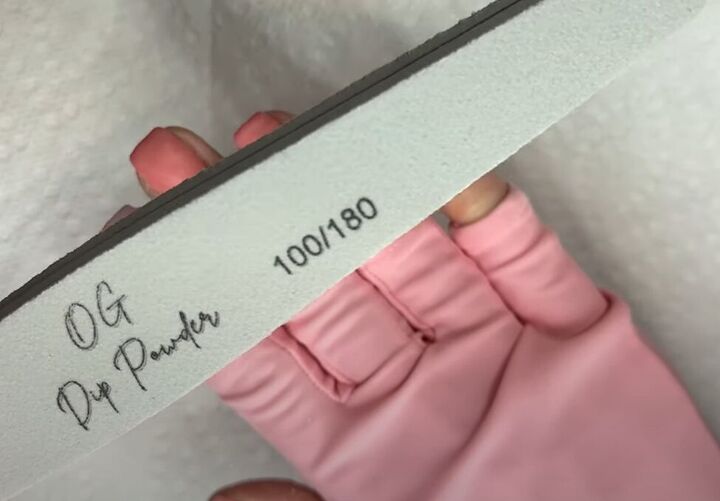
Then, buff and shape your nails.
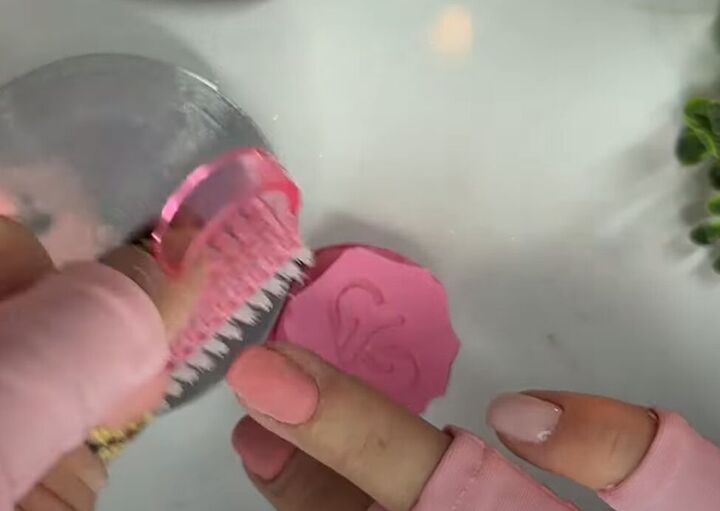
5. Stamp your designs
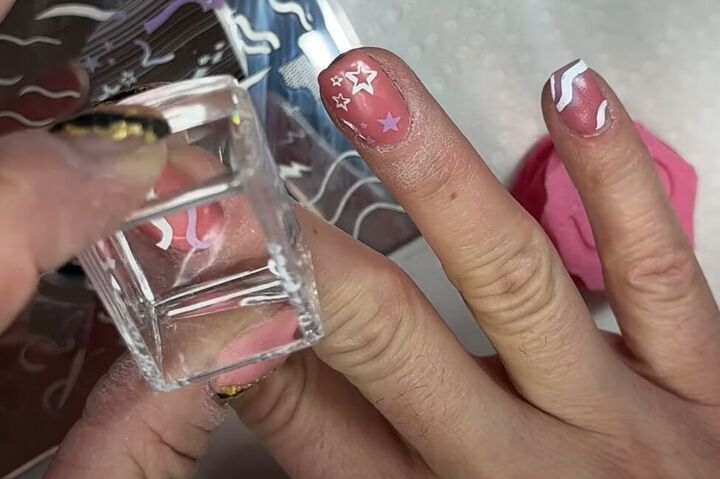
Wipe your nails with isopropyl alcohol to prepare them for stamping.
Apply a layer of sticky base coat over your entire nail.
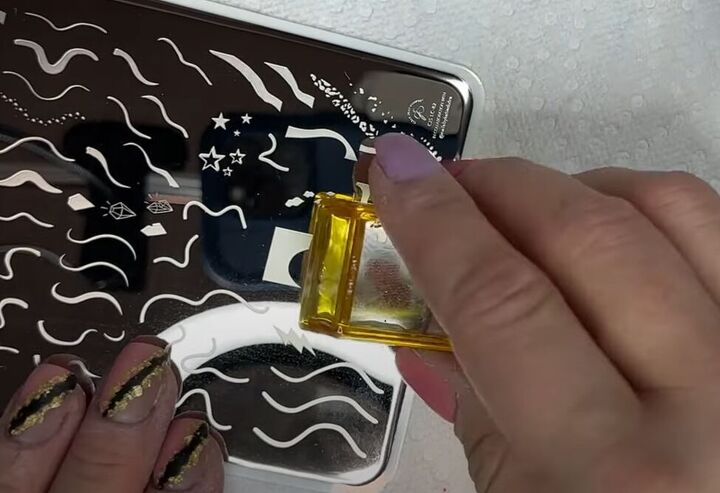
Choose your desired designs from the stamping plate and pick up the images using the stamping polish.
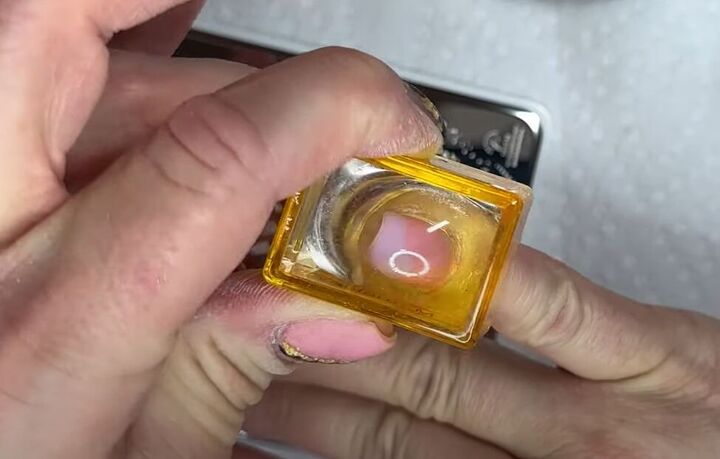
Stamp the designs onto your nails, making sure to work quickly while the polish is still wet.
I’m using white, and a purply-pink for my stamping colors.
6. Touch up and add accents
If you make any mistakes while stamping, don't worry! You can easily wipe off the stamp and try again.
Feel free to add extra accents or correct any imperfections with a clean-up tool.
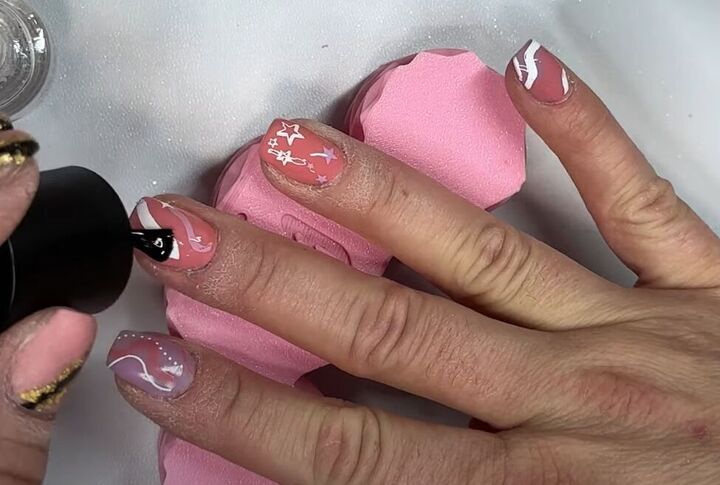
7. Seal with top coat
Once you're satisfied with your stamped designs, let them dry for a few minutes before applying a smudge-free top coat.
This will protect your artwork and give your nails a glossy finish.
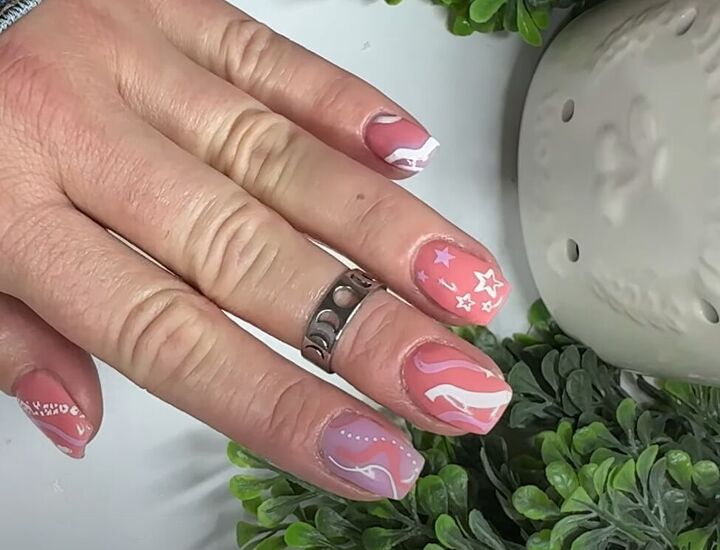
Peach nails
Give your nails a final inspection and make any necessary touch-ups. And there you have it – stunning nail art inspired by the Pantone peach fuzz!
I hope you try this and leave a comment to let me know what stamp designs you used.
Next, learn How to DIY Cute and Easy Mirror Chrome Nails.
The author may collect a small share of sales from the links on this page.


Comments
Join the conversation