Get Ready For Love With This Glamorous Pink Valentine’s Makeup Look

I’m going to show you a pink Valentine’s Day makeup look with some bold and shimmery magenta eyeshadow and matching lipstick. This makeup look is sexy, romantic, and perfect for wearing on your Valentine’s Day date.
Tools and materials:
- Brightening ampoule
- Moisturizing lotion
- Color corrector
- Foundation
- Concealer
- Makeup sponge
- Powder
- Makeup brushes
- Bronzer
- Blush
- Brow pomade
- Eyeshadow
- Liquid eyeliner
- Mascara
- False lashes
- Lipstick
1. Prep your face
I have quite an uneven skin tone which means that my forehead and chin area are pretty dark compared to the rest of my face, so I always like to start with some brightening ampoule.
An ampoule is much more concentrated than a serum.
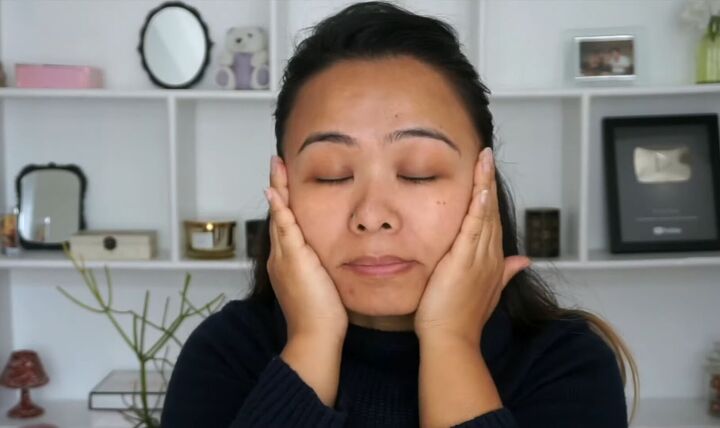
Then, I’m applying some moisturizing lotion. My skin just kind of absorbs the lotion instantly, and it gives my skin so much hydration while being super lightweight.
Next, I like to color correct my chin area because it is very dark compared with the rest of my face. If I apply foundation directly, it can appear pretty ashy.
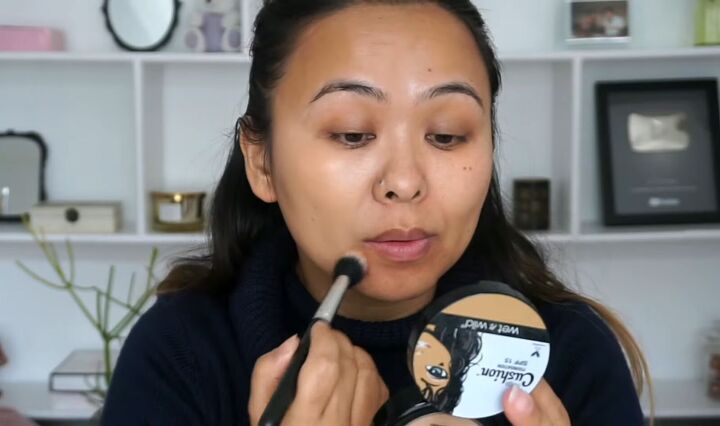
2. Foundation
The next step is to apply foundation to give your skin a natural-looking coverage. While looking natural, the foundation I’m using also gives my skin a really pretty dewy, glowy finish.
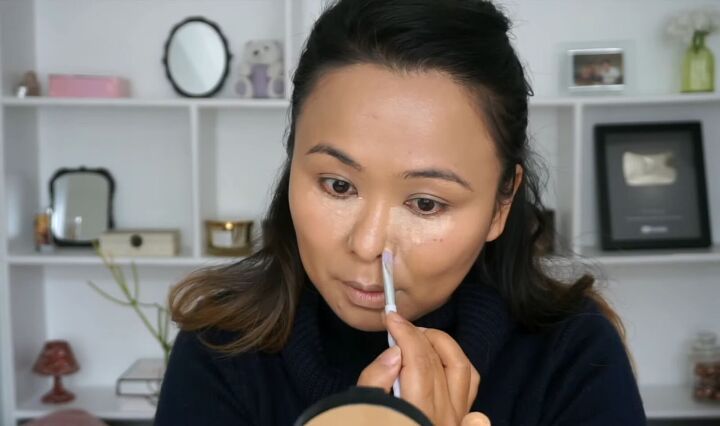
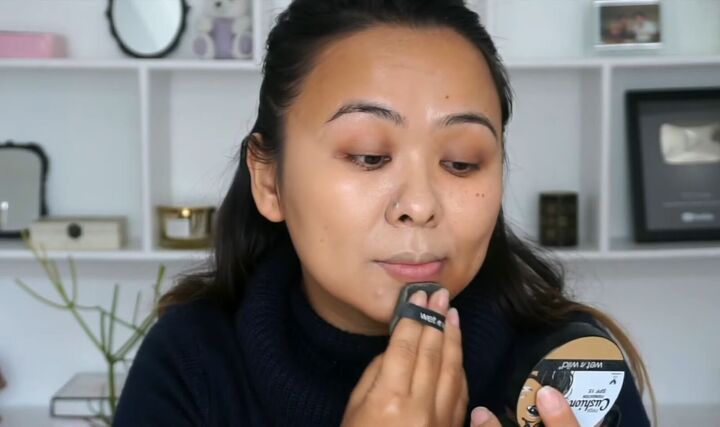
3. Concealer
Next, I’m using concealer to highlight my under-eye area. I’m extending the concealer to the sides of my nose, as doing this makes the nose appear thinner.
I’m also applying the concealer to your eyelids to act as a base for the eyeshadow. Blend that out with a makeup sponge. Once done, highlight the center of your nose and the center of your forehead.
To give my cheeks that contoured effect, I take the concealer from the corners of my lips to the upper portions of my ears, and I just highlight the area underneath that.
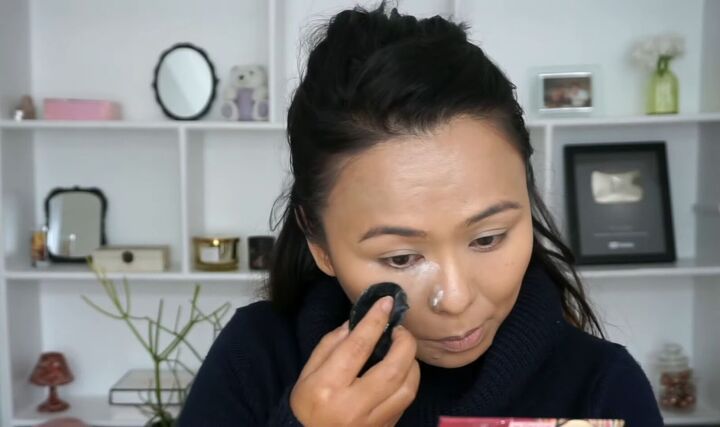
4. Powder
Next, I take my powder. It has a little bit of a pink tone to it which brightens up the skin a bit, and I’m baking my undereye with this.
For the rest of my face, I’m just lightly dusting the powder on with my powder brush.
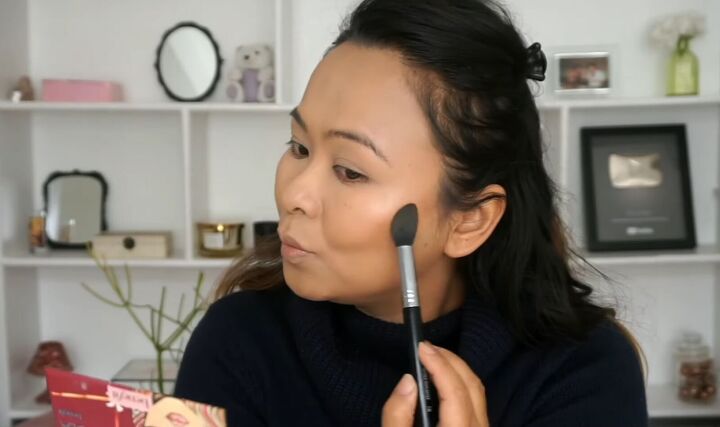
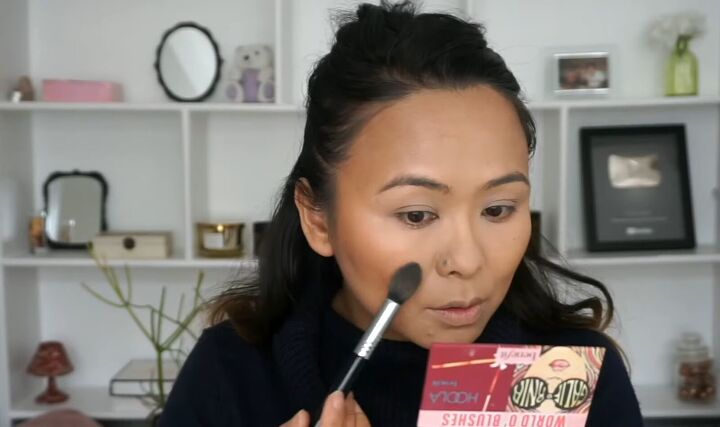
5. Bronzer
To add some dimension to the face, I’m taking a bronzer and applying that to the hollows of my cheeks, the sides of my forehead, and on my jawline. I’m also using the bronzer to contour the sides of my nose.
6. Blush
Then I’m just going to lightly dust some blush over my cheeks.
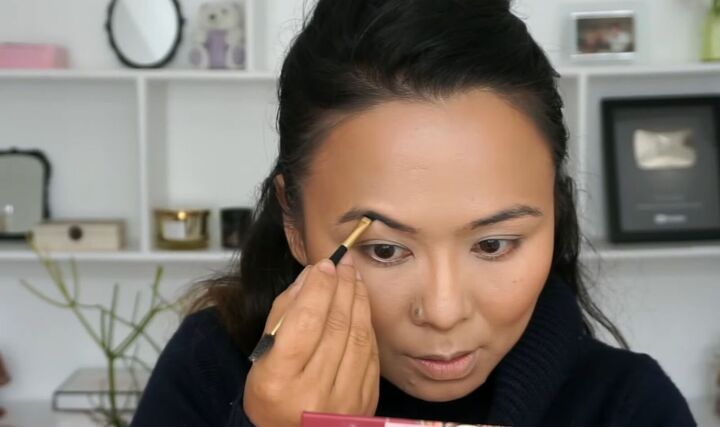
7. Brows
Next, I’m filling in any sparse areas of my brows with my brow pomade and giving them a neat shape.
8. Eyeshadow
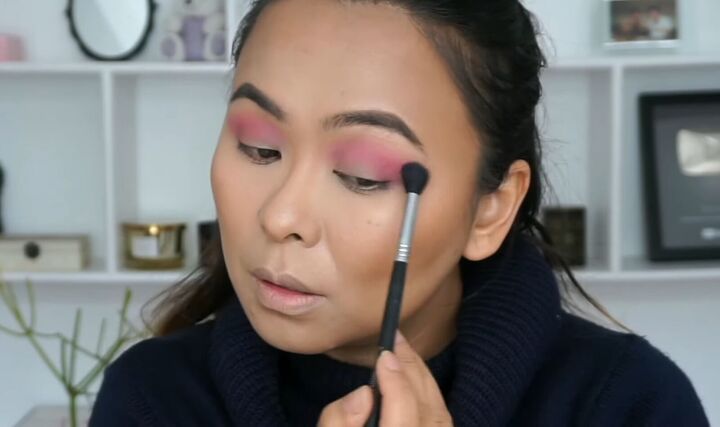
With a big fluffy blending brush, I’m taking some light pink eyeshadow and just blending it out into my crease area, and I’m also extending it outwards.
I’m building up the color to intensify this pink shade, but I’m also softening it out by blending it really well.

Next, taking a mauve shade, I’m going to darken out the crease a bit.
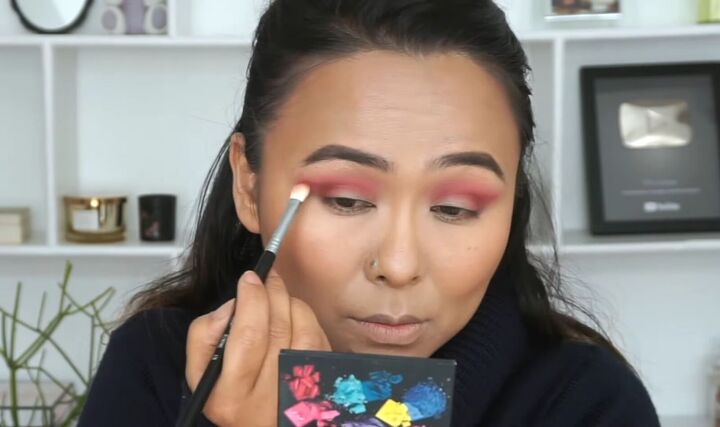
To intensify the look, I’m taking a burgundy color, and with a smaller flat brush, I am patting that onto my crease area.
To give that slight edge to this look, I went ahead and created a V-shape at the outer corners to give my eyeshadow that cat-eye sort of a shape.
Then, taking the same color, I am also extending that to the outer corners of my lower lashline.
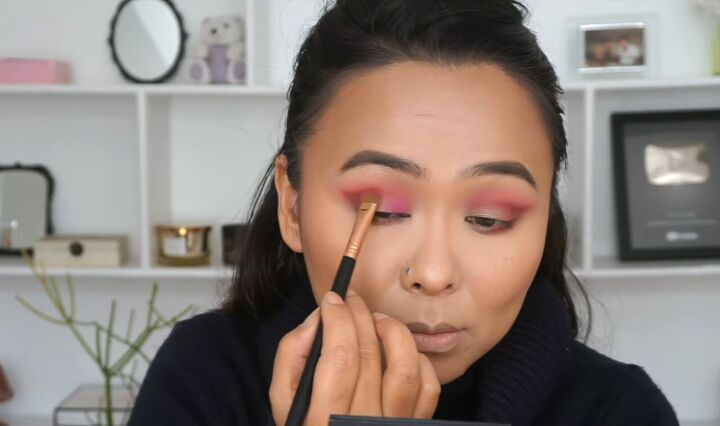
To intensify shimmer colors, I like to wet my brush first. Taking a beautiful shimmery magenta, I am applying that to my mobile lids.
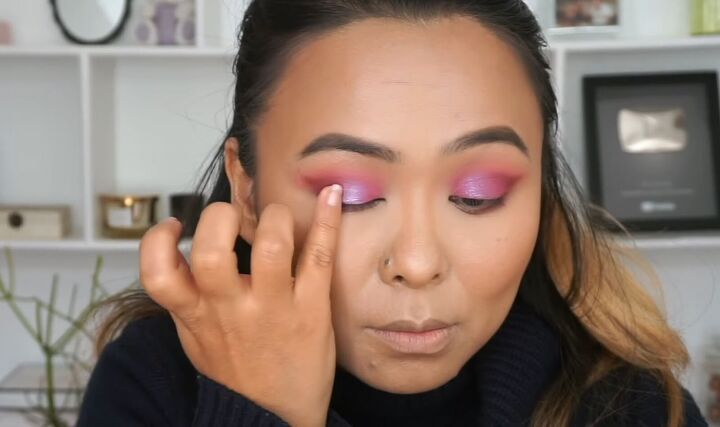
Next going in with a light pink color, I am applying that to the center of my lids to add a bit of a highlight. To really make that highlight pop, I am taking a gorgeous navy blue shade and applying that over the top.
I’m using the same color to highlight the inner corners of my eyes as well.

9. Eyeliner
Next, taking a gel eyeliner, I’m going to create a medium-sized wing, and I’m extending that all the way to the inner corners of my eyes to really define them.

10. Mascara
For mascara, I started off by curling my lashes, and then I’m applying mascara on my upper and lower lashes to really open up my eyes. Then I’m adding some false lashes.
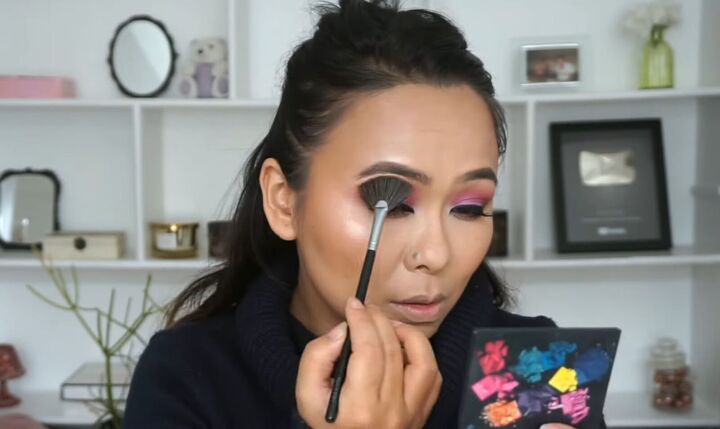
11. Highlighter
I apply a highlighter to the high points of my cheeks as well as my brow bone. I’m also highlighting the center of my nose and my cupid’s bow.
12. Lipstick
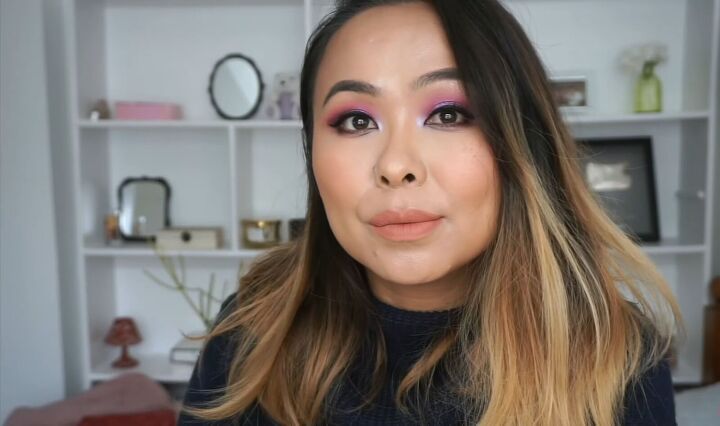
For lips, I have two options. The first is a nude lip option that instantly makes this look a lot more wearable for the daytime.
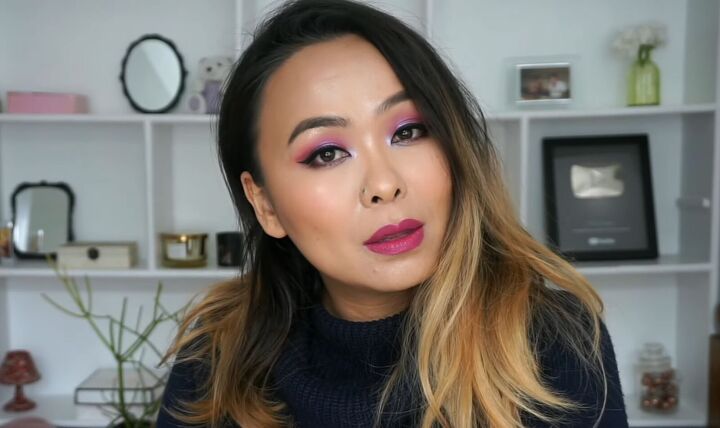
Or, to really glam up this look, you can go for a beautiful bright pink shade with a purple undertone that perfectly matches the eye makeup.
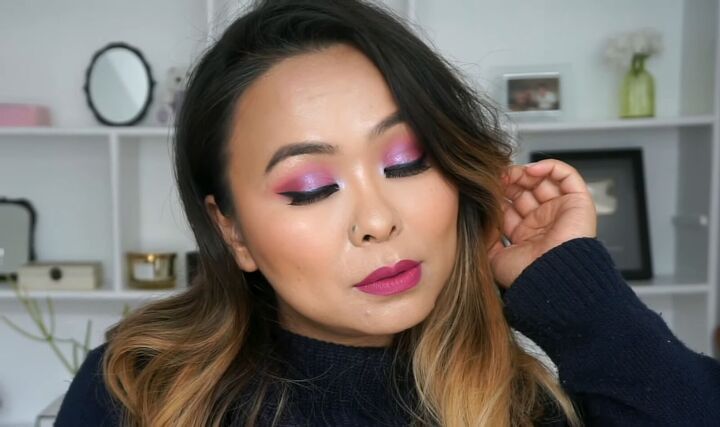
Pink Valentine’s makeup
This is the finished Valentine’s Day makeup look. The pink shades are sexy and romantic, which will make you look and feel gorgeous.
Let me know what you think of this tutorial and the final result in the comments below.
Products used
- Limese Brightening Ampoule
- Neutriderm Vit E Moisture Cream
- Kryolan Color Corrector Wheel
- Wet n Wild Cushion Foundation - Natural Beige
- Maybelline Age Rewind Concealer - Light
- Mumuso Loose setting powder - 02
- Benefit Hoola Bronzer
- Benefit Dandelion Blush
- Nyx Tame & Frame brow gel - Brunette
- Huda Beauty Rose Gold palette
- Nyx Love You So Mochi palette - Electric Pastels
- Nyx Gel Liner - jet black
- Mumuso Mascara
- Nyx Wicked Lashes - Tease
- Laura Geller Gelato Swirl highlighter - Peach Glow
- Maybelline Sensational Liquid Matte lipstick - Truly MLBB
- Sugar Cosmetics Secret Suede lipstick - Silk Sangria
The author may collect a small share of sales from the links on this page.


Comments
Join the conversation