3 Cute Protective Hairstyles for Curly Hair That Are Super Easy to Do

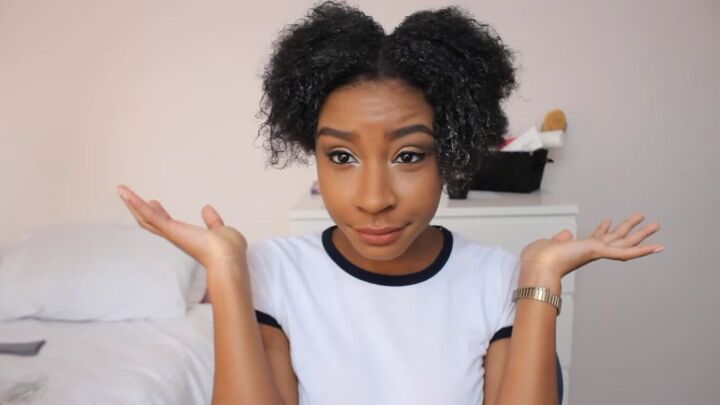
If your hair is in need of a bit of love, I’m going to show you three protective styles for curly hair that are easy to achieve and will keep your natural hair protected in colder weather.
I'm mostly using products from treasure tress, but you can use products you have at home or work best for your curly hair type.
Tools and materials:
- Leave-in conditioner
- Castor oil
- Shea butter cream
- Styling gel
- Hard bristle brush
- Springy hairband
- Toothbrush
- Silk scarf
- Comb
Style 1 - Two buns
1. Prepare your hair
On freshly washed hair, I'm going to use my leave-in conditioner, castor oil, and shea butter cream.
2. Part hair and use gel
With my hair still slightly wet, I'm parting my hair into two sections, and I'm just going to brush it up. Then I'm going to use my styling gel and just put it where my undercut was, which is slightly shorter than the rest of my hair, just to get it to hold when I put it in a ponytail.
3. Brush and tie hair
I'm going to use a hard bristle brush to create that swoopy shape to lay my edges down, and then I'm going to put it in a ponytail with my springy hairband.
4. Apply gel and wrap in a silk scarf.
Now to lay my edges, I'm going to use the styling gel and a toothbrush just to get it really neat, and then I'm going to wrap a silk scarf over my hair to leave the gel to set for a little while.
5. Apply castor oil and tuck in ends.
Now my hair is fully made and set. As much as I'd love to leave my hair like this, this is about protective styling. So, I'm going to apply castor oil to my ends, then I'm going to make a bun just to keep my ends away to avoid the harsh winter weather.
Using the end of the comb, I'm going to swoop the ends under just to get a nice bun and then use a hairband to cover it over and then repeat the same thing on the other side, and I'm done.
Style 2 - Low-sweep bun
1. Part hair and use gel.
Now, for the low-sweep bun, I'm just going to part my hair on the corner. Using styling gel I'm going to try and get it as flat as possible to get it into a bun.
2. Brush and tie hair
As we did before, I'm just going to lay it down with a brush and swoop it round at the front into my desired shape.
3. Wrap in a silk scarf.
The key to keeping your hair laid is a silk scarf to set the gel.
4. Apply castor oil and tuck in ends.
Again this is all about protective styling, so I'm going to get my castor oil, apply it to my ends to make another bun to keep my ends away.
Here's the second protective hairstyle - super easy!
Style 3 - Up-do
1. Tie hair
For the final style, I'm just going to bring all of my hair together and then swoop everything up. Because I already have so much gel in my hair, I don't need to use it again, but if you are doing this style from scratch, then you should use gel. Band your hair up.
2. Apply castor oil
Apply some castor oil to your ends, and then wrap it into a bun to keep your ends out of the cold weather. Then secure it with another headband.
3. Apply gel
Then I'm going to use some more styling gel to set my edges and I’ll brush it down with a toothbrush.
Protective hairstyles for curly hair
Those are the three protective hairstyles for curly hair. They are all super easy to do and they’ll keep your hair nourished and protected, especially in colder weather for fall and winter.
Enjoyed the project?
Suggested materials:
- Leave-in conditioner
- Castor oil
- Shea butter cream
- Styling gel
- Hard bristle brush
- Springy hairband
- Toothbrush
- Silk scarf
- Comb
The author may collect a small share of sales from the links on this page.










Comments
Join the conversation