How to DIY Beautiful YSL-inspired Crystal Boots

Today, I'll be showing you how to make these YSL-inspired crystal boots. The actual YSL boots are extremely expensive, so this was a great way to get the same look at an affordable price.
The amount of crystal panel you need will depend on the length of your boots. If you use shorter boots, you will probably just need one panel.
So, opting for a shorter boot is a good way to save even more money. For over the knee boots, you'll probably need at least two crystal panels.
Let's get started with this fun crystal boots DIY.
Tools and materials:
- 2 crystal panels
- Measuring tape
- Scissors (metal friendly)
- 2 E6000 glue
- Boots
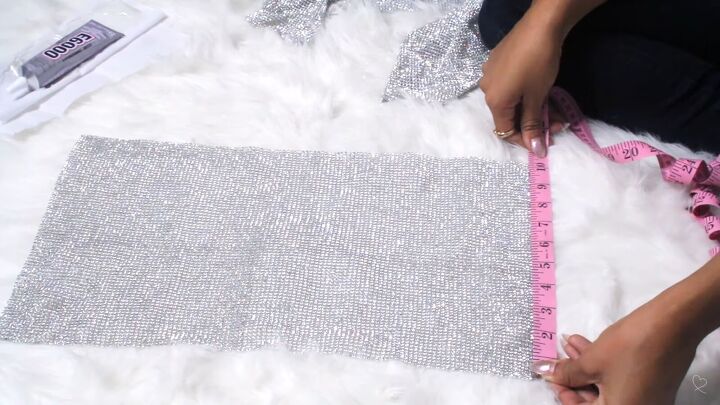
1. Measure crystal panel
You’re going to need about 18 inches of height and ten inches of width per side.

2. Cut
Once you figure out how much of the crystal panel you'll need per side, cut four pieces in that size.
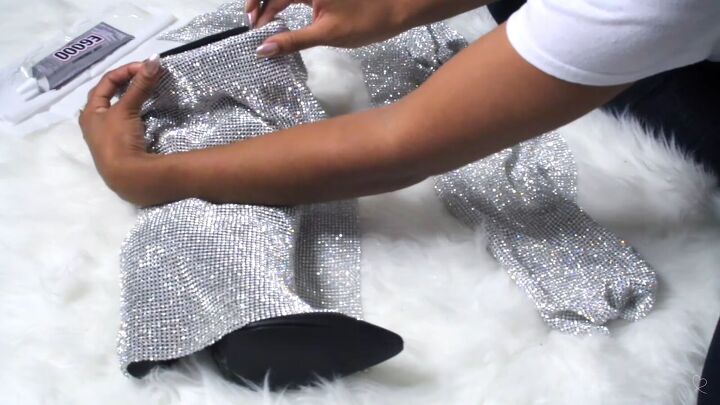
3. Leave half an inch extra panel at the top
The excess material at the top of the boot can be used to roll over to the inside of the boot. That way it appears seamless at the top edge.
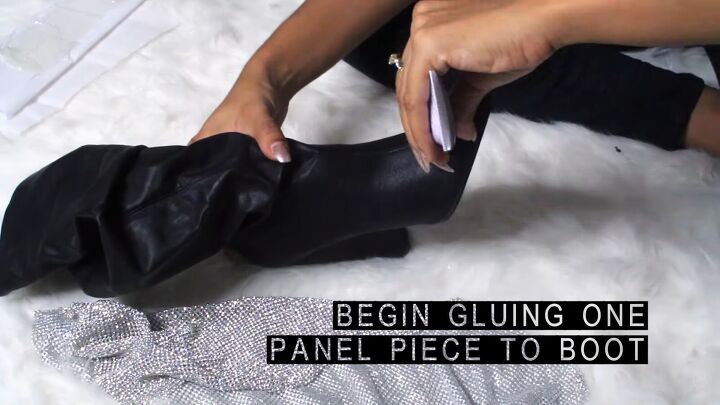
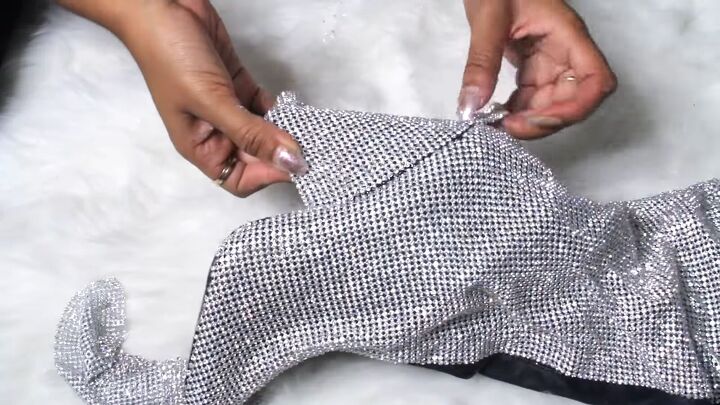
4. Start gluing the first panel
Now for the fun part!
Start gluing your crystal panel to your boot starting at the toe of the shoe.
Hold the panel in place as you work your way up. This is the most time-consuming part of this project. The glue takes a while to dry, so you're going to need to keep applying pressure.
This took me close to 8 hours to complete. I would recommend splitting it up and doing it in four days. Alternatively, you can do a boot a day rather than doing them both at the same time.
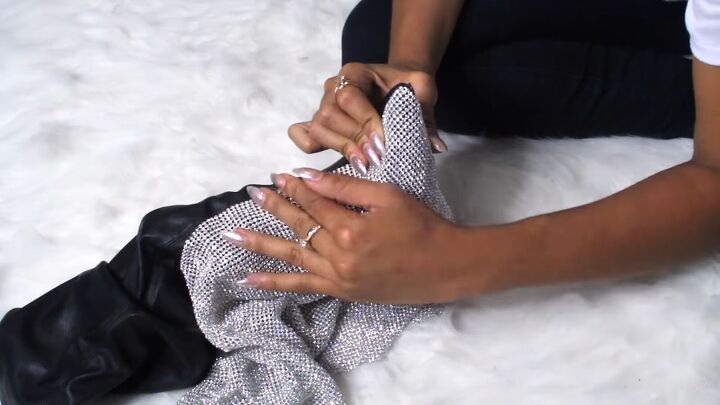
5. Apply pressure
Continue to glue the panel piece around the boot and apply pressure to make sure that the pieces don't come off.
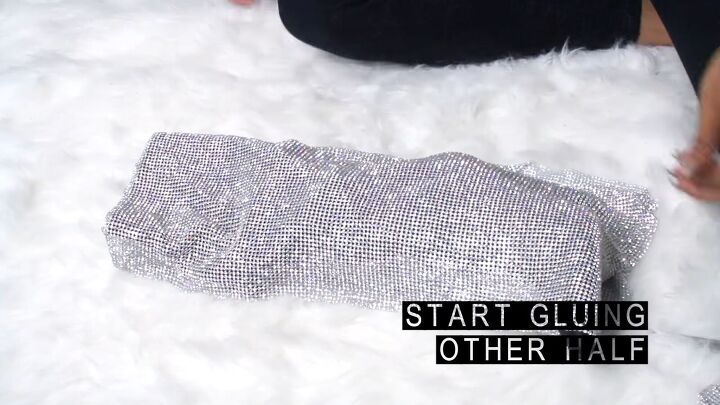
6. Line up the second piece and continue gluing
Once you're done gluing the first half of your boot, you can start gluing the second piece.
Again, line the start at the toe, making sure the panels match up nice and seamlessly.
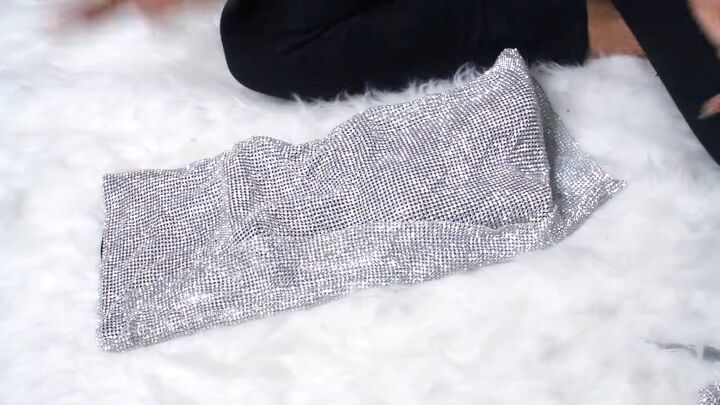
7. Glue panel to the back of the boot
Once you're done gluing the center front of the boot, you can continue to the back.
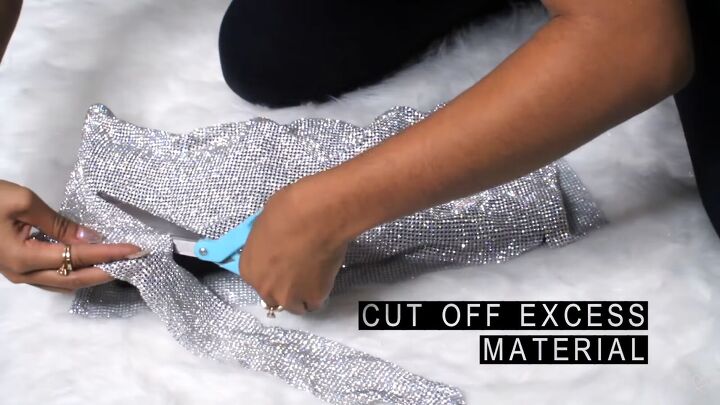
8. Cut off excess material
Lay the boot flat and cut off all the excess crystal.
Make sure the scissors that you use are metal friendly.
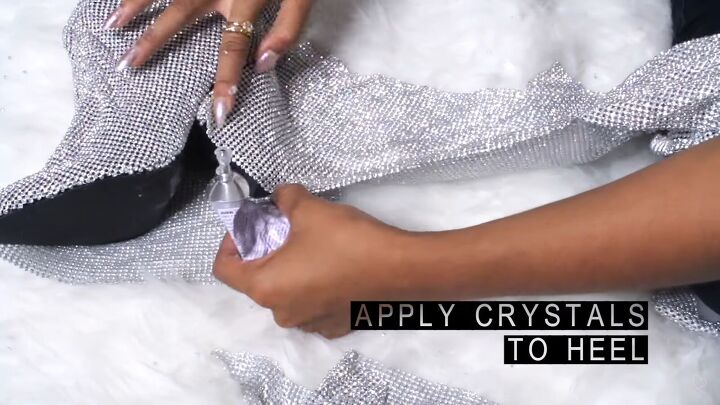
9. Cover the heel
Now you're going to take a small piece of the panel and use it for your heel.
I covered the entire heel with crystals. This step is totally optional, but that's how they are on the original boot.
10. Cut off excess from the heel
Once you're done with your heel, cut off the excess crystal, and leave them dry.

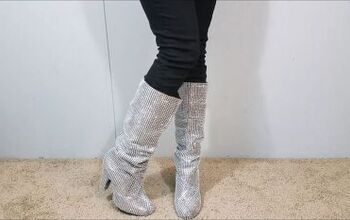
Completed DIY crystal boots
It's pretty insane how this started off as a full leather boot, and now it's completely covered.
They look so high-end and glamorous. These rhinestone boots will elevate even the simplest outfits. Comment below and let me know what you think.
The author may collect a small share of sales from the links on this page.


Comments
Join the conversation
Those boots are beautiful!!
gorgeous!!