DIY SHOES W/ NO SEW TASSELS & EMBELLISHMENTS
This post may contain affiliate links for products I love and recommend.
Making your own DIY shoes doesn’t have to be an intimidating process left only for shoe cobblers and professionals. With a few little tweaks and some small tricks, you can transform your old shoes into something you are really excited to slip on in the morning with this quick and easy shoe makeover.
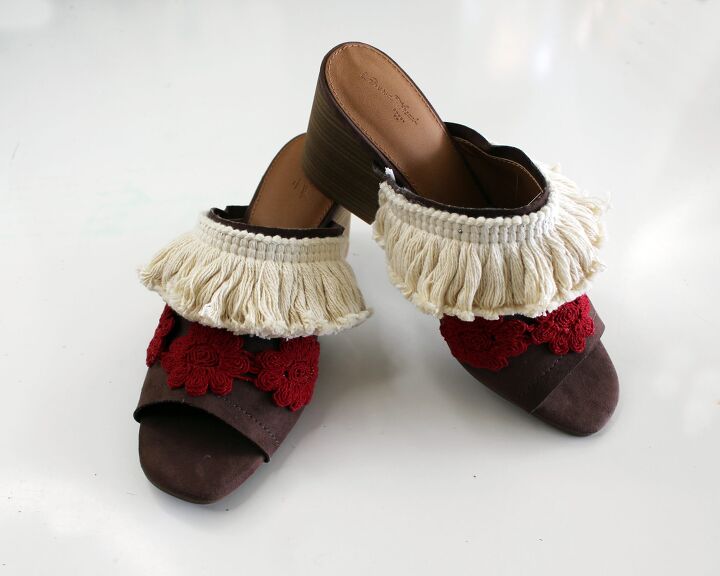
Personally, I love a boho sandal. I love how your shoes can really elevate your entire outfit and these DIY shoes are certainly no exception. While they were just fine before, now they have a whole new boho-chic vibe that is perfect for my next vacation.
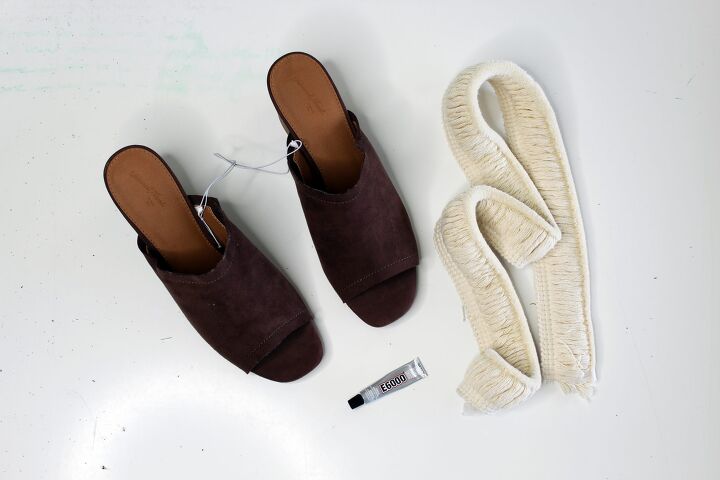
DIY Shoes Supplies
My supply lists are shoppable for your convenince! Just click any link below to get everything you’ll need for this project from Amazon.com without adding extra errands to your day.
- A Pair of Old Shoes
- E6000 Glue
- Tassel Trimming
- Dressmaker Pins
DIY Shoes Video Tutorial
How To Makeover Your Shoes w/ Embellishments

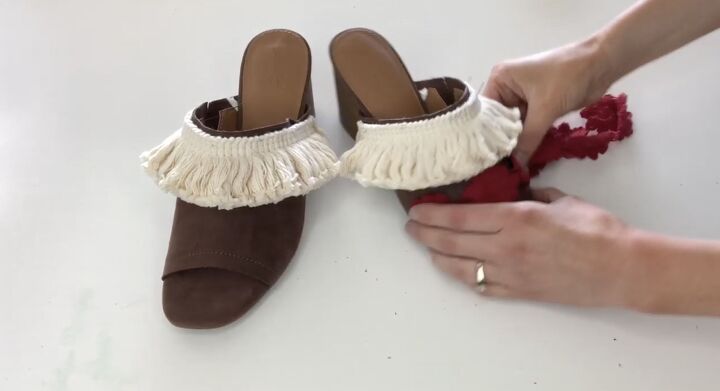
Start out with some basic, old shoes. I chose these brown wedge heels that I found on sale. I loved how comfortable they were but they lacked personality. Nothing a quick DIY can’t fix!
Take out your tassel trimming and lay it across the top of your shoes. Your trimming will come with a thick, clear thread holding the bottom edge in place. This makes it easier to work with while you are assembling your project and can be removed once your glue is dried. (Check out the video tutorial below to Use scissors to cut off the amount you need. I like to add an extra 1/2″ to my initial measurement if I’m eye-balling it. You can always trim off more but it’s difficult to add a small amount once you’ve made your initial cut.
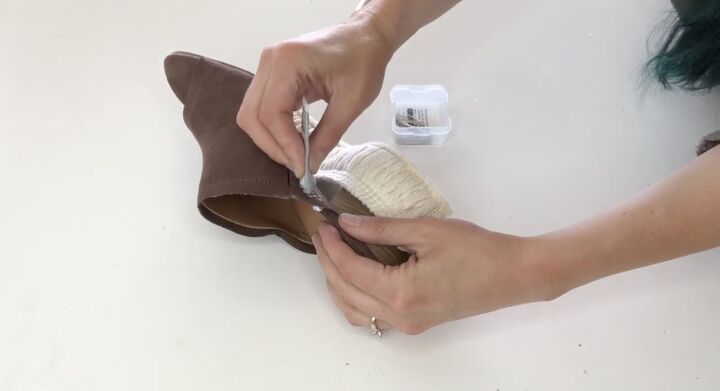
Apply a thin strip of E6000 Glue to the area you’d like to attach your trimming. Be sure to only apply glue to the top edge of your trimming and open the windows while you’re working with this adhesive.

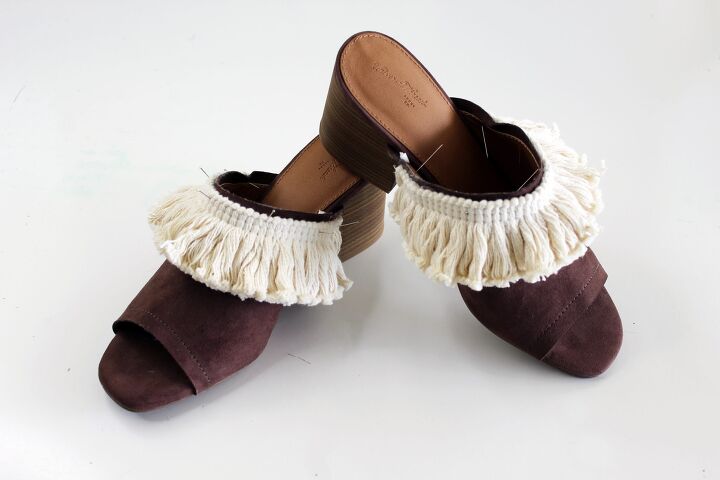
Secure your trimming in place by pressing your sewing pins into the top braided edge of your trimming. Let your pins stay in place until the glue dries.
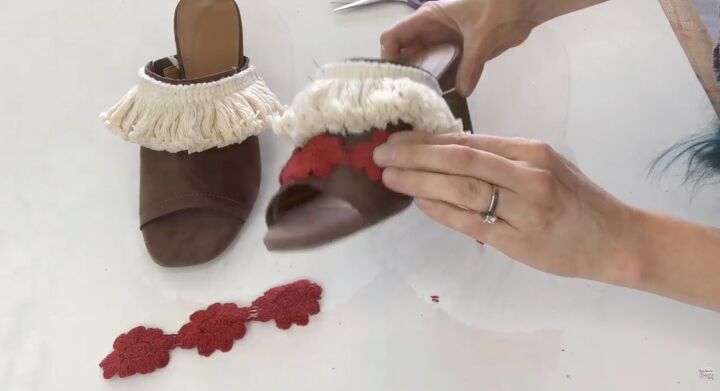
If you’d like to add additional trimming (like in the video below) use the same process but skip step 4 if the trimmings stay in place throughout the drying process.


Allow your glue to fully dry for 24 hours before removing the sewing pins and wearing. To clean your new DIY shoes, wipe with a damp towel and spot clean.
Other Projects You May Like
The author may collect a small share of sales from the links on this page.


Comments
Join the conversation