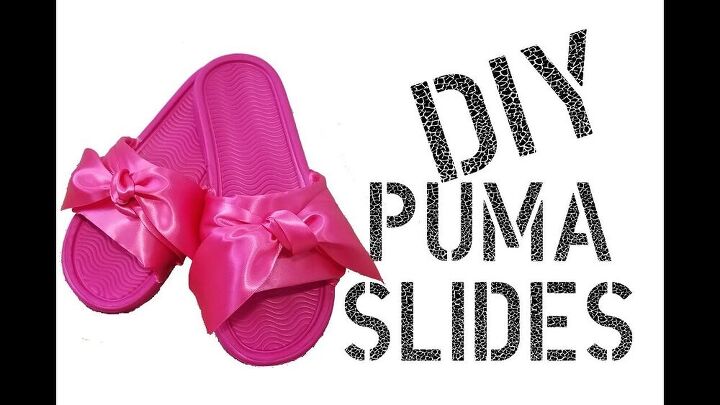
Rihanna Inspired Satin Bow Slides

If you’re like me, you love buying new shoes, but you also love saving money. This DIY is a win-win because I’m going to show you how to make a gorgeous pair of satin bow slides inspired by Rihanna’s Fenty collection for Puma. Making your own shoes is so much cheaper than buying them, yet the end result looks super professional.
Tools and materials:
- Slides
- Wide satin ribbon
- Scissors
- Lighter
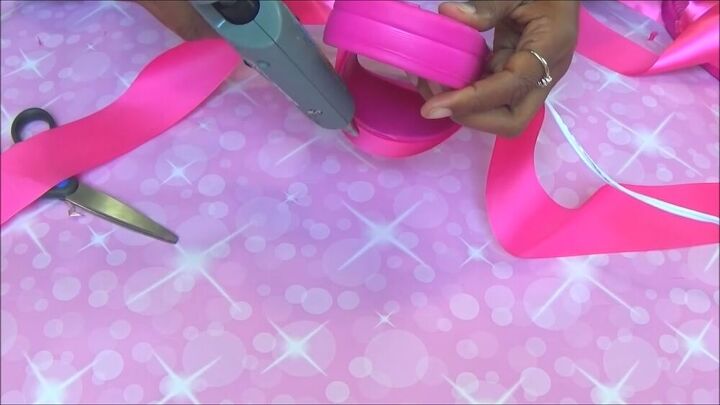
- Hot glue gun
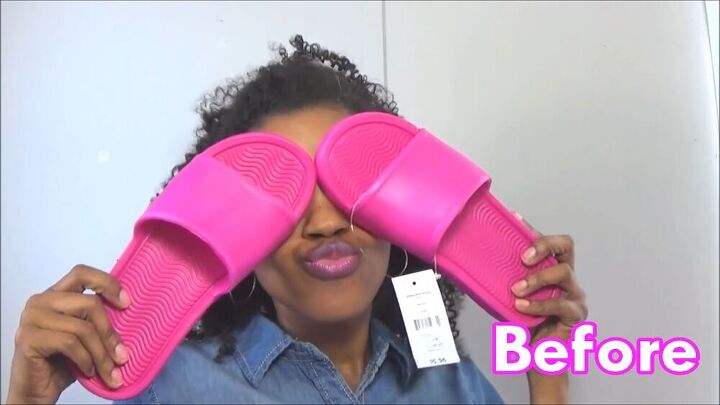
I purchased these slides at my local Walmart and only paid $6. Follow along as we transform them!

Cut the ribbon
First up, you're going to cut the ribbon to go across the front of the shoe. What you want to do is measure your ribbon out to go across, plus have some extra on the sides, about an inch, so that you can fold it and you won't see the end seam line. You're going to need to cut four strips like this. After that, you're going to take the ribbon and cut double the length of the side of the shoe. In total, you'll have two short pieces and two long pieces for each shoe.
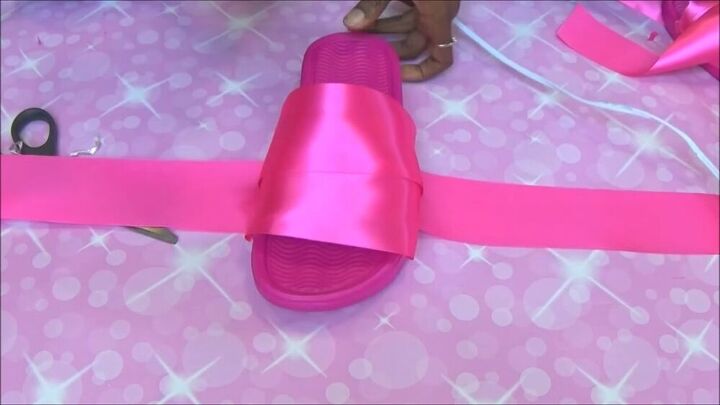
Glue ribbon to shoe
You're going to want to overlap your two short pieces so that the width is the width of the strap on the shoe. Glue the pieces together, and then attach your long piece. You want to attach the middle of your long piece to have an equal amount of ribbon left on each side. Once the glue has dried and attached all three pieces, you're going to fold the end where they're all attached and press hard to get a nice crease. Apply a generous amount of glue right across the side of your shoe and attach the folded ribbon. Next, you're going to repeat the same steps on the other side. It's going to be a little more complicated because it is already partially attached. But you're going to add a little bit of glue to the overlapping shorter pieces and then add your longer piece ribbon on.
Fit to the shape of the show
Once all the pieces are attached, now you need to fold in your top and bottom pieces to line up with the shape of the top of the shoe. Glue them in place.
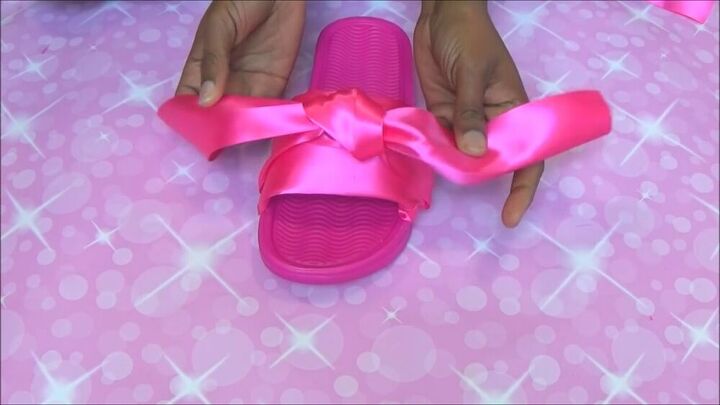
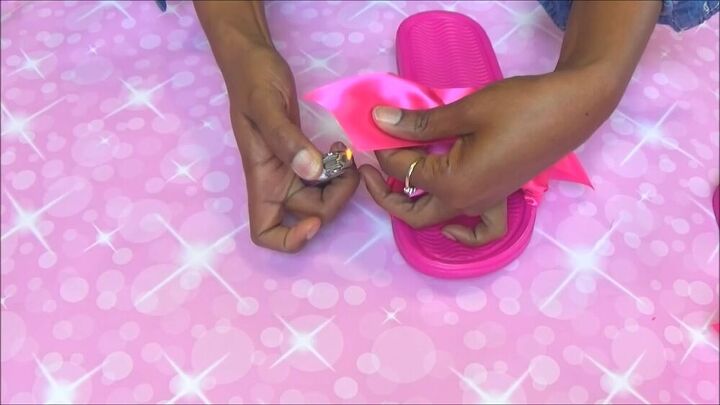
Tie the bow
Now it's time to tie the bow. This is really simple, just like tying a shoe, but you want to make sure that you tie it to cover the two pieces of ribbon that are overlapping. Once you've tied the initial knot, you're going to put a dab of glue underneath, which will keep your bow in place. Now it's time to make the top knot; the important thing is to make sure that the satin ribbon shows the shiny side at all times. Add a dab of glue underneath this knot to hold it in place.
Cut and seal the ends
Once you have your knot in place, you just have to cut your ribbon on the sides so that it's the desired length that you want. Then we're going to heat seal the ends, which will keep them from fraying.
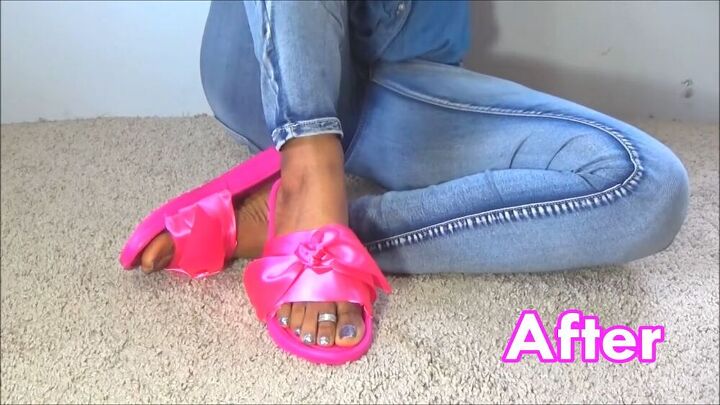
And we’re done! What do you think ladies? I love the way that they look. The satin bow is super cute and chic, and I love the bright pink color - it’s perfect for the summer. I’m so happy that I have a brand new pair of shoes that look stunning and they didn’t cost very much to make!
The author may collect a small share of sales from the links on this page.


Comments
Join the conversation
Great project! Your tutorial was very easy to follow. Now, off to Walmart to get a pair of slides and some ribbon 😀