How to Paint Patent Leather Shoes and Sandals – Tips For Beginners
Have you ever thought about painting your shoes? It is pretty simple and fun. If you have an old pair of shoes that need a little love, painting is a great way to revive them. Over the years, I have painted quite a few shoes, and here are a few things I have learned.
First of all, as I have mentioned, it is fun, and it is also pretty easy. You don’t need many supplies, and you don’t have to take it too seriously. What do I mean by that? Well, if you are painting a 300 dollar pair of cowboy boots or Nike tennis shoes, you might want to be more serious and make sure that you have a solid plan and the proper paint, and a whole lot more artistic talent than I possess.

Advertising Disclosure: Upcycle Design Lab may be compensated in exchange for featured placement of certain sponsored products and services or your clicking on links posted on this website.
But the great news is that of course you don’t have to paint expensive shoes and I never do. For example, in today’s video, I am painting some thrift store shoes I bought for 3.99. I never intend to ruin shoes that I am painting, but I do like the safety net of not worrying that I wasted a lot of money if I do.
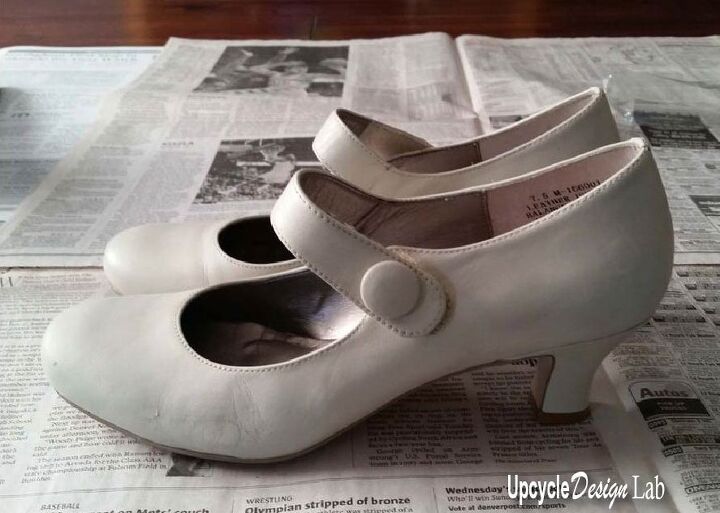
Before I share my tips with you, I thought I would show you a few of the shoes I have painted over the years. Please excuse the picture quality. Some are several years back.
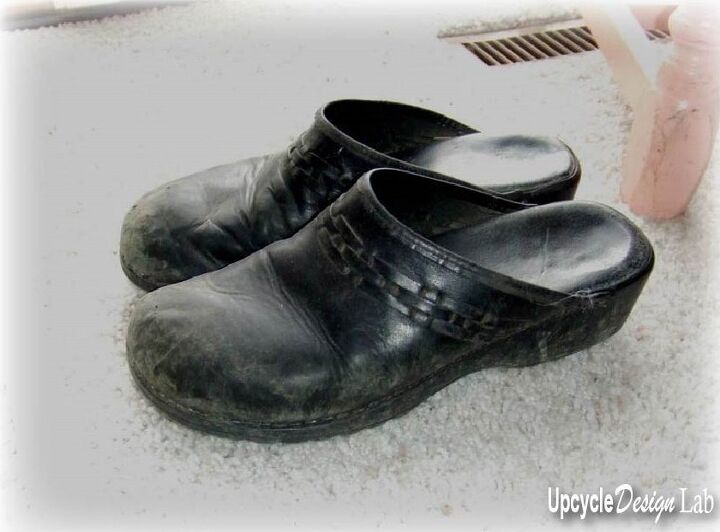
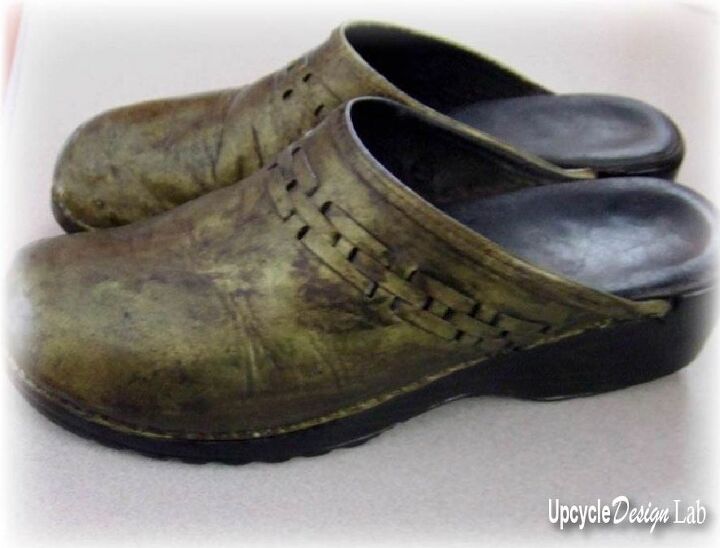
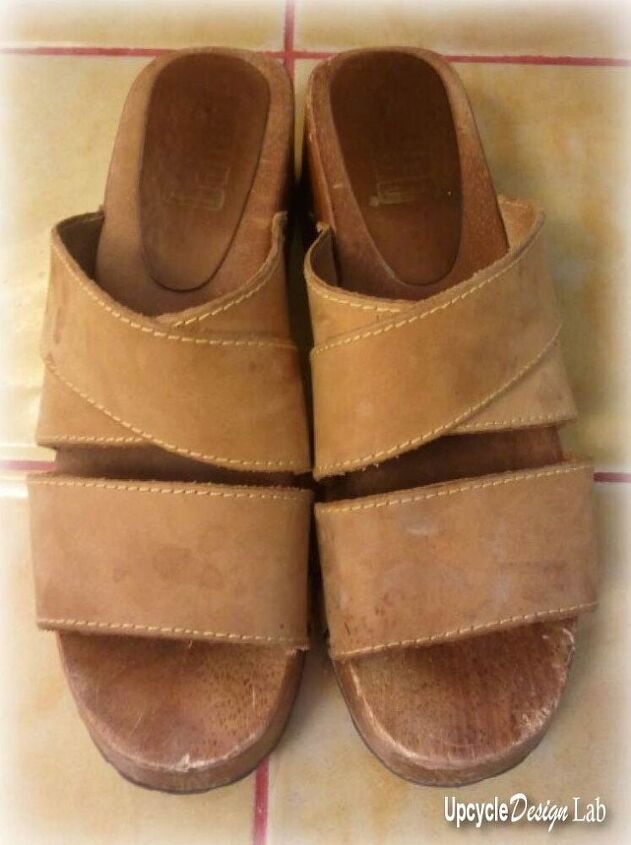
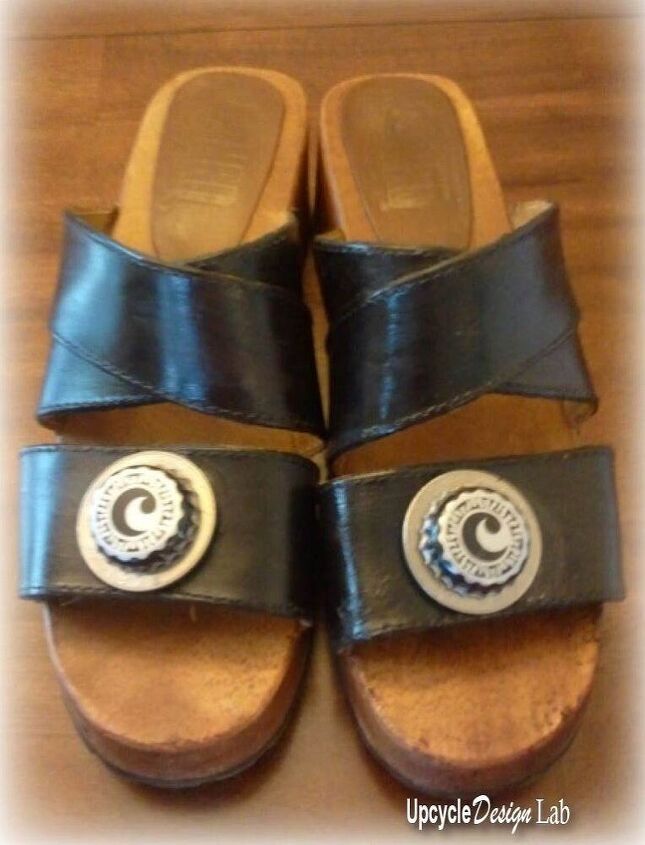
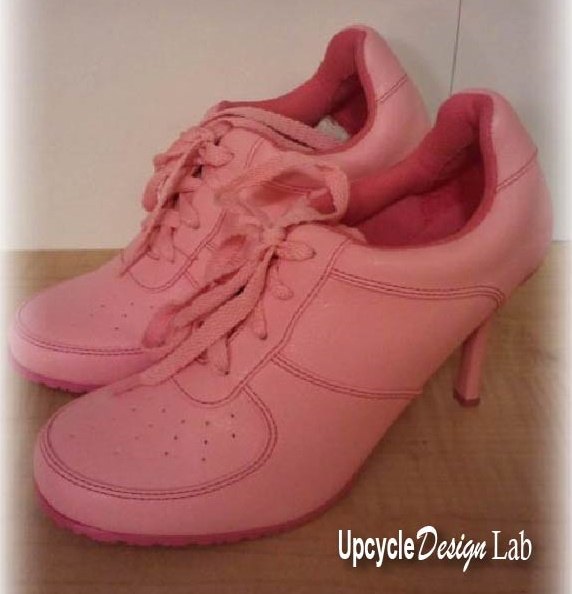
This was my first pair of painted shoes. Most clogs are a good choice for painting since they usually have a smooth surface and not many decorations. As you can see, this paint job was all about a color change which is the simplest place to start.
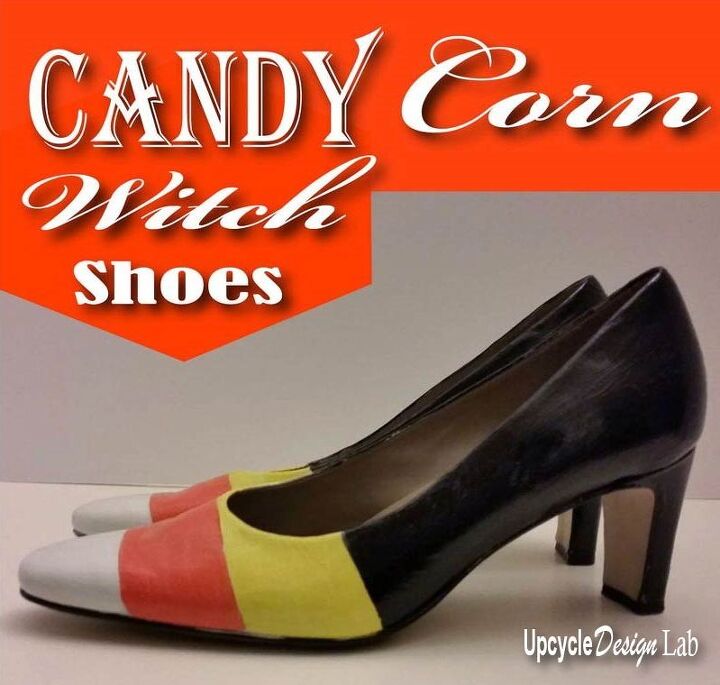
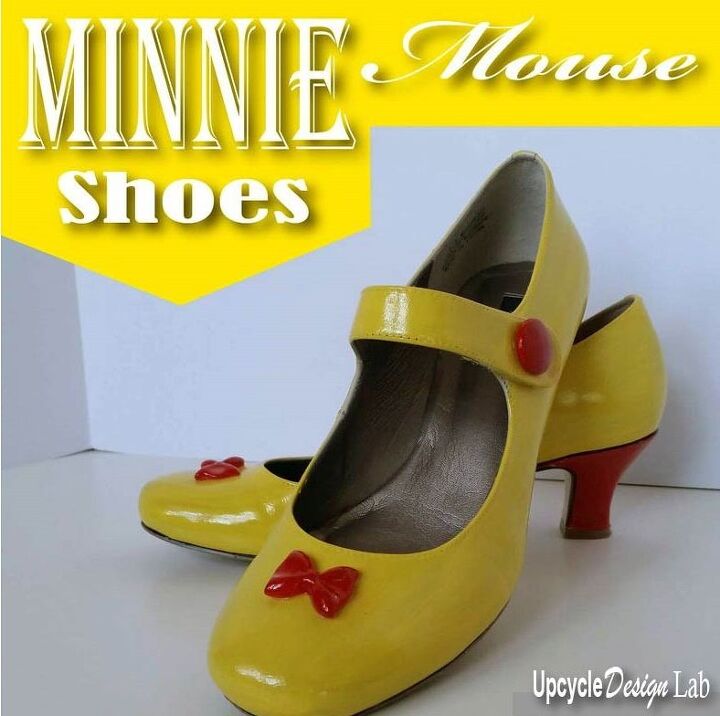
But you can do so much more than change the color. For example, one of my favorite reasons for painting shoes is for costume accessories. Like these candy corn painted shoes or these Minnie Mouse costume shoes.
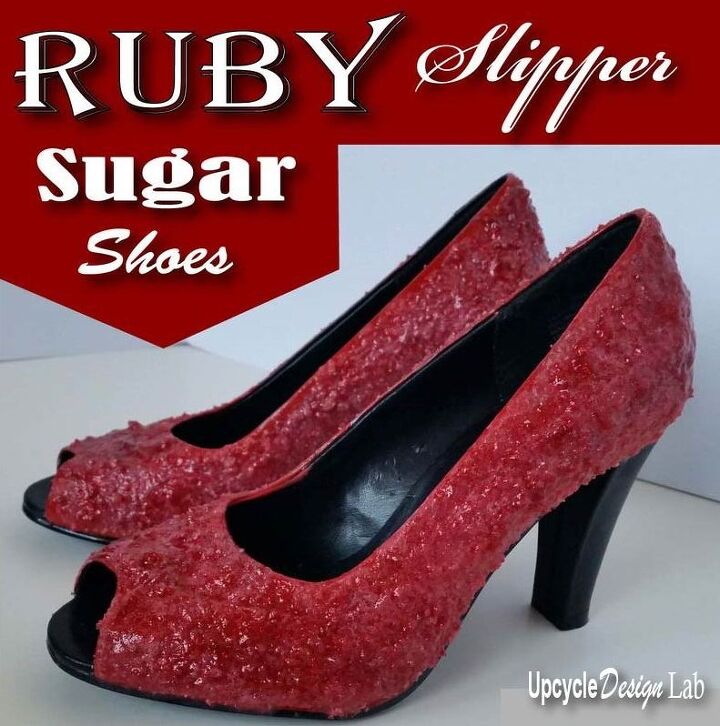
And then there were the less successful experiments of ruby slippers and Cinderella shoes.

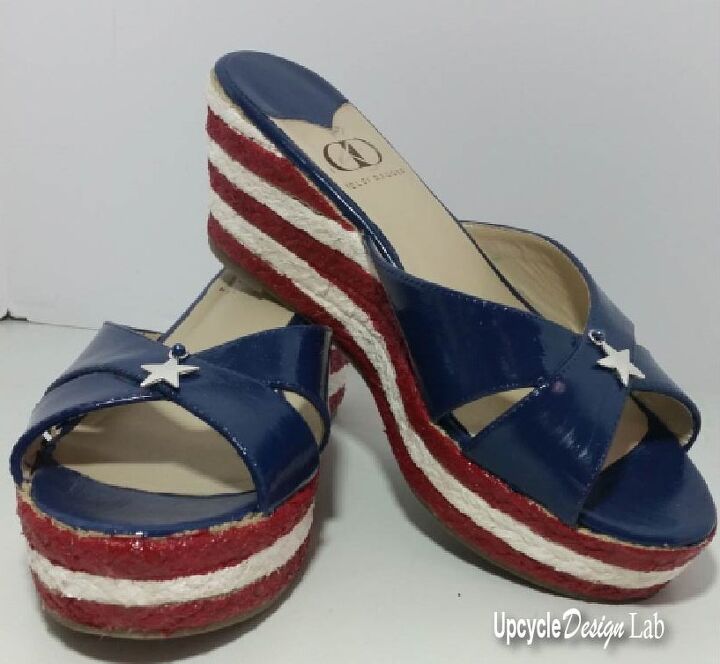
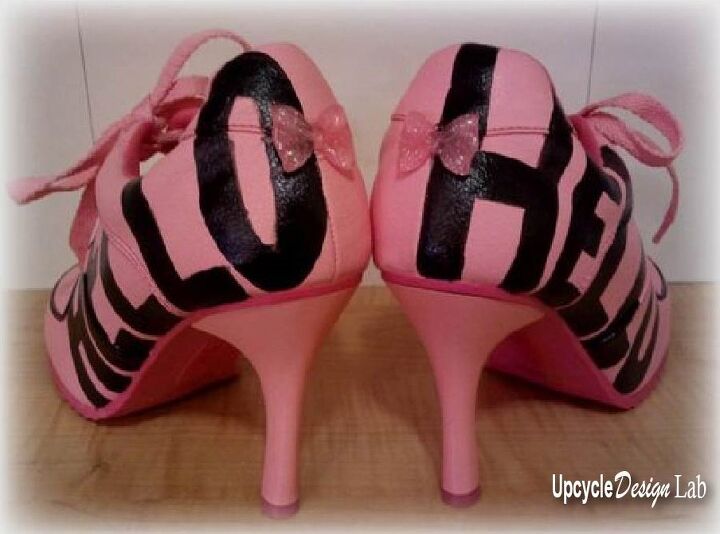
I have also painted sandals with a practical finish and a holiday influence.
I have even painted some suede boots.
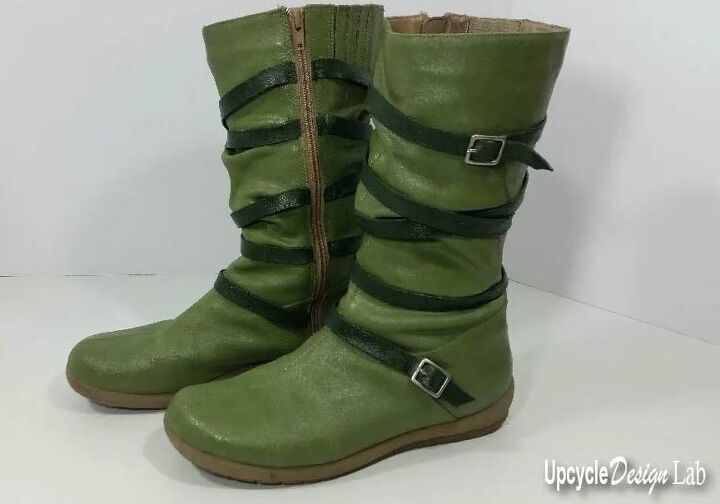
I know they look a little Jolly-Green-Giantish, but they were actually for St Patrick’s Day.
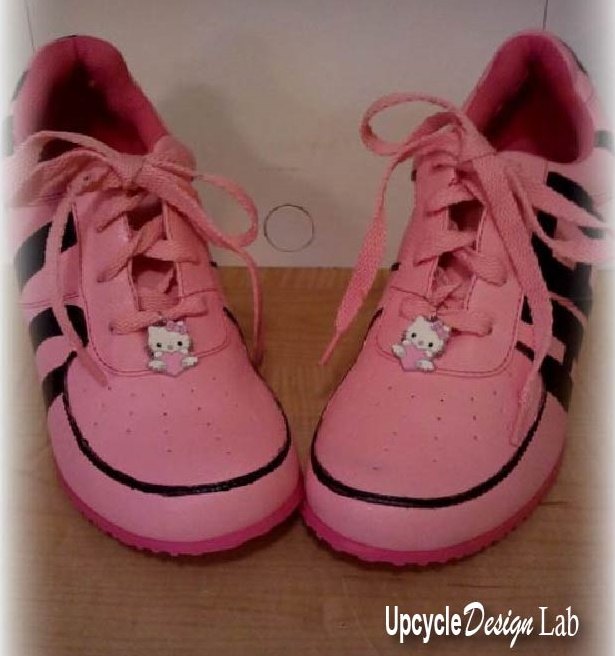
And then, for some reason, there was a brief fascination with Hello Kitty. 🙂

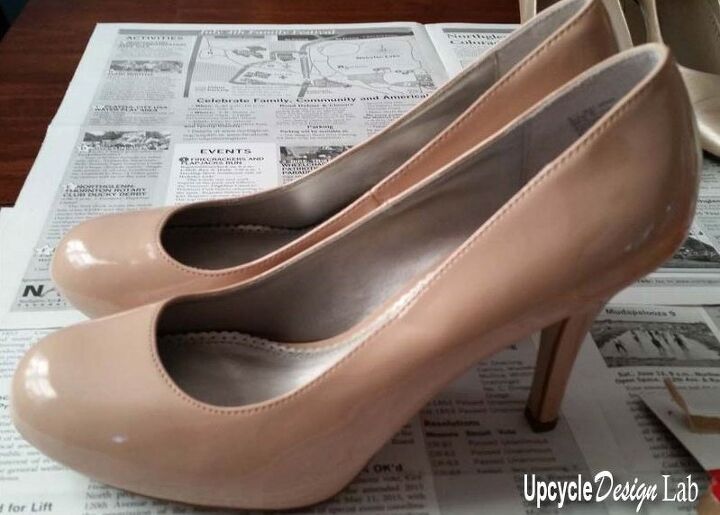
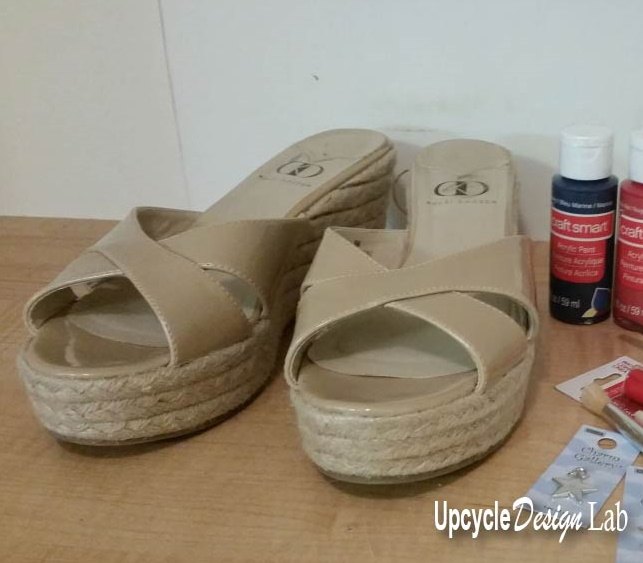
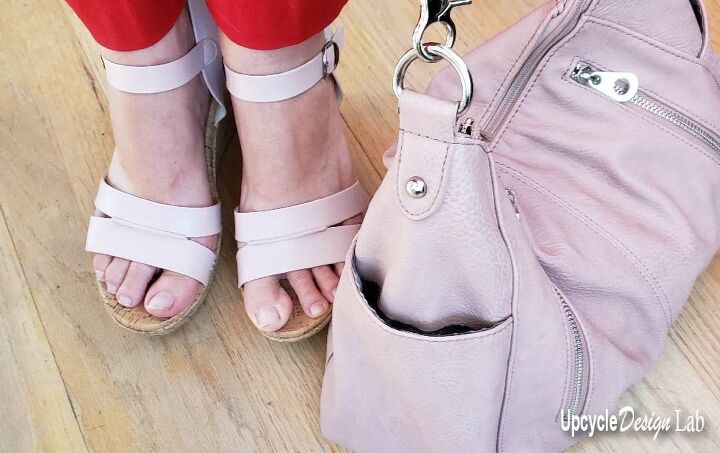
Anyway, I hope this gives you a little inspiration to give shoe painting a try, even if you are doing a simple color change which is what I am doing today.
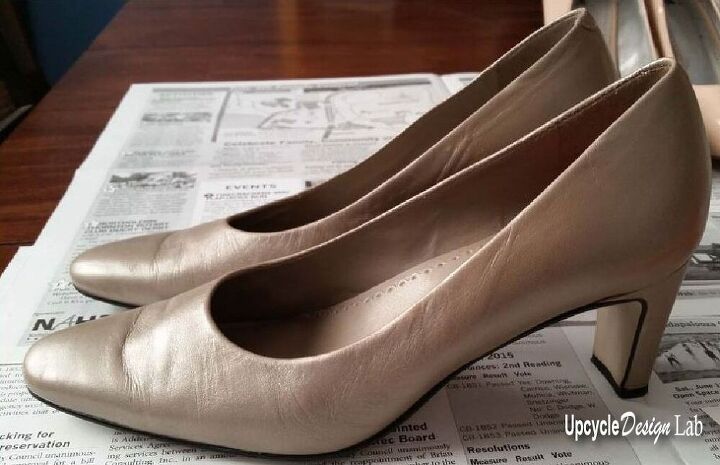
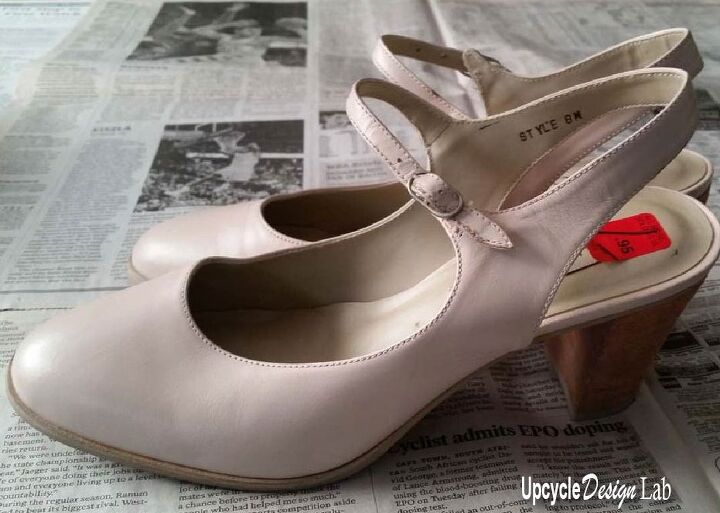
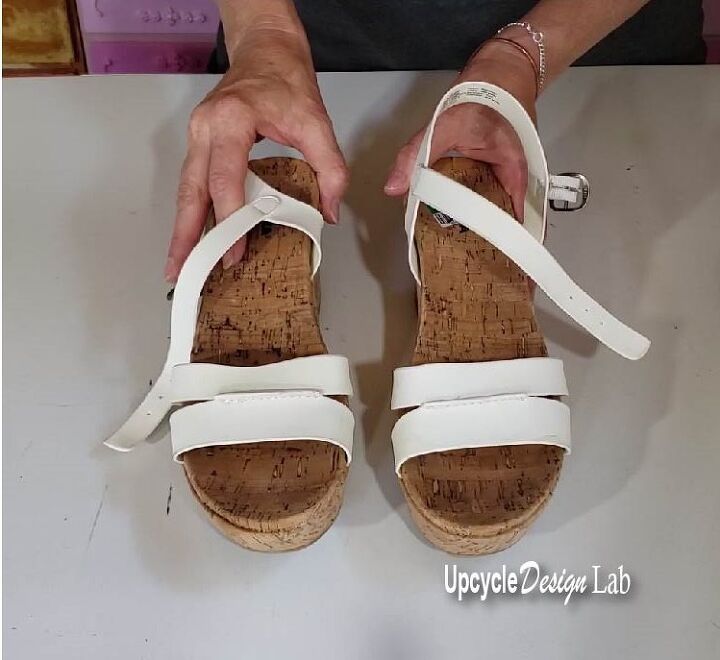
As I mentioned, I found these sandals at the thrift store for 3.99. So they certainly checked the first box of my shoe painting guidelines.
My shoe painting guidlines
- 1 – Start with inexpensive shoes (for me that always means 2nd hand)
- 2 – Make sure the soles and heals are in decent shape
- 3 – Have a general plan for how to paint shoes, ie what parts will be painted and how hard will they be to paint.
- 4 – Make sure shoes are comfortable enough for their intended use. (I know I am stating the obvious here but there have been too many times that I have regretted skipping this step.)
- 5 – Select shoes that are not too complex
- 6 – Clean the shoes
- 7 – Use soft paint brushes
- 8 – Only paint the parts you are sure about (it’s ok if your plan changes)
As far a selecting a shoe style to paint, the basic rule of thumb is the simpler, the better. For example, you don’t want overlapping material or many decorative things that you will have to paint around.
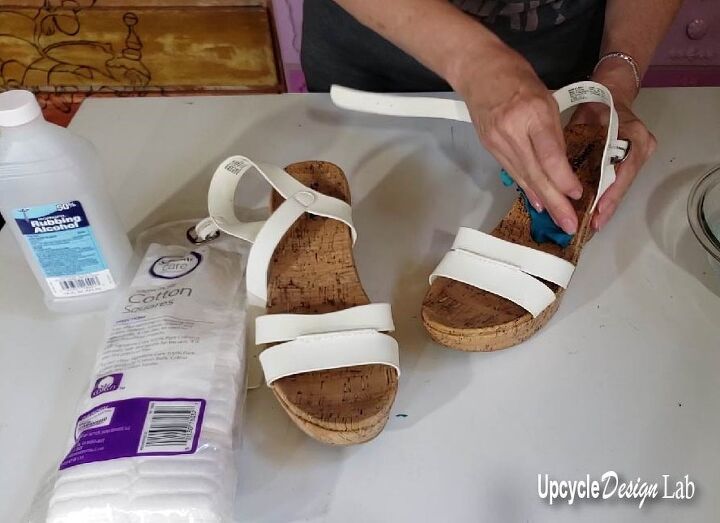
Cleaning the shoes
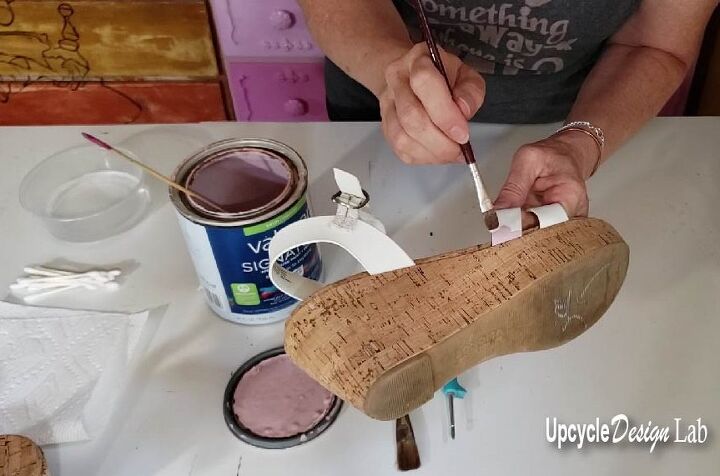
Once you have selected your shoes, you will want to clean them. There are lots of different methods out there, but I usually just use soap and water. For the parts that will be painted, I use rubbing alcohol and a cotton ball to clean the surface of any oils.
Painting
Once the shoes are dry, you are ready to start painting. I usually start at the toe and work back toward the heel. You can use whatever size or shape of brush that you prefer. I like a small flat-tipped brush the best. Work slowly with a small amount of paint on the tip of the brush and make even smooth strokes. If needed, add a second coat.
If you are nervous about getting paint in places you don’t want, you can use painter’s tape to block off those areas. However, I find it easier to be extra careful, so I usually skip the taping part.
Finishing
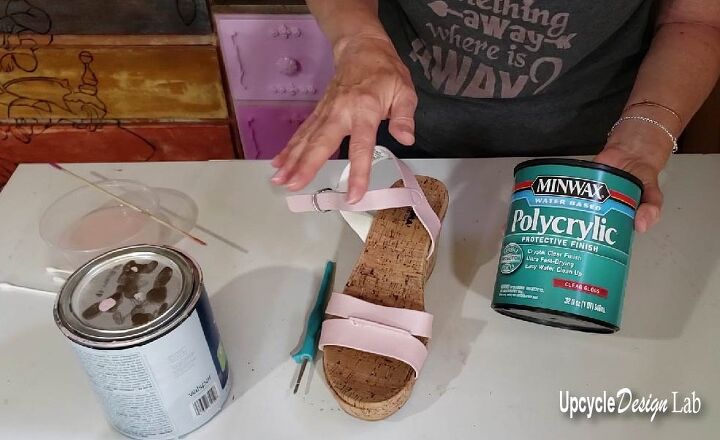
I recommend that you seal the paint (even though I chose not to in the video). It will help your paint job wear better, and the Minwax comes in both a gloss and a mat finish. It is water-based and easy to use and clean up. However, it is very runny, so you do need to be careful when you apply it.
That’s all there is to it. You can make it as simple or and detailed as you want. I hope you found some inspiration here.
Until next time,
Happy Upcycling,
Cindy
Advertising Disclosure: Upcycle Design Lab may be compensated in exchange for featured placement of certain sponsored products and services or your clicking on links posted on this website.
Other posts you might like
The author may collect a small share of sales from the links on this page.


Comments
Join the conversation