How to Make On-Trend DIY Wrap Shorts in a Few Simple Steps

Want to make a pair of stylish DIY wrap shorts? Then, I’ve got you covered! You’ll need stretchy fabric for this tutorial, as it will give your DIY wrap-around shorts a snug and fitted look. So, grab your sewing machine and fabric, and let’s get to it.
Tools and materials:
- 2 yards stretchy fabric
- Chalk
- Measuring tape
- Pins
- Scissors
- Sewing machine
- Thread
- Iron
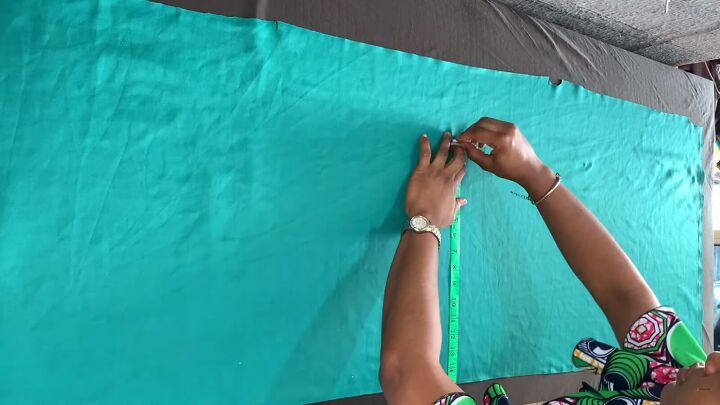
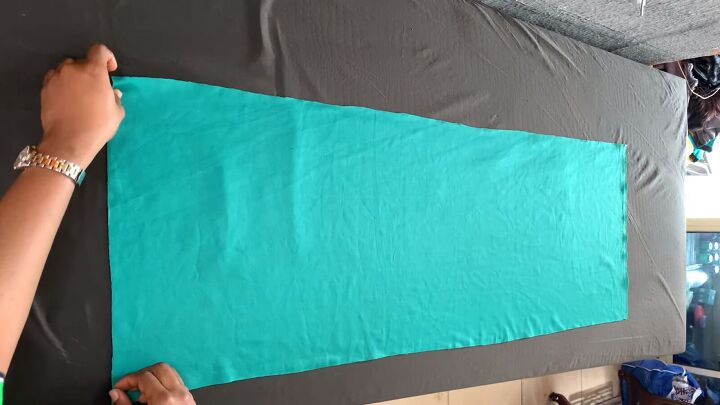
1. Make the wrap shorts sewing pattern
The first thing you’ll mark is the length of your shorts. I marked mine at 15” across the fabric. You can decide to make yours longer or shorter, but I wanted a high-waist style.
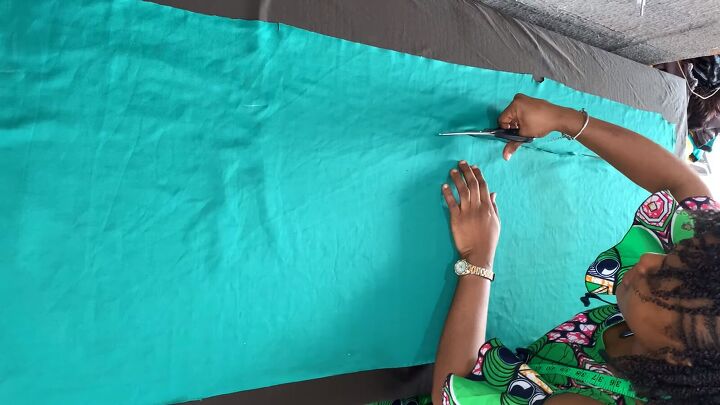
Now, cut out the excess fabric in a straight, neat line.
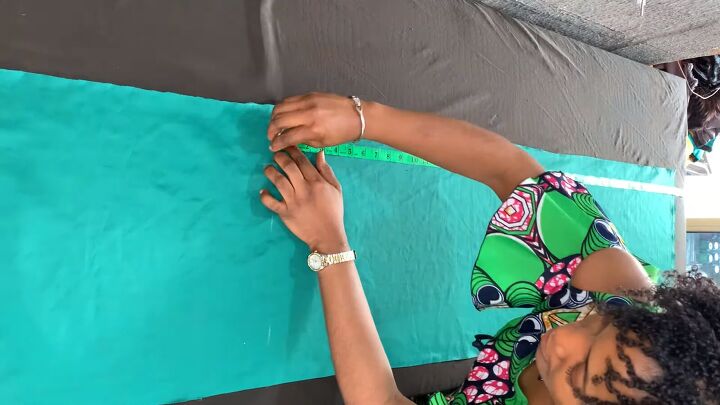
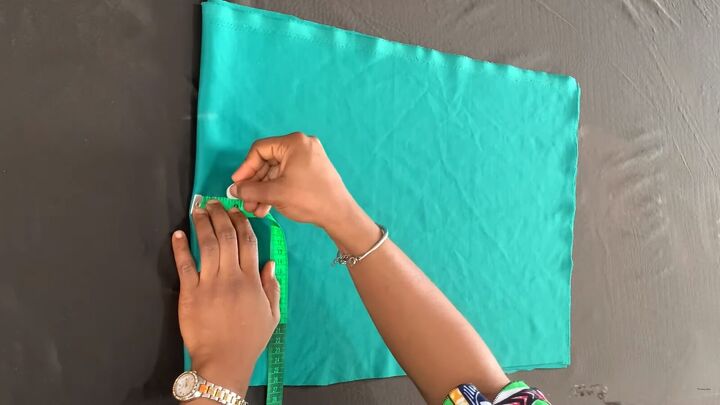
Now, add 5” to your regular hip measurement. My hip measurement is 38”, and in the end, I’m marking 43”.
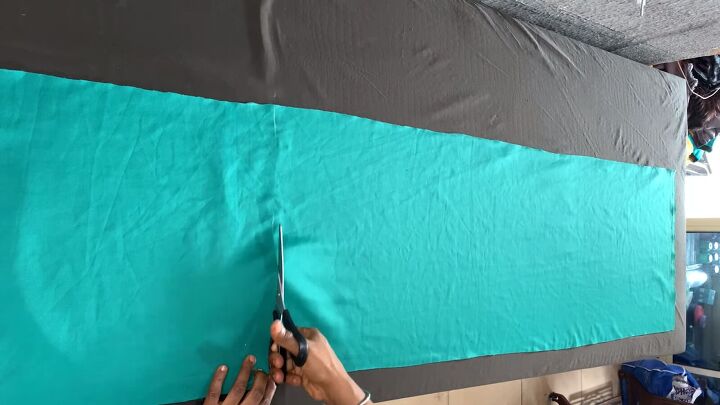
Then, cut across the marked line.
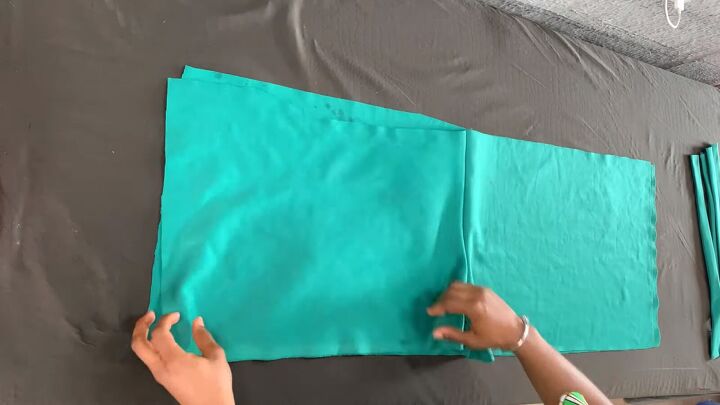
You now have a rectangular piece to work with. Next, cut the second piece, using the first as a guide.

Lay both pieces on top of each other and fold them in half, widthways.

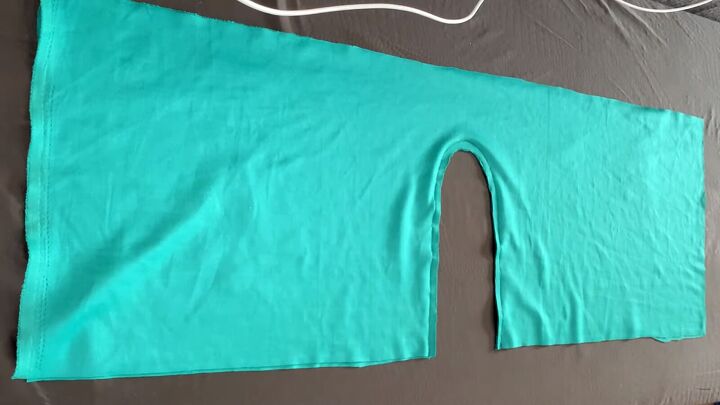
Mark 10” from the bottom. This will serve as your crotch depth. Depending on your hip meausrement, you can make your crotch depth longer or wider than 10”. For example, if your hip is 40” or more, make the crotch depth 12”.
Mark 1½ “ from the bottom to the top of the crotch mark.
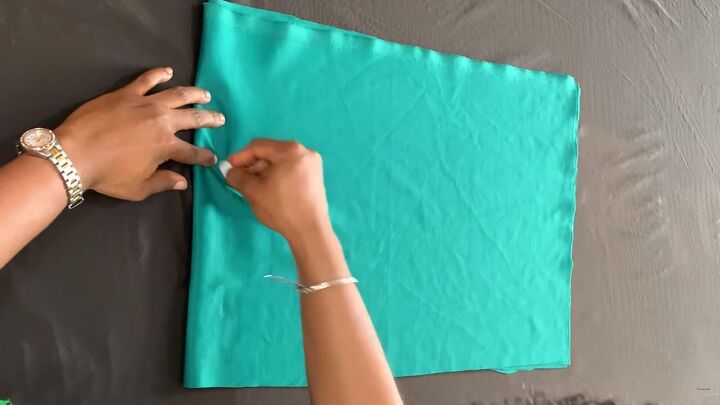
Curve the line when you get to the top of the crotch mark.
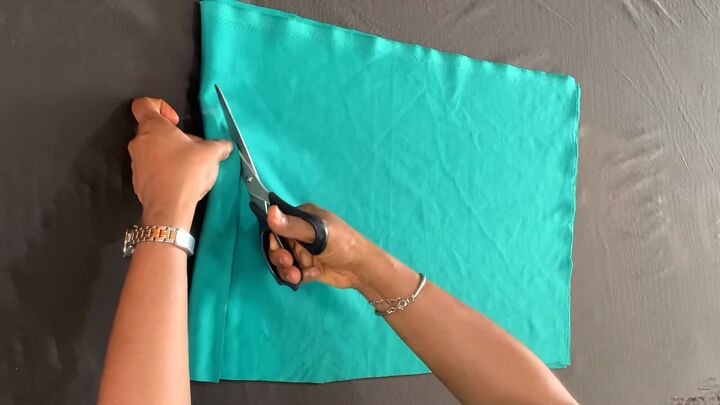
Then, cut along the line.

2. Secure the crotch area
Open the wrap shorts sewing pattern and pin the crotch area. It’s important to pin this area since it might move when you sew around the curved edge.
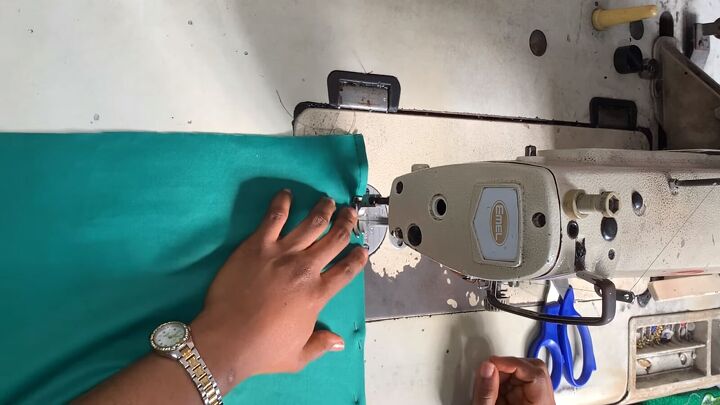
Sew all the way around the pinned crotch area. Ensure to take out the pins as you sew.
This is what it looks like once sewn.
3. Make the wrap tie
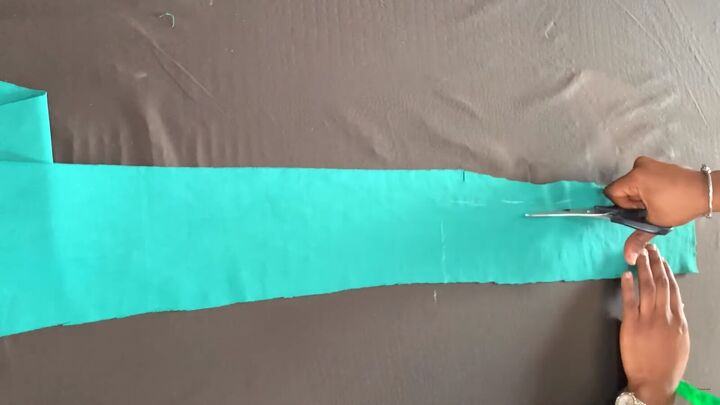
Measure 17” from your excess fabric and mark. Then, measure 4” wide and draw a rectangle. Then, cut.
Use the first piece as a guide to cut out four more pieces. It’s essential to use stretchy fabric as you’ll be able to tie it securely around your waist.
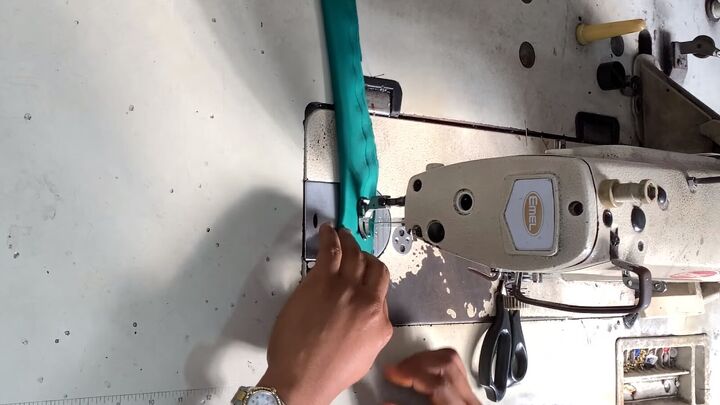
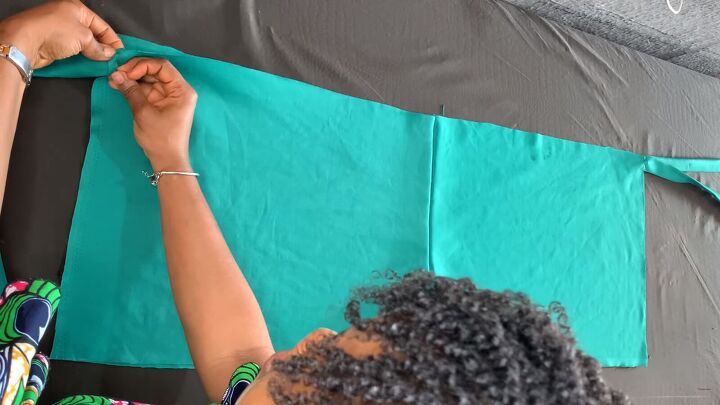
Fold each piece in half and sew it along one short end and down the length of the band. Leave the other end open to turn its right sides out.
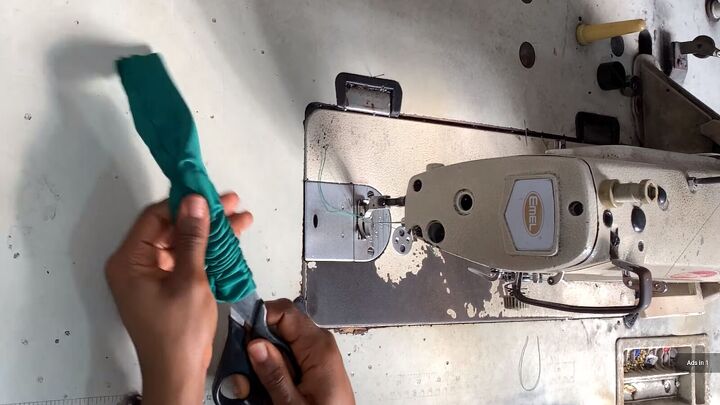
Turn the band to the right side with a long tool, like scissors or a pen.
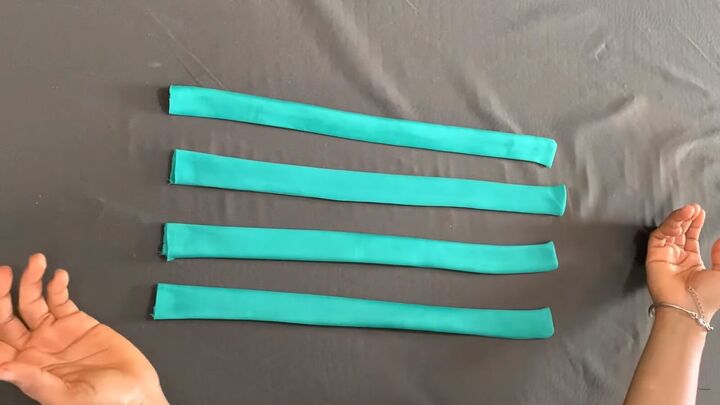
Iron all four pieces.
4. Attach the ties
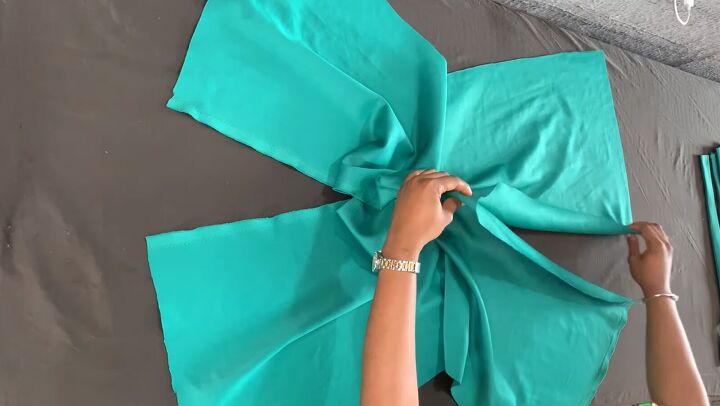
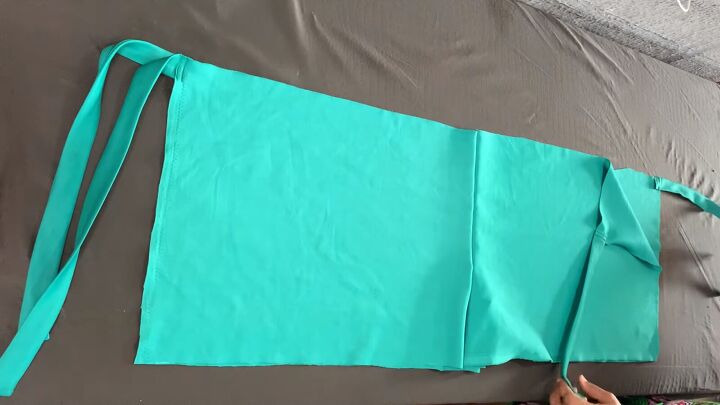
Open up your shorts like a butterfly, turn them to the right sides, and arrange it so that the crotch seam is in the middle.
Then, pin each band to every edge of the DIY wrap shorts. Each corner will have a band attached to it.
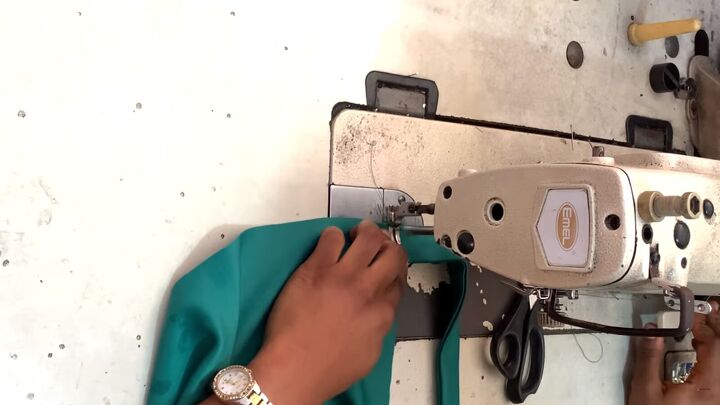
Now, go ahead and sew each band to the edge of the shorts. Ensure you tack over the area several times. It’s important the bands are secured really well.
All done! You won’t need to finish the edges. This fabric is self-finished, so it doesn’t fray.
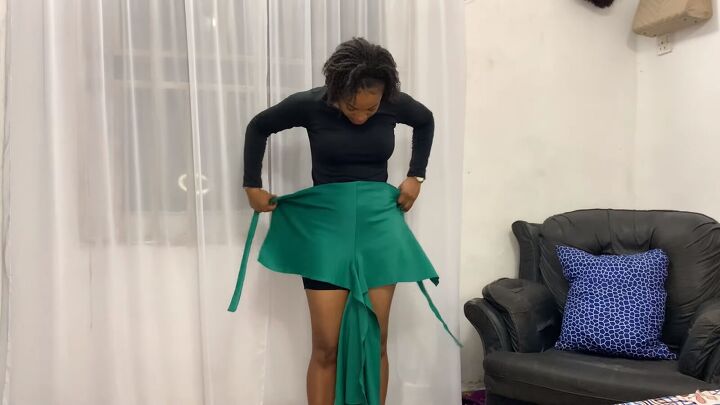
How to wear the DIY wrap shorts
To wear the shorts, align the front part of the crotch to the middle and tie the bands together at the back.
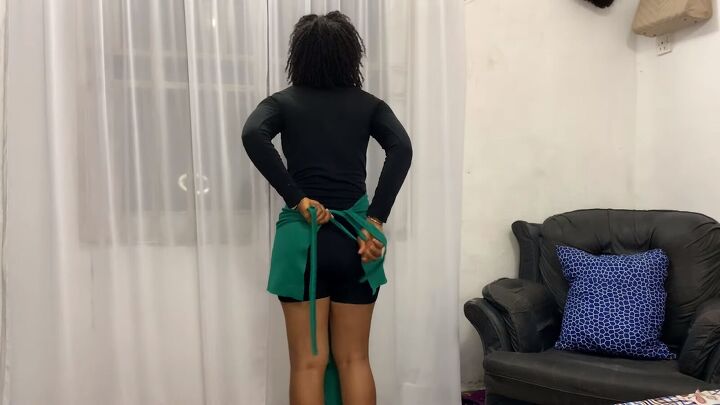
Take the belt to the front and make another knot.

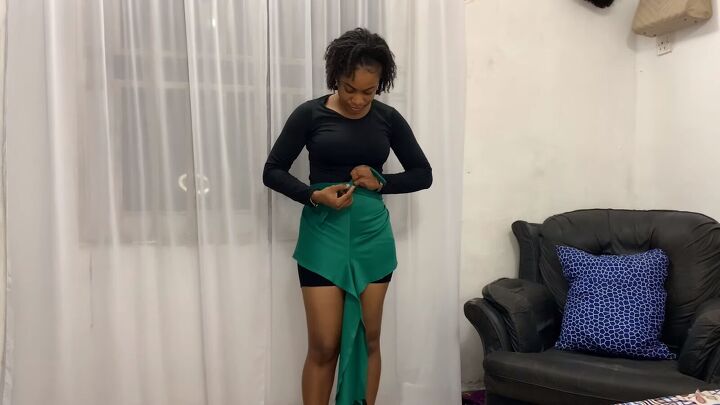
Pass the rest of the fabric under your leg and to the back.
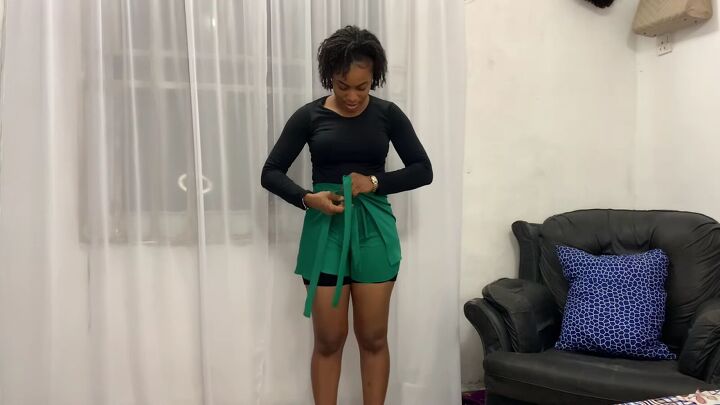
Align the center part of the crotch and tie the belt in front.
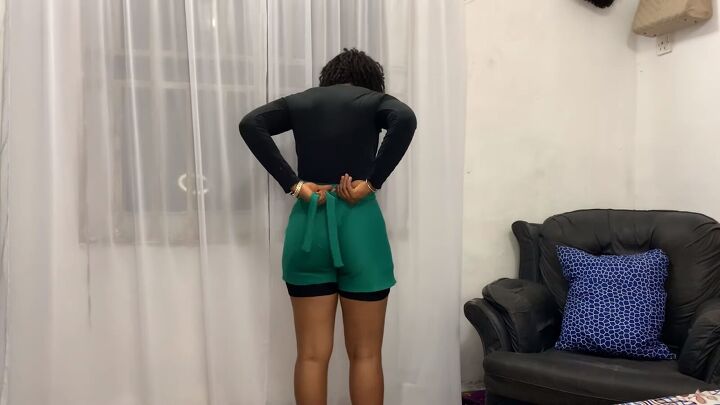
Finally, pull the band back to the back side and tie a knot.

DIY wrap shorts tutorial
I really love how these DIY wrap shorts turned out! So simple and easy, and the results are super stylish. Thanks for joining me in this DIY on how to make wrap-around shorts. I hope you enjoyed it and got some inspiration to make your own.
The author may collect a small share of sales from the links on this page.


Comments
Join the conversation