Make a ZARA Wrap Top in a Few Simple Steps

I love Zara; they have some lovely fashionable items that I can’t get enough of. Being a sewing enthusiast gives me the freedom to sew what I like and to get inspiration from other designs. In this tutorial, I am going to show you how to make a ZARA wrap top. I love the look, and I got inspired to make my own DIY ZARA wrap top. The overlapping bodice and the shirred waistband just make the top so darn special! Want to see how I make a ZARA wrap top? Keep on scrolling
Tools and materials:
- 2 yards fabric of your choice
- Scissors
- ¼ inch elastic
- Safety Pin
- Fabric marker or chalk
- Pins
- Sewing machine
- Matching thread
- Elastic thread
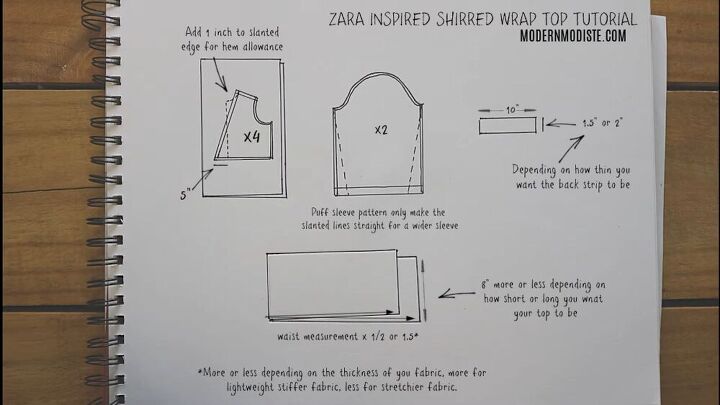
Make the pattern
I made this pattern by tracing my own clothes; you can see more on how to make a pattern like this by seeing my previous video here. Also, I used the same pattern for my puffy sleeve tutorial for the sleeves, which you can view here.
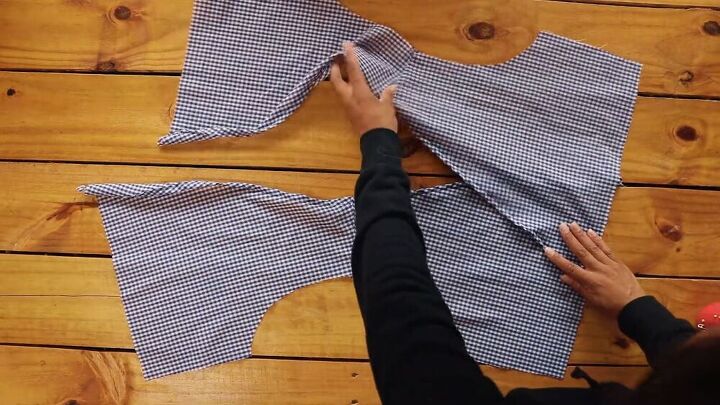
Cut the bodice pieces and sew the hems
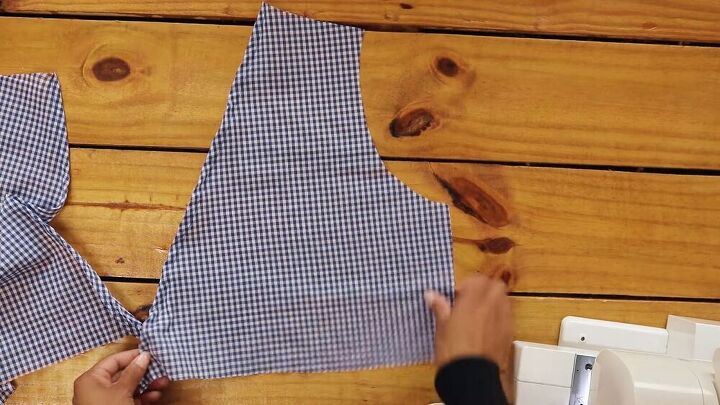
We’re going to start with the bodice. Cut Four bodice pieces- two for the front and two for the back. Next, hem the slanted edges of all four pieces with a double-fold hem. Fold over half an inch and sew, and repeat this step again.
Cut off the excess fabric at the ends.
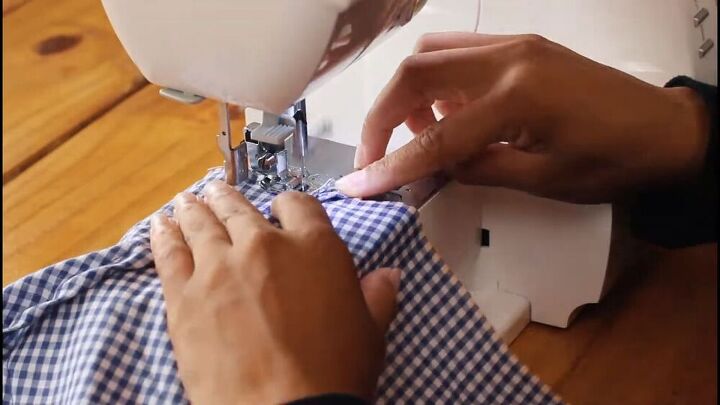
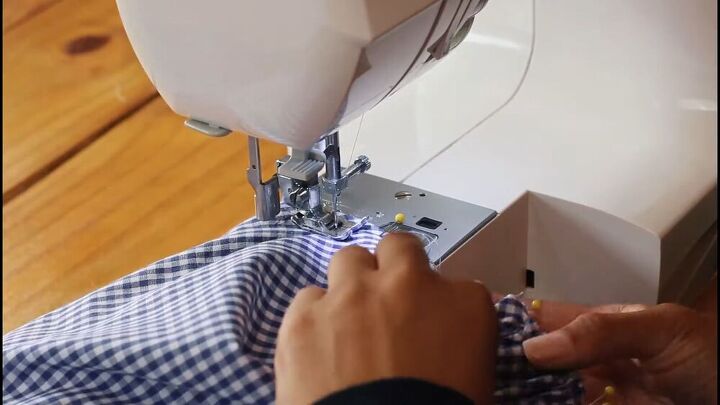
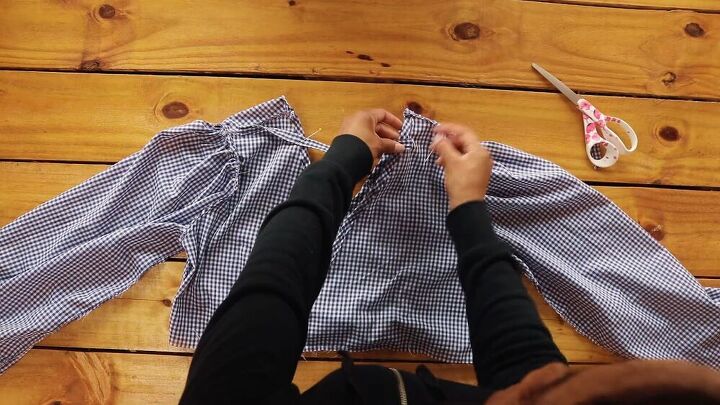
Pin the shoulders and sew
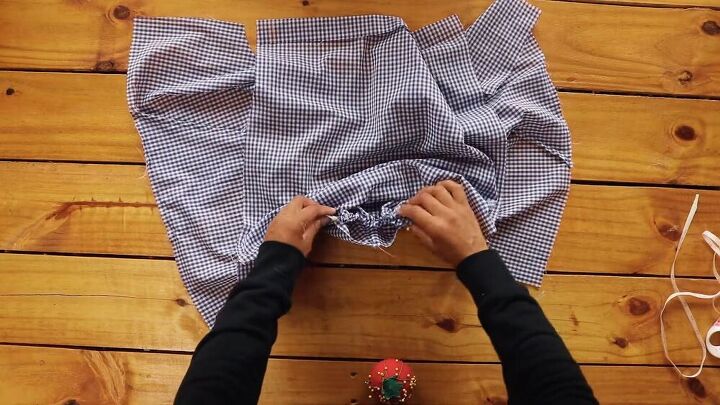
Pin the two backs with the two fronts at the shoulders. Then, sew together with a straight stitch. Once done, finish the raw edge with a zigzag stitch.
Next, topstitch the seam and face it to the back of the shirt.
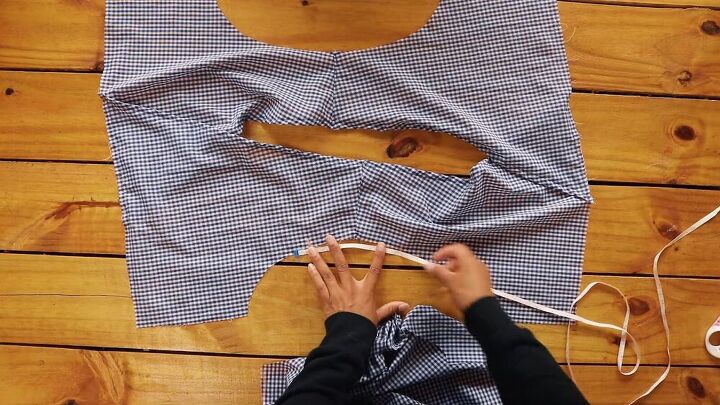
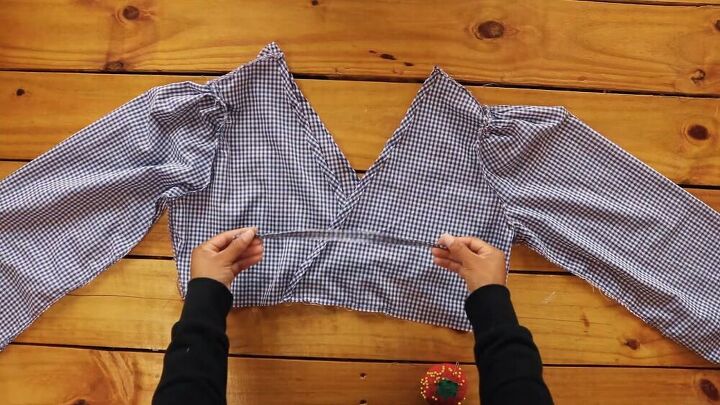
Overlap the pieces and sew
So the overlapping fabric is what gives the ZARA wrap top its character. To create the wrap shirt, overlap the sides as shown and pin in place.
Repeat the same at the back and sew both sides in place; making sure you sew along the whole seam line.
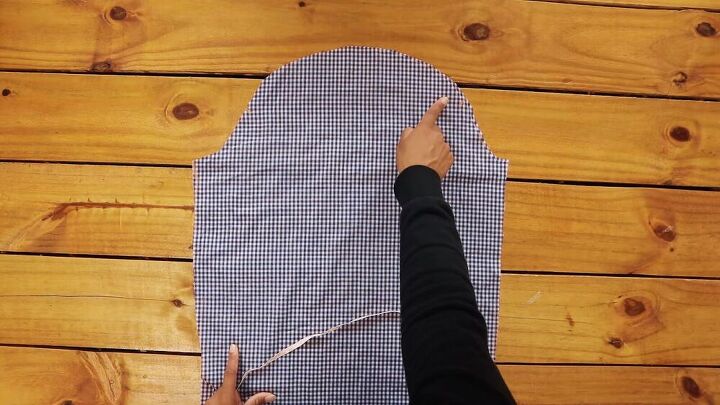
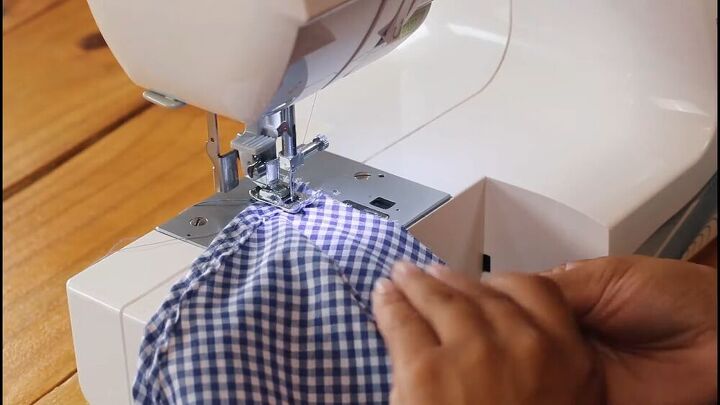
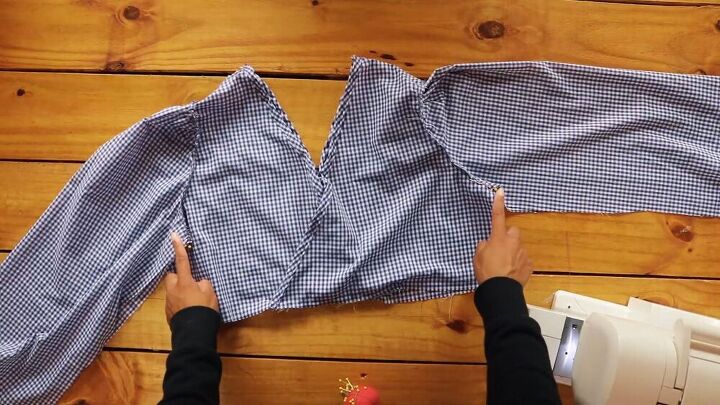
Make the sleeves
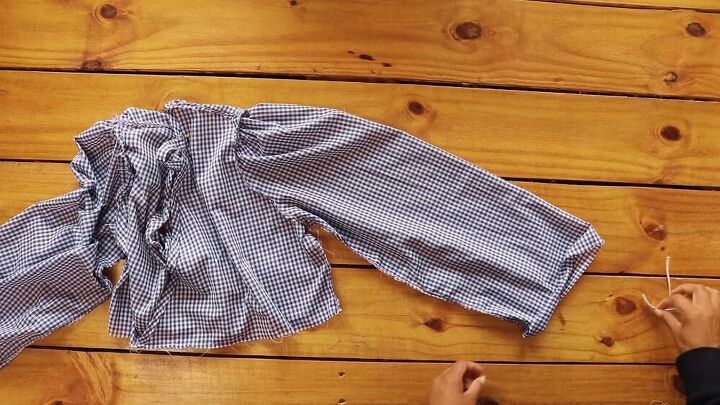
For the sleeves, mark 4 inches from each edge of the curved shoulder part.
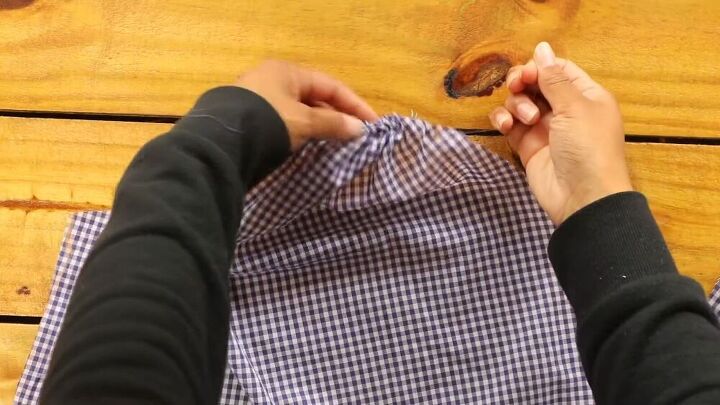
Between those marks, sew a long straight stitch. Backstitch the beginning, but not the end. Also, to make the gathered effect, leave the thread long enough so that you can pull and gather the sleeve. Pull the thread, and with your other hand, gather the fabric. Repeat with the other sleeve. How amazing is this technique?
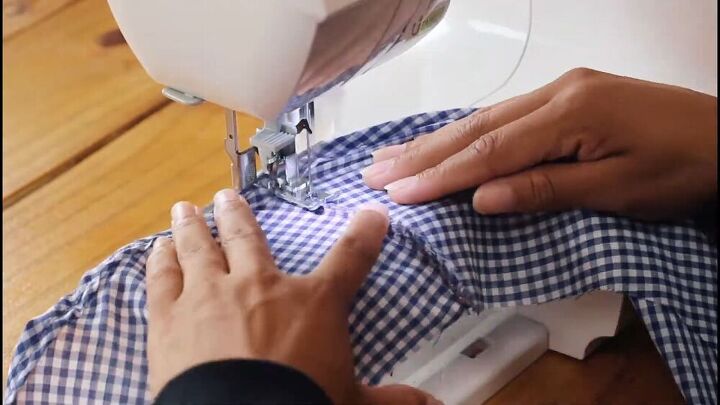
Attach the sleeve to the shoulder seam
Mark 3 inches on either side of the shoulder seam of the top. Next, lay the sleeve itself on the top, right sides facing. Pin the sleeve on the armhole, starting on one end.
While pinning, make sure the sleeve section where the fabric is gathered is between those 3-inch marks. Pin the other side and then pull your gathers slightly and pin them in place, too.
Carefully sew the sleeve onto the top. As always, finish the raw edge with a zigzag stitch and finish it off with a straight stitch through the center.
Pin and sew the armpits and sleeve
Finish the top by pinning the armpits together and sewing down, around the body, and down the sleeves. Remember, your top should be right facing. Again, finish the raw edges. First with a zigzag stitch and then a straight stitch down the center.
Make the back strip
For the back strip, hem the two long edges, then fold the back strips and sew.
Pin the strip to the top and measure to ensure the strip’s edge is placed an even distance from the shoulder seams on both sides. Trim the excess, fold under the raw edge, pin, and sew in place.
Add elastics to the sleeve
Now it’s time to finish the sleeves. Take elastic and measure it around your wrist; add a bit of seam allowance. Next, hem the edge of the sleeve and fold it again to make a casing for the elastic. Make sure the casing is wide enough so that the elastic sits snug. When making the casing, leave a gap so that you can feed the elastic through.
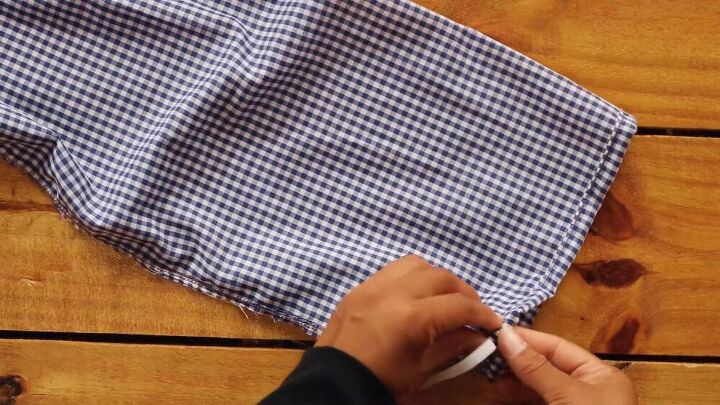
Insert the elastic through the casing, using a safety pin to help guide you. Once this is done, sew the ends of the elastic and stitch the gap closed.

Make the shirred waistband
We’re almost done! It’s time to make the shirred waistband, and this is the coolest part! Start by drawing lines from top to bottom. The lines should be half an inch apart. Luckily, my print has lines, and so I will just be following those lines. If this isn’t the case for you, simply measure and draw lines with some chalk.
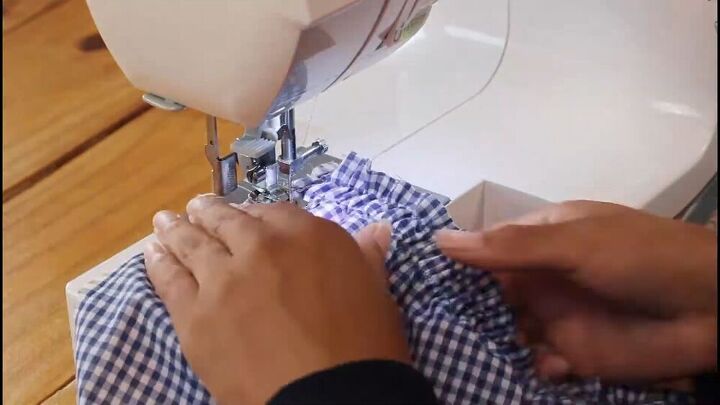
Next, wind a bobbin with elastic thread and thread it into your sewing machine. Sew along the lines, starting each line with a backstitch.
TIP-
I didn’t sew all the way along the bottom because I wasn’t entirely sure how long I wanted the waistband to be. So, it’s really up to you. In my case, I landed up cutting out some of the bottom parts.
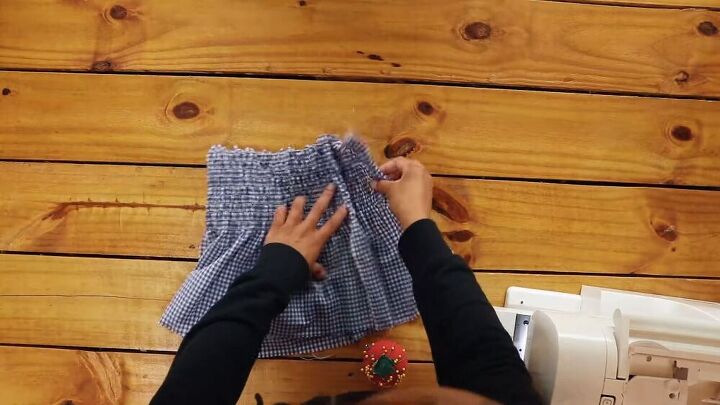
Next, fold the waistband in half, lengthways, and sew along the side seams. Again, there’s no need to sew all the way until the bottom because I cut the excess fabric.
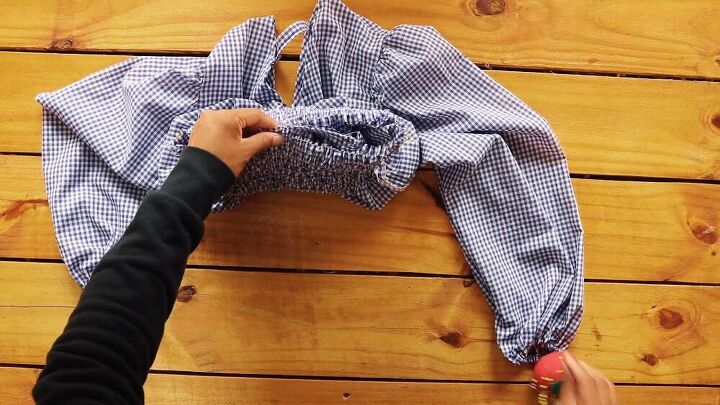
Pin the waistband to the shirt, right sides facing. Match up the center and the sides. Sew together with a zigzag stitch and stretch the shirred fabric to match the length of the top’s fabric.
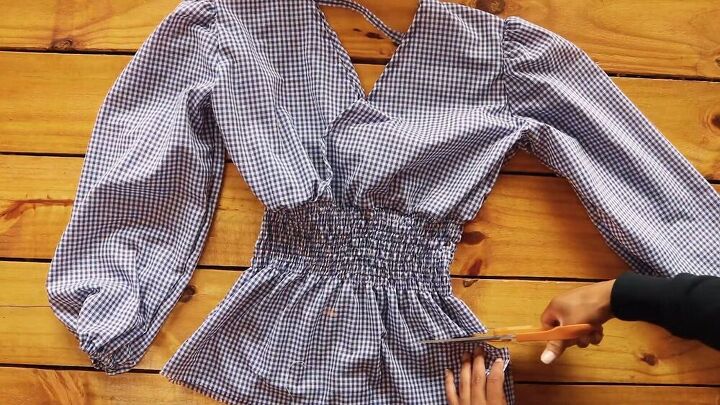
Try on the shirt and mark where you want to cut off the excess fabric. The length is up to you! Cut the excess and hem the bottom with a double fold.


Now your ZARA wrap top is complete, and how sleek does it look? Get heads turning and wear it on a fun night out! I hope you enjoyed this tutorial and that you got inspired to make your very own DIY ZARA wrap top.
The author may collect a small share of sales from the links on this page.


Comments
Join the conversation