How to Make a Cute Bandana Patchwork Hoodie in a Few Simple Steps

In this tutorial, I’m going to show you how to make a DIY bandana patchwork hoodie. We will take a basic plain hoddie and transform it by adding some brown bandana panels.
The end result looks super cool and on-trend, so grab your materials and let’s begin.
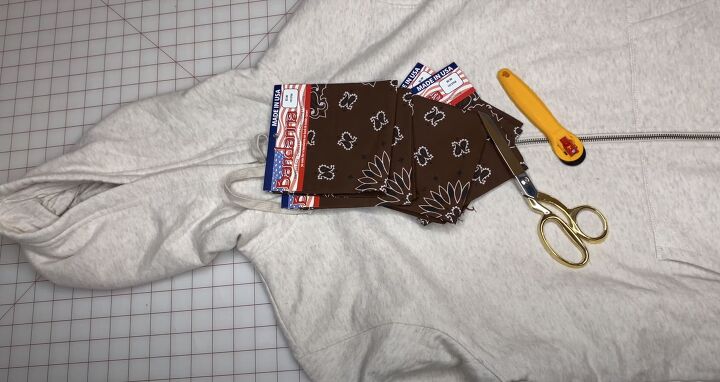
Tools and materials:
- Hoodie
- 3 Bandanas
- Scissors
- Seam ripper
- Paper
- Pencil
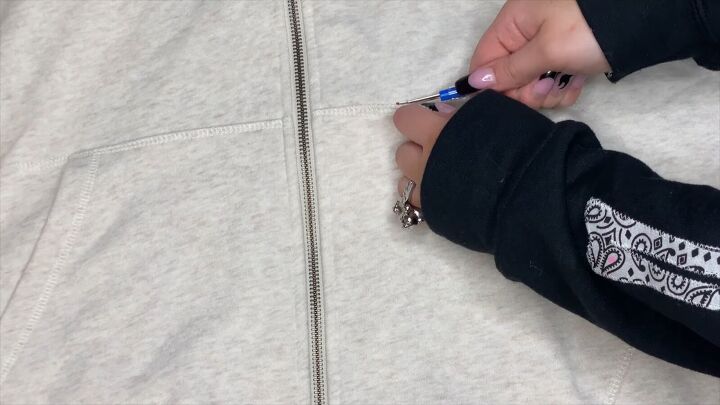
1. Remove the pocket
For my design, I want the whole front panel on one side covered in bandana, but I want to leave the pocket plain. So, I’m going to seam rip the two seams of the pocket.
The pockets on my hoodie were cover stitched on, so this was kind of hard, but I made it work.
If you get a couple of holes in the hoodie while you’re doing this, you don’t need to be too concerned, as you’re going to be putting bandanas over the whole thing anyway.
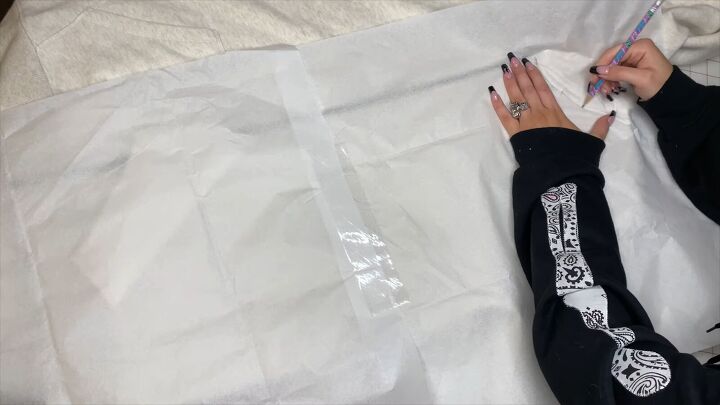
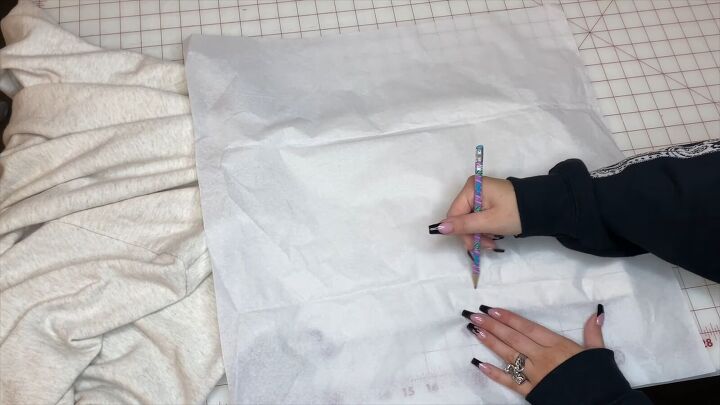
2. Trace the pocket
Now take your paper (I’m using tissue paper) and lay it out over that first panel that you want to trace. You’re going to make a pattern with this so you’ll be able to cut the bandanas out from it.
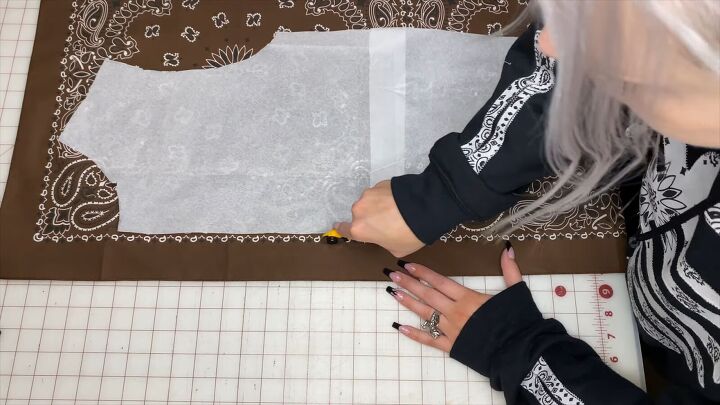
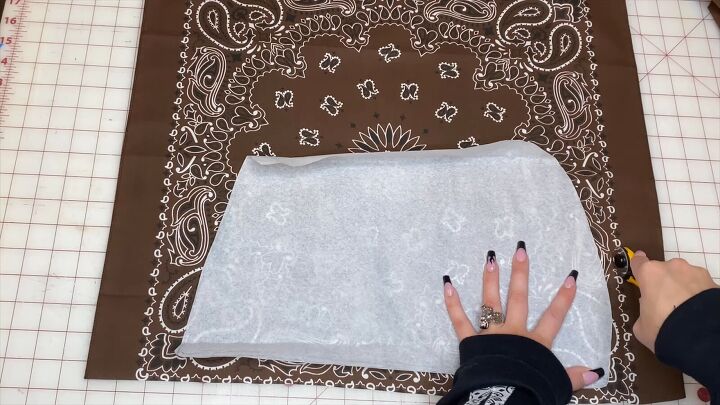
3. Cut the bandanas
Once you’ve cut out your pattern piece, cut out your bandanas from it.
I sewed two bandanas together to get a big enough piece to cut out. I left a quarter of an inch seam allowance on the outsides so that I could fold over all of the edges.
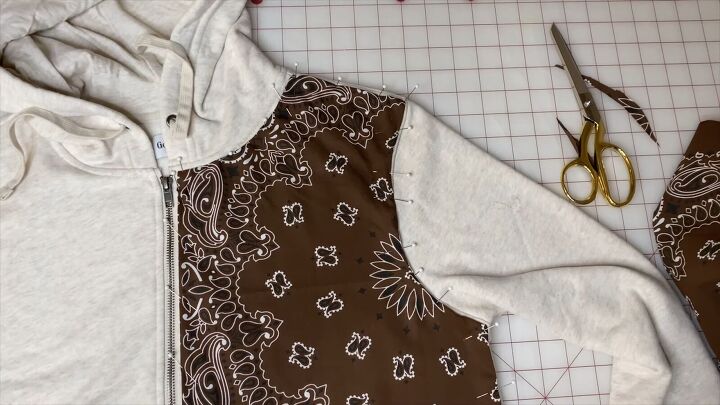
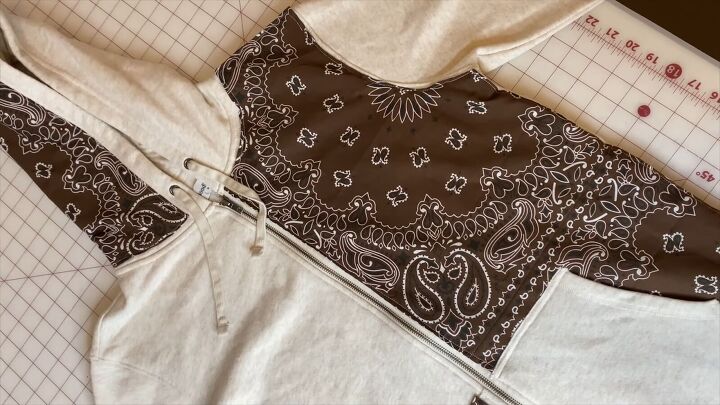
4. Pin the bandana fabric to the hoodie
Now just put the cut-out on the hoodie, fold over each edge, and pin it down.
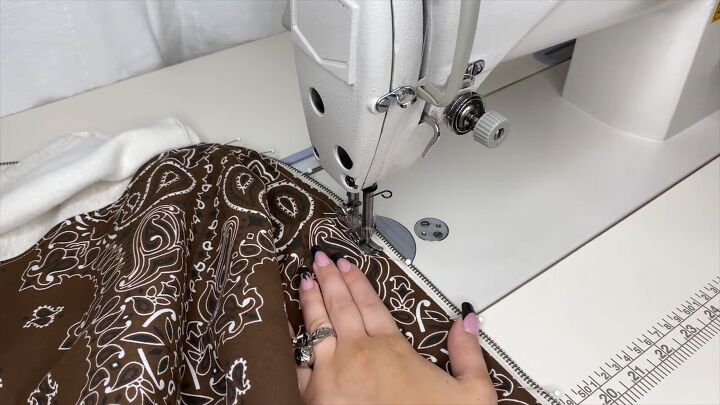
5. Sew the bandana hoodie
Once you’ve pinned down all of the edges, sew around all of the sides using a straight stitch.
Make sure you get really close to the sides so you catch the fold; otherwise, it’s going to fray.
Tip: You don’t have to sew the bandana all the way under the pocket as it will be covered up. That also means that you don’t have to take the whole pocket off.
6. Sew the pocket back on
Now sew the pocket back on with a straight stitch.
7. Repeat with the hood
Now you can repeat this process on whatever parts of the hoodie you want the bandana on. I am going to do half of the hood and then the pocket on the other front side.
Usually, I would take the hood apart completely and then reconstruct it. However, this hoodie has a lining on the inside, which makes this hard to do.
So, I’m going to leave the hood on, fold it in half and then lay the tissue paper over it and trace it. I’m leaving a little border on the edge of the hood so that the drawstring and eyelet won’t be messed with.
Then, cut the tissue paper and check to see that it fits the hood correctly.
Next, use that pattern piece and cut it out of the bandana, once again leaving about a quarter of an inch on each side so you can fold it over.
This time, I folded all the sides over and ironed them beforehand. It made it a little easier for me to pin, so I recommend doing that.

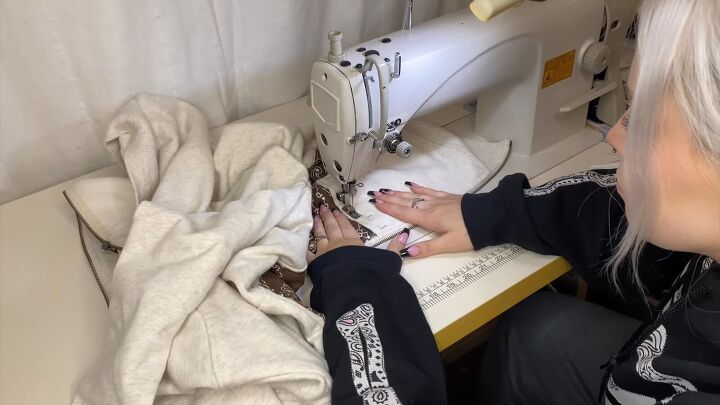
Now pin the bandana to the top layer of the hood, make sure you don’t pin it to the second one, or you might end up sewing the hoodie shut.
Proceed to sew around it all with a straight stitch.
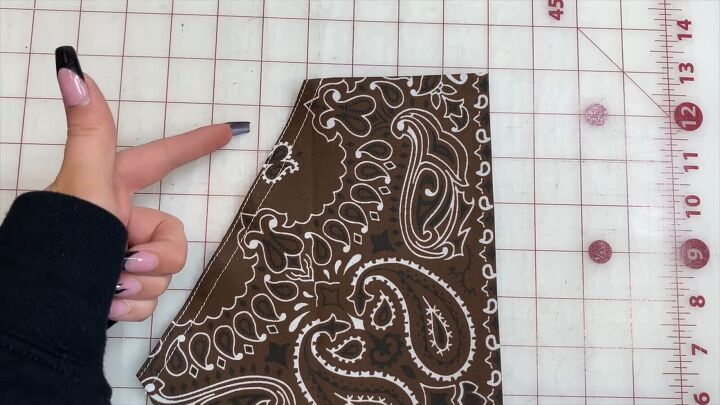
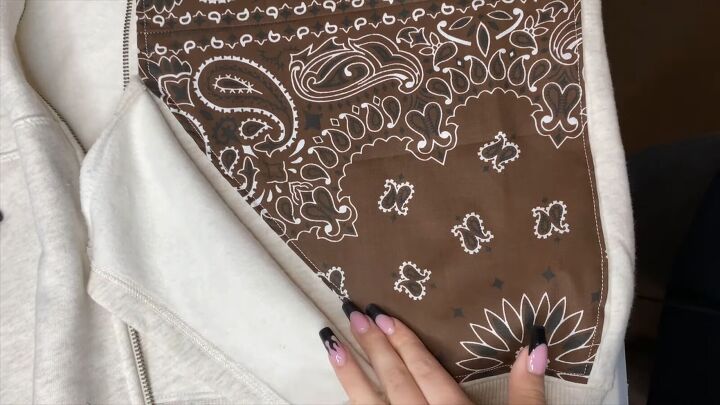
8. Repeat with the pocket
Now you know the drill, I’m going to trace the shape of the pocket. I want the original pocket to be accessible, so I’m going to kind of make a double pocket with the bandana.
Because this is going on the pocket, you don’t want to sew the bandana down as we have with all of our other panels because it will close the pocket.
What I did is I serged the diagonal edge, and now I’m going to sew it down with a straight stitch. I also pressed down all the other sides, so it’s ready to be sewn onto the sweatshirt.
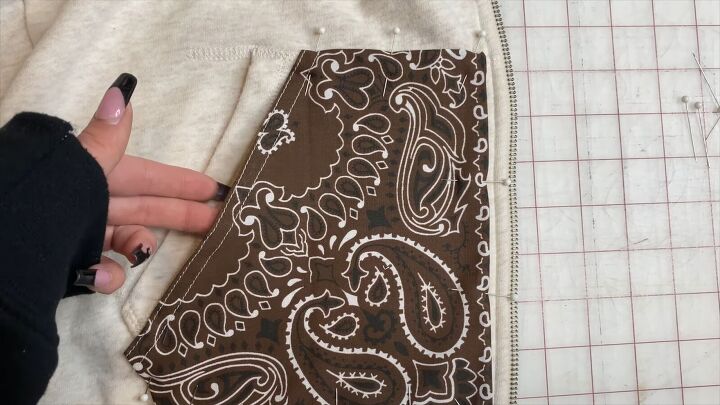
When sewing on the pocket, you want to leave the diagonal side open so you’ll have it to use as a pocket as well as the original pocket.
Once again, make sure you’re sewing pretty close to the edge so you catch that fold, and it doesn’t come undone and start fraying.
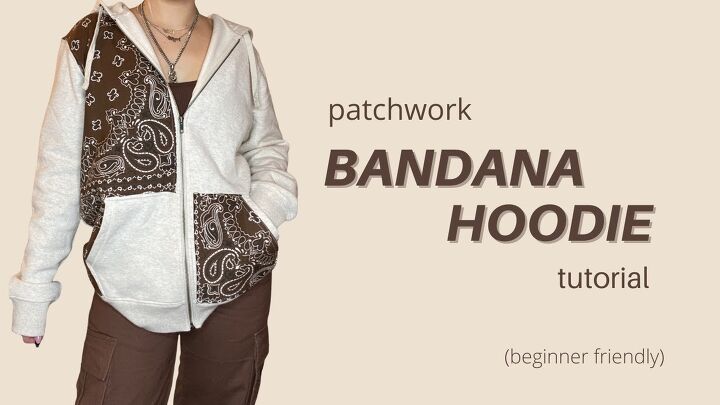

DIY patchwork bandana hoodie
Our DIY patchwork bandana hoodie is complete! I’m really happy with how the hoodie turned out. It is a funky and unique piece that you won't see anyone else wearing.
This is a great way to transform a plain hoodie and give it some fun character!
Let me know your thoughts in the comments below.
The author may collect a small share of sales from the links on this page.


Comments
Join the conversation
This is really cute and anyone can wear it. Thank you for sharing your project.
Just a heads up for those that don't want to sew two bandanas together. There is bandana fabric that you can buy. I would just measure the areas that you want to cover or bring your patterns with you to the fabric store and lay them out on the fabric chosen. That way you will have less left overs. I was also thinking that any great print cotton fabric would look great.
Very nice detail.....you have insight and talent!