How to Easily Make a DIY Bodysuit in a Few Simple Steps

I’ve had lots of requests for a bodysuit tutorial, so here it is! Follow along and I’ll show you how to make a DIY bodysuit pattern, and how to sew the bodysuit.
You will love the final look of this DIY bodysuit, and like all bodysuits, it will never come untucked, so you will always look polished and professional when you’re wearing it.
Tools and materials:
- Bodysuit (as a pattern)
- Good-fitting t-shirt
- Underwear
- 1 yard of stretch fabric
- Scissors
- Sewing pins
- Tape measure
- Fabric chalk
- Snap fasteners
- Sewing needle
- Thread
- Sewing machine
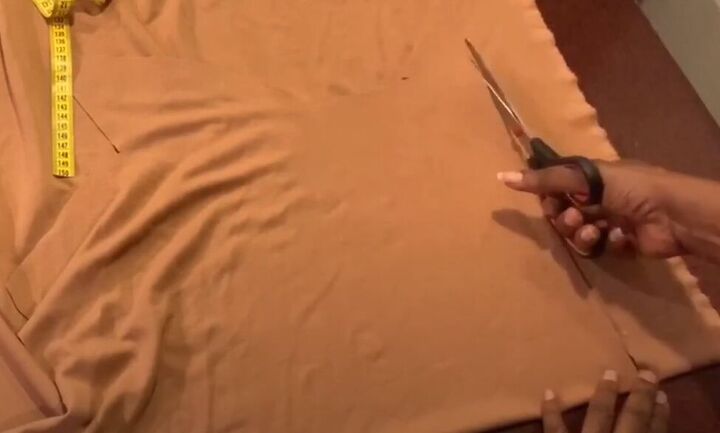
1. Make your DIY bodysuit pattern
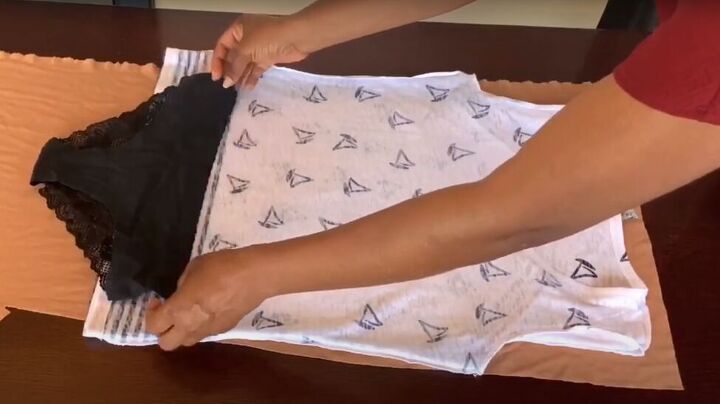
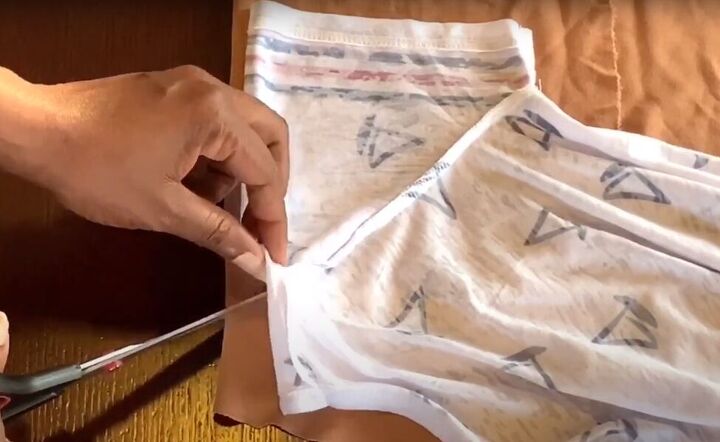
If you have a bodysuit already, then you can simply trace it to make your pattern. But if you don’t have a bodysuit, you can use a good-fitting t-shirt and a pair of underwear as your bodysuit pattern template.
Simply place the t-shirt and underwear on a single layer of fabric and cut out the outline.
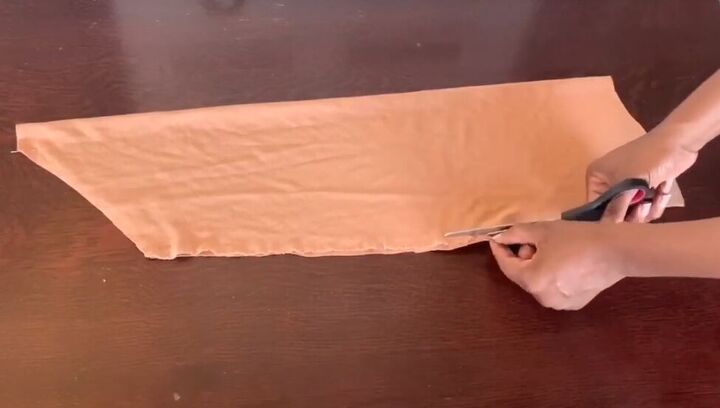
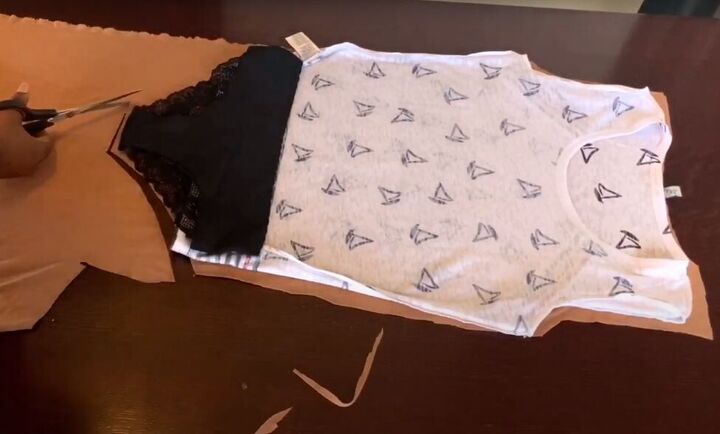
Fold the fabric pattern piece in half lengthwise and trim the edges so it’s completely symmetrical.
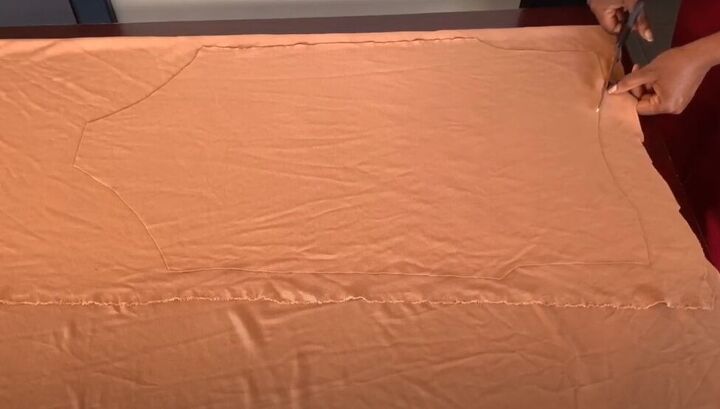
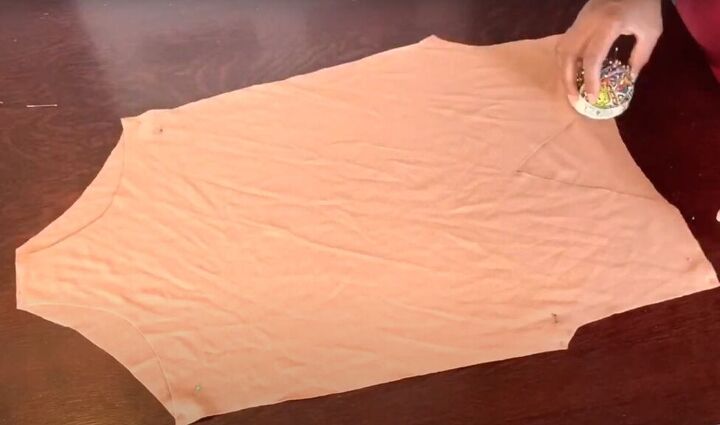
Now place that pattern piece on your fabric and cut out the pattern again. You should now have two pieces – a front and a back.
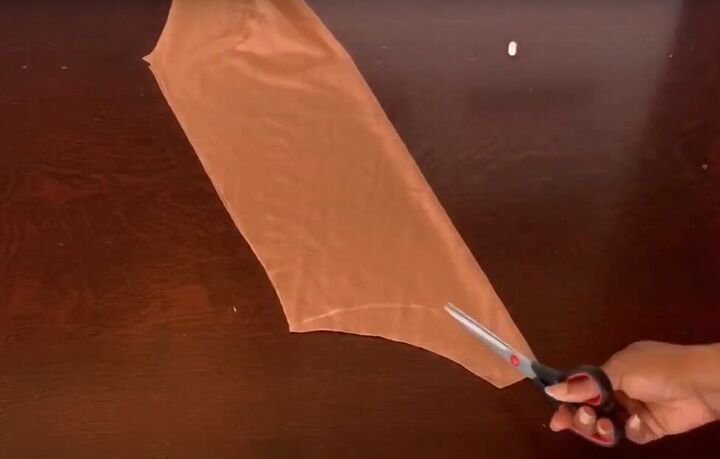
Use fabric chalk to mark a narrower leg hole on the front piece, and when you are satisfied with the shape, cut the leg hole on the front piece only.
2. Make the bodysuit neckline
With the front piece folded in half lengthwise, draw a V-shape from the shoulder to your desired neckline length. Cut out the V-shape.
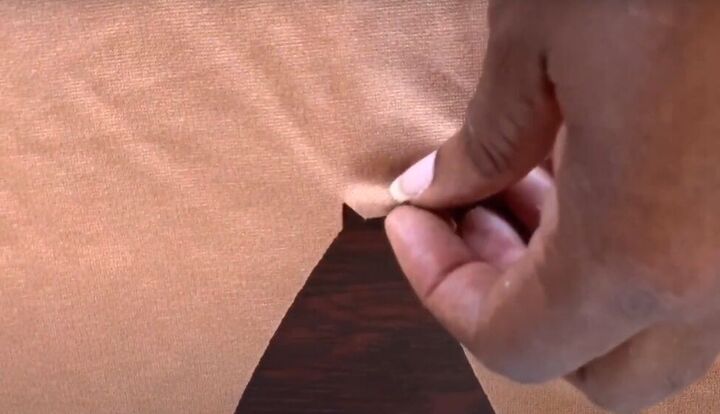
Make one small snip at the bottom of the V.
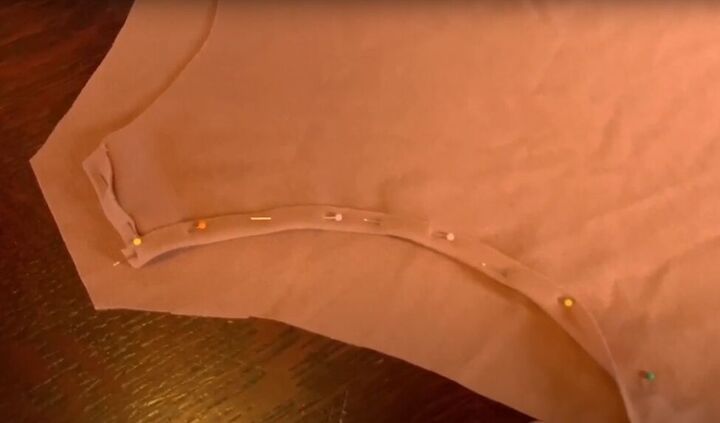
3. Sew the bodysuit bodice
With right sides facing, pin the front of the bodysuit to the back along the sides and shoulders. Do not pin the bottom. Sew the side and shoulder seams.
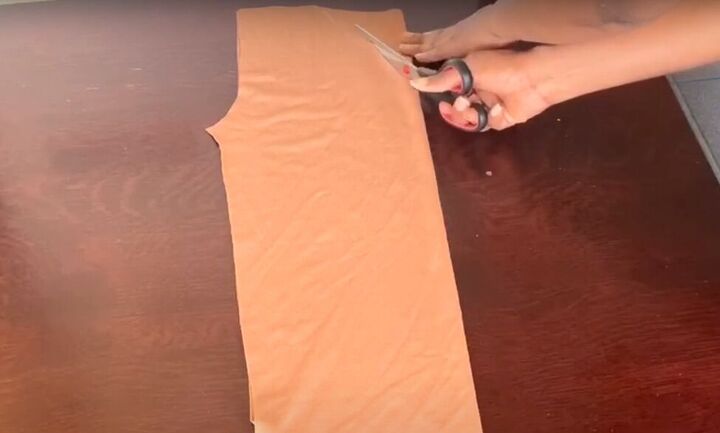
4. Make the bodysuit sleeves
Fold the fabric and cut out bodysuit sleeves using your t-shirt as a pattern. Place the outside edge of the t-shirt sleeve along the fold of your fabric. Use that sleeve as your pattern to cut a second sleeve.
Sew the sleeves into the bodysuit armholes.
5. Hem the leg holes and sleeves
Now, fold in and pin a hem at the bottom of the bodysuit and sew the hem close to the edge using a zigzag stitch.
This is how it should look.
Do the same to hem the bottom of the sleeves.
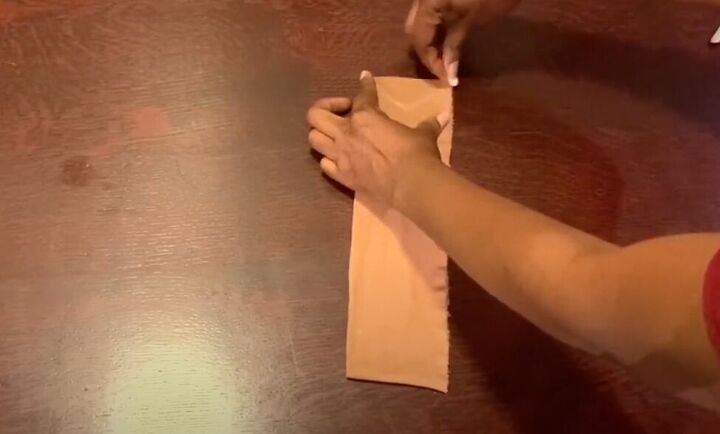
6. Make the bodysuit neckband
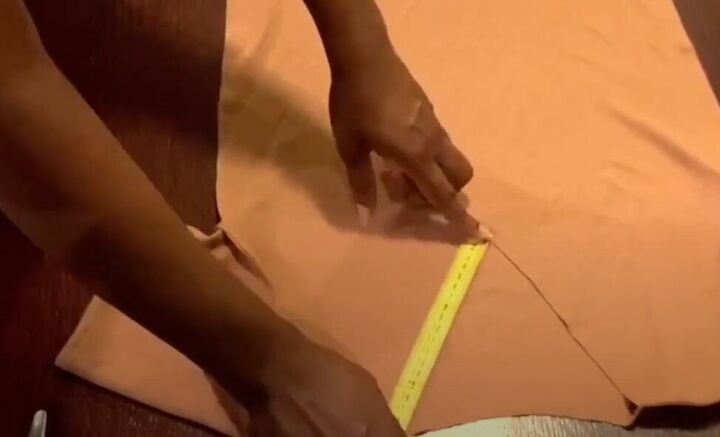
Now measure the length of the V-neck along both sides and the back. Mine was 55½ centimeters (21.85 inches) in total.
With fabric folded, cut an 8-centimeter (3.15-inch)-wide strip of fabric that is half the total neck length long, with the short end on the fold.
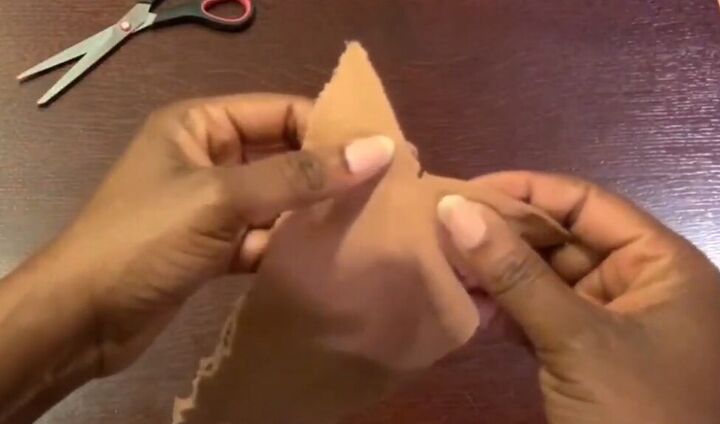
On the open short edge, draw a V-shape from each outer corner to the middle.

Then fold the piece in half lengthwise and cut out the V so it is symmetrical.

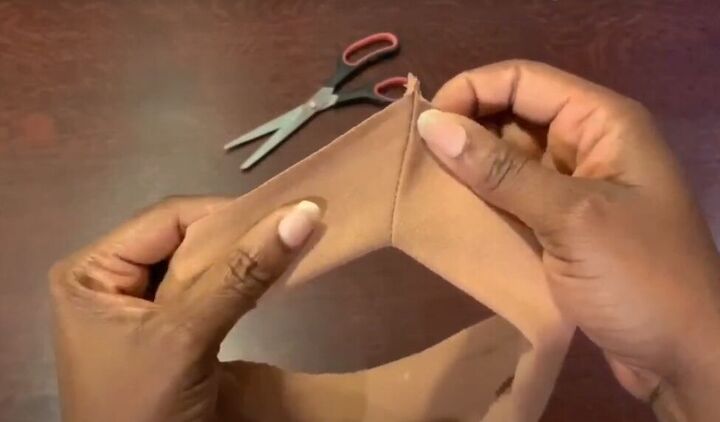
Unfold the strip once and pin the V on both ends together. Then sew with a ¼-inch seam allowance
Make a small snip at the bottom of that V, just like you did with the neckline, being careful to cut only in the seam allowance.
Press the seam allowance open and then fold the neckband in half.
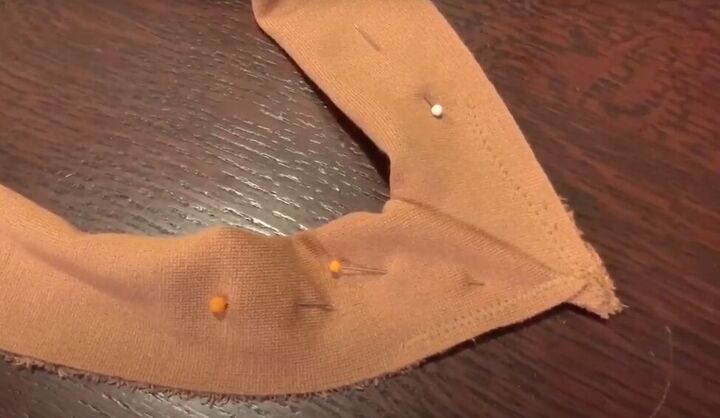
Pin the neckband edges together and then sew along the edge of the just the V-shape. Then trim the raw edges of the V.
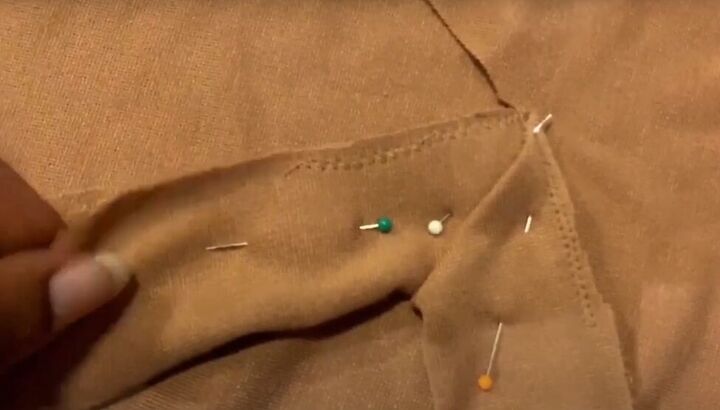
Turn the bodysuit right-side-out. With right sides facing, pin the neckband to the bodysuit neckline just at the V-shape, lining up the raw edges and the centers of the Vs. Sew the neckband to the neckline from the bottom of the V up a few inches on one side only.
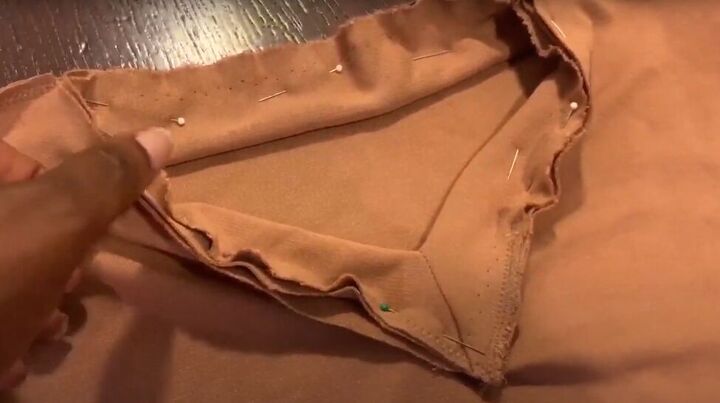
Turn the bodysuit inside-out and pin the rest of the neckband in place. Sew the neckband in place using a straight or zigzag stitch. Then top stich to get a professional finish.
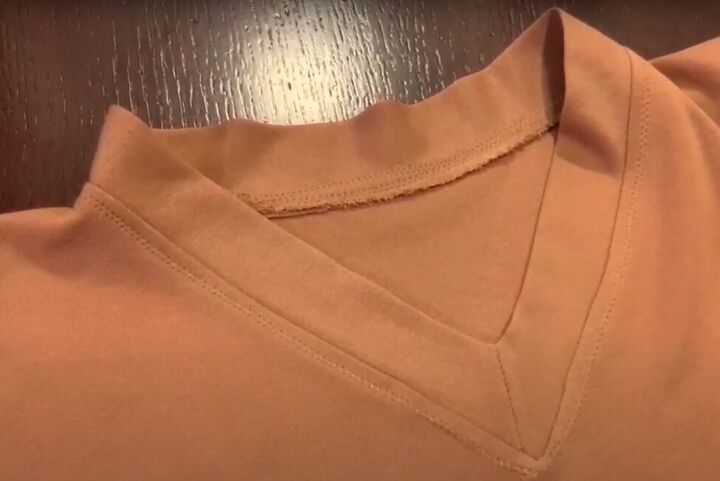
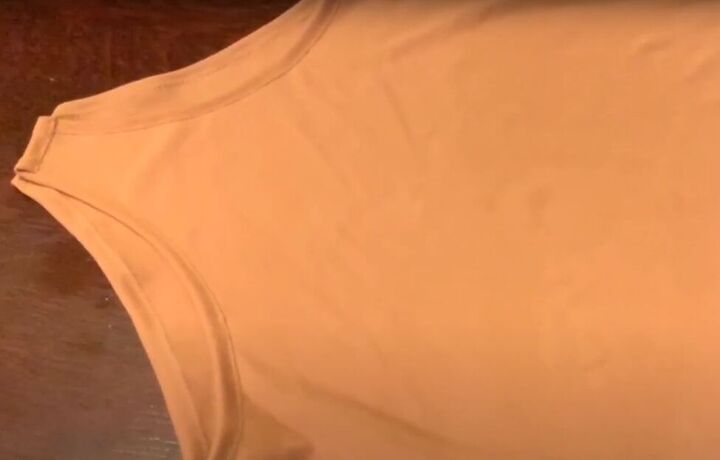
This is how your finished neckline will look.
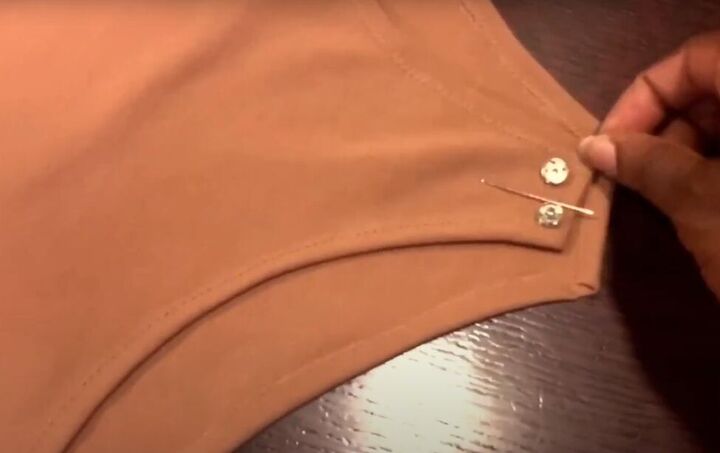
7. Add snaps to the crotch
Hand-sew the snap fasteners in place at the crotch of the bodysuit.
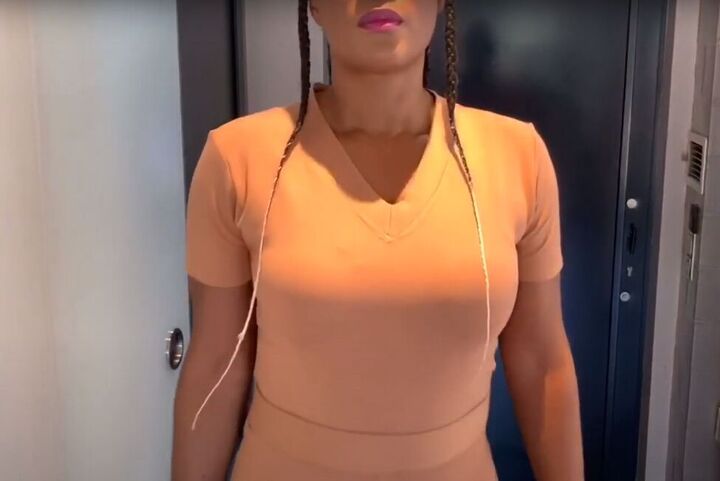
DIY bodysuit tutorial
Here’s the finished bodysuit. It’s so comfortable and versatile. You can wear it with any bottoms: pants, shorts, or skirts. I hope you try making this DIY bodysuit for yourself and then leave a comment to let me know how you liked this tutorial.
The author may collect a small share of sales from the links on this page.


Comments
Join the conversation
WOW, what nice work! This looks great! Not sure I have enough talent to do as good a job, but I appreciate your sharing this.
I’m saving this to try. I thought I was the only one still wearing body suits! Thank you for your easy to follow tutorial. Great job!