How to Make DIY V-Cut Workout Shorts That Flatter Your Waist

It’s the New Year! You’ve made a resolution to start exercising and moving your body. But you also want to look cute while doing it!
One of the most flattering workout items is v cut shorts. There’s just something about that crossover at the waist that makes your waist look smaller!
If you’ve been wondering how to make v cut shorts and been looking for a cross waist biker shorts tutorial, here’s how to make them in a snap! Let me show you how to sew DIY v cut workout shorts!
Tools and materials:
- Stretch jersey fabric
- Your own well-fitting leggings as a template
- Sewing machine
- Pins
- Scissors
- Paper
- Pen
To make these v cut shorts into full or capri leggings, measure your leg length and cut the fabric to your measurements.
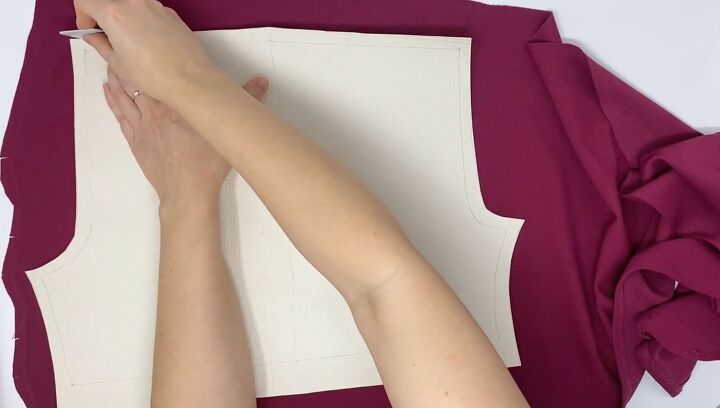
1. Make the pattern
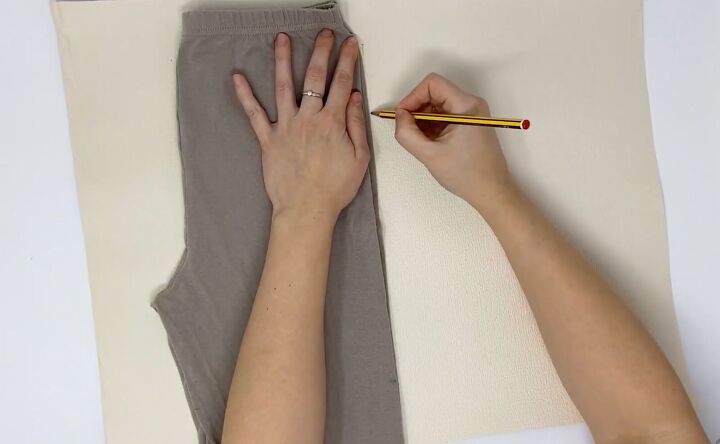
Lay your favorite leggings on paper to create a pattern. Fold them in half lengthwise and pull the crotch out as much as possible.
Start at the right side of the paper. This is for the back. Begin tracing just under the elastic portion of your legging template. Continue to trace the pattern and add ½ inch more at the crotch while tracing.
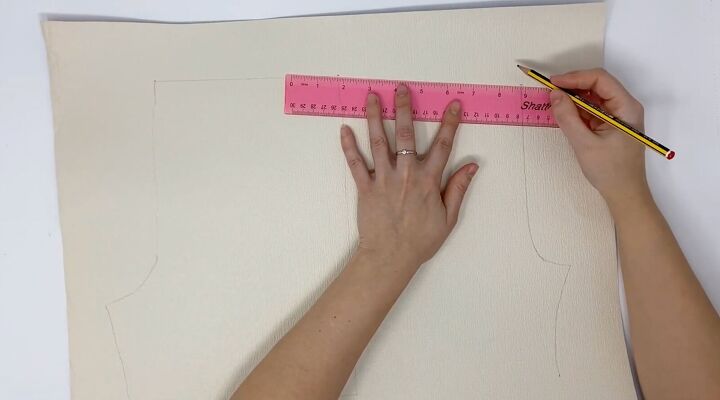
Use a ruler to make a straight line across the top and the bottom of the back portion of the pattern.
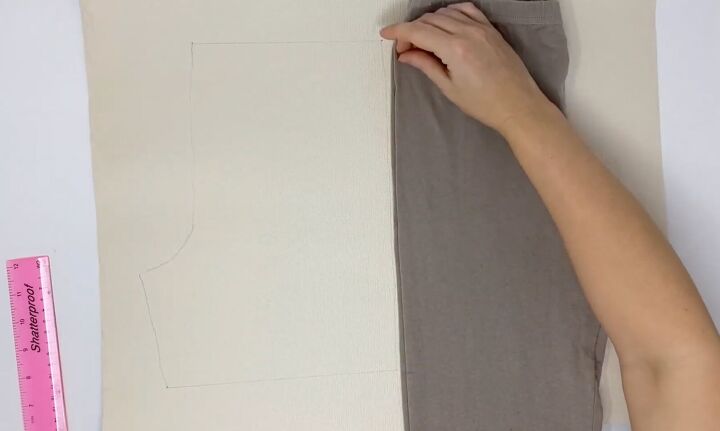
Now flip the leggings the other way, and trace the pattern on this side.
The front is a bit lower than the back so the start point is just a drop lower than the other side. Use the ruler at an angle to reflect this lower top.
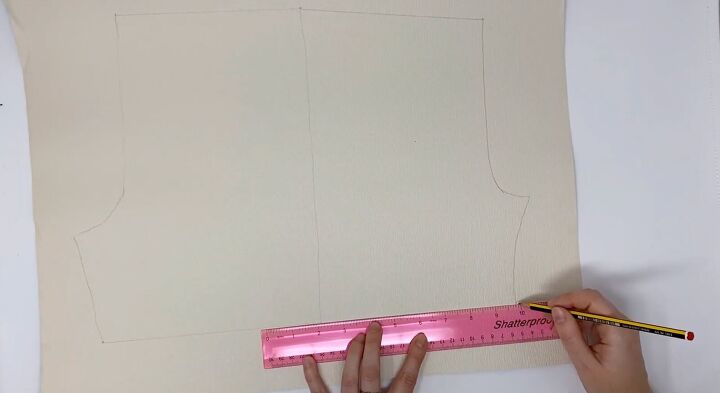
Make sure the pattern reflects the proper measurements. Add ½ inch seam allowance all around and ¾ inch at the bottom.
Place the pattern on the fabric. Trace and cut out this side.
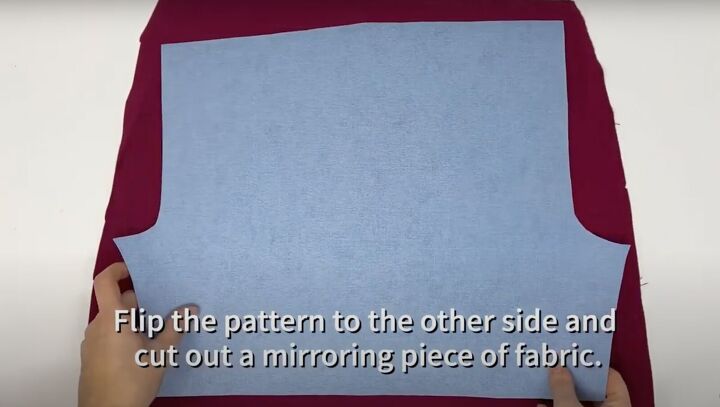
Then flip the pattern over. Trace and cut out the other piece, mirroring the other piece of fabric.
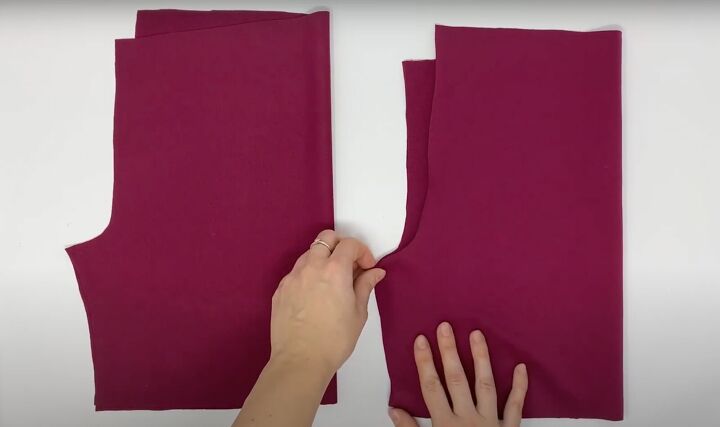
2. Sew the shorts
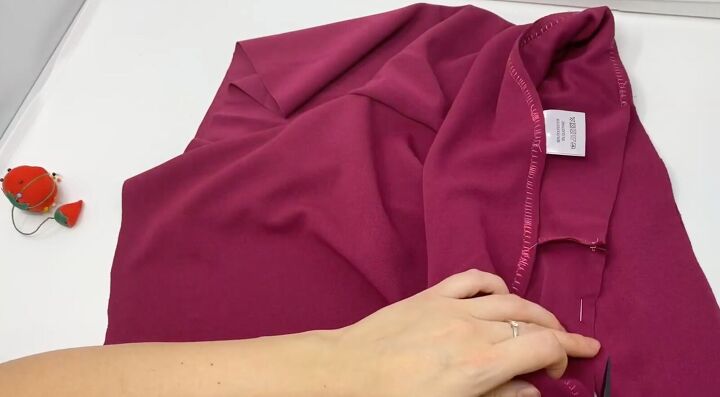
Fold the pieces so the crotch pieces are lined up for each piece.

Sew the crotch area only on each piece.
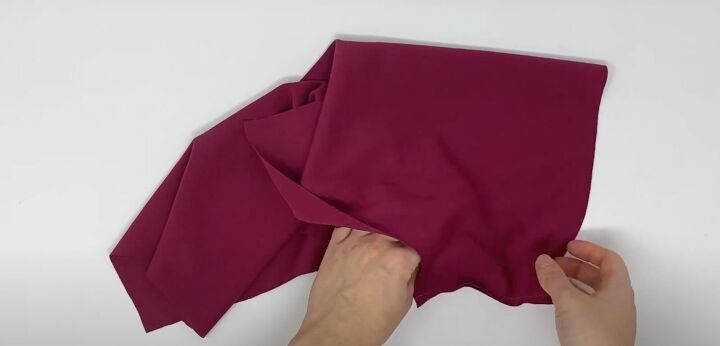
Flip one of the pieces to the right side facing. Place the right side facing up piece inside the other sewn piece so their right sides are together.
Match up the seams. Clip in place at the sewn crotch point.
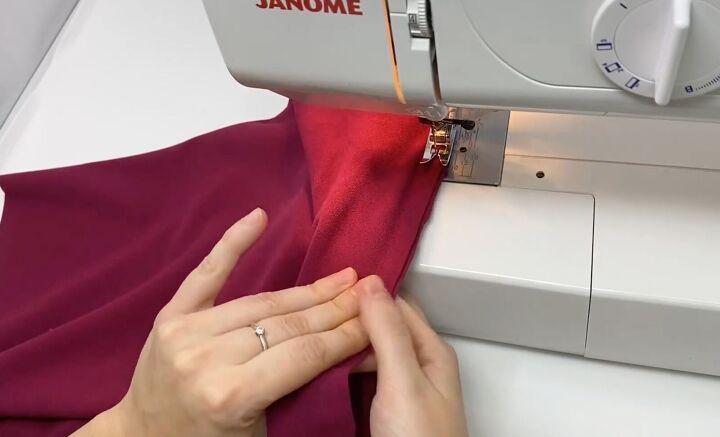
Sew the side seams using a straight stitch with a stretch or jersey needle. Start at the crotch and do each side. Then flip it inside out.

3. Make the v waistband
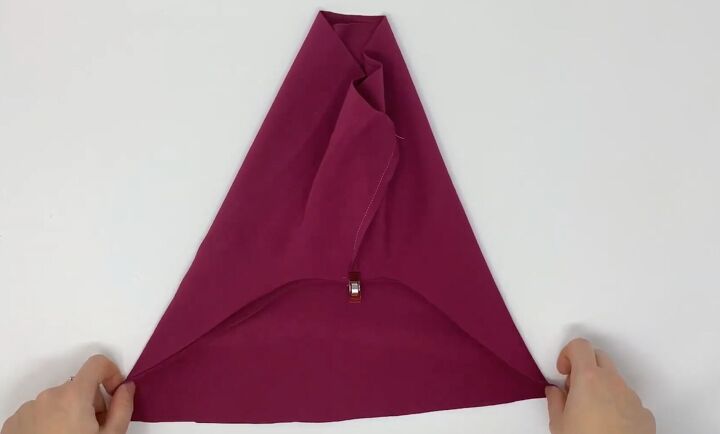
Lay the shorts so the front faces you. Mark about 4 inches out on each side from the center seam on the front.
Cut the waistband fabric to measure your waist size plus 8 inches and the width at 6 inches.
Fold the waistband in half to mark the center. Fold it again so the right side is facing out.
Flip the shorts so the back is facing up now. Line up the center mark of the waistband to the center back seam.
Clip in place so the open edge of the fold matches the raw edge of the shorts.
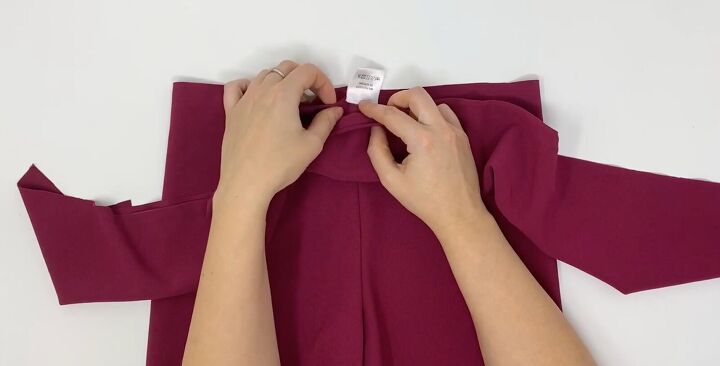
If you want to place your own label here, this is the time to do so!
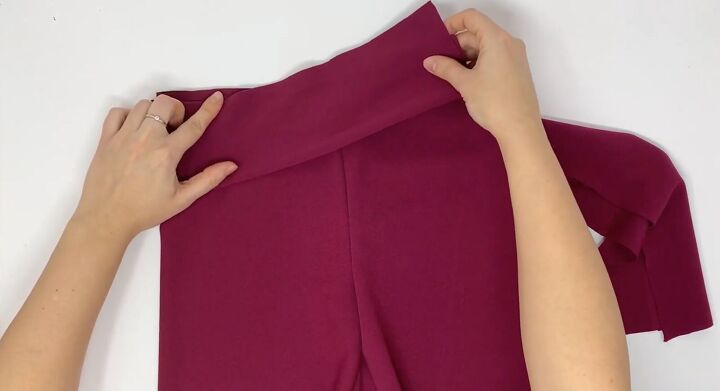
Turn the shorts so the front faces you. Wrap the waistband around to the right side.
Sew the back, with the waistband on top, stretching it across to the front. Sew until the 4-inch mark on the front.
Stretch the waistband slightly as you sew from the center point. Don’t stretch the shorts!
Now sew on the left side - this time with the waistband beneath the shorts, again only stretching the waistband whilst sewing.
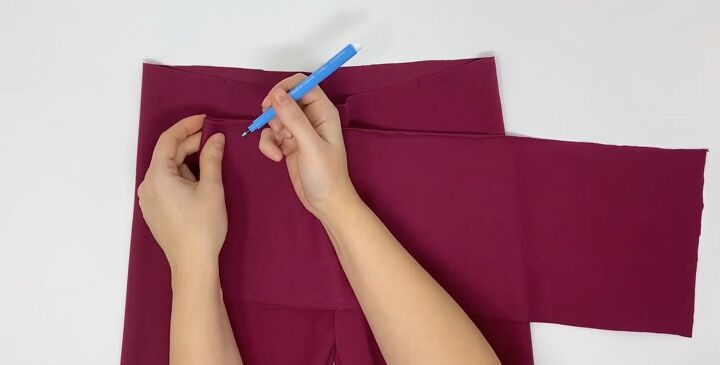
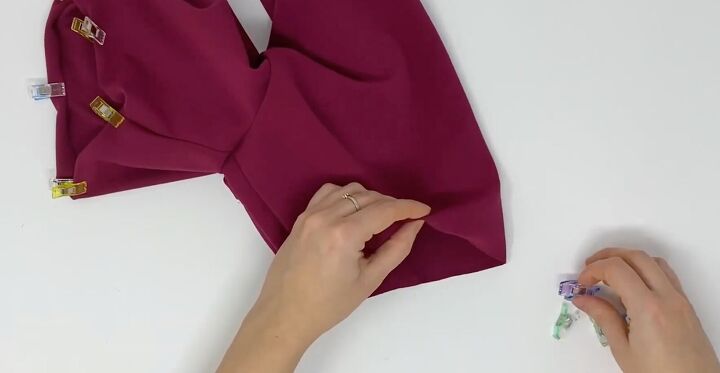
Once you’re done sewing, stretch the waistband to see how much fabric you’ll need to get to the marked points. Pin the fabric.
Cut the excess. Open the pin.
Lay the other piece across to the opposite side and mark. Pin in place. Cut the excess.
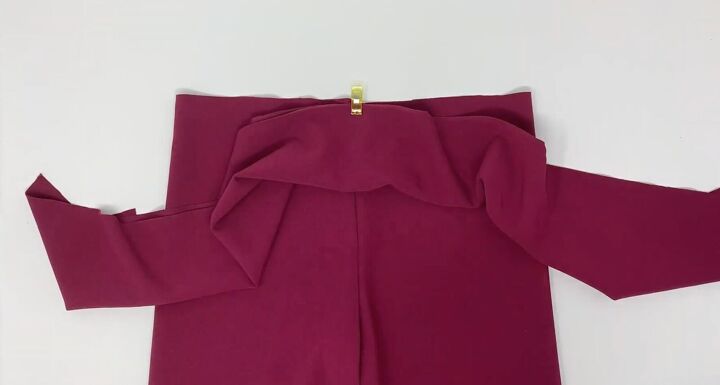
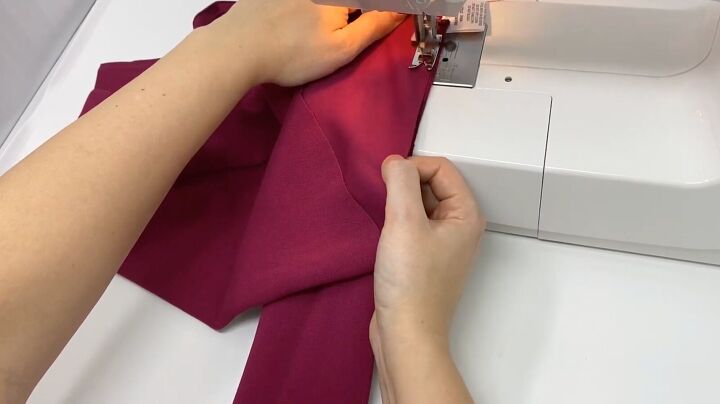
Sew the right side down first. Then, cross the fabric over.
Pin the fabric in place and trim the excess on the left side.
Flip the shorts over and sew the left side down. Go slowly when sewing as you’ll have to do so through many layers of fabric.
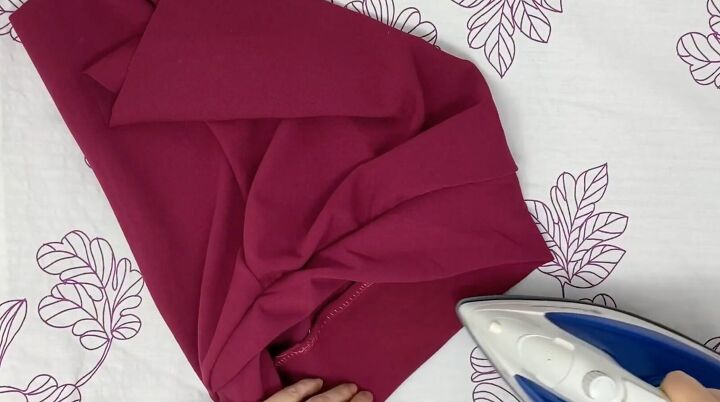
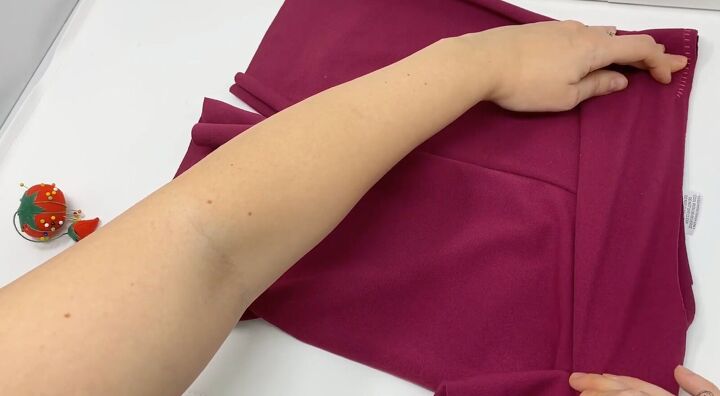
4. Press and hem
Iron all the seams.
Double fold the hem. Clip in place and then sew to finish!
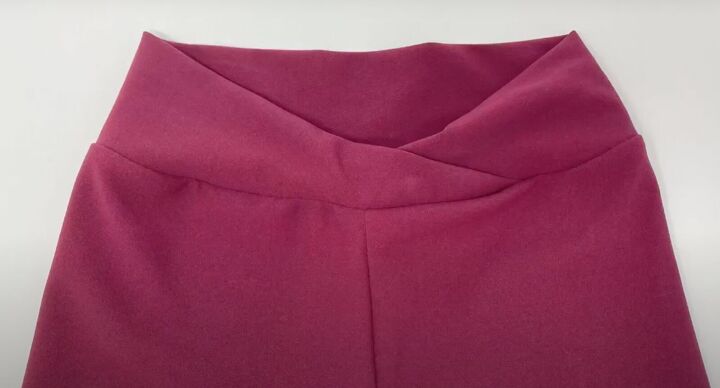
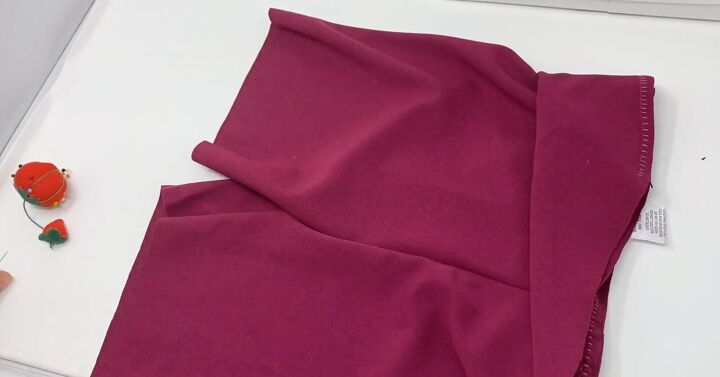
DIY v cut workout shorts
There you have it! Did you ever think you’d be making and sewing your own workout shorts?
Please let me know if this v cut shorts tutorial helped you create your own sportswear. Even better, share your photos!
The author may collect a small share of sales from the links on this page.


Comments
Join the conversation
I love this! I have one pair of leggings my niece gave me years ago. They are the only ones that fit me. I've tried on others at several stores but can't find any that fit well. Following your tutorial I'll be able to make my own in different colors too. Thank you so much for sharing❤️