Easy Thrift Flip Tutorial: How to Make a Skirt Bigger

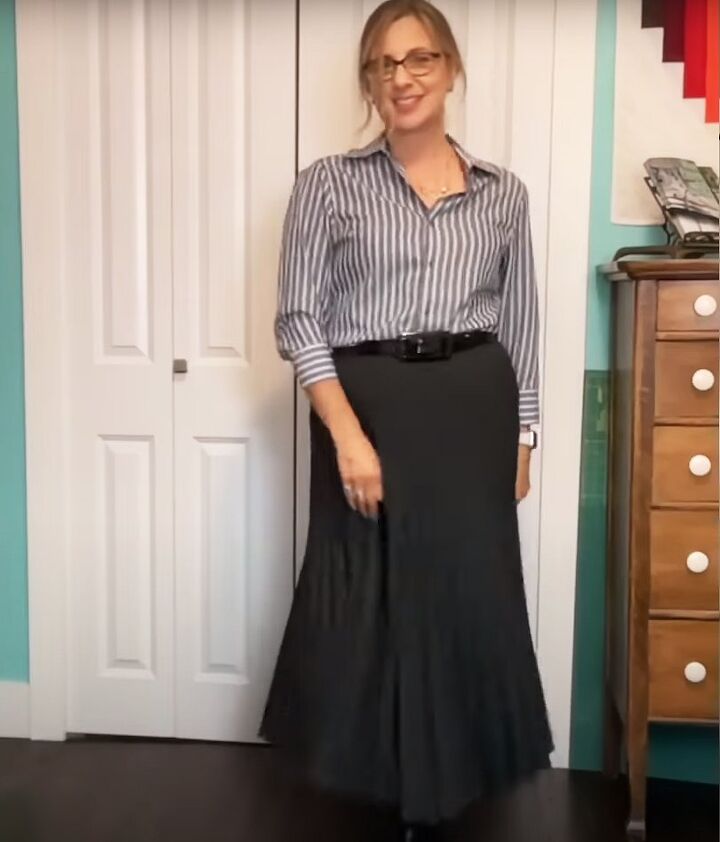
I thrifted this beautiful A-line knife-pleated skirt that’s going to be the lynchpin of my fall wardrobe.
It doesn’t fit me around the waist at all but it’s also about 4 inches too long.
That combination is what’s going to allow me to both shorten it from the top and alter the skirt to fit around my waist.
So follow along to see how to make a skirt bigger.
Tools and materials:
- A-line skirt
- 1 inch wide woven non-roll elastic
- Seam ripper
- Measuring tape
- Fabric marker
- Pins
- Scissors
- Sewing machine
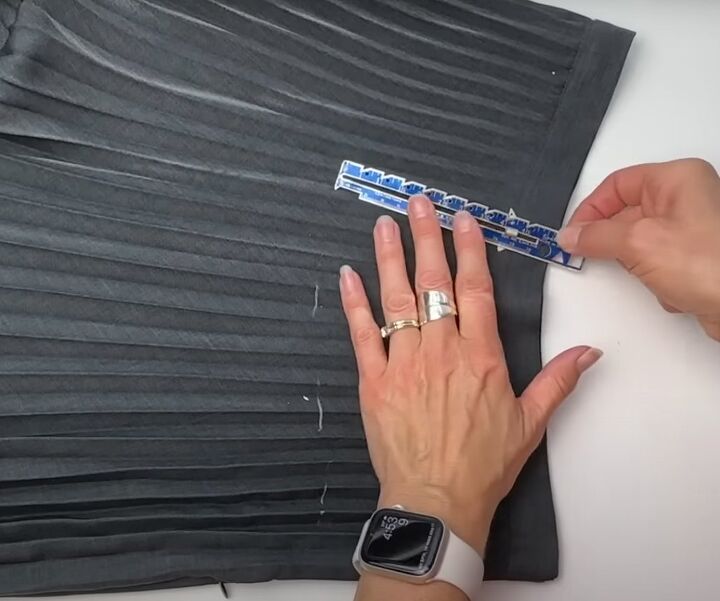
1. Cut the skirt
With any flared skirt, you can usually pull it up and find the level where it fits around your waist.
For me, this turned out to be 4 inches below the waistband, which coincidentally was the amount I needed to shorten the skirt by.
Measure the amount you want to remove and mark it across the skirt, following the curve of the waistband.
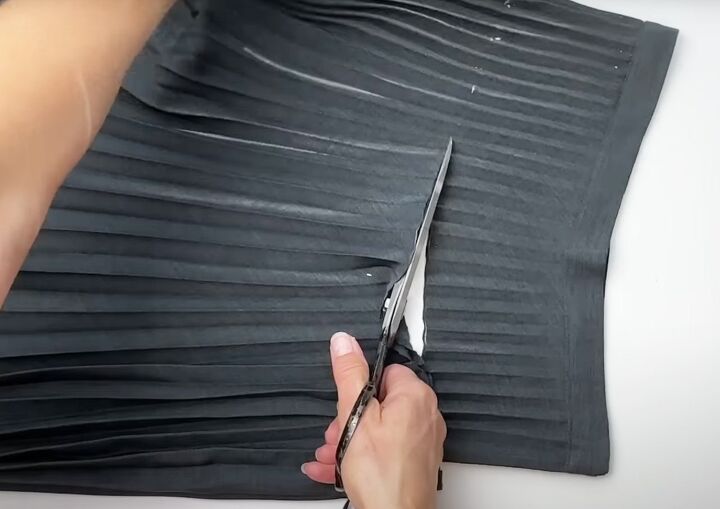
Cut along the line, cutting through the zipper if there is one, making sure to start and stop with a right angle.
Use a seam ripper to remove the rest of the zipper.
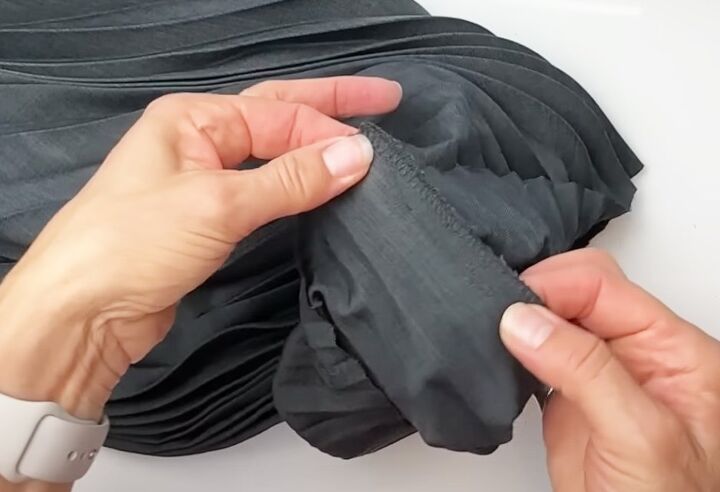
Sew up the side seam.
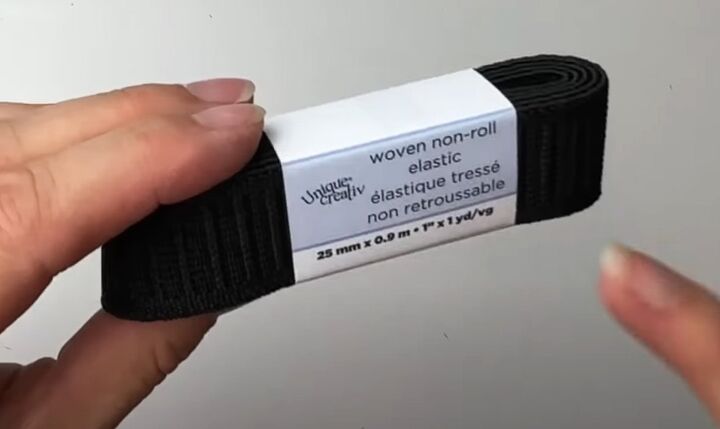
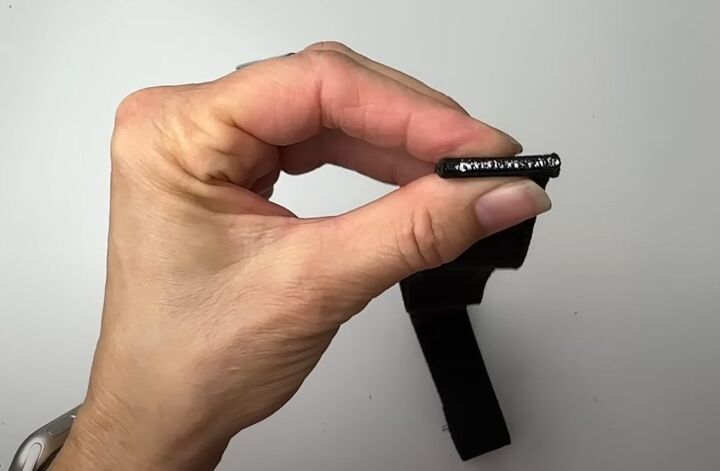
2. Prepare the elastic
Cut a length of non-roll elastic so that it’s comfortably snug around your waist.
It’s better to have it slightly tight than too loose at this point. It’s easier to loosen it if necessary but difficult to make it tighter.
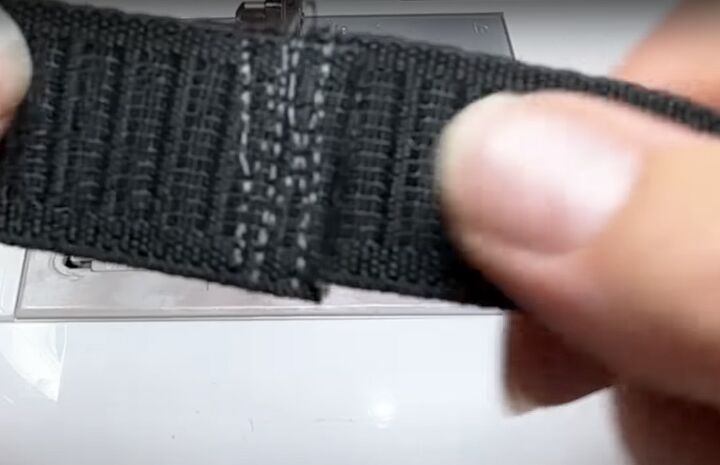
Overlap the ends of the elastic and sew them securely together.
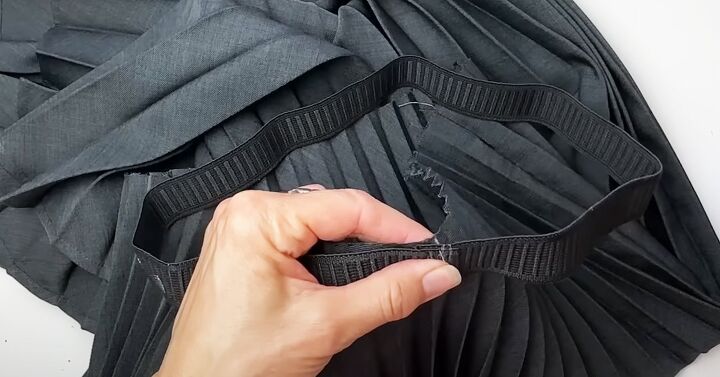
Fold the elastic in half and half again from the seam and mark it into quarters.
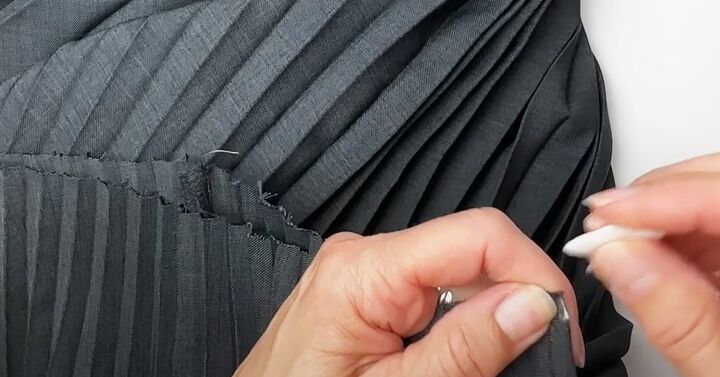
3. Attach the elastic
Mark the center front and back of the skirt by placing the side seams together.
Matching the quarter marks, pin the elastic to the right side of the skirt at the four positions.
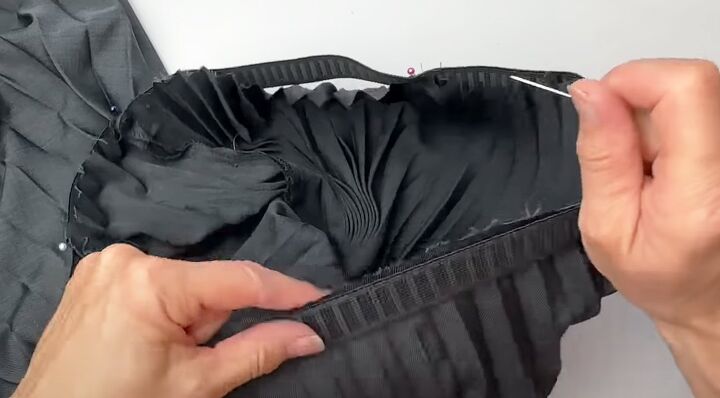
Stretch the elastic to fit the skirt and pin it in place between the marks.
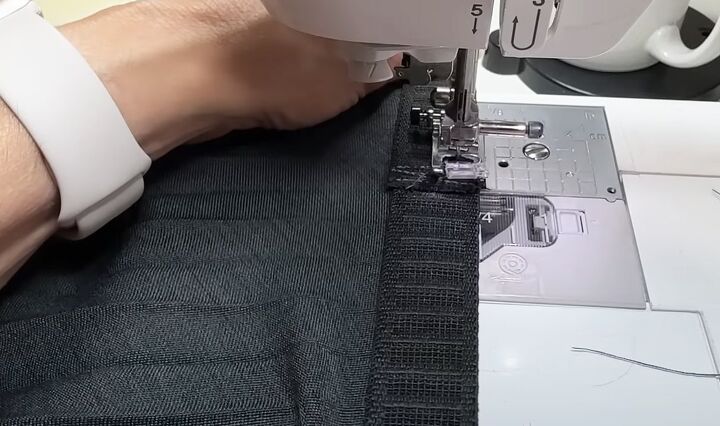
Starting at the center back, sew the top edge of the elastic to the skirt.
Stretch it as you sew and keep the raw edges together.
Try the skirt on and make sure the elastic is tight enough around your waist.
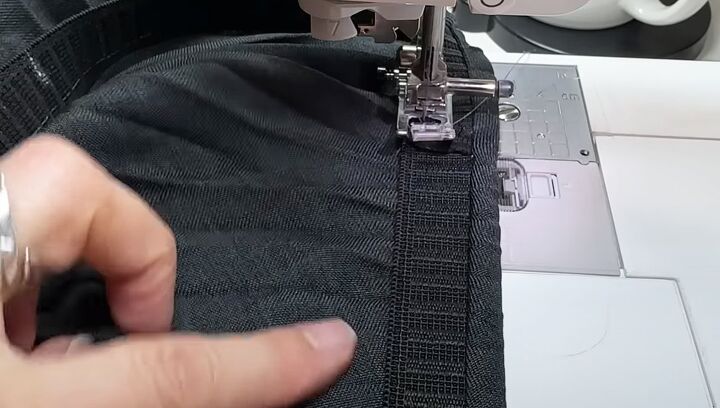
4. Sew the waistband
Turn the elastic to the inside of the skirt.
Check that your bobbin thread is the right color, as it will be showing on the right side.
Keeping the top of the skirt pulled taut against the top edge of the elastic and the elastic stretched, sew the bottom edge of the elastic to the skirt from the inside.
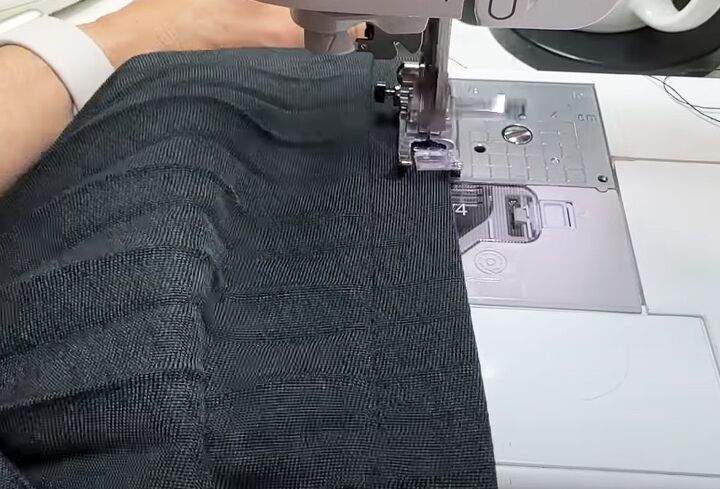
Increase your stitch length to 3.5.
Sew a row of stitching around the top edge of the waistband from the right side.
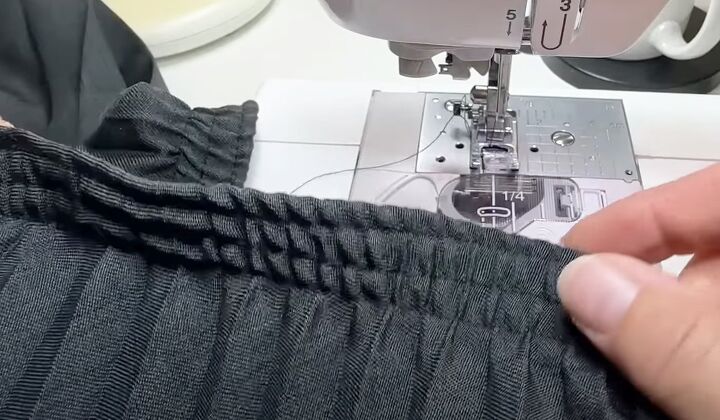
Sew a third row centered between the two visible rows.
How to make a skirt bigger
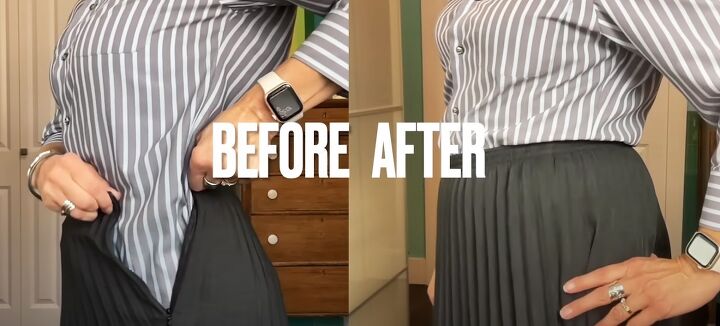
This skirt alteration was a complete success! I had about a 4 inch gap at the waist so the skirt was unwearable before. Now it not only fits, it’s the perfect length as well.
A pleated skirt like this wouldn’t be at all easy to hem from the bottom and keep the pleats intact. So shortening it from the top was the perfect solution to both issues.
And if you don’t like the look of the waistband, it’s easy enough to cover it with a belt.
Now you see how easy it is, I hope you’ll give upcycling clothes a try and make yourself a great outfit for almost nothing.
If you have any questions or comments, I’d love to hear from you below.
Next, learn How to Easily Change a T-shirt's Neckline.
The author may collect a small share of sales from the links on this page.


Comments
Join the conversation
Some great sewing tips! Thanks for sharing!