How to Upgrade Your Wardrobe: 2 Cute Thrift Flip Ideas

Hi everyone. In this tutorial, learn how to upgrade your wardrobe and re-style clothing you no longer wear into something brand new! Let's get started.
Tools and materials:
- Dresses
- Scissors
- Fabric marker
- Tape measure
- Seam ripper
- Sewing machine
- Sewing pins

Thrift Flip 1: Cute version — 2-piece matching set
This dress is quite formal, which is not me, so I’m going to turn it into a cute 2-piece matching set.
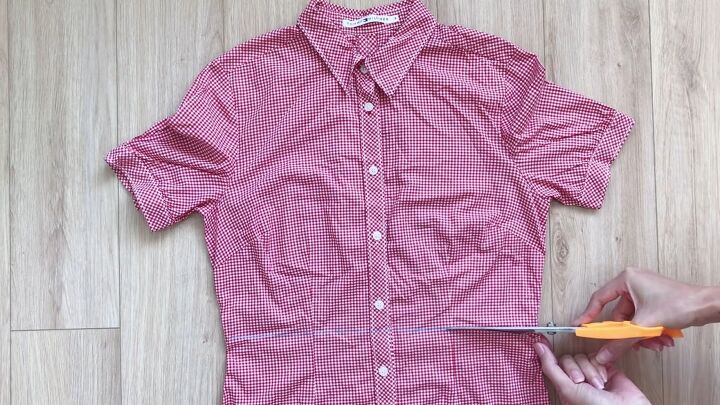
1. Draw and cut a horizontal line to divide the dress into two pieces
Draw a horizontal line from the shoulder to the upper belly button. This will divide the dress into two parts. Cut along the line.
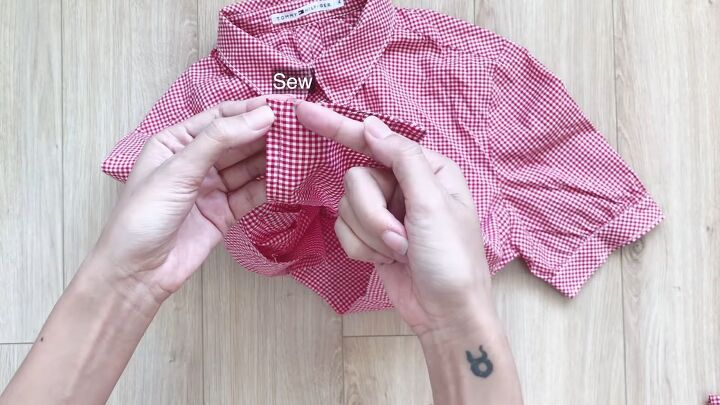
2. Sew the front flap until the top fits
After cutting, check the width of the top to see if it fits your waist size.
If it doesn’t, re-sew the front flap of the shirt until it meets ½ waist size + ½ inch.
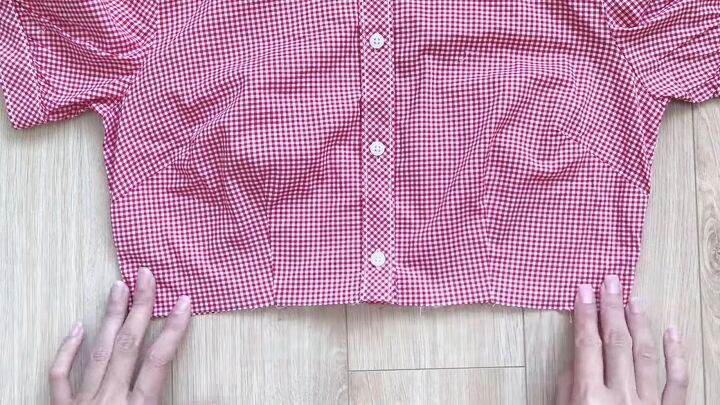
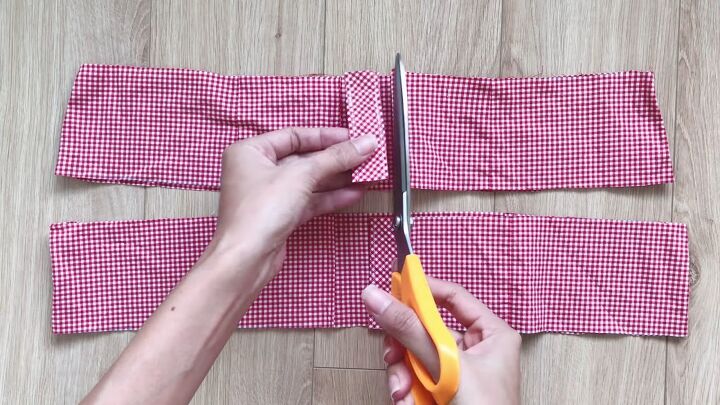
3. Cut out a rectangle
Cut a rectangle with 3-inch width from the bottom half of the dress.

4. Remove the inner fabric
Use a seam ripper to remove the inner fabric of the rectangle.
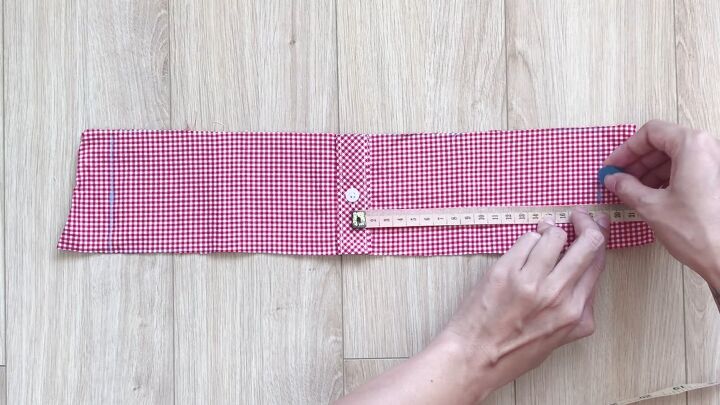
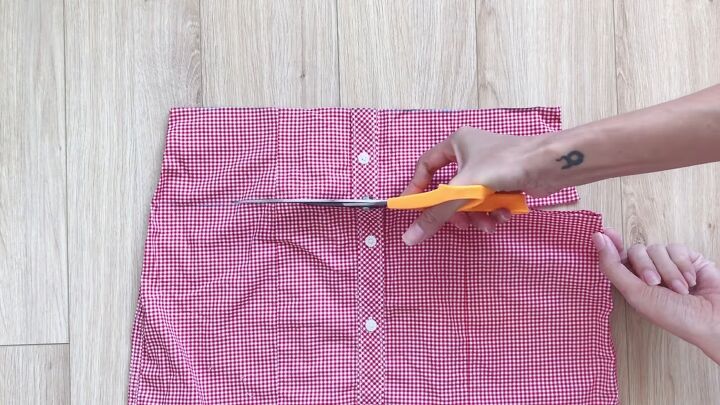
5. Measure and cut the rectangle
Measure the width of the rectangle to fit the waist size. This should be ¼ waist size + ¾ inch.
Mark your measurement on both sides of the button area.
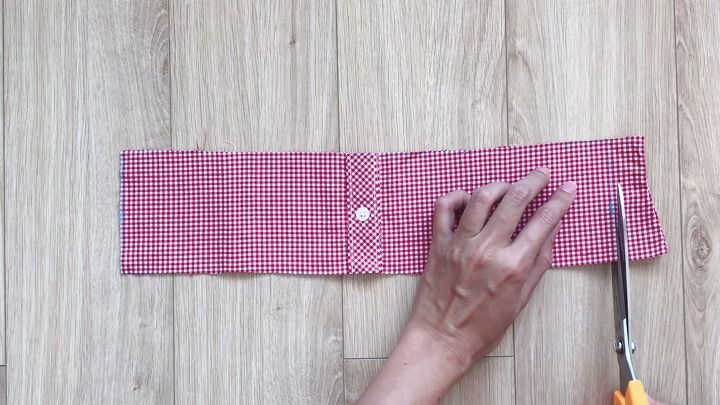
Cut along the line.
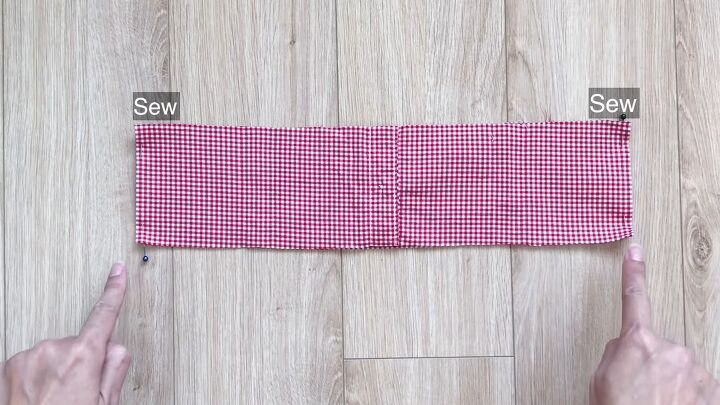
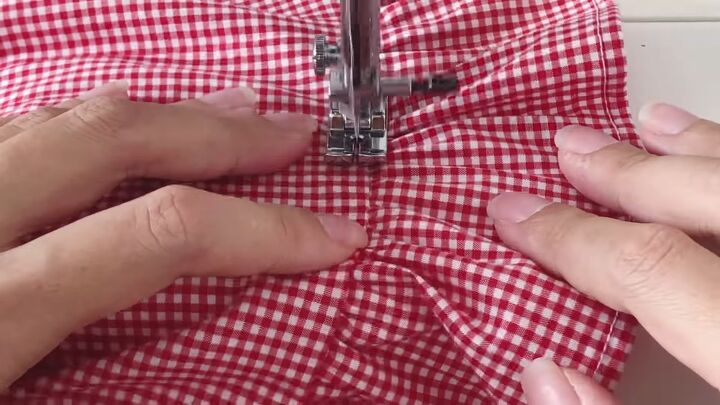
6. Pin and sew along the line
Pin and sew the two layers together.
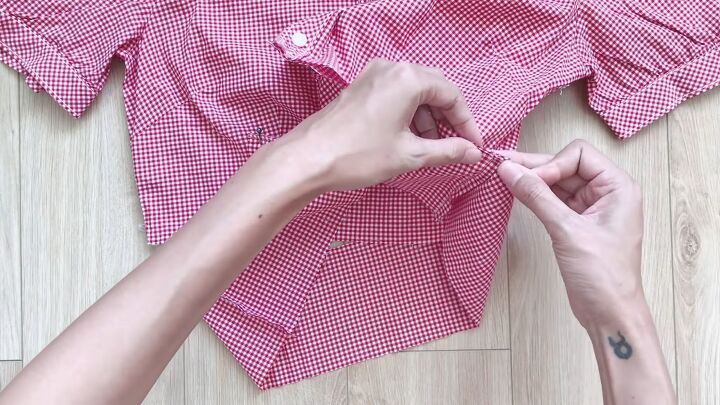
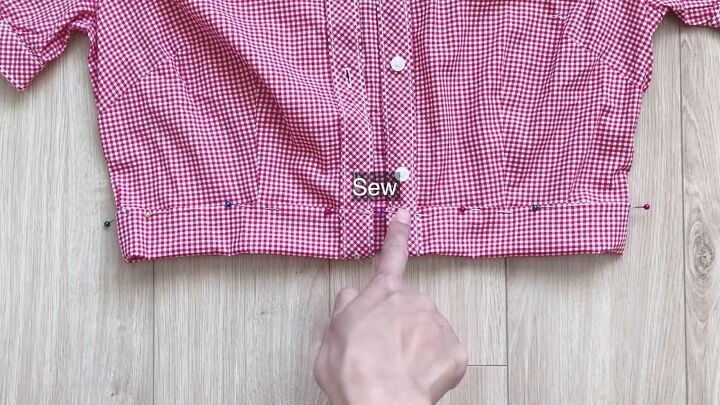
7. Pin and sew the waistband to the top
Connect the waistband to the top by connecting the middle button area first and then pinning along the rest.
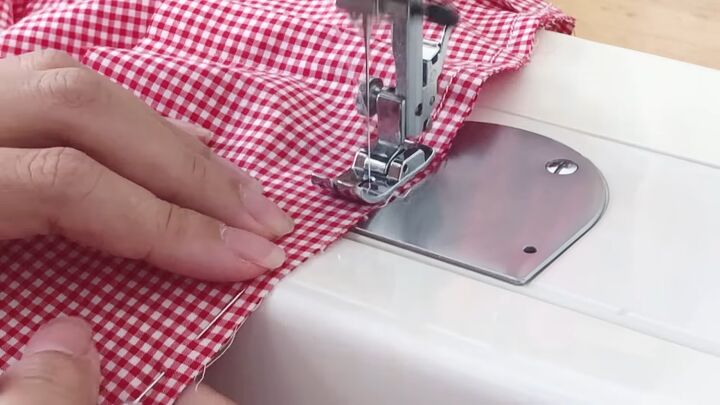
Sew.

8. Seam the waistband
Fold the waistband inside two times.
Sew.
9. Add new button
Make the new buttonhole and install the button at the end of the top.
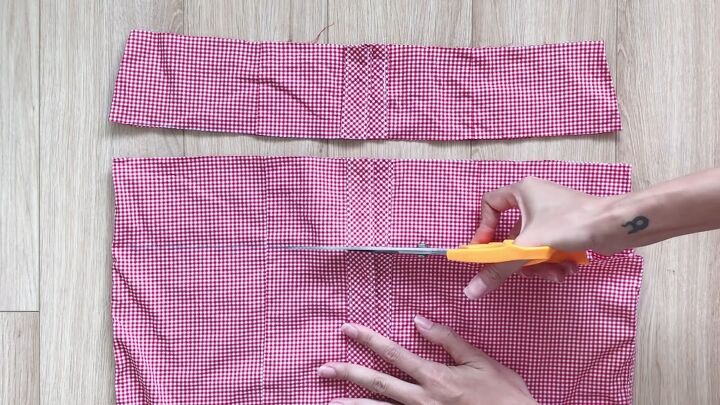
10. Cut two rectangles from the bottom
Moving on to the skirt. Cut two long rectangles with 3-inch width.
11. Remove the middle band
Cut out the middle band of both rectangles.
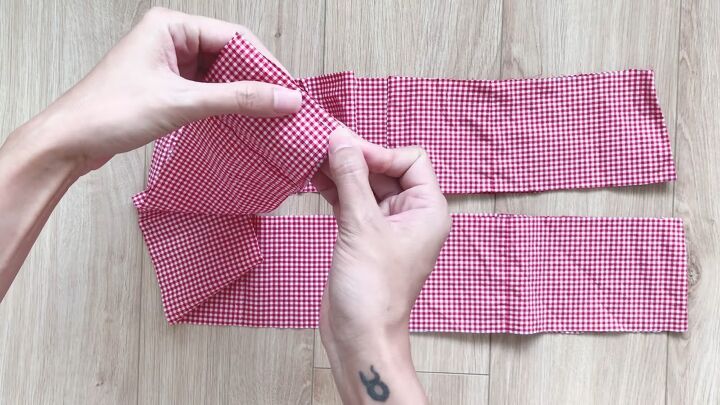
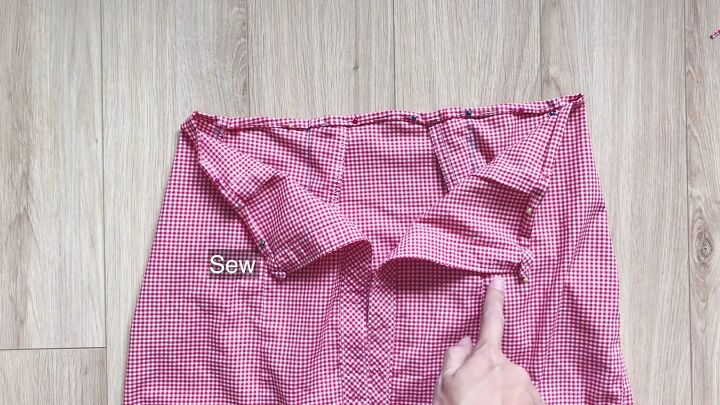
12. Form a circle with the rectangles
Pin and sew the inner edges of both rectangles together to create a circle.
13. Hem the circle
Fold the edge inside twice and sew.

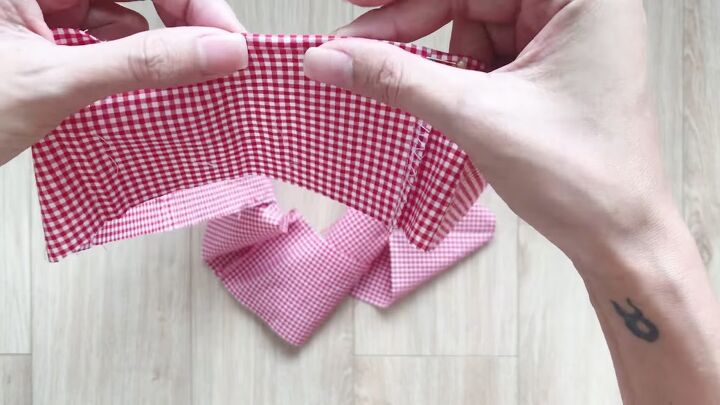
14. Create the ruffle
Make a loose seam on the other side of the fabric to create a ruffle and pull.

The width of the ruffle has to be the same as the skirt.
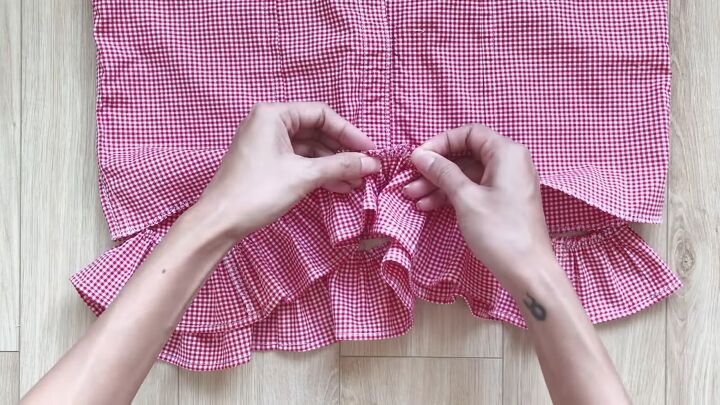
15. Connect the ruffles to the skirt
Pin the ruffles to the end of the skirt to create the ruffle hem and sew.
16. Add a second seam
Add a seam next to the first so the ruffle won’t move when you wear the skirt.
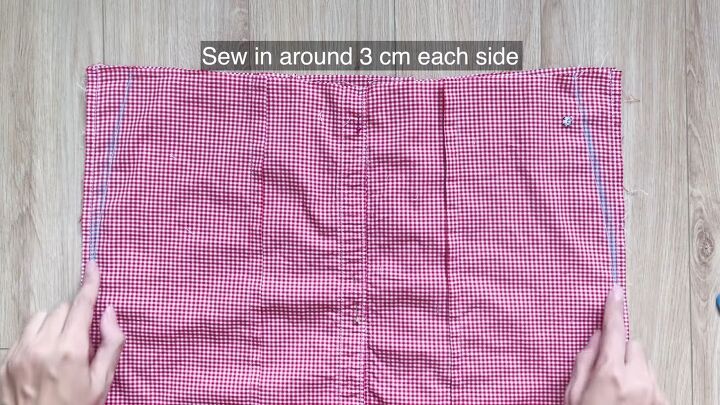
17. Sew darts to shape the skirt to your size
Make a dart on each side of the skirt to make the skirt 1 inch smaller.
Put the skirt on to mark the width of the darts in the back so it fits your body perfectly. Sew.
18. Seam the edge of the skirt
Fold the inside of the skirt twice and sew.
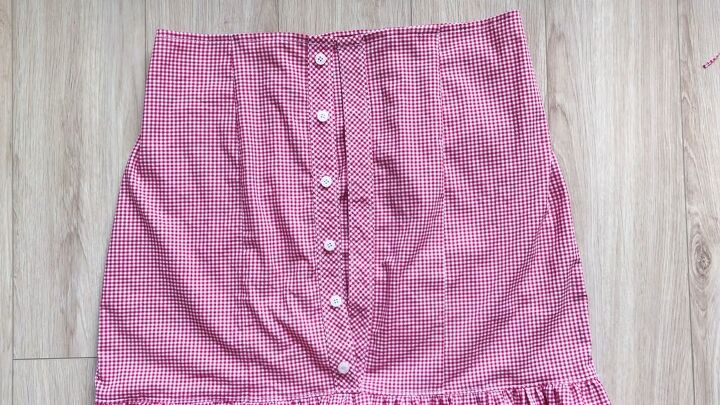
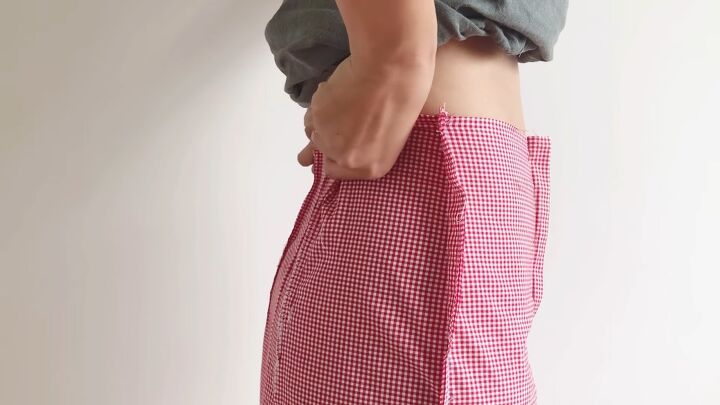
19. Add buttons
Make the buttonholes and add the buttons for the skirt.

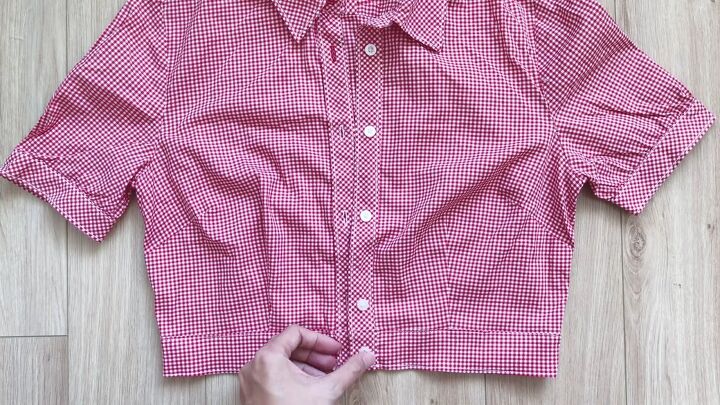
Here’s the final result of the matching set! It’s super cute and perfect for my girly side.
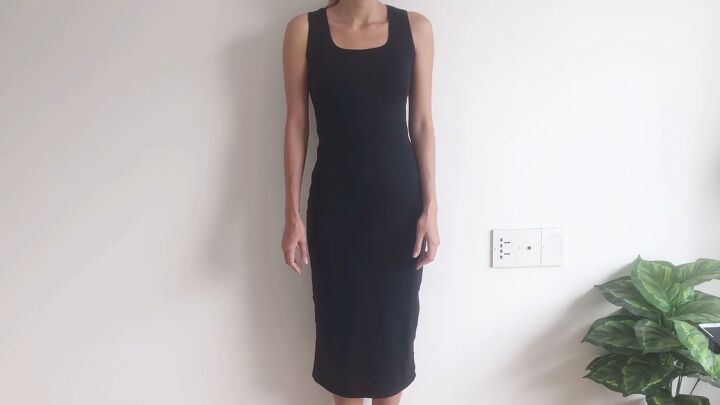
Thrift Flip 2: Sexy version — Front twisted dress
This dress isn’t too bad and it fits me well, but it’s also a little boring.
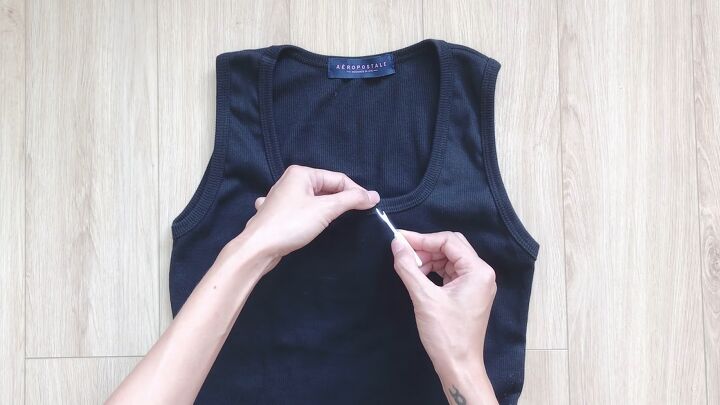
1. Unsew the hem of the neck and arms
Use a seam ripper to unsew the hem at the neck and armholes of the dress.
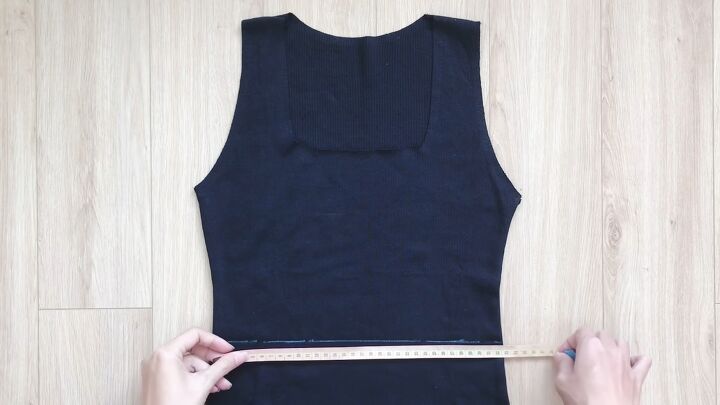
2. Draw the line guides
Draw a horizontal line the length from the shoulder to under the breast.
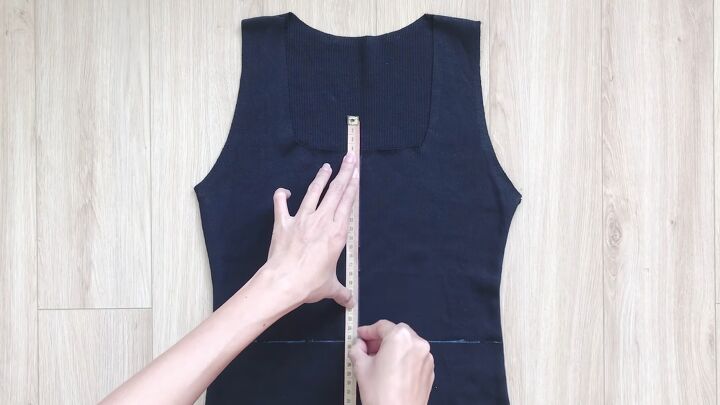
Mark the middle of the line and draw a straight line to the neck.
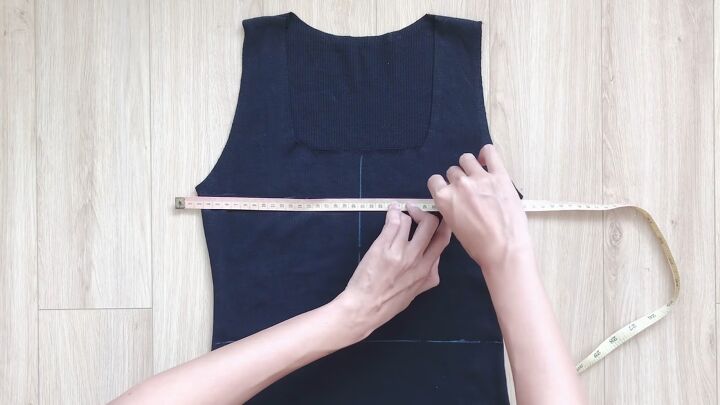
Draw another horizontal line that is the length from the shoulder to the upper breast.
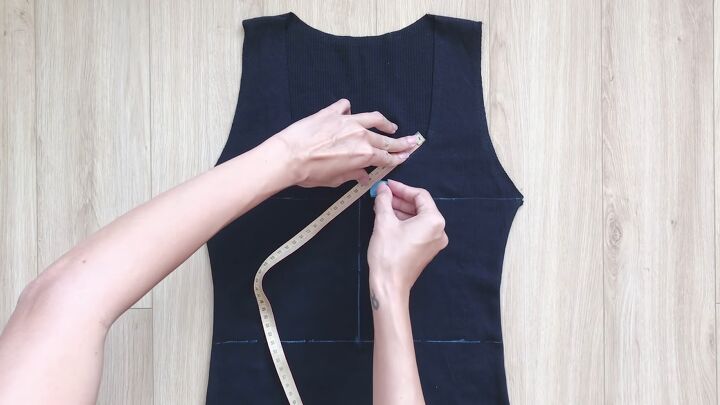
Draw lines to connect the neck to the middle point of the second horizontal line.
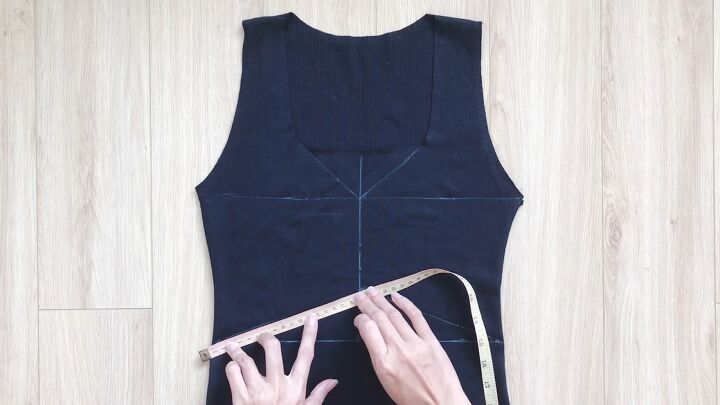
Mark 4 inches down from that middle point and connect it to the two ends of the first horizontal line.
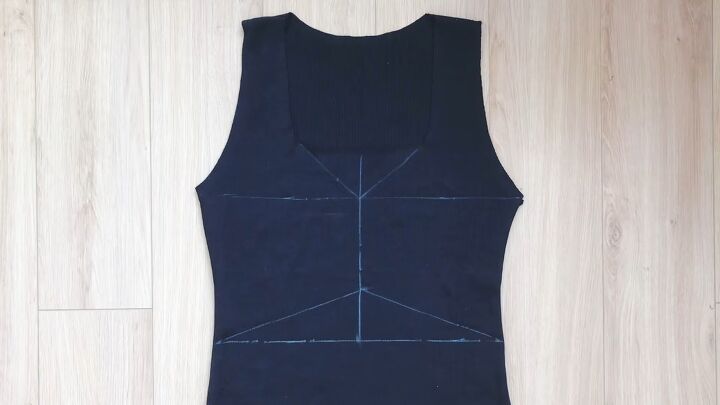
Here’s what all the lines should look like.
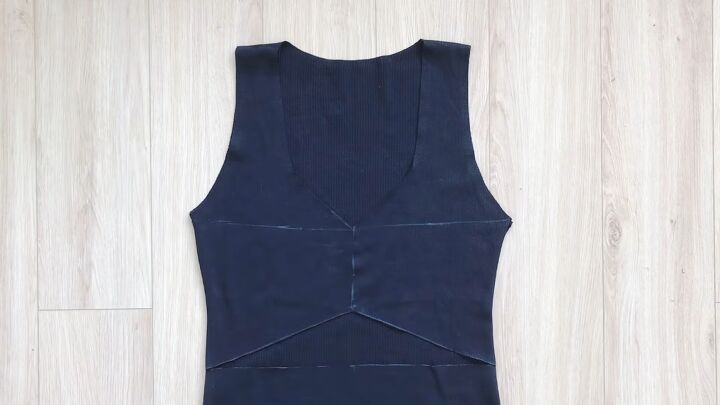
3. Cut along the lines
Cut along all of the lines except for the topmost horizontal line.
4. Pin and sew the inside edges
Fold the inside edges two times to finish the ends. Sew.
5. Twist the front of the dress
To create the twisting, turn one side of the dress upside down.
Repeat on the other side but in the opposite way. Pin together and sew.
6. Unsew the bottom of the dress
Use a seam ripper to unsew the rest of the dress.

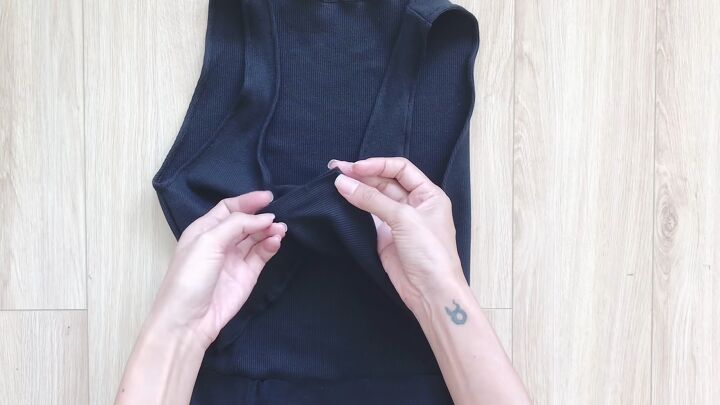
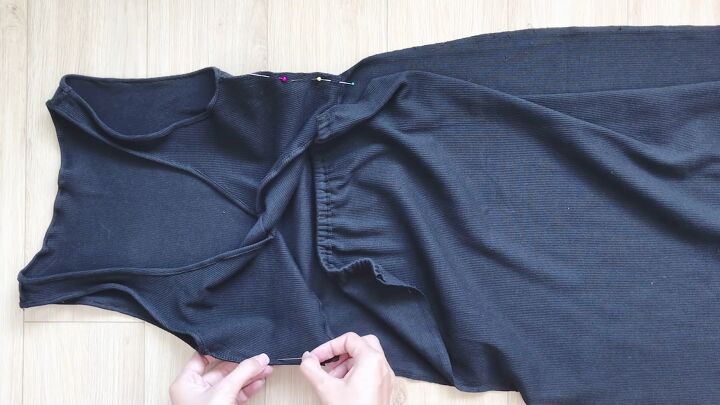
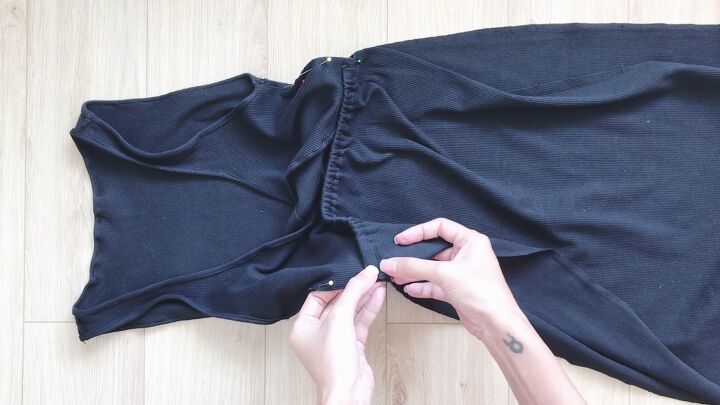
7. Sew an elastic band tunnel
Create a tunnel wide enough to fit a ½ inch elastic band. Pin and sew.
8. Cut and sew the elastic band
Cut the elastic band so it’s ½ waist size - ¾ inch. Insert it into the fabric tunnel and sew the two ends.
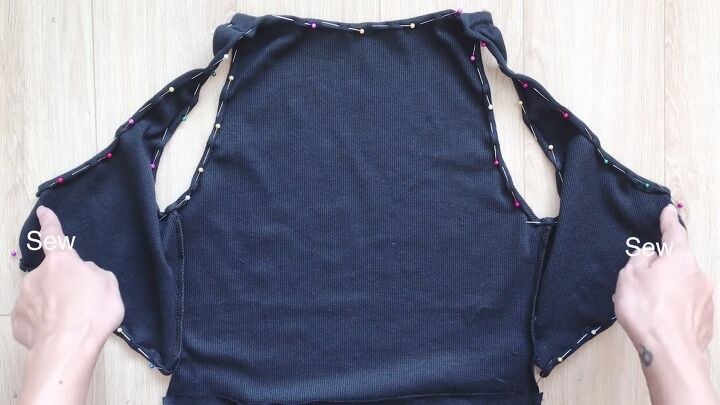
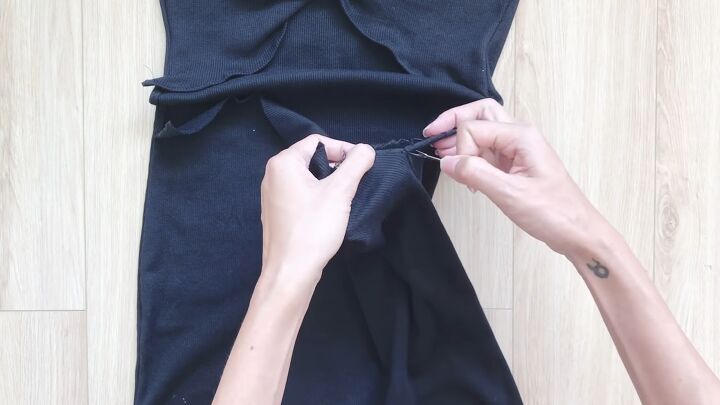
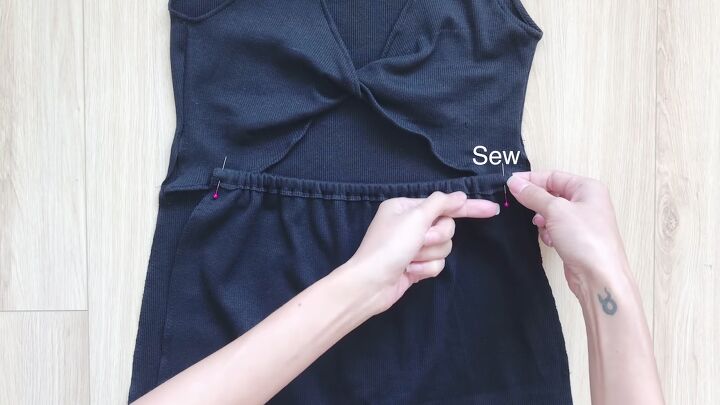
9. Pin and sew the dress pieces together
Pin the sides of the top to the back of the dress.
Pin the elastic band over the top of the dress.
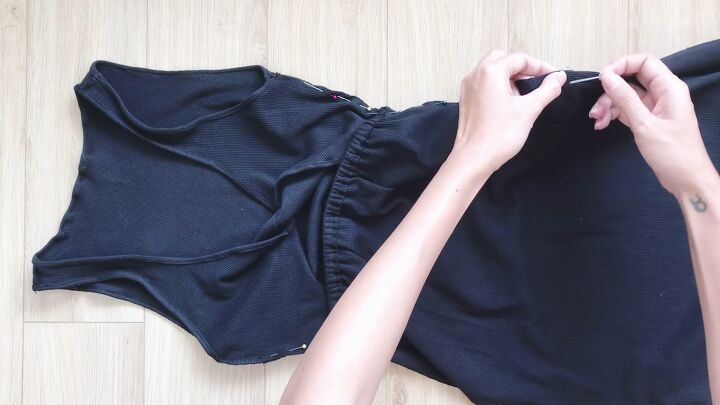
Pin the skirt of the dress to the back.
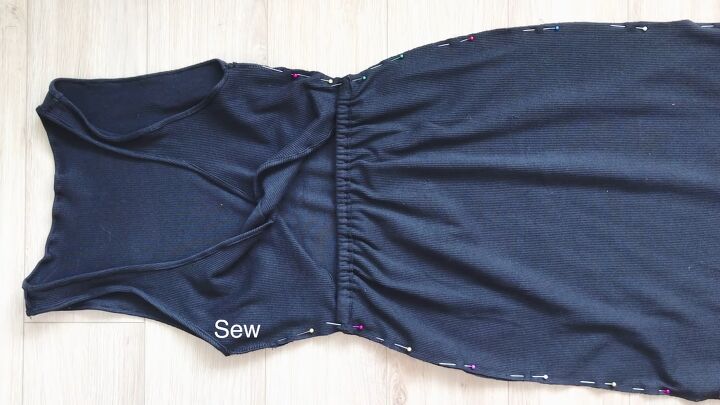
Sew.
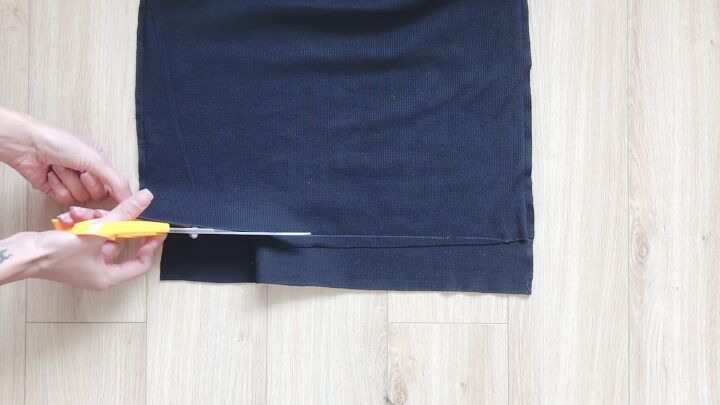
10. Cut off the end of the dress
The two sides should be equal.
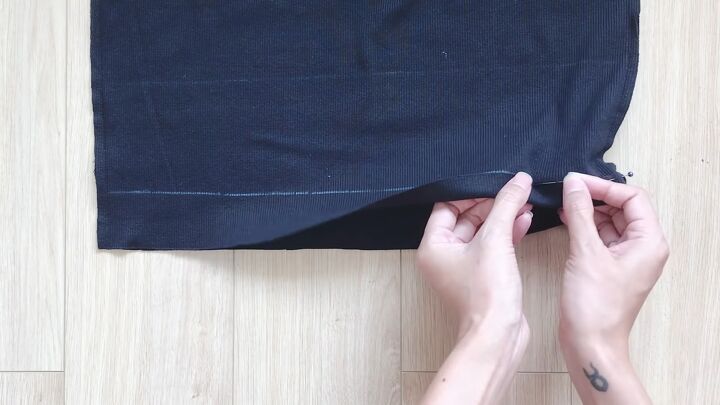
11. Hem the bottom of the dress
Mark a line 1.5 inches above the edge. Fold and pin the edge to that line. Sew.

How to upgrade your wardrobe
Here’s the finished dress! It’s sexy enough for me.
I hope these tutorials inspired you and taught you how to update your wardrobe on a budget. Let me know which one is your favorite below!
The author may collect a small share of sales from the links on this page.


Comments
Join the conversation