Got an Old Button-Down Lying Around? Turn Your Shirt Into a Skirt

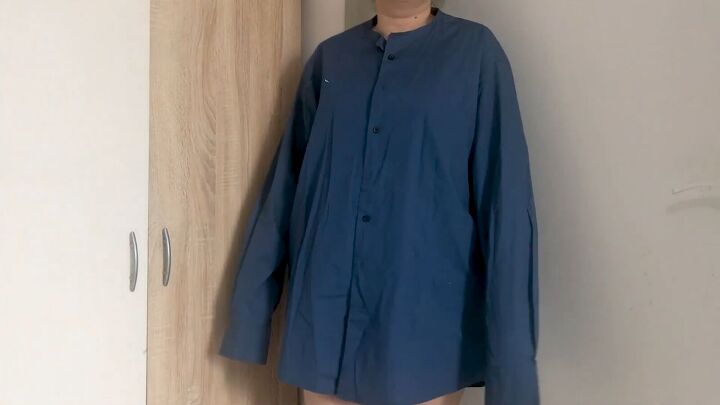
Want to know how to turn a shirt into a skirt? If you have an oversized shirt picking up dust in your closet, why not transform it into something functional and stylish? In this thrift flip tutorial, I’ll show you how easy it is to turn a shirt into a skirt that sits great on your body! Let’s get started.
Tools and materials:
- Oversized shirt
- Pins
- Measuring tape
- Sewing machine
- Matching thread
- Zipper
- Iron
- Paper
- Marker

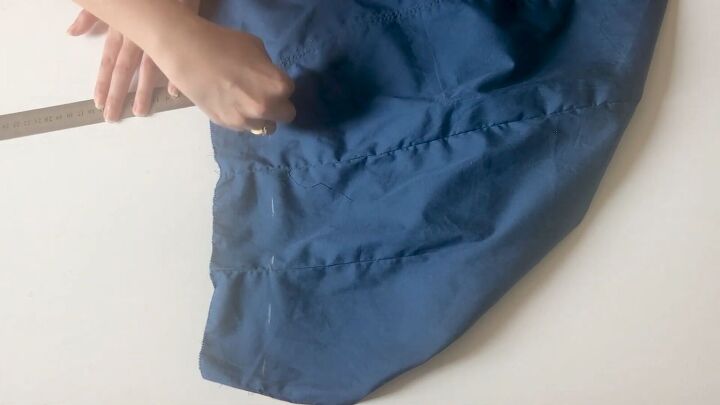
1. Take your measurements
Before we start the DIY shirt into skirt thrift flip, it’s important to take the following measurements;
- Waist
- Hips
- Waist to hip
- Skirt length
Now, it’s time to calculate the final numbers; this will include seam allowance and darts where applicable.
So, take note of the following;
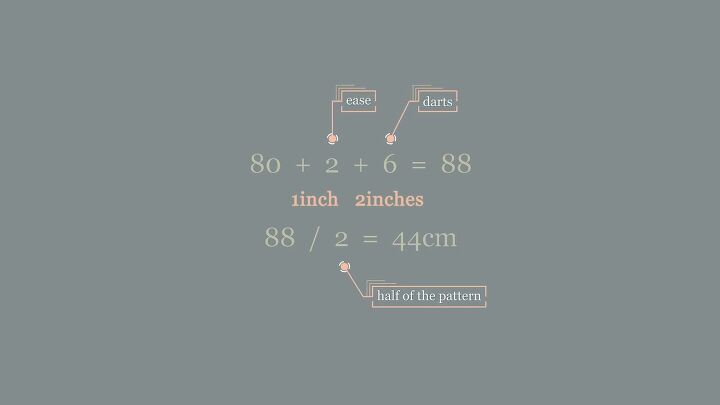
Waist
Your measurement + 1 inch (seam allowance) + 2 inches (darts)
Divide the number by 2
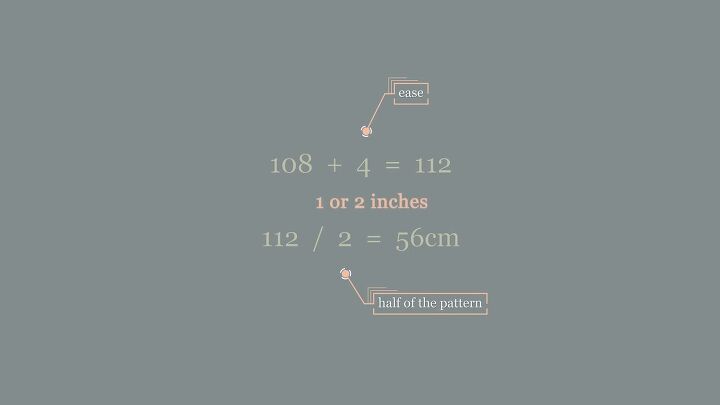
Hips
Add 1 or 2 inches for the seam allowance and divide that in two.
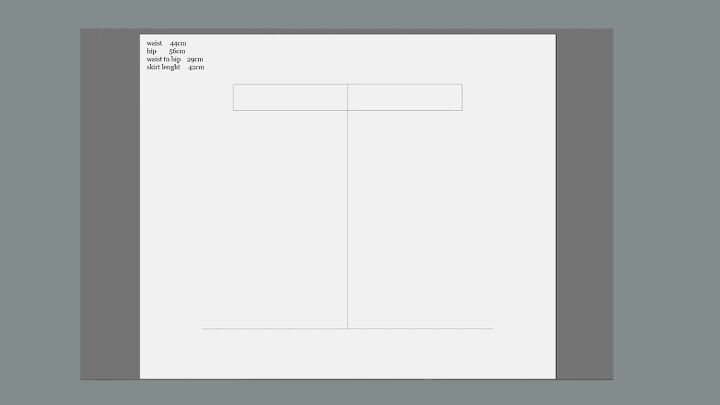
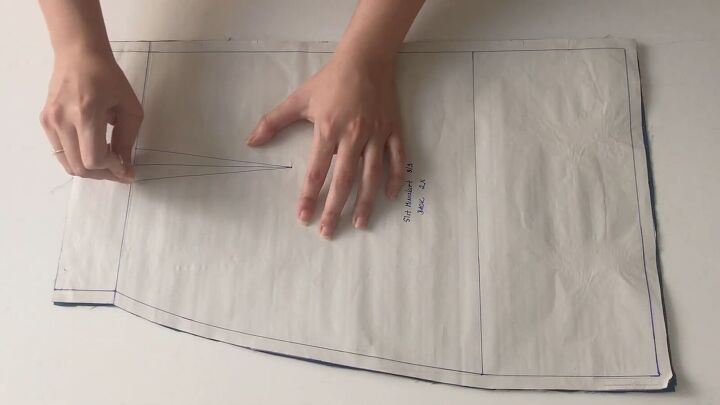
2. Draft the pattern
I’m using illustrator to show you the pattern, but of course, this needs to be copied to a piece of paper.
- Waist - half your waist length + 5cm (2 inches) width
- Length - Mark the middle of your waist and draw the length of your skirt downward.
- Hip- Make a horizontal line at the bottom for your hip measurement
- Waist to hip - Draw your measurement from the center of your waistline and draw another horizontal line ( this will be from where your hips start).
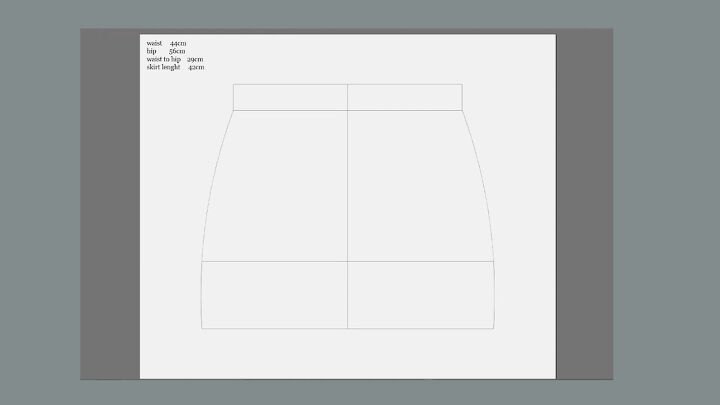
Finally, connect all the points with curved lines.
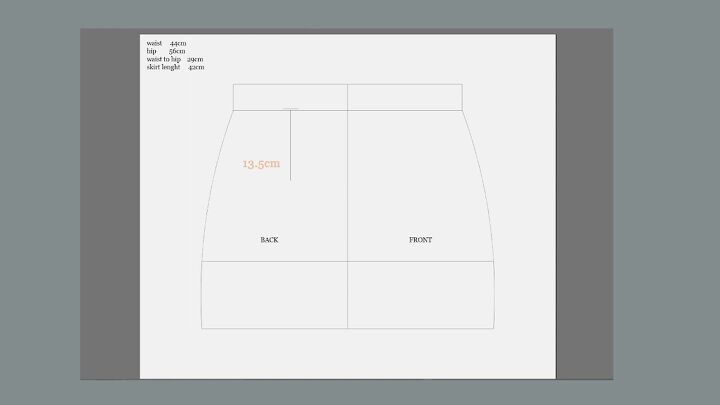
To see how I calculated my darts, skip to 2:25 of my DIY shirt into skirt video tutorial.
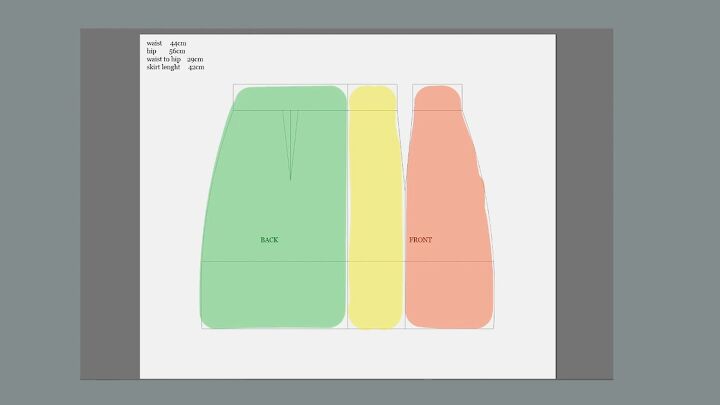
I wanted my skirt to have three panels, so I divided the front into two. This is how it should look.
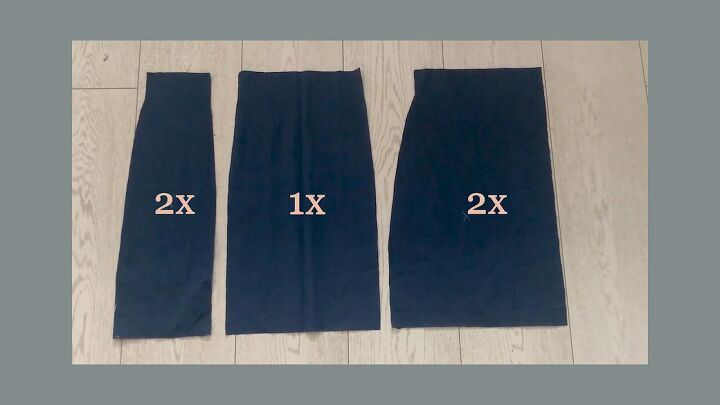
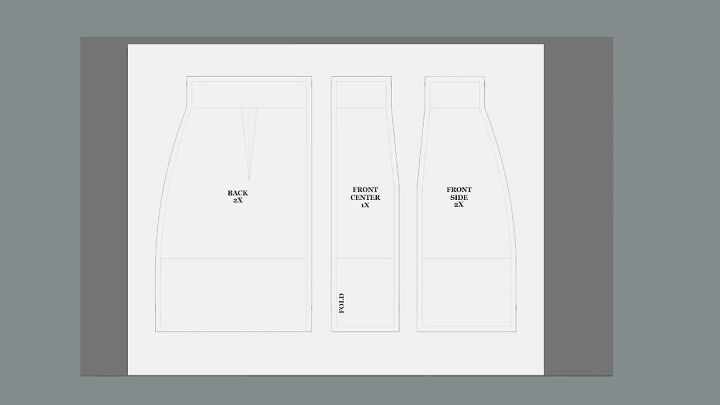
3. Cut out the pattern
Go ahead and cut out your pattern using your old oversized shirt.
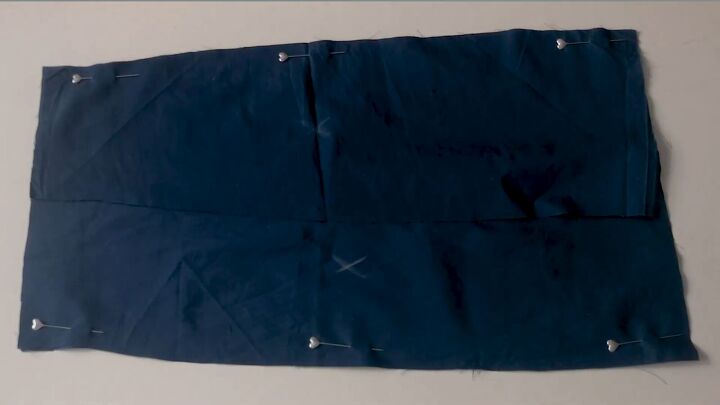
4. Assemble the skirt
Pin the two front pieces together and the centerpiece on the other side, too. Then, sew to secure. Ensure the pieces are right sides facing.
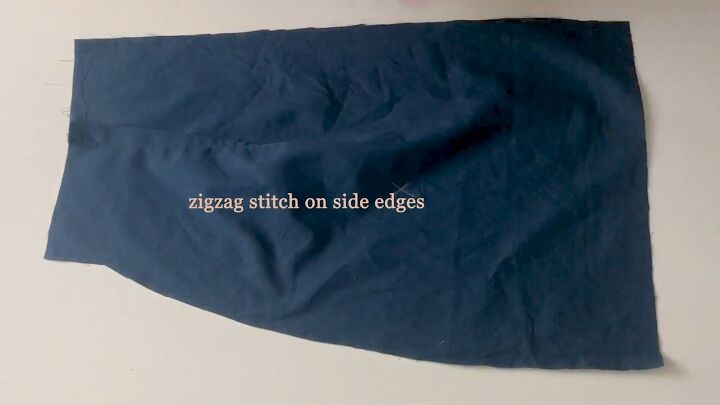
Tip: I forgot to zigzag stitch all around the pieces, so I had to come up with another plan. Check out my tutorial from 4:05 minutes to see how I stitched down the seam allowance.
For the back pattern, be sure to copy your dart marks.
Now, sew your darts, starting from the top and down to the smallest point. Don’t backstitch this part, rather leave a couple of hanging threads.
Press the dart after.
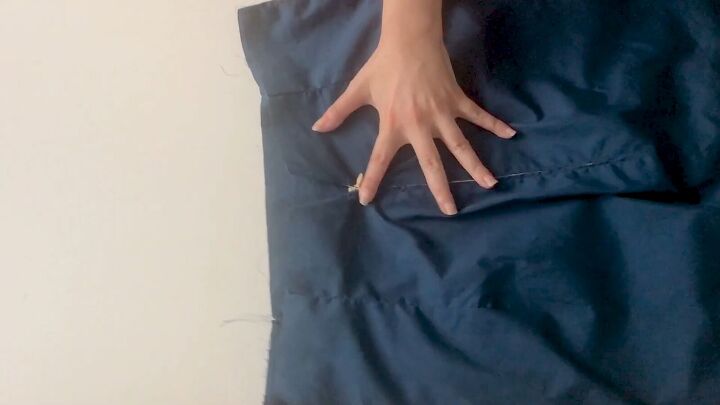
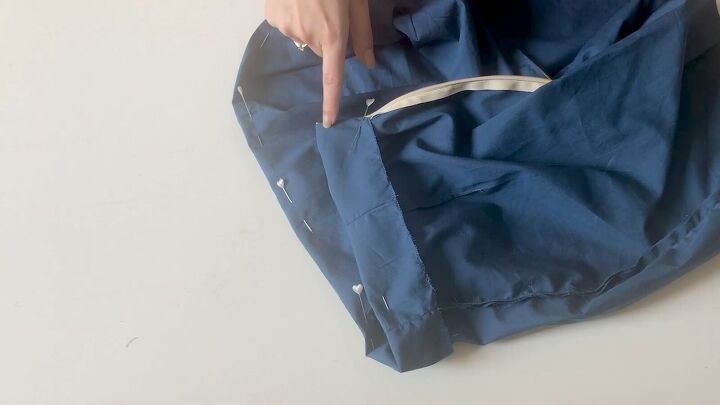
Zigzag stitch the raw edges of the back panels.
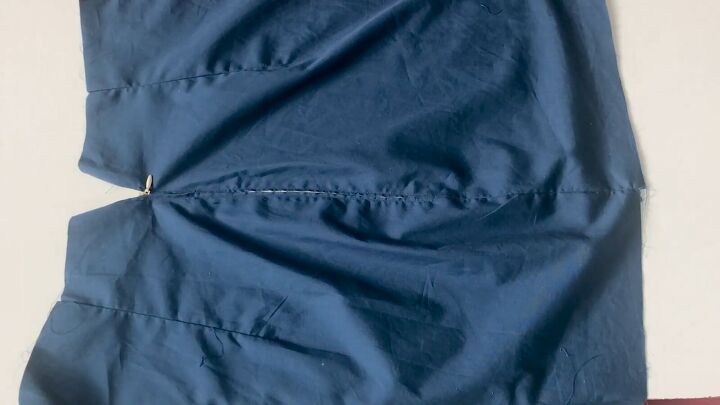
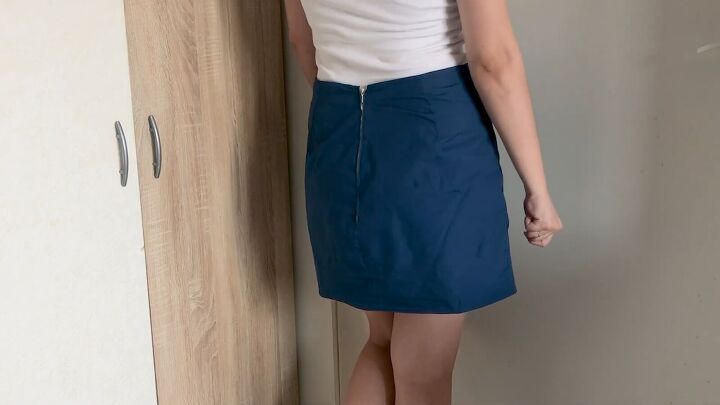
Next, add the zipper between the two back panels.
Sew the side seams of both the front and back panels. And zigzag stitch the top of the skirt to avoid any fraying.
5. Create the waistband
Now, mark 5cm (2 inches) down from the top of the skirt.
Fold the loose end of your zipper inward and fold the top of the skirt 5cm (2 inches) inward. Start sewing all around, leaving ½ cm (⅕ inch) open from the edge.
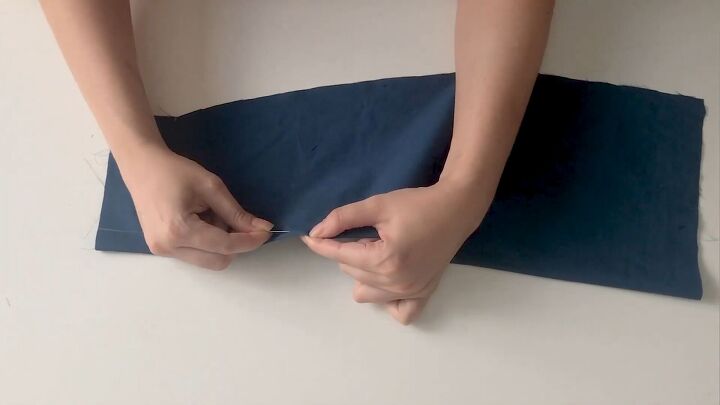
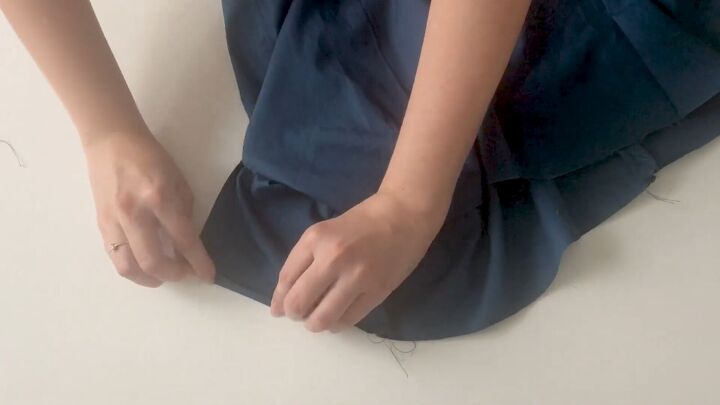
6. Make the slits
I marked 11cm (4 inches) from the bottom and seam ripped the sides to create cute slits. Remember to hem the slits for a clean finish.
7. Hem the skirt
Lastly, double fold the edges of the skirt and hem all around.
Turn a shirt into a skirt tutorial
This was a really simple thrift flip, and I really loved this project of turning a shirt into a skirt. I hope you now have the inspiration to turn a shirt into a skirt with these cool tips and the customizable pattern! Thanks for joining me, see you next time, and good luck!
The author may collect a small share of sales from the links on this page.


Comments
Join the conversation