How to Sew a Classic A-line Mini Skirt

Today, I’m making a mini skirt to match a blazer I made before. It’s an A-line skirt with a zipper and buttoned waistband, but still very straightforward to make.
You don’t need an A-line mini skirt pattern for this, we’re going to create the sewing pattern ourselves, so it fits perfectly.
Tools and materials:
- 20 inches (0.5 meter) firm fabric
- 20 inches (0.5 meter) lining
- 8 inch (20 cm) zipper
- Button
- Large piece of paper
- Pencil
- Ruler
- Pins
- Scissors
- Sewing machine with buttonhole attachment
1. Make the front pattern
See the video from 0:37 to 2:45 for details of how to make the front pattern.
2. Make the back pattern
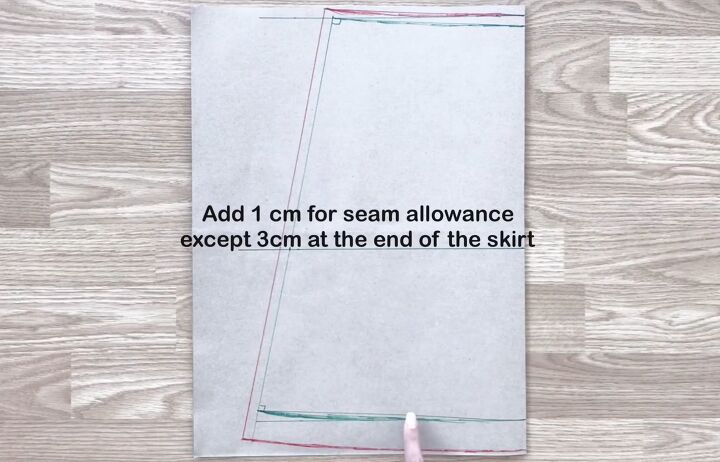
Base the back pattern on the front pattern without the seam allowance but move the side seam at the hip line out by half an inch (1 cm).
Add the same amount to the waist and hem lines and draw the new side seam connecting them.
Curve the hemline in the same way as the front and draw a slightly curved line at the waist.
Add seam allowances as before and cut out the back pattern.
3. Cut out the skirt
Cut one front and one back piece from the main fabric and the lining, making the lining pieces 1.6 inches (4 cm) shorter at the hem edge.
4. Make the front and back darts
On the pattern pieces, mark the middle point each side of the fold at the waistline.
Draw a vertical line 4 inches (10 cm) long from these marks on the front and 5.5 inches (14 cm) long on the back.
Mark the sides of each dart 0.6 inches (1.5 cm) each side of the vertical line at the waist and connect them to the bottom of the vertical line to make a triangle.
Transfer the position of the darts to the fabric and lining pieces and stitch them.
5. Join side seams
Pin the main fabric pieces together at the side seams, right sides facing, and mark 8 inches (20 cm) down on one side for the length of the zipper.
Sew that seam from below the zipper mark down to the hem and stitch the full length of the other side seam.
Join the lining pieces in the same way.
6. Attach lining at hem
Pin the lower edges of the lining and fabric together with right sides together, matching the side seams, and sew.
7. Insert zipper
Pin the zipper to each piece of the main fabric on the open side seam, with right sides together, and sew in place.
With the zipper closed, pin the lining to the zipper tape, matching the top edges of the main fabric, and sew.
8. Attach lining at waist
Turn the lining inside out so the seams are hidden.
Pin it to the main fabric at the waist, matching the darts and side seams and sew around the waist edge.
9. Waistband
Cut a rectangle the length of your waist measurement plus 2.5 inches (6 cm) long and 4 inches (10 cm) deep from the main fabric.
With right sides facing, pin the waistband to the top of the waist edge starting at the zipper.
Leave 2 inches (5 cm) free at one end for the buttonhole and half an inch (1 cm) free at the other end for the button. Sew the waistband in place.
Taking a half inch (1 cm) hem, fold the waistband to the inside over the raw edge and top stitch in place.
Make a buttonhole at one side of the waistband and add a button on the other side.
DIY A-line mini skirt
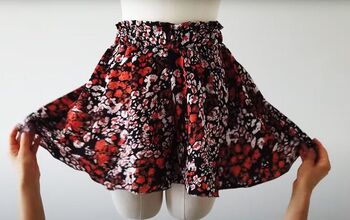
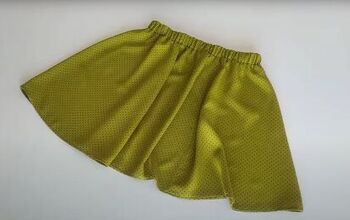
And here’s my finished A-line mini skirt. It fits very well and goes with so many different tops.
I’m really pleased with it and how quick it was to make. I hope you enjoyed seeing how to sew a mini skirt.
Will you be making this? Let me know in the comments.
For more sewing content, check out my post on How to Make a DIY Chanel-Inspired Suit Out of a Long Hoodie.
Enjoyed the project?
Suggested materials:
- 20 inches (0.5 meter) firm fabric
- 20 inches (0.5 meter) lining
- 8 inch (20 cm) zipper
- Button
- Large piece of paper
- Pencil
- Ruler
- Pins
- Scissors
- Sewing machine with buttonhole attachment
The author may collect a small share of sales from the links on this page.


Comments
Join the conversation
You can’t buy A line skirts anymore unless they have shorts under them. Unfortunately I will have to double the paper and fabric!