DIY a Super Cute Bias Cut Skirt

A mini skirt is a definite must in my closet! It is a piece that can be styled in so many different ways no matter the event or season. I was looking for my next fashion DIY when I had a perfect idea! I decided to get creative and make an absolutely gorgeous bias cut skirt to add to my closet. If you want to learn the ins and outs of this amazing project, follow my tutorial below. You will have a stunning new skirt in no time. Follow my simple step-by-step guide and DIY this absolutely amazing skirt.
Tools and materials:
- Paper
- Pen
- Ruler
- Scissors
- Sewing machine
- Pins
- Fabric
- Matching thread
Draft the pattern
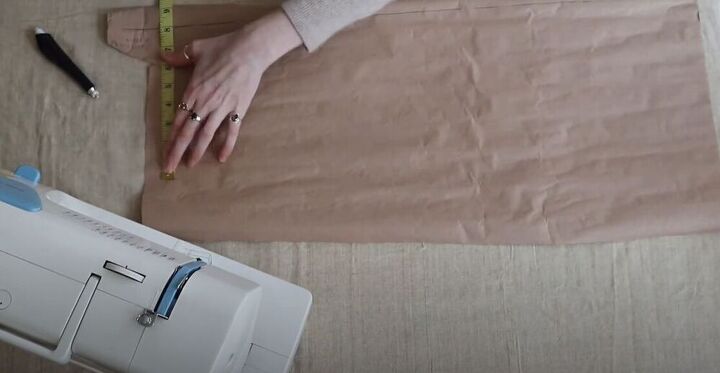
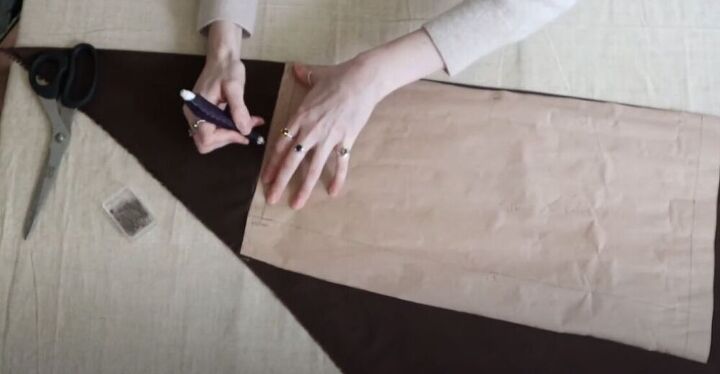
To kick off this amazing DIY I drew a straight line on my pattern paper. I then drew a line a quarter of my waist measurement long, at a 90-degree angle from the first line.
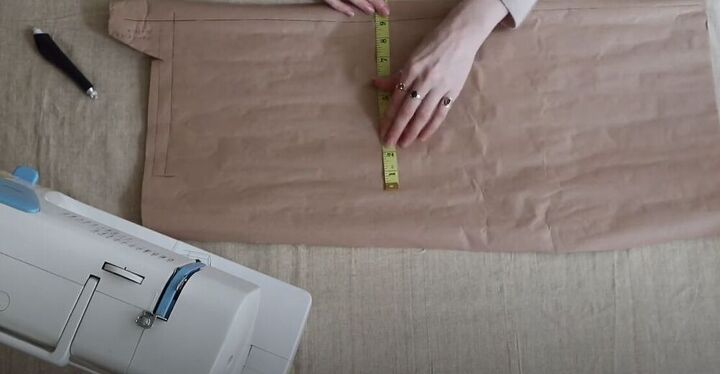
I then marked 10 inches down and drew a line a quarter of my hip measurement long. I then joined the hip and waist points together.
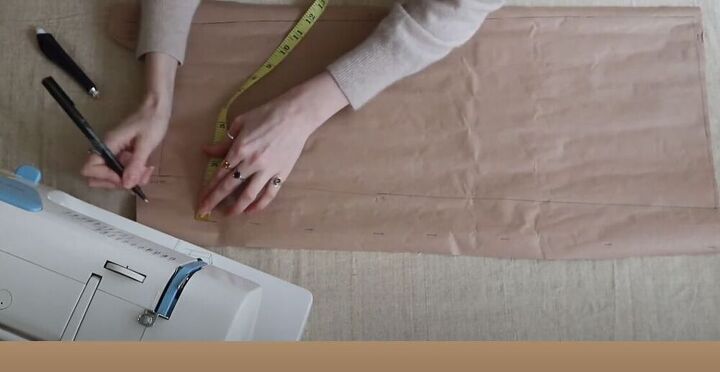
I marked the length of my skirt which I later changed so that it would be mini. I added a 1-inch hem to the bottom and I then added a 2.5 cm (about 1 inch) seam allowance and marked where the pattern would need to be placed on the fold.
Once my pattern was ready, I cut it out.
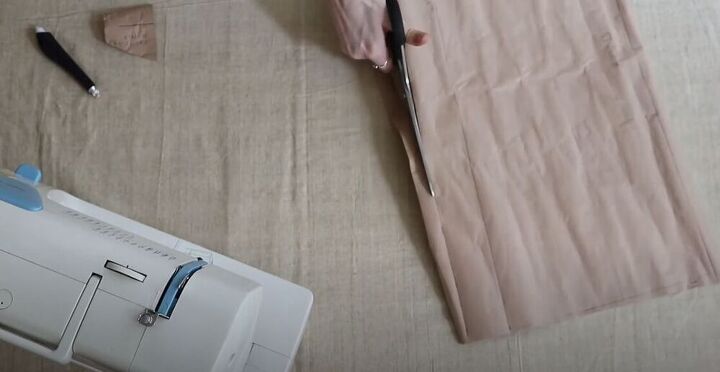
Cut the fabric
I folded my fabric and then placed the pattern piece with the right side on the fold. I clipped the pattern in place and traced around it.
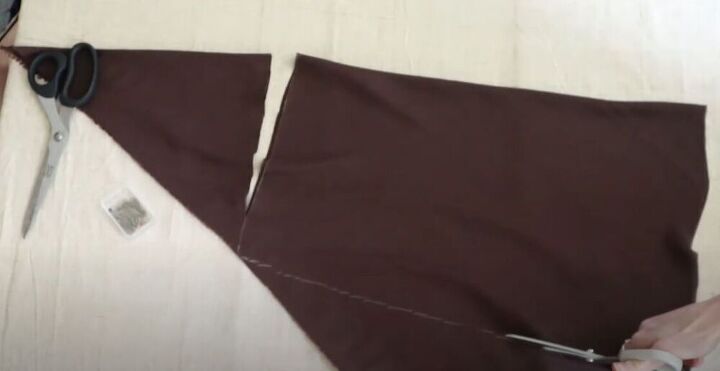
Next, I cut out my first piece and then repeated the steps to get the perfect piece for the back of the skirt. A great tip is to add an inch extra in length to the back piece.
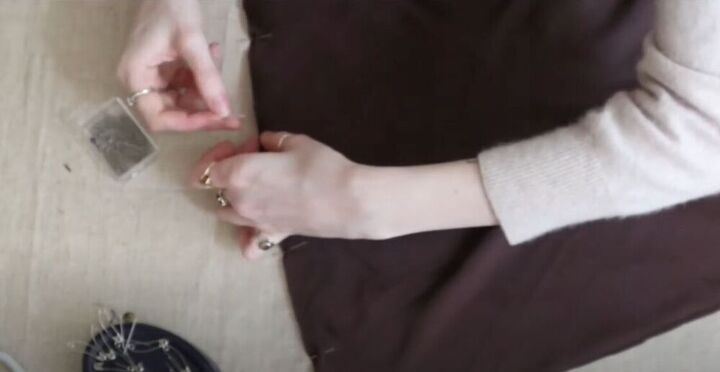
Pin the skirt
I placed my front and back pieces, wrong sides together, and pinned the fabric together. The reason I pinned the fabric this way is so that I could sew the skirt with a French seam.
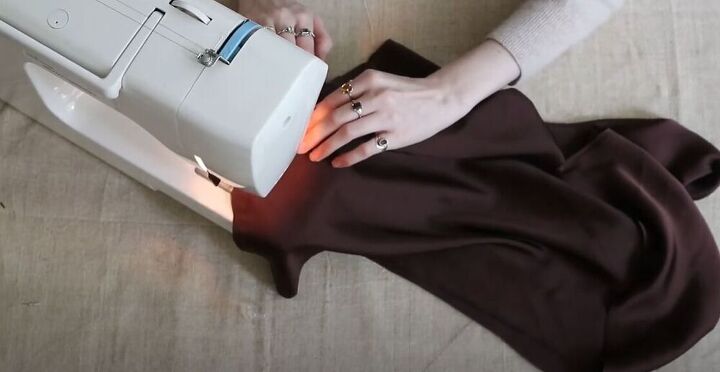
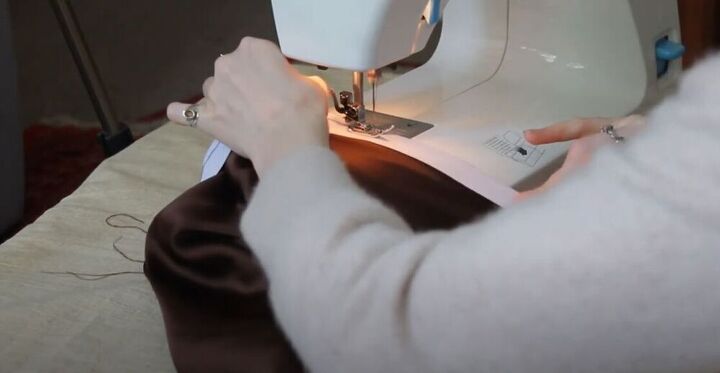
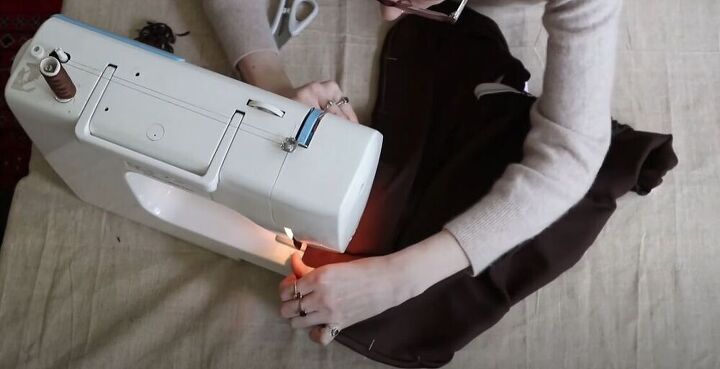
Sew the side seams
I moved over to my sewing machine and sewed a straight stitch along each pinned side.

Once I had sewed, I ironed the seam flat and then trimmed the excess fabric from my seam.
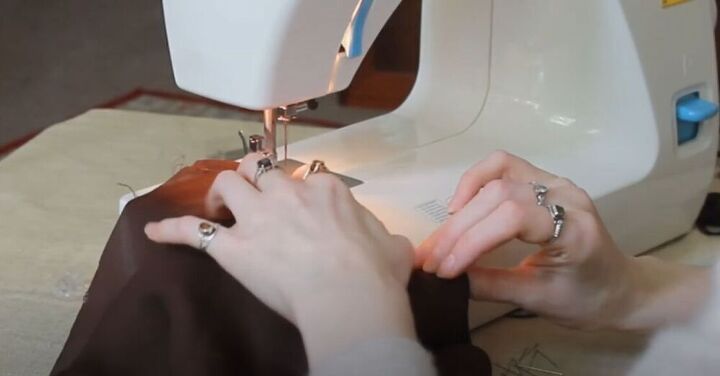
Next, I turned the skirt inside out and sewed two straight seams on each side of the skirt to encase the first seam I had sewed. If it is your first time sewing a French seam, pinning the fabric will help make sure your seams come out flawless.
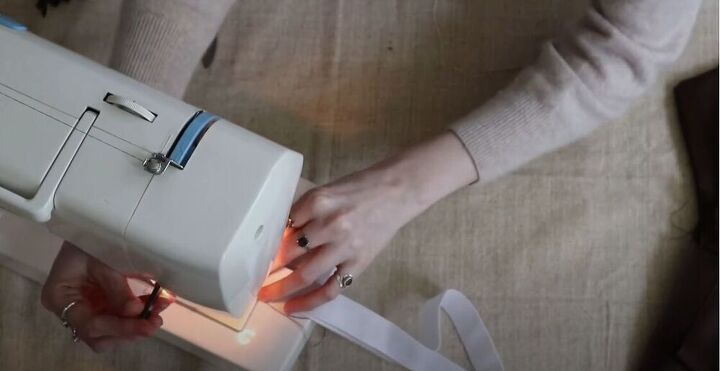
Make a waistband
For the waistband of this stunning skirt, I used an elastic. Before adding the elastic, I suggest trying on the skirt to make sure it fits. I wrapped the elastic around my waist and added an inch to that measurement.
I marked four equal points on my elastic band and then marked on my skirt as well. To make sure all my points would line up, I pinned the side seam of the elastic and the side seam of the skirt together.
I pinned the elastic all the way around and sewed it along the outside of the skirt with a straight stitch. Once the elastic had been sewed on, I folded it the opposite way and topstitched it.
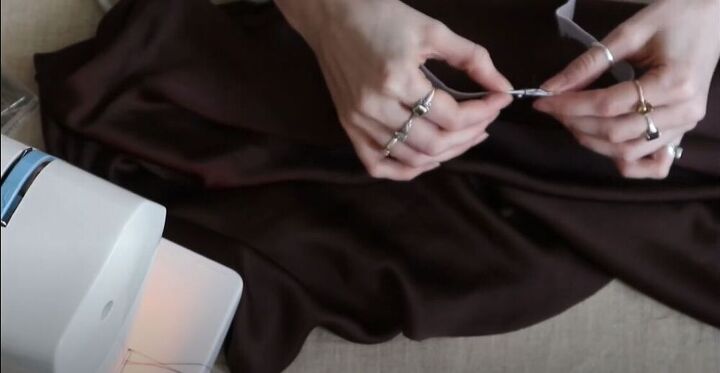
Sew a rolled hem
To finish off my gorgeous new skirt, I sewed a rolled hem. I folded the button by half an inch and then another half inch and sewed.

I am obsessed with this mini skirt! How would you style this amazing piece? Let me know in the comments below!
The author may collect a small share of sales from the links on this page.


Comments
Join the conversation