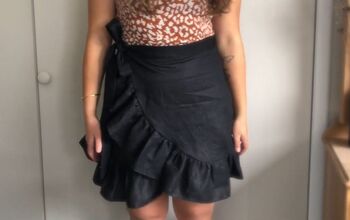
Make a Flowy & Mesmerizing Circle Skirt From Scratch

Have you ever wondered how to sew a circle skirt but got too scared of the "complicated" measurements? Fear no more! I got you covered with this simple circle skirt tutorial. I'll show you how easy it is to take and make the needed measurements in order to make this gorgeous and simplistic circle skirt! This DIY circle skirt is super easy and looks so chic, too. Let's get started!
Tools and materials:
- 1 ½ yards of fabric
- Scissors
- Grid ruler
- Thread
- 2 inch soft waistband elastic
- Chalk pencil
- Measuring tape
- Iron
- Cutting mat
- Sewing machine
- Gauge ruler (optional)
Make the measurements
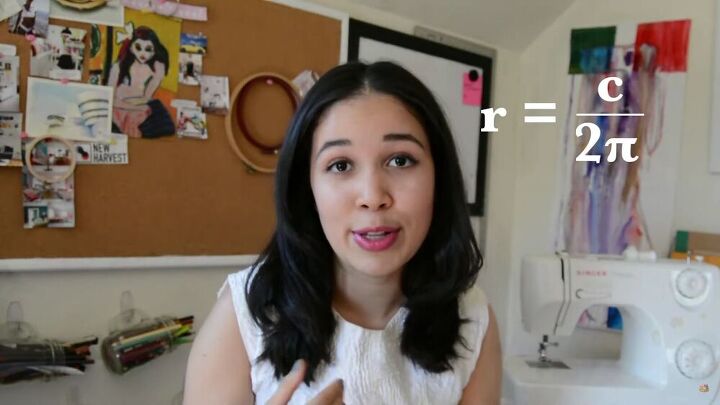
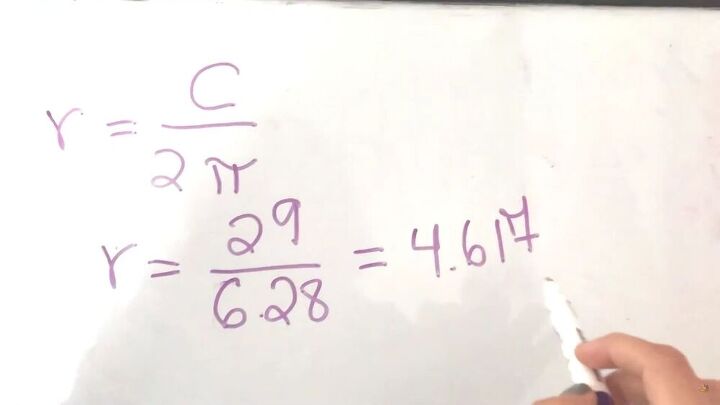
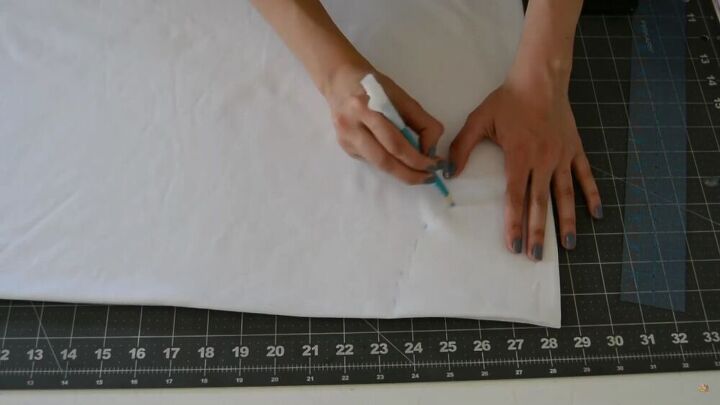
I'm going to be using the equation as shown above. It's pretty simple to do, so let me walk you through it. First, you need the circumference, and that's the measurement of your waist. So, take a measuring tape and measure your waist accordingly. My waist size is 28. I add another inch for some wiggle room and then divide this number by 6.28. I got 4.61 in radius and rounded it off to 5. Go ahead and do the same.
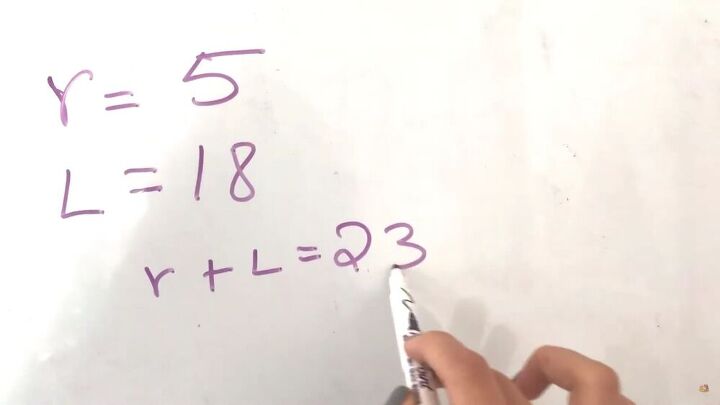
Now, you need to figure out what length you want your circle skirt to be. I determined mine would be 18 inches. Now add your radius and the length of your skirt, so in my case, it's 5 + 18. I had 23 inches, and this would be the measurement of the second circle of the skirt pattern.
TIP-
Keep the seam allowance in mind. Remember that hemming your skirt will take away from the length. So add an extra inch to your final length measurement.
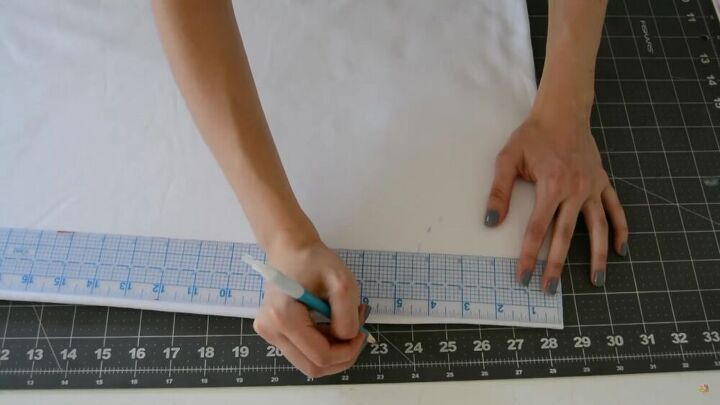
Make the pattern
Fold your fabric into four so that you have four layers. The pattern and measurements only make up ¼ of the whole skirt; thus, fold your fabric accordingly. Take the tip of your ruler, align it to the corner and make a mark at 5 inches. Now, make a 5-inch mark all around in increments so that you form a semi-circle.
Once you're done with the marks, draw a nice solid line to form the semi-circle.
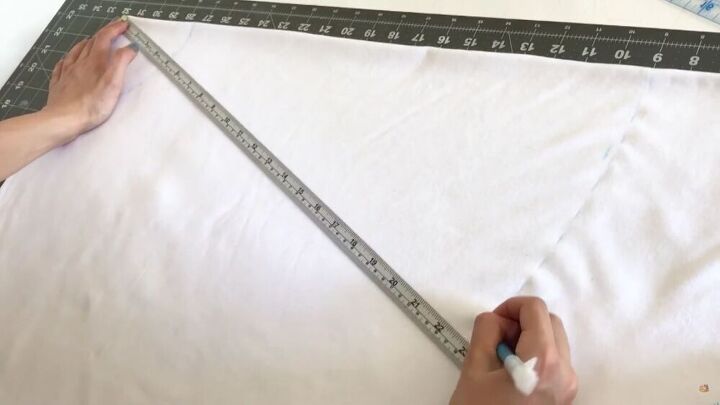
Now, using a measuring tape, do the same for the second circle that is 24 inches. Now, that's the circle skirt pattern! Easy.
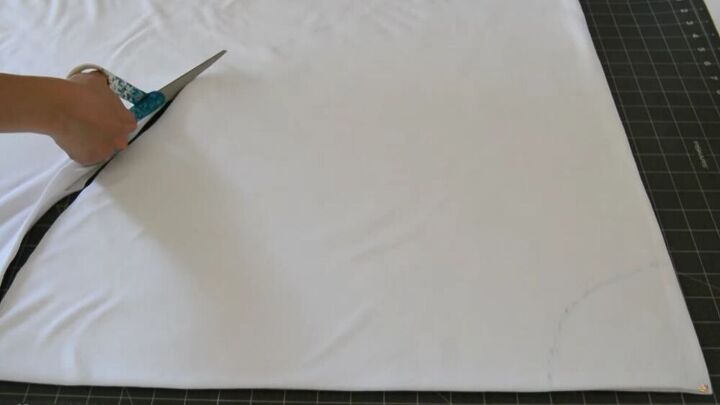
After, cut the fabric along both lines.
Make the waistband
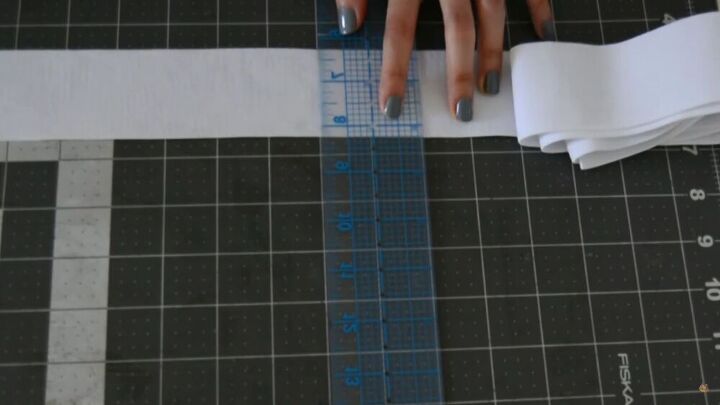
Now, take your elastic and cut it according to your waist measurement. Mine was 28, and I cut it exactly at 28 inches.

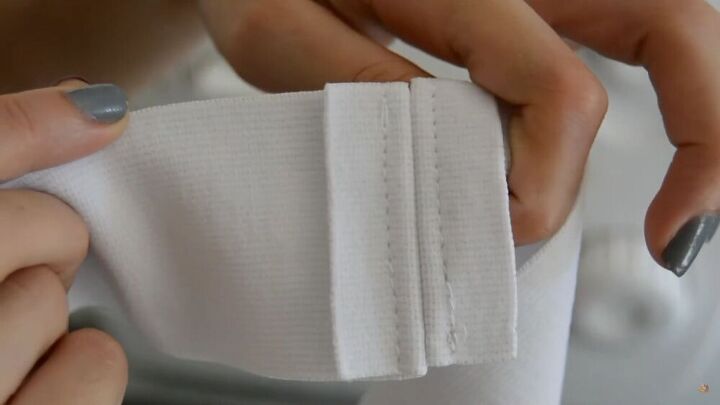
Sew the waistband's ends together at ⅕ an inch inward. Then open the seams, place the flat on either side and sew the middle at around 0.25 inches.
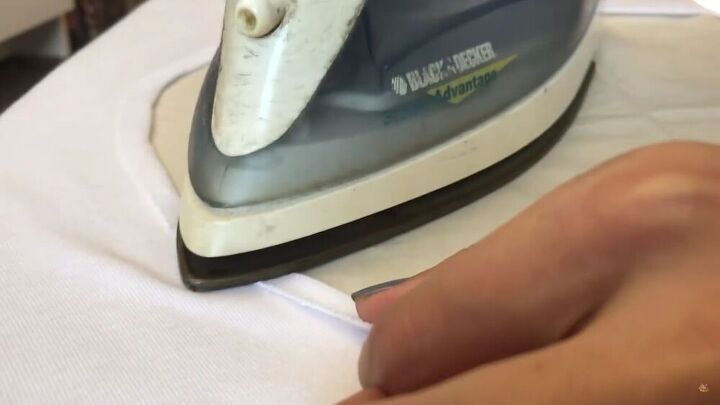
Press the seams
Fold the seams of the top circle by about .25 or .5 inches. Then press it flat.
TIP-
Use a gauge ruler to make sure everything measures equally.
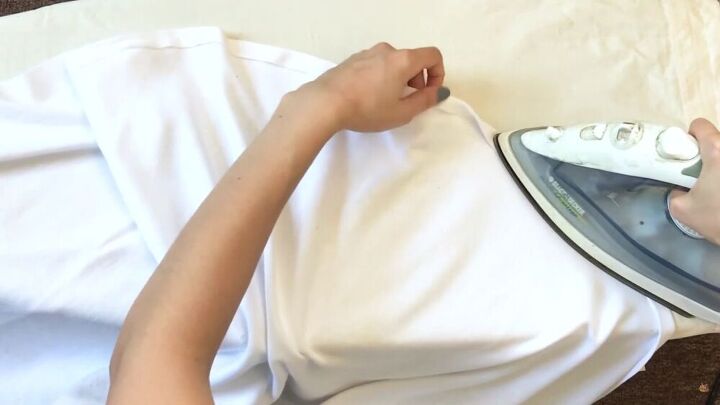
Then, go ahead and fold and iron the hem of the second circle.
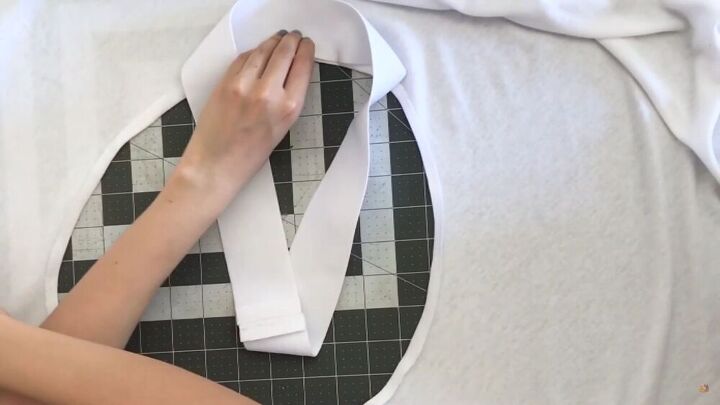
Attach the waistband
Spread out your skirt so the entire circle is visible. Then attach the elastic all around the circumference, as shown. Pin the elastic in quarters so it's easier to handle and it spreads evenly.
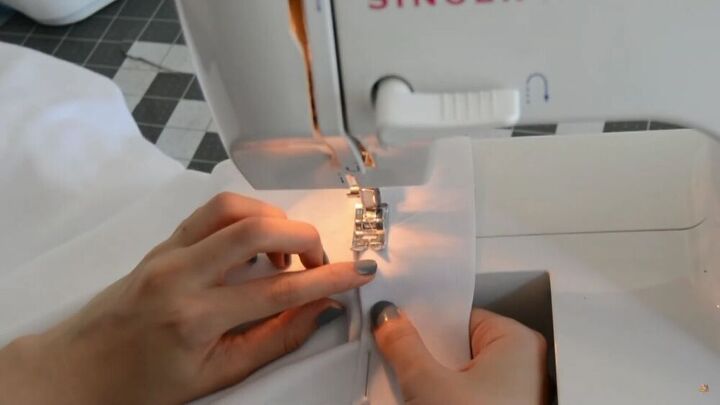
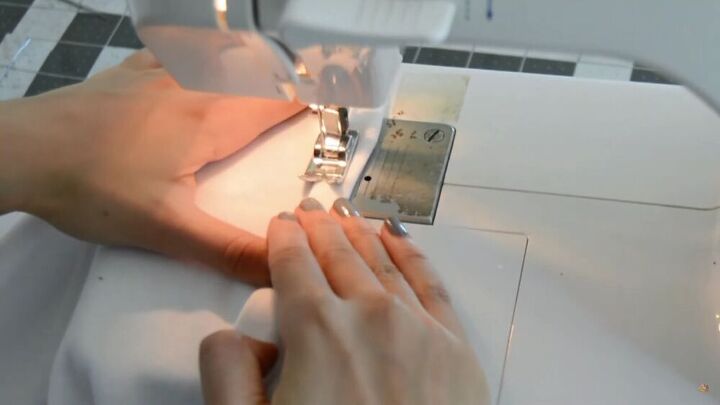
Now, sew the waistband to the fabric. The waistband is on the outside, and the seam should be on the inside. Be sure to stretch the waistband as you sew.
Hem the skirt
Now, hem the skirt and make sure you're left with a 0.5-inch seam all around.

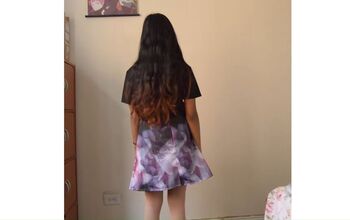
We are done! How beautiful and flowy is this DIY circle skirt? I love the results, and I love that it's beginner-friendly too, given g nay sewing enthusiasts to shine with this project. Thanks for joining me, and good luck making your perfect and easy circle skirt!
The author may collect a small share of sales from the links on this page.


Comments
Join the conversation