How to Easily Make a Cute DIY Mini Wrap Skirt Without a Pattern

In this tutorial, I'll show you how to make a DIY mini wrap skirt. Looking for a wrap mini skirt sewing pattern? You don’t need one! I'll show you how to sew a mini wrap skirt with just a measuring tape and scissors.
This DIY mini wrap skirt is so flirty and charming - perfect for any occasion. The measurements shown here are size 6 to 8 US (38 or 40 European). Let’s get started on how to make a mini wrap skirt!
Tools and materials:
- 1-yard viscose jersey
- Button
- Scissors
- Sewing machine
- Tailor’s chalk
- Measuring tape
- Pins
- Seam ripper
1. Make the pattern
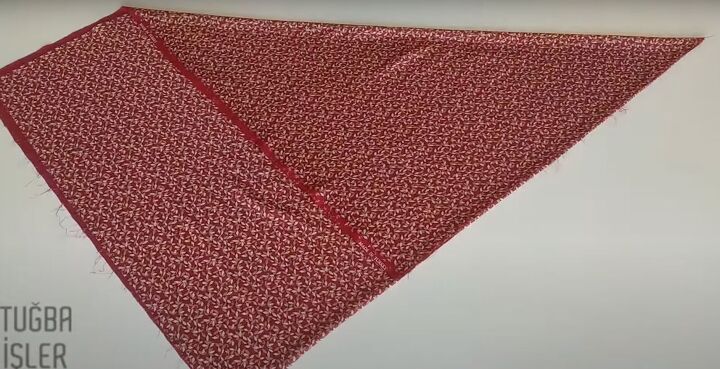
Fold the fabric in half. Then fold it in half on the diagonal, making sure the bottom point of the diagonal is on the folded side. Pin the fabric together with 3 or 4 pins to keep it from sliding.
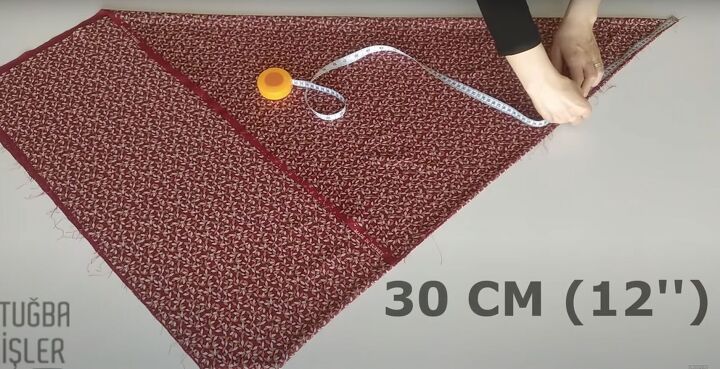
Measure down from the top 12 inches or 30cm. Mark the measurement.
Then move the mark across until you reach the end, creating an arc.
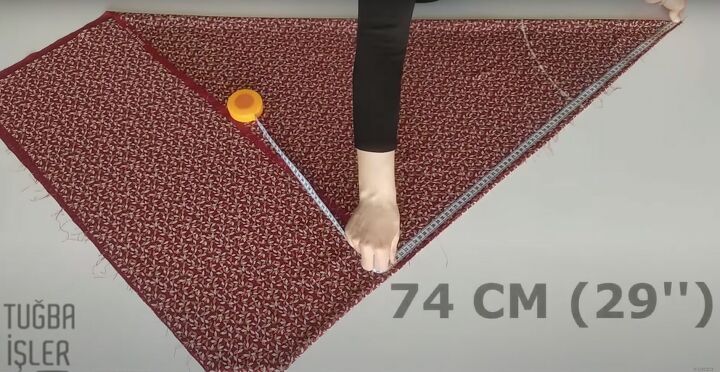
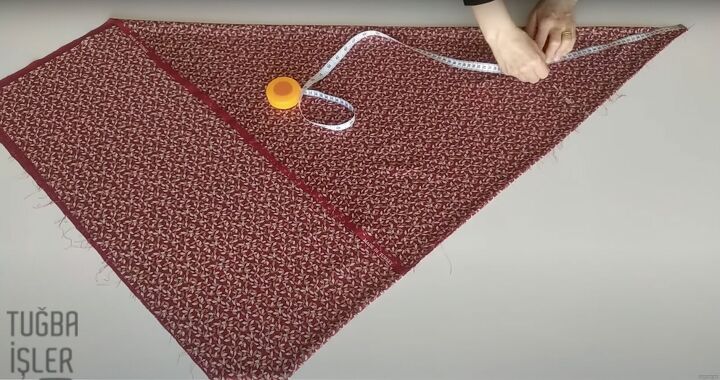
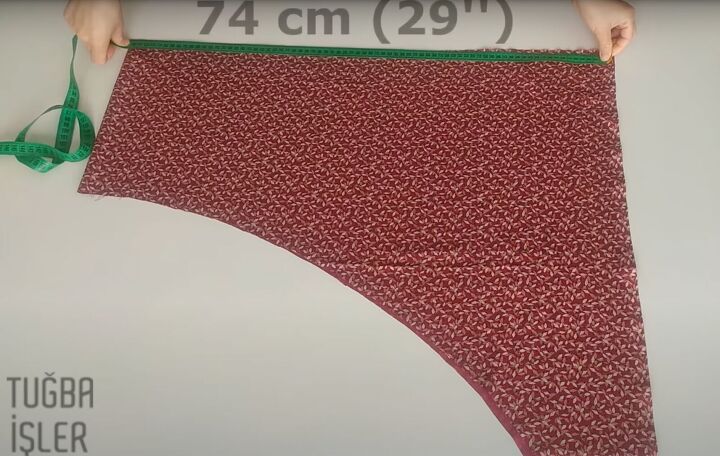
Measure down from the top 29 inches or 74cm.
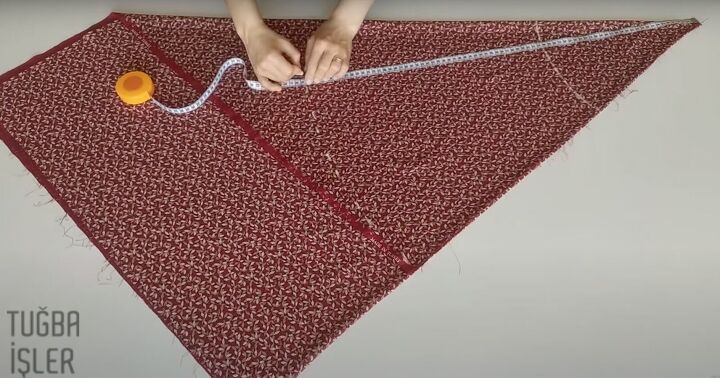
Mark this measurement and move the mark to the other end, creating a second arc.
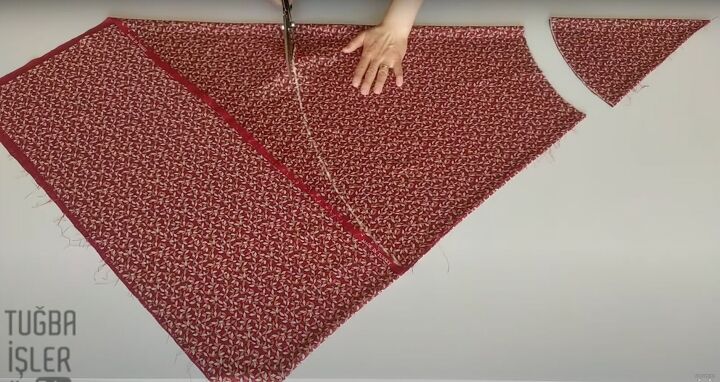
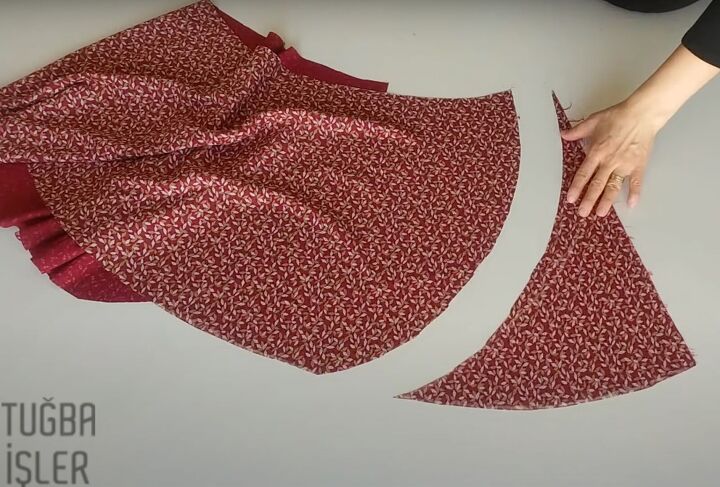
Cut the pieces out. Reserve the larger piece of fabric for later. Remove the pins from the skirt.
Open the fabric and then fold it into thirds to see how it falls.
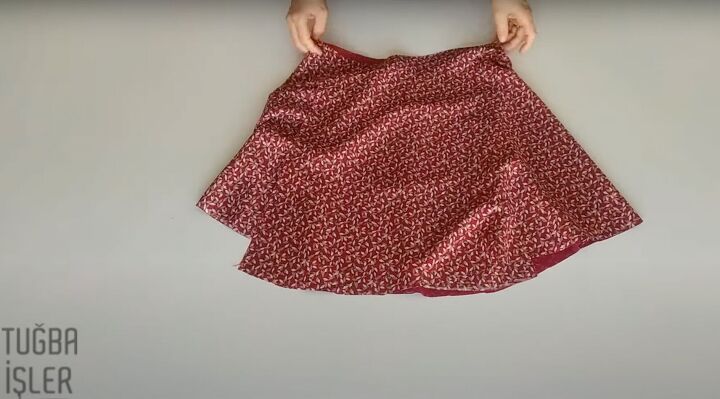
2. Cut the curves
Open up the top third and mark a curve on the bottom outer edge.
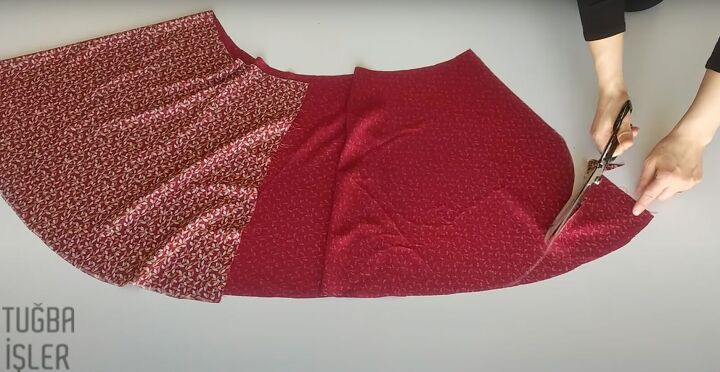
Cut that piece out.

Then flip the fabric to the other side. Make a curve going in the other direction from the top down.
Cut that piece out.
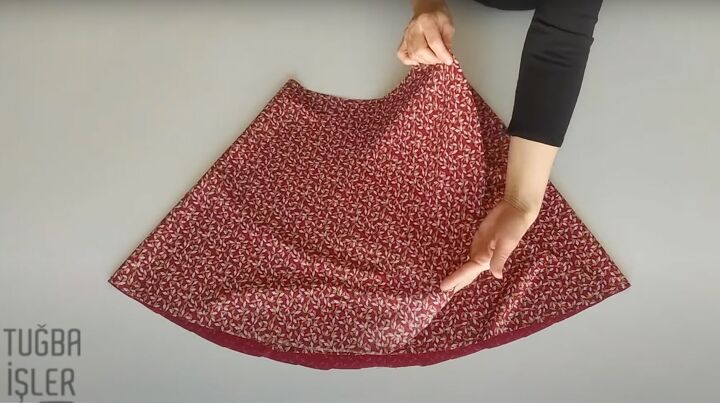
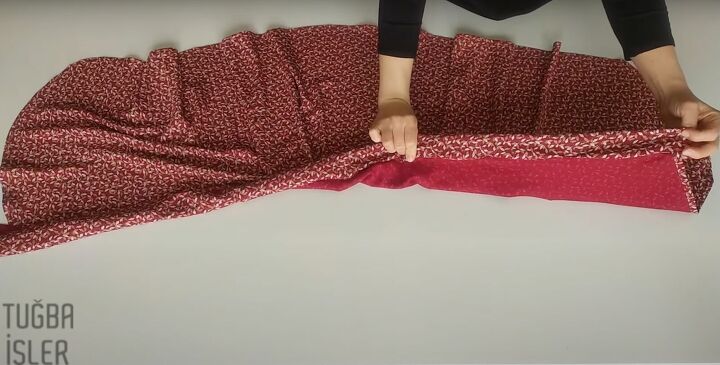
Fold the skirt back into thirds with the right side underneath and the left side on top.
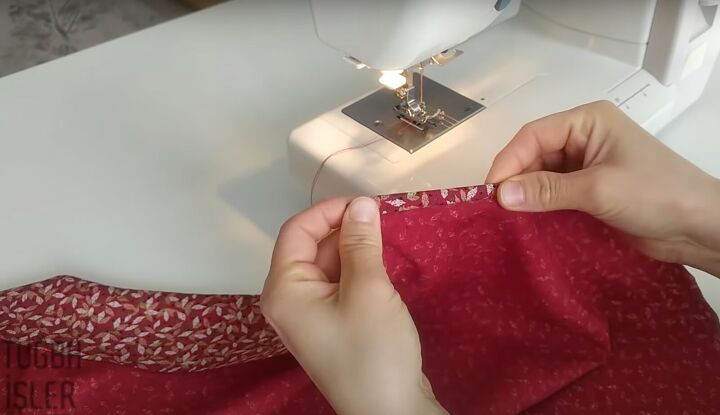
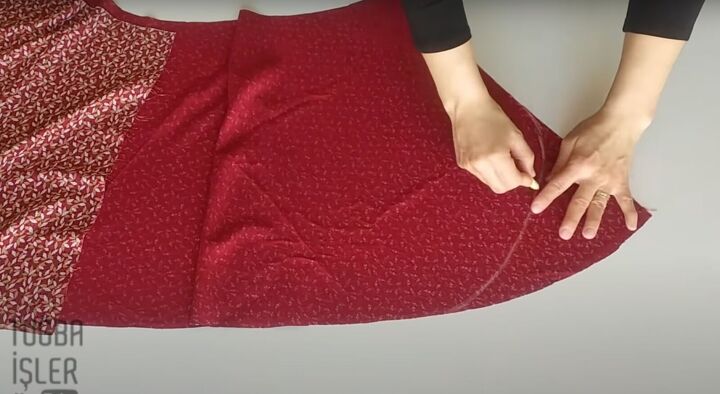
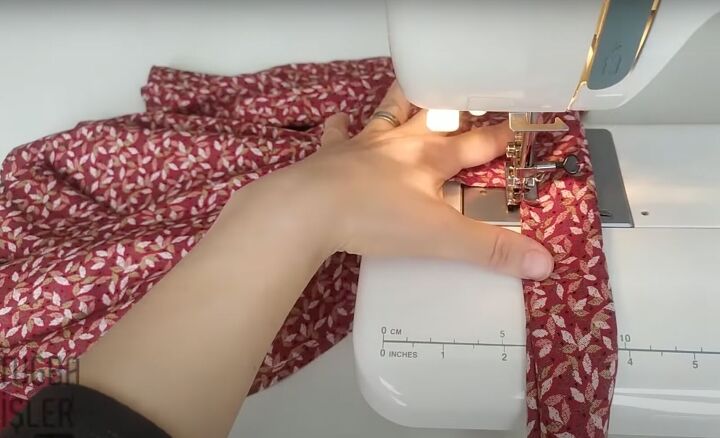
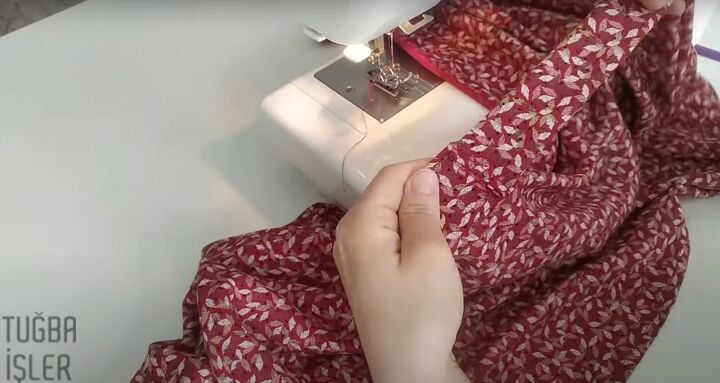
3. Hem the skirt
Double fold the skirt edges and sew with a straight stitch using your fingers to help guide it through the machine.
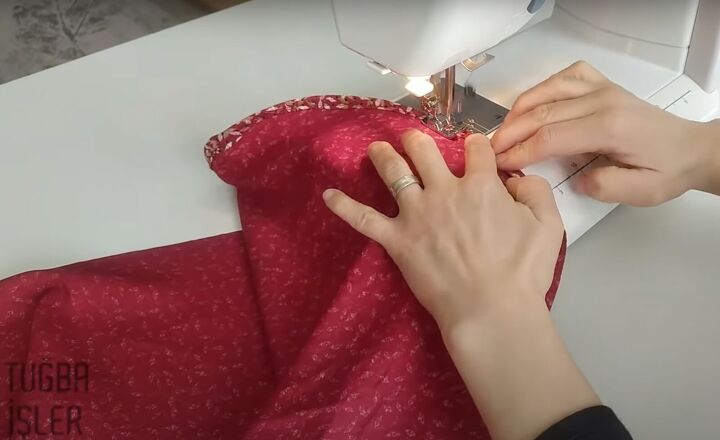
Hem the entire skirt except the waist.
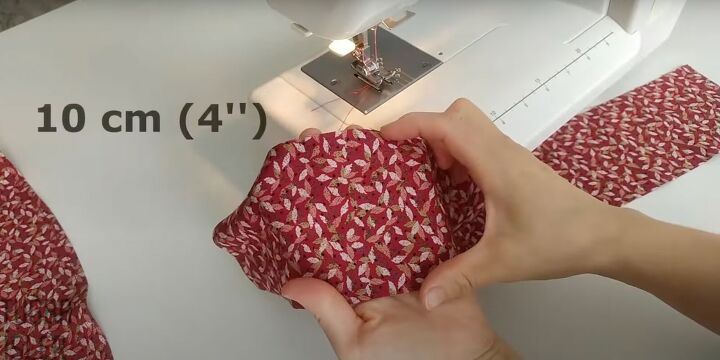
4. Make the waistband
Use the leftover fabric, making sure it is folded. Measure along the top long edge to be 29 inches or 74cm for the length.
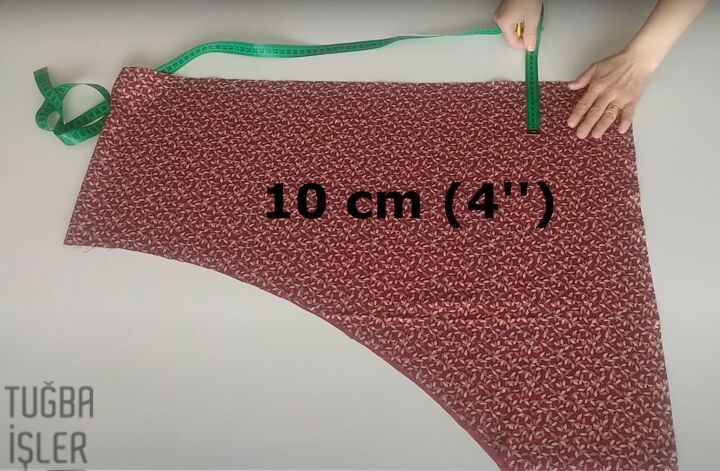
From that mark, measure down 4 inches or 10cm for the width. Pin the fabric before cutting to keep it from sliding.
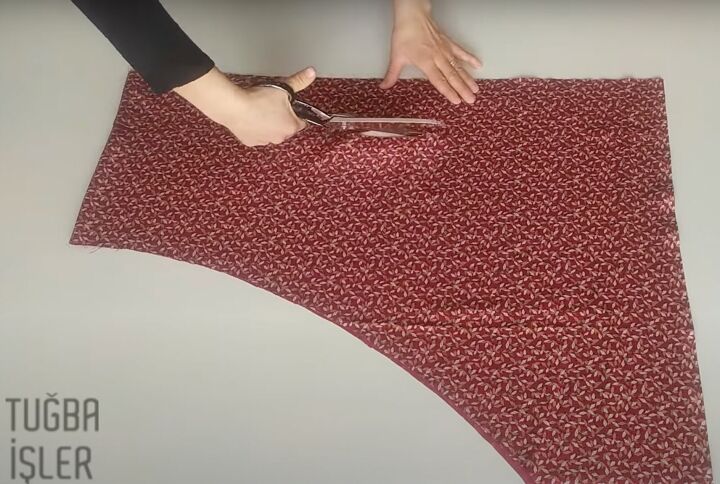
Cut that piece out.

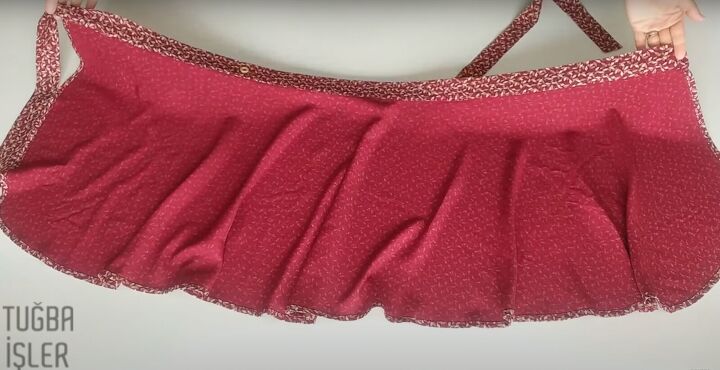
5. Attach the waistband to the skirt
Lay the waistband on top of the skirt right sides together. Leave an extra inch of fabric of the waistband on the starting side, pinning the waistband in place.
You will have extra waistband fabric at the other end.
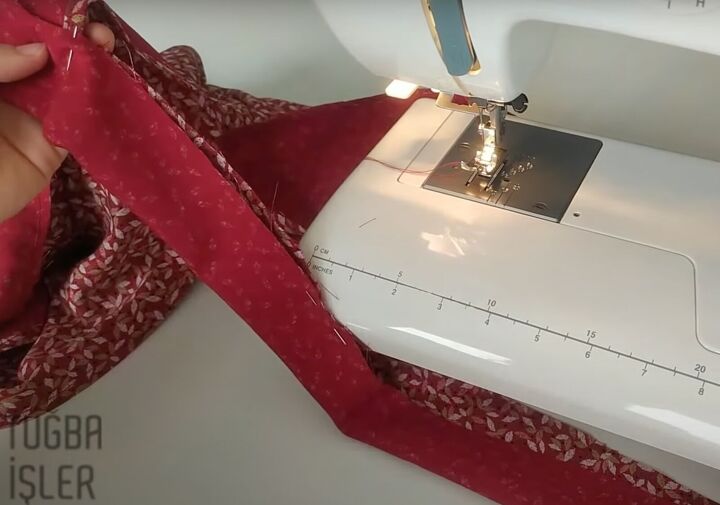
Now, fold the waistband in half so the folded edge is on top. Sew the waistband to the top of the skirt.
Then, fold the excess waistband at the edge of the seam. Pin in place, right sides together.
At the other edge, fold over that inch, pin in place, and sew.
Then sew the long waistband tie along its length. Sew the end.
Snip off the corners.

Use a pencil or other long object to turn it right side out. Sharpen the corners.
Sew the waistband down to the seam.
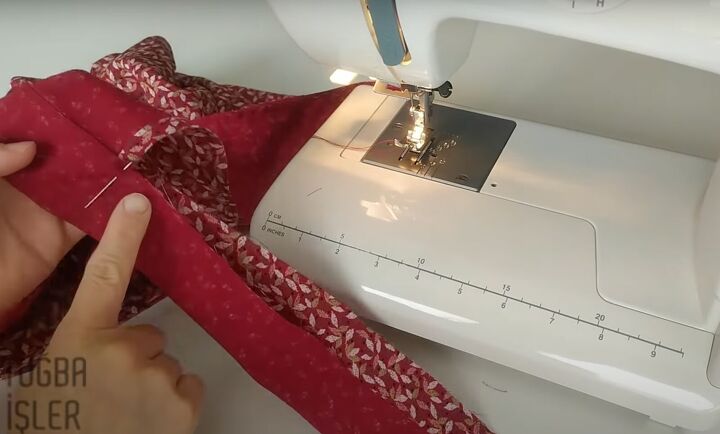
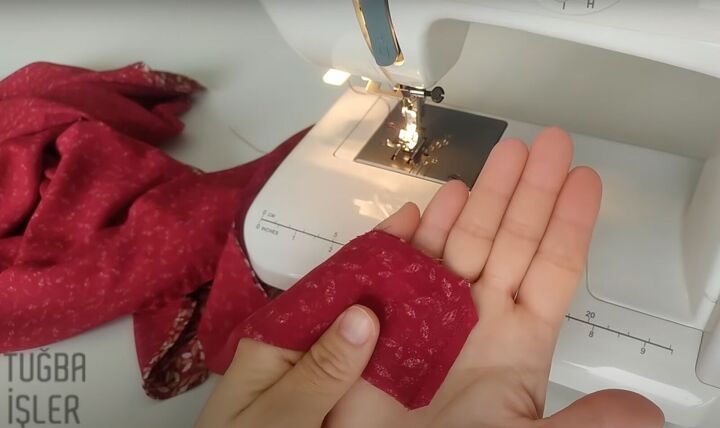
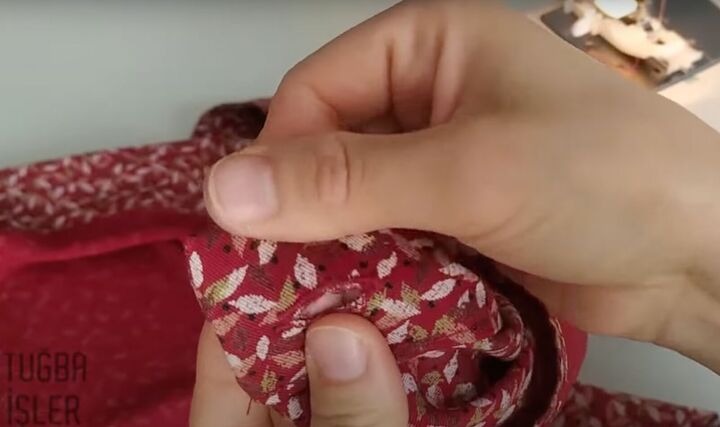
6. Make and attach the tie
Cut another piece of fabric that is 4 inches (10cm) in width and 20 inches (50cm) in length.
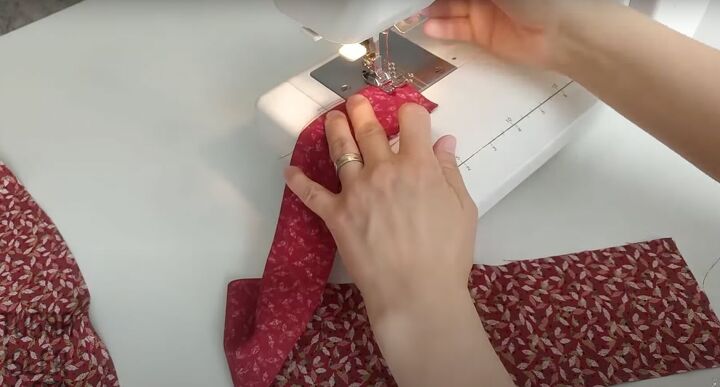
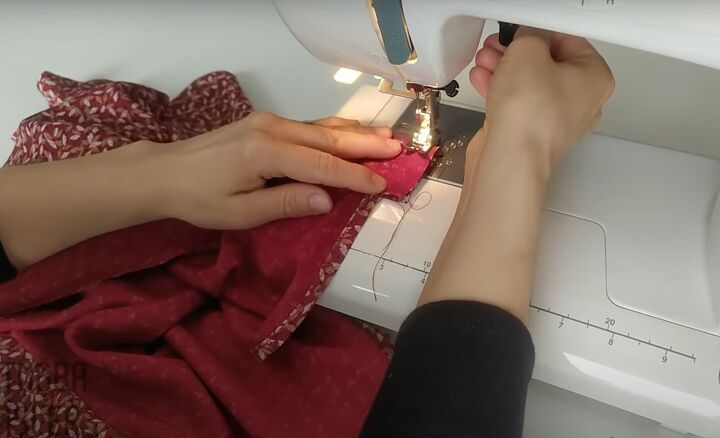
Fold in half, right sides together. Sew the short edge and then along the length of the tie at the edge. Leave the other short edge unsewn.
Cut the corners on the short sewn end like you did before. Turn it right side out with a pencil. Sharpen the corners.
Sew the open end of the tie to the center back of the skirt on the right side. Once it is sewn, turn the tie to the other side and topstitch downward.

7. Attach the button
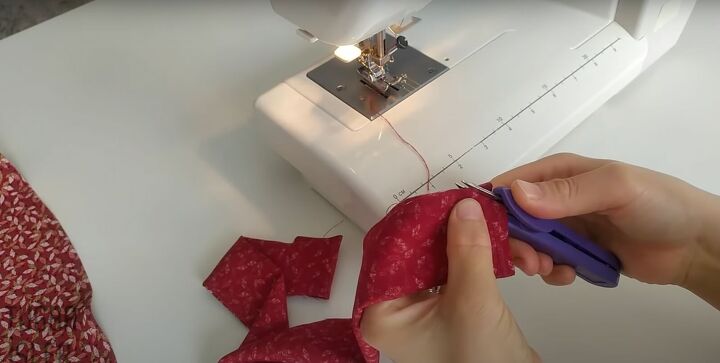
Make a buttonhole at the top right side on the waistband.
Snip the hole open with your scissors or seam ripper.
Place the button towards the left side based on your waist measurements.

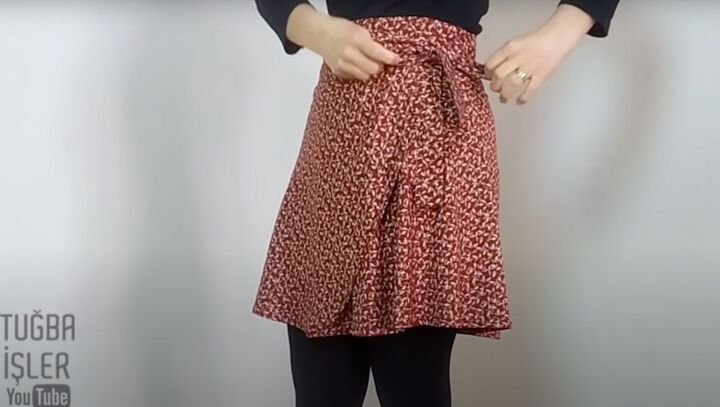
8. Put the skirt on
Place the skirt around your waist.
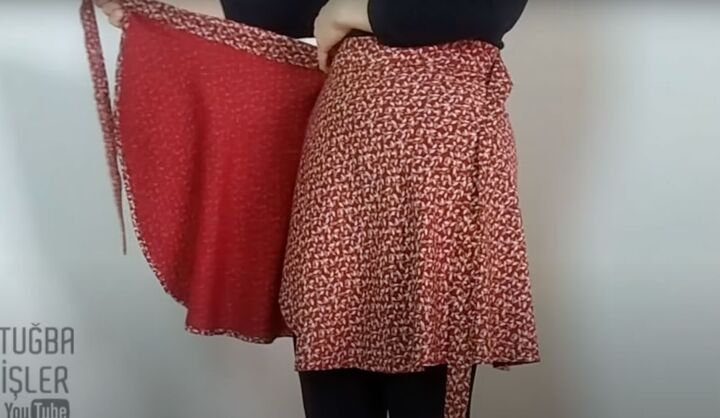
Button the button and then wrap the skirt around you, tying the ties prettily in a bow.
DIY mini wrap skirt tutorial
I hope this DIY mini wrap skirt tutorial helped you sew yourself a beautiful skirt. Please let me know in the comments if you made this or even better, share your photos. Thanks for joining!
To see more of my DIY sewing tutorials, follow me on TikTok @tugbaisler.
The author may collect a small share of sales from the links on this page.


Comments
Join the conversation
Wow! Really well demonstrated. Stylish and pretty. TYFS