How to Sew a Lace Skirt Without a Pattern in 7 Simple Steps

This tutorial will show you how to sew a lace skirt. This skirt is extra pretty because it has a layered, tiered bottom. It can be worn with any coordinating piece you have, or you can make the matching lace top from my previous tutorial.
Let’s get started!
Tools and materials:
- 3 yards of lace fabric
- 2 yards of lining fabric
- Decorative elastic or trimming
- Waist elastic
- Ruler
- Scissors
- Marker
- Paper
- Sewing pins
- Sewing needle and thread
- Sewing machine
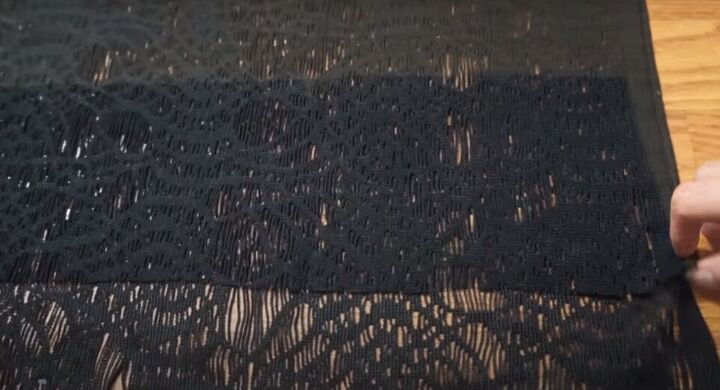
1. Cut the lace fabric
Cut a rectangle that is double the circumference of your waist and the length you want for the completed skirt. My final rectangle was 60x18 inches. You can fold the fabric to make this easier.
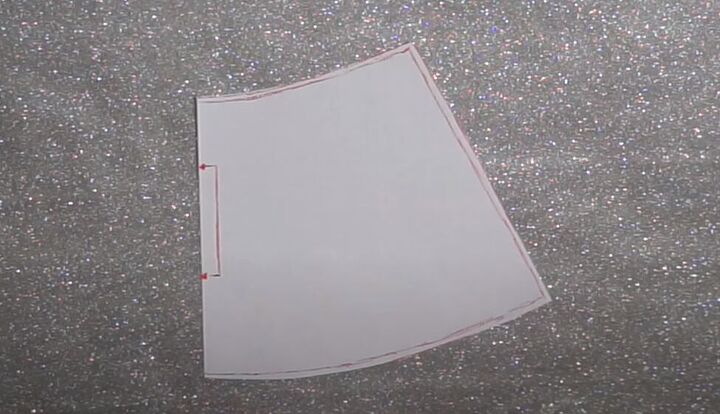
2. Cut the lining
Start with cutting the lining as a rectangle as you did for the lace fabric.
Now, to create the skirt shape, make the width at the top wide enough to fit over the widest part of your hips. Then create an A-line shape from the top to the bottom.
Watch the video from 0:47 to 1:05 to see how I created the lining shape on pattern paper for one-quarter of the lining, and a very cool trick for creating the A-line shape.
When you have your one-quarter lining shape, cut two pieces from your lining fabric on the fold of the fabric. That will give you full front and back lining pieces.
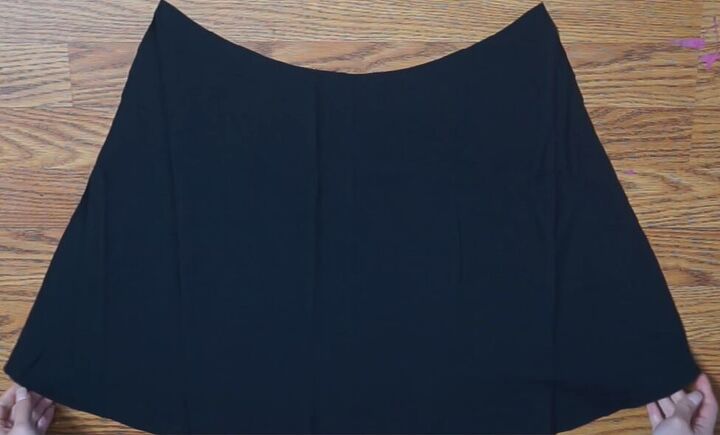
3. Sew the lining
With the right sides facing, sew the front and back lining pieces together on the side seams. Hem the bottom of the lining by folding over ⅛ inch twice and sewing down.
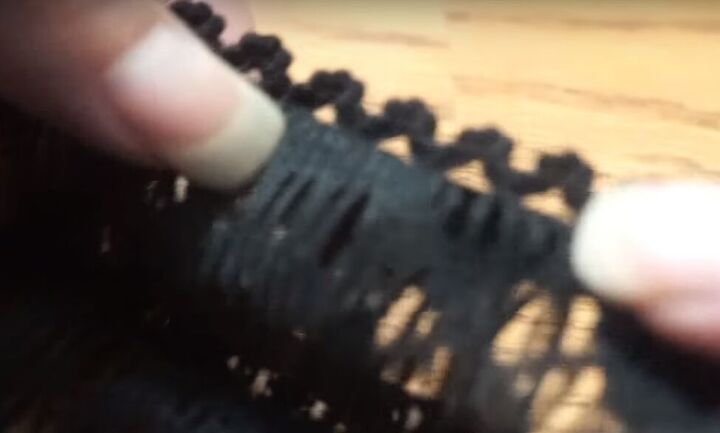
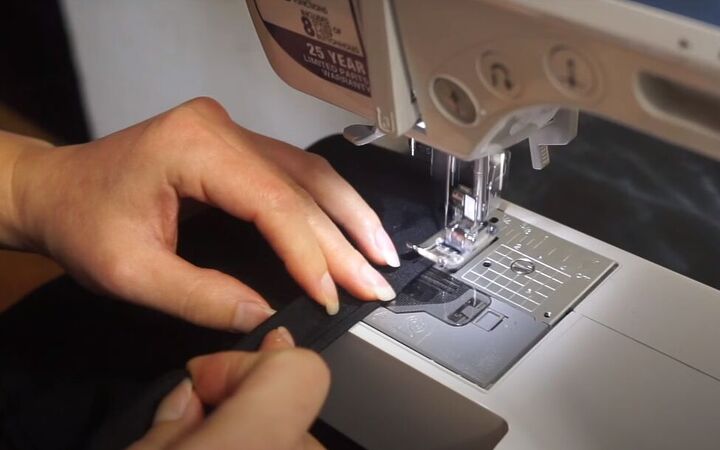
4. Attach decorative elastic to the lace hem
Your lace may have intervals where there is no fabric, so attaching a decorative elastic to the hem will ensure no loose threads can unravel.
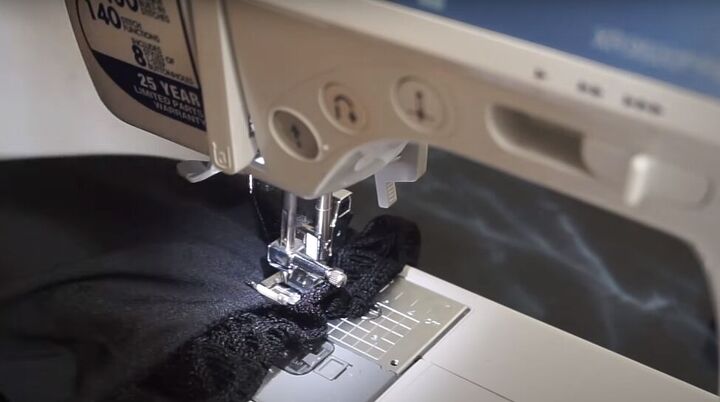
With the right sides together, pin, then sew the decorative elastic to the hem, lining up the edge of the elastic to the edge of the lace fabric. Make sure the scallops on the elastic are facing away from the hem.
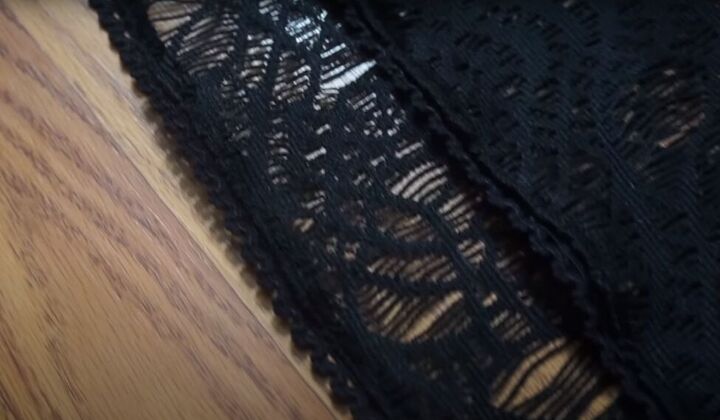
Then, turn the fabric right side and fold the trim down so the scallops show below the hem. Topstitch along the hem close to the seam.
5. Sew the lace skirt
Fold the rectangular lace skirt piece in half with the right sides facing in and sew the side seam. Now you are ready to make the tiers of the skirt.
Fold the skirt horizontally so the top layer is about 2 inches shorter than the bottom layer.
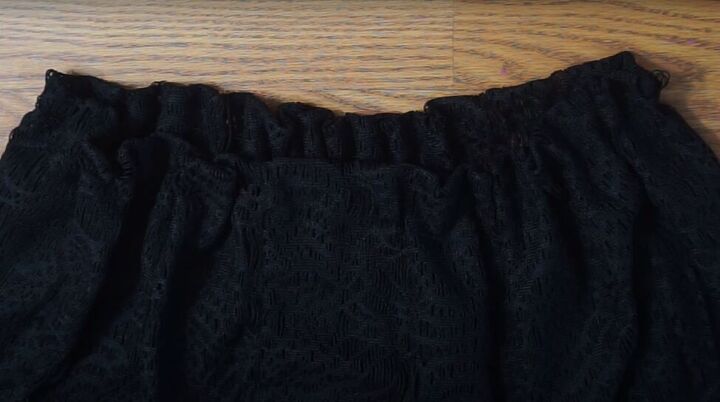
Hand-sew a basting stitch 1 inch from the waistline (the folded edge). Gather the waistline as you go so it matches the waistline width of your lining.
Tip: To help you get evenly distributed gathers, mark the waistline with pins at four equal points. For example, on each side, the center-front, and the center-back. Then, you can ensure equal gathering in each quarter.
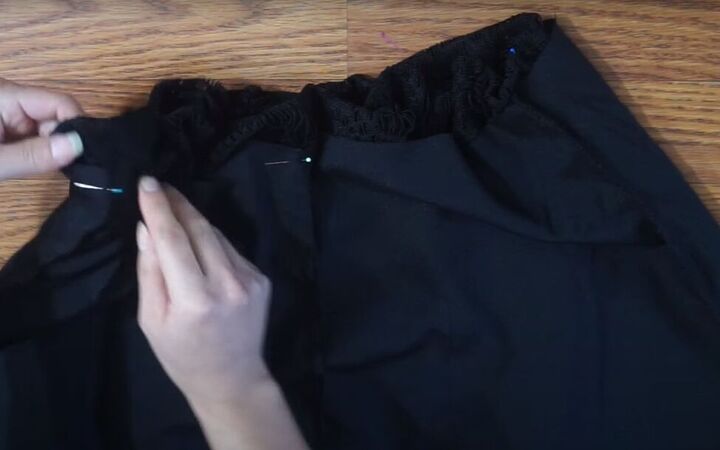
6. Attach the lining to the skirt
Position the right side of the lining on the wrong side of the skirt and place the top of the lining one inch below the top of the skirt. Pin the lining in place.
Sew the lining to the lace skirt at the edge of the lining, making sure that you keep the skirt gathers evenly distributed.

7. Make an elastic waist
With your waist elastic as a sizing guide for width, create a row of stitches below the row you just made, to allow for inserting the elastic.
Sew that row on the right side of the skirt so you can check that the gathers at the top are equally distributed. Make sure to leave a gap open so you can insert the elastic.

Pull the elastic through the casing, secure the two ends of the elastic, and sew the casing gap closed.

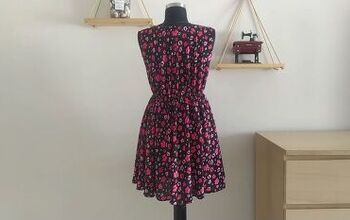
How to sew a lace skirt
Here is the finished DIY lace skirt with the matching top for a complete lace top and skirt ensemble. It’s so pretty! If you try out these tutorials, leave a comment to let me know how yours turned out.
The author may collect a small share of sales from the links on this page.


Comments
Join the conversation