Upcycle a Duvet Into a Midi Skirt With This Sewing Pattern Tutorial

Today, I'm showing you how I made a midi skirt sewing pattern from the Betty dress pattern.
I used the cotton side of a duvet that I'm upcycling, and I would recommend you use a similar fabric.
This tiered and gathered skirt uses an invisible zipper and button closure. It was my first time learning how to sew in an invisible zipper so I'm going to share with you how I did it.
Tools and materials:
- Betty dress pattern
- Cotton duvet or similar 52 inch wide fabric
- Iron-on interfacing
- 7 - 9 inch invisible zipper
- Button
- Seam ripper
- Pins
- Scissors or rotary cutter
- Ruler
- Tailor's chalk
- Sewing machine
- Zipper foot
- Buttonhole foot (optional)
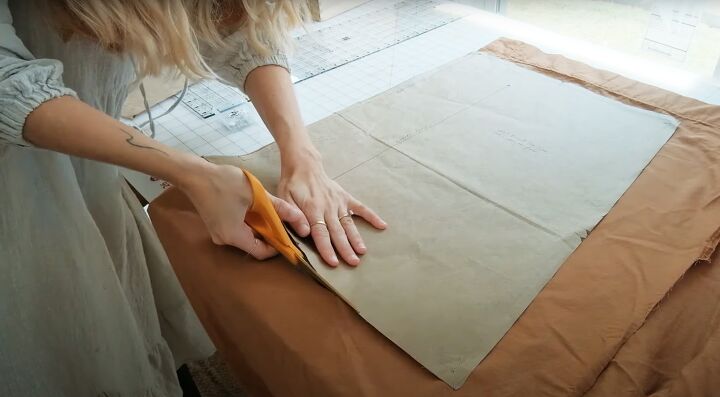
1. Cut out skirt pieces
Pin the pattern pieces to the folded fabric, adding length to the bottom tier if you want a longer skirt.
Cut out the pieces and transfer all markings.
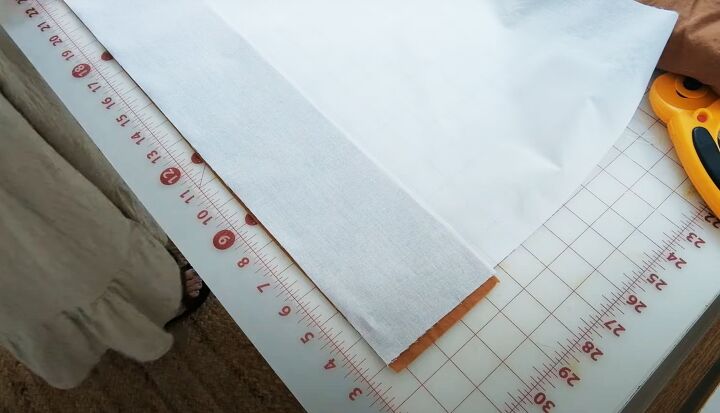
2. Make waistband
Cut a rectangle for the waistband 4 inches long and your waist measurement plus 4 inches wide.
Cut the same size piece from iron-on interfacing and iron it to the inside.
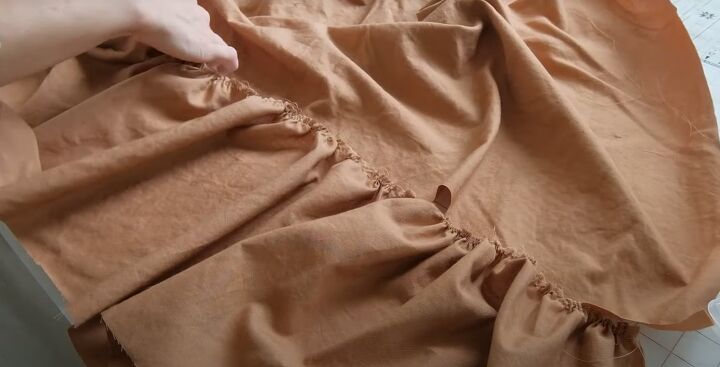
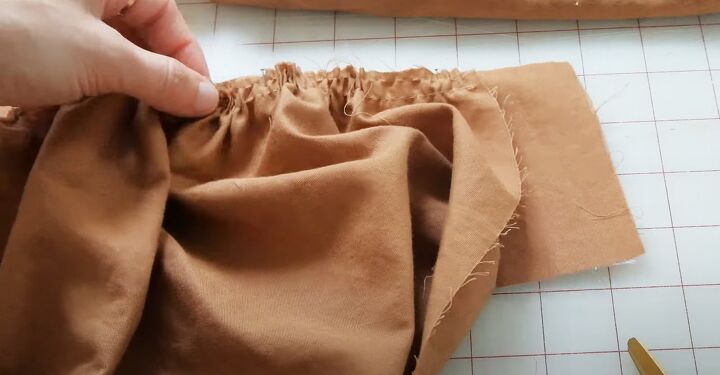
3. Gather tiers
Leaving long ends, sew two rows of long gathering stitches at the top of the main skirt pieces and the lower ruffle.
Gather the lower tier to fit the bottom edge of the skirt and sew with right sides together, taking a half inch seam allowance.
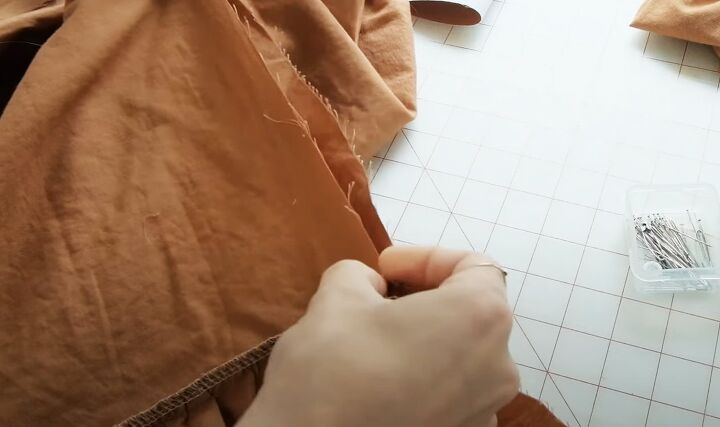
4. Side seam
Pin and sew one side seam of the skirt, matching the ruffles.
5. Attach waistband
I did attach the waistband at this point, and afterwards realized it would have been easier to do it after inserting the zipper.
To follow along with me, gather the top of the skirt to fit your waistband, leaving an extra 2 inches free on one side of the waistband for the button closure.
Pin in place at the top of the skirt and sew, taking a half inch seam allowance.
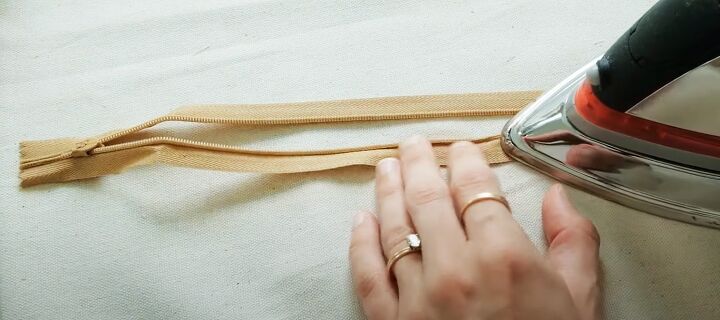
6. Prepare zipper
Open the zipper and iron it on the right side at a low setting to press the teeth towards the opening.
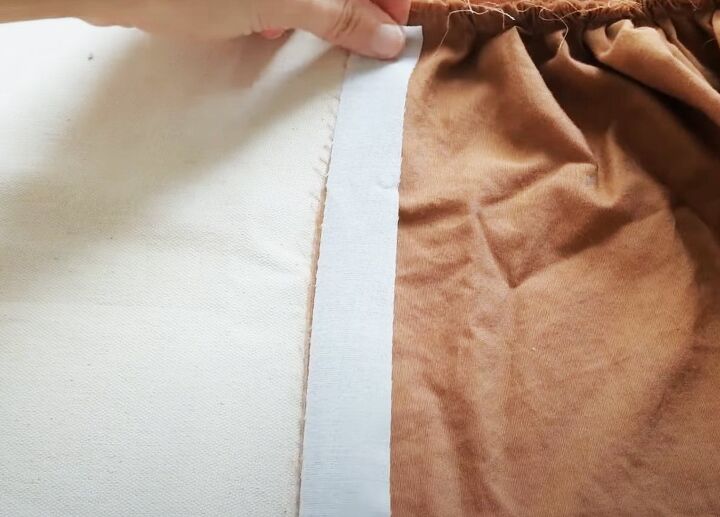
Cut a piece of interfacing the width and length of the zipper and iron it into place on the inside of the skirt.
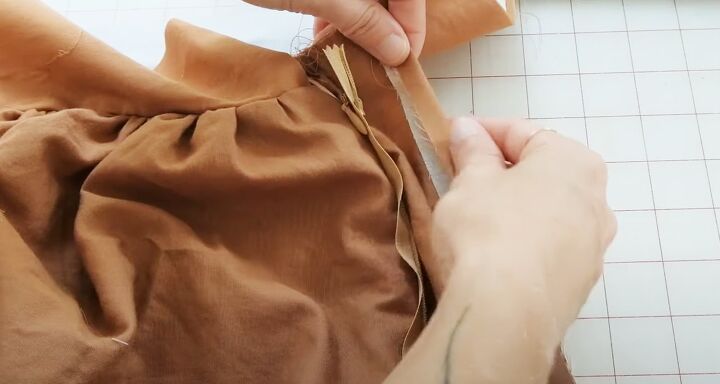
7. Insert zipper
Right sides facing, pin the zipper to the top of the skirt at the waistband, unzip it and pin it just inside the raw edge of the seam on the side without the interfacing.
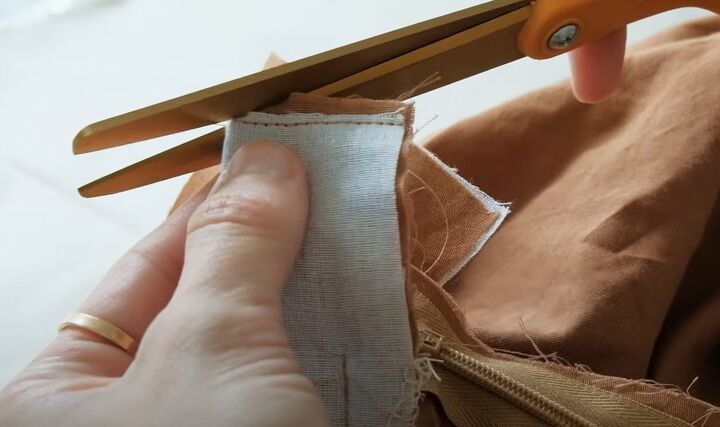
Cut a notch in the fabric where you want the stitching to end.

Change to a zipper foot and line the zipper up. Adjust the zipper foot so you can stitch close to the teeth and sew down to the notch.
Close the zipper and mark the position of the notch on it.
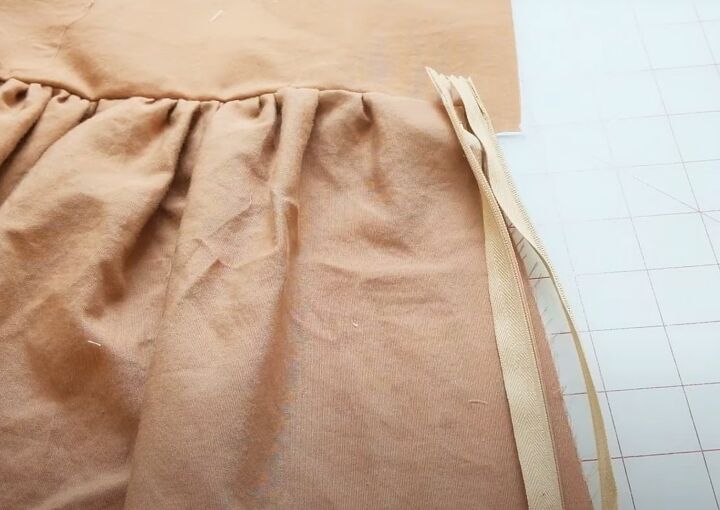
Fold in the seam allowance on the other seam and pin in place.
Pin the folded edge to the right side of the zipper so it covers the teeth, then open the zipper and continue pinning the tape to the side seam.
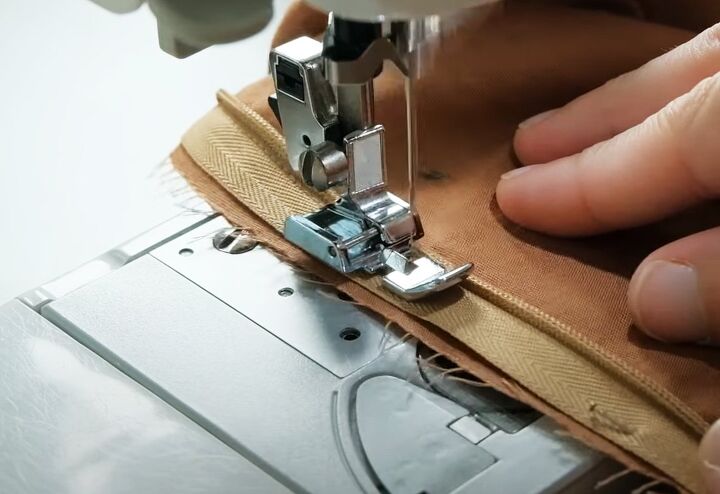
Change your zipper foot to the opposite side and stitch the second side of the zipper in place down to the chalk mark.
Leaving the end of the zipper tape free, continue stitching the side seam to where the interfacing ends.
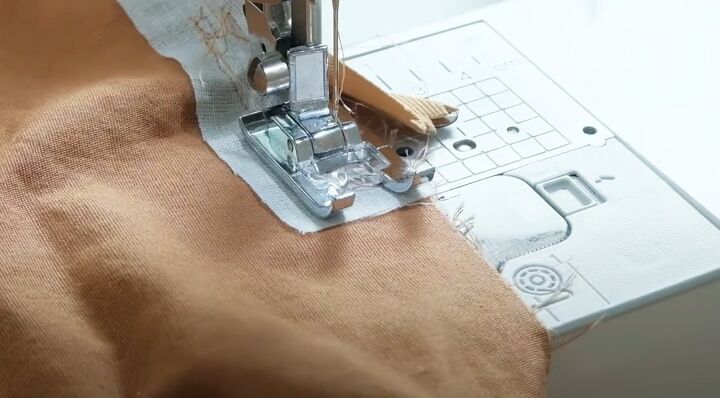
8. Side seam
Change to the normal presser foot. Pin and sew the rest of the side seam.

9. Finish waistband
Turn in the top edge of the waistband by 1/4 inch and press.
Fold the band right sides together and stitch the short ends. Trim the excess fabric and turn the waistband right side out.
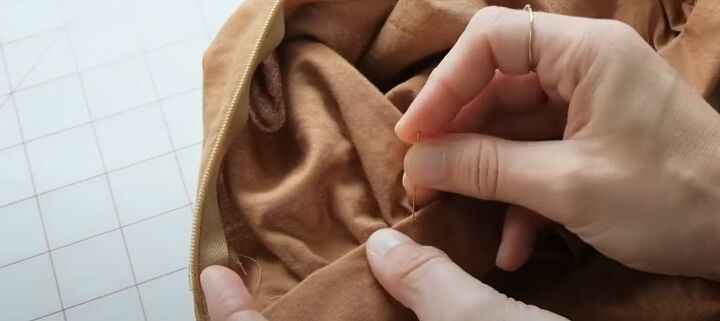
Pin the folded edge to the inside of the skirt, enclosing the raw edge. Top stitch on the right side or hem it by hand on the inside.
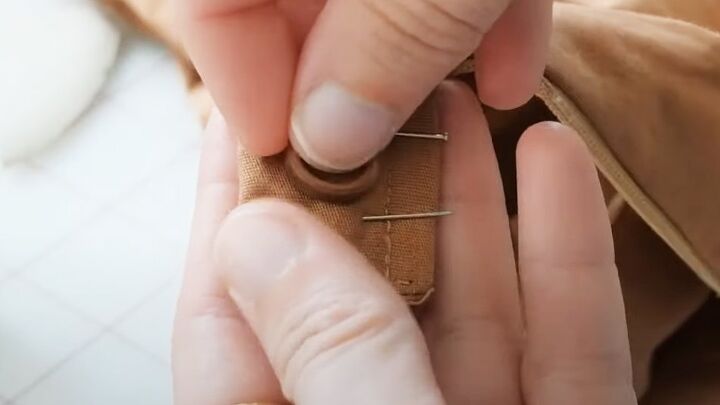
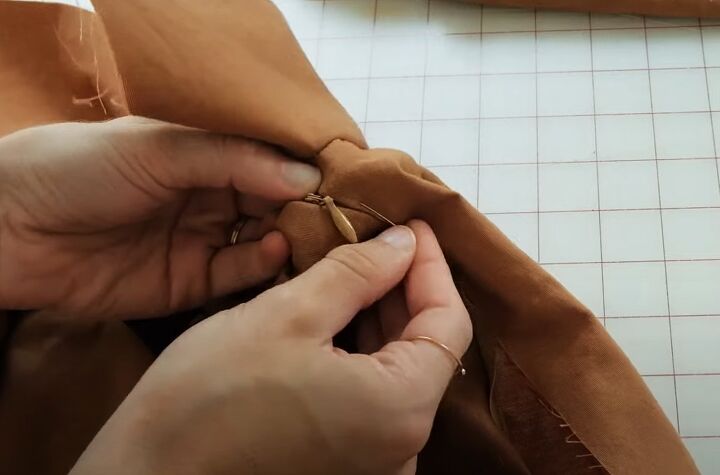
10. Button closure
Overlap the ends of the waistband and mark the width and position of the button.
Make a buttonhole at the longer end of the waistband, using a buttonhole foot or the normal foot and a zigzag stitch.
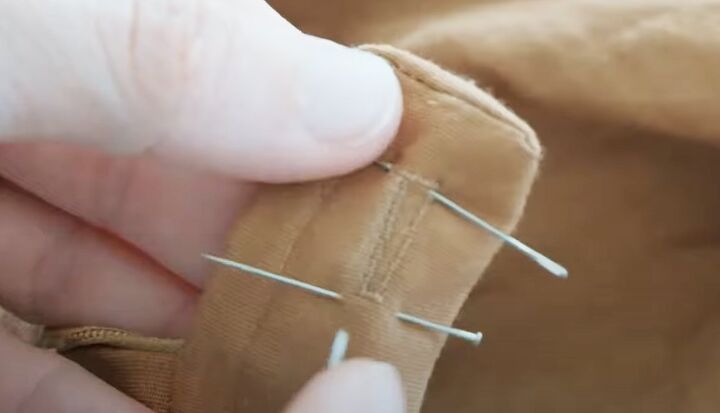
Using a seam ripper, cut between the two rows of stitching.
Try on the skirt and mark the position of the button. Sew it in place by hand.

11. Lower hem
Overlock or zigzag stitch the lower edge of the skirt. Turn in a narrow hem and press. Make another fold 3/4 inch deep and stitch.
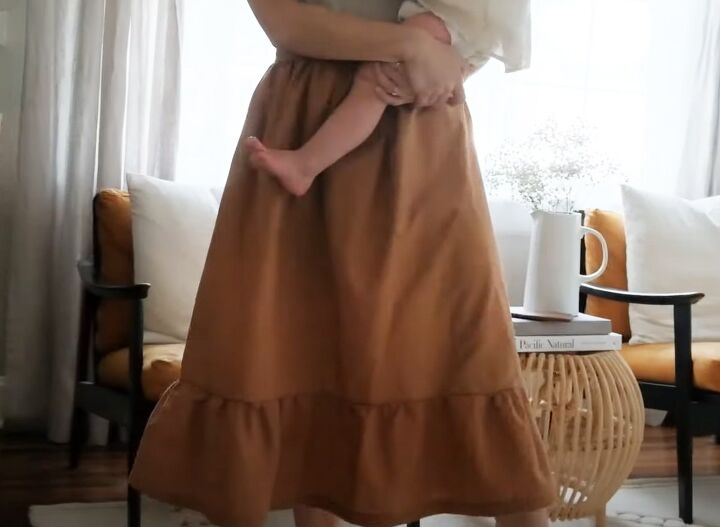
Midi skirt sewing pattern tutorial
I loved trying out some new techniques on this DIY midi skirt. I like to see how many looks I can make from one pattern, and I hope you enjoyed learning how to make a gathered skirt.
Let me know if you tried any of these techniques in the comments below - I love to read your feedback.
The author may collect a small share of sales from the links on this page.


Comments
Join the conversation