Make Your Own Super Cool Reversible Wrap Skirt With This Easy Tutorial

I was cleaning out my closet the other day and I found this wrap skirt that I made when I first started learning to sew. I did find a few imperfections in it, so I decided to make a new one and show you guys how to do it. In this tutorial, I’ll be showing you how to take some fabric and use your sewing machine to turn it into a very cool reversible wrap skirt that you can wear in various ways and styles.
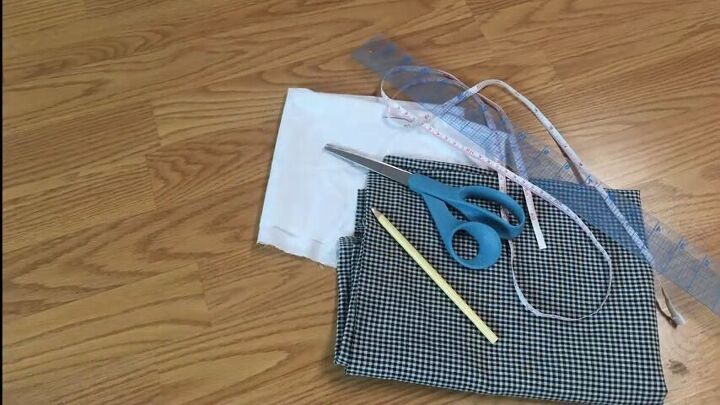
Tools and Materials:
- Cotton fabrics (non-stretch)
- Ribbon
- Measuring tape
- Scissors
- Marking tool
- Sewing pins
- Sewing machine
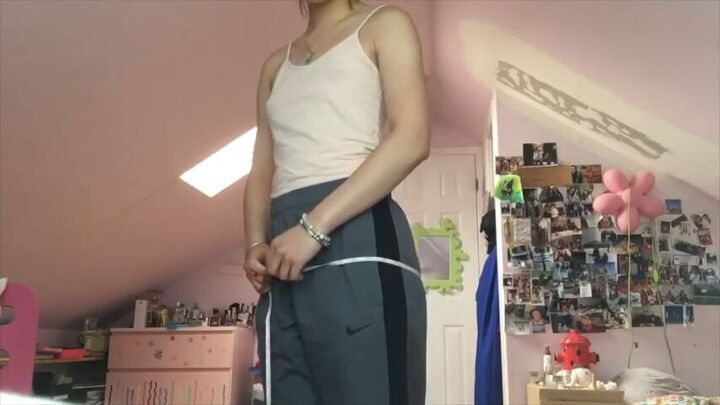
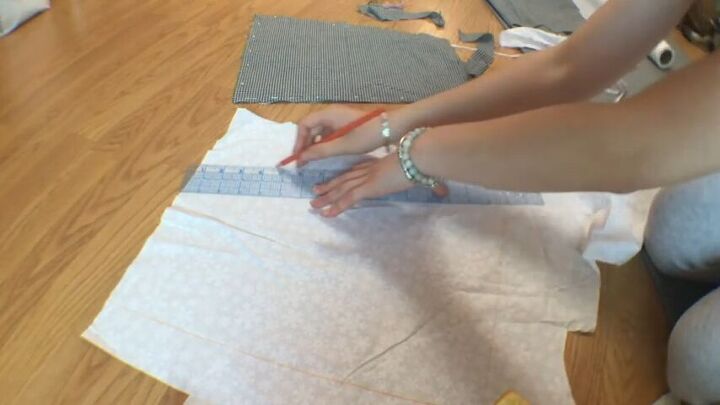
The first thing you need to do is measure yourself. For this project, you’re going to need the measurements for your waist, hips, and the length you want your skirt to be. You’ll also need to know the measurements for only the backside of your waist and hips.
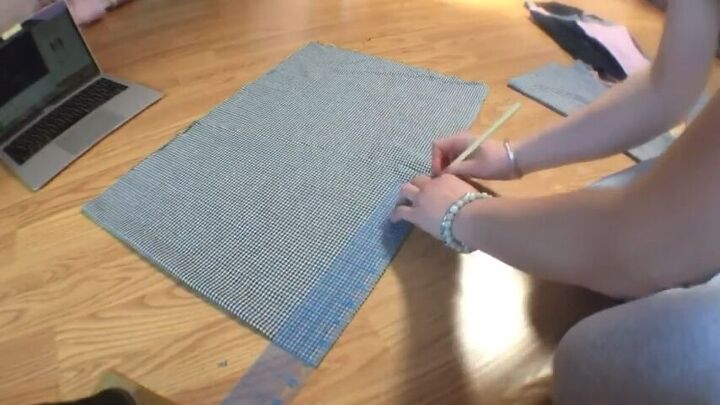
Take your fabric and fold it in half. Now you’re going to take your backside waist measurement and add two inches to it, which will give the skirt a better fit. Then you’re going to add another two inches for darts, and another inch for seam allowance. So since my backside waist measurement was 13 inches, for this part I needed 18 inches. Since the fabric is folded over, I marked 9 inches going down, then added another inch for seam allowance. To figure out the hem length, take the backside width of your hips and add three inches for a looser fit, and one more inch for seam allowance. My total was 22 inches, so I marked 11 inches since it’s folded in half.
Draw a slanted line connecting the two points you just marked, and cut it out. You need two back pieces in the same measurements, but it’s up to you and the design that you’re going for whether you want them to be from the same or different fabrics.
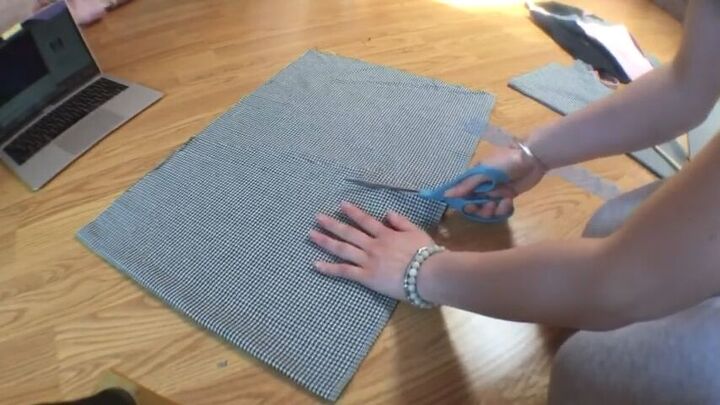
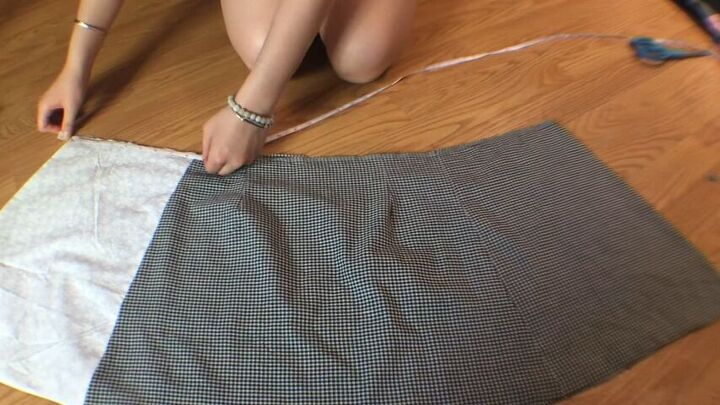
Subtract your backside waist measurement from your full waist measurement, and then subtract an additional two inches, and that will give you the length of the top of the panel. Then add two to three inches to your previous hem length and that is the hem length for this panel. Draw a slanted line to connect the top and bottom lines you created. You’ll need two front panels. Since I wanted my skirt to be solid colored with one different panel, I cut three of the plaid and one of the white.
The first step in assembling the skirt is to create the darts for the back pieces. Mark four inches from the edge and use that mark as a center. Then mark half an inch from each side of the center point in order to create one-inch darts. Then go down 3.5 inches from the center point and make a mark. Do this on the other side and the other back piece as well. Then sew all four darts.
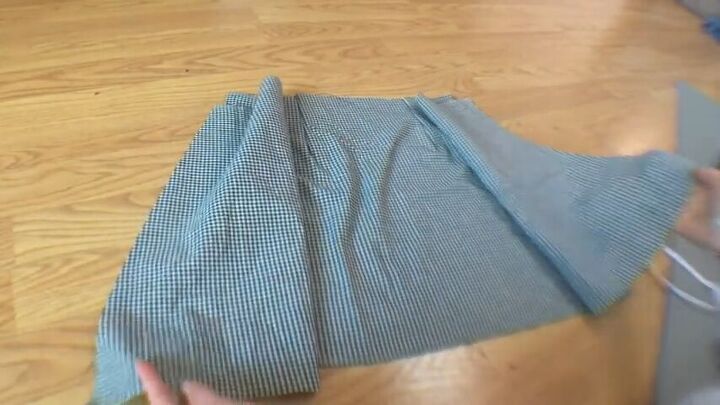
Once your darts are sewn, take one back piece and two front pieces, and place the front pieces right side with the back piece. Then sew the sides and do the same for the other sides and back piece.
Take your pieces and sew them together along three sides, leaving the top unsewn.
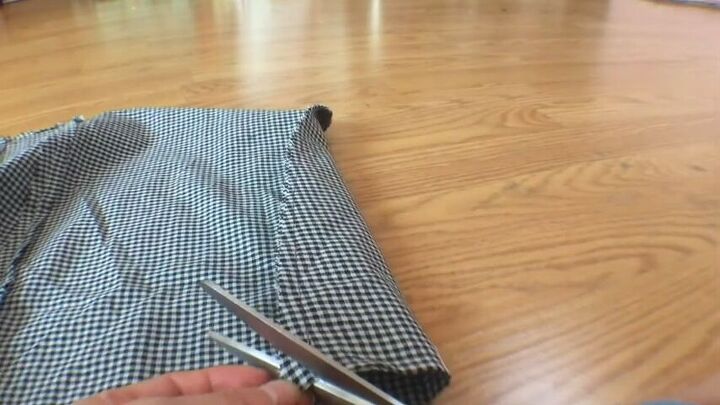
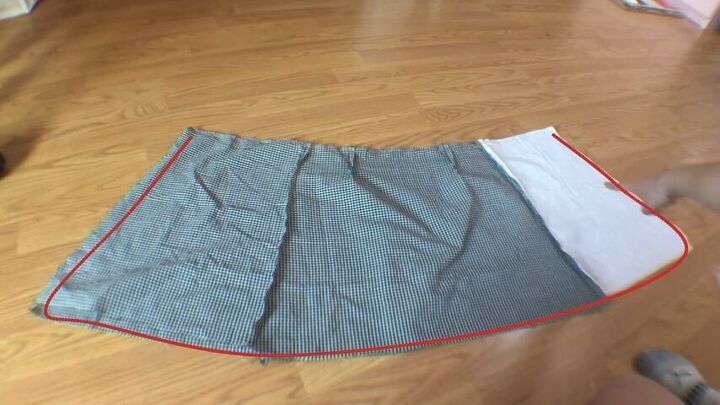
Clip off the corners as well as any excess fabric. Then flip the skirt so that the seams are now on the inside, and press down the seams with an iron.
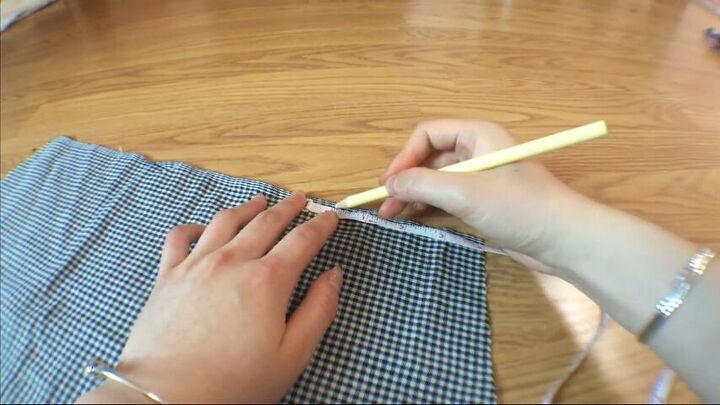
Take the measurement of the waist length in order to figure out the length of your waistband. The length of your waistband should be two to three inches, depending on how thick you want it to be, and the length should be your waist length plus three inches, which includes seam allowance.
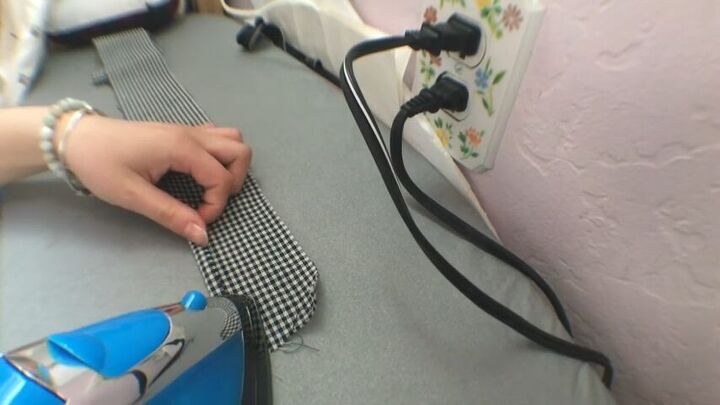
Fold over a quarter-inch lengthwise on each side of your waistband and press it down with your iron.
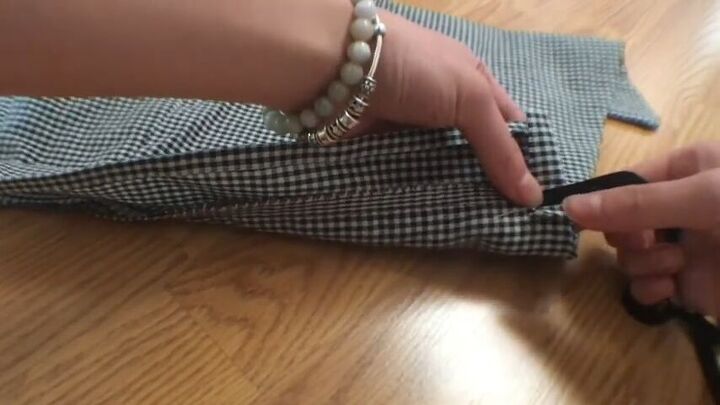
Place one of the folded sides of the waistband onto the edge of the skirt. Leave a bit hanging off the side and fold over that part to create a tab. Then place your ribbon in the middle of the tab, and fold it over to the other side so that you’re folding it over the ribbon. Use pins to hold your waistband in place and sew as close to the edge as possible.
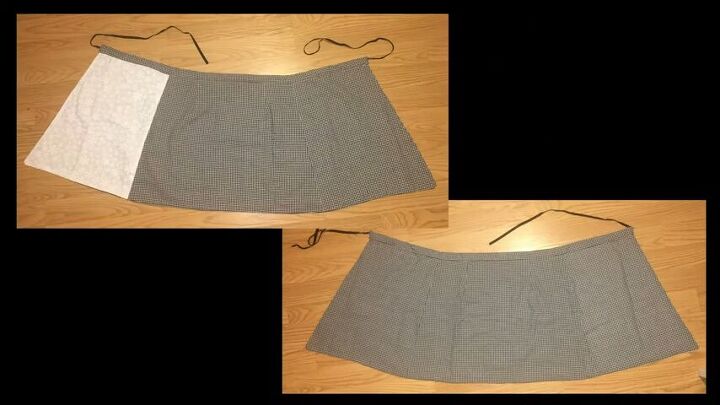

And you’re done! I really enjoyed making this skirt because it was so easy and so fun. It’s such a cute and unique skirt and I love it because I can wear it in different ways and create a whole new outfit with it every time I wear it. What’s really great about it is how easily you can customize it and totally play with the different panels and what the colors or patterns of each one will be. There are endless possibilities! So show me the colors and patterns that you chose and drop a pic below!
The author may collect a small share of sales from the links on this page.


Comments
Join the conversation
Such a cute skirt. Love how you made it have versatility with the contrasting panel. As stated, you can get various looks by wrapping it a different way. Very creative and fun!
I love this idea. Wrap skirts are so cute but you don't see them much anymore. Great job. I think my grands would love one of these.