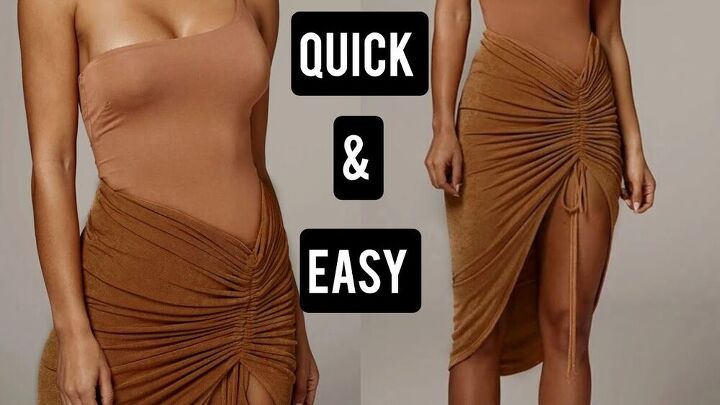
Unique Ruched Skirt With Drawstrings DIY

Today I’m going to be showing you how to make a very easy ruched skirt. I recommend using fabric that has a little bit of stretch to it. I think this is such a fun and interesting style, and I’m sure you will love it, too. If you’re ready to get going on creating your DIY ruched skirt, keep reading!
Tools and materials:
- Fabric with a bit of stretch
- Paper
- Marker
- Ruler
- Measuring tape
- Scissors
- Pins
- Safety pin or hairpin
- Fabric chalk
- Sewing machine
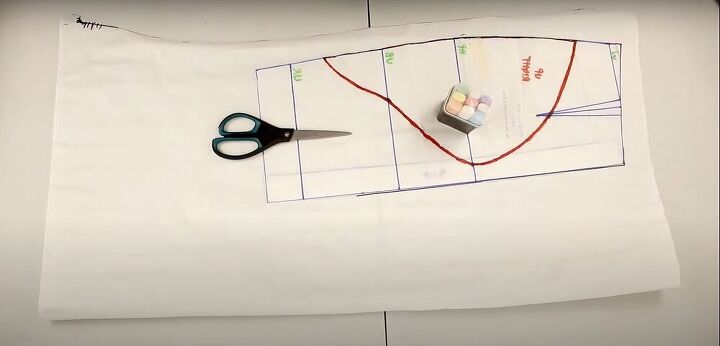
Draft and cut out pattern
I based the pattern for this skirt on this pattern. For instructions on how to alter the pattern to create the ruched skirt, see the video from 0:01-6:07.
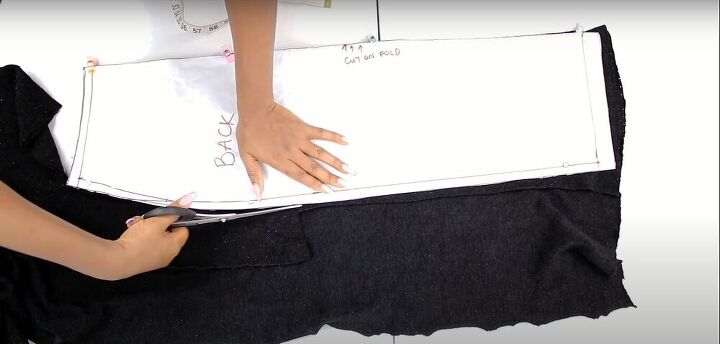
Cut
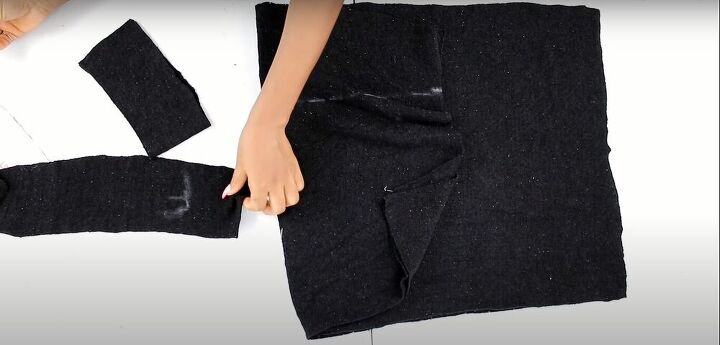
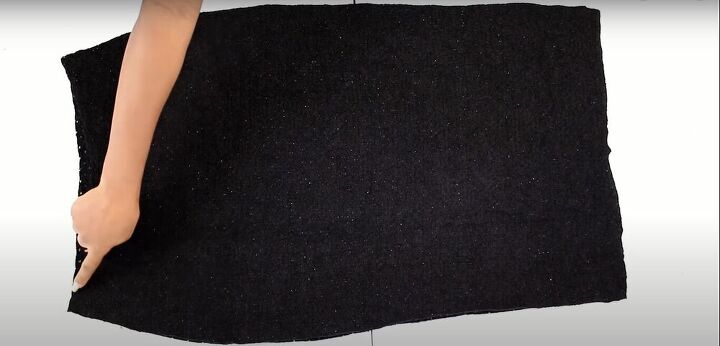
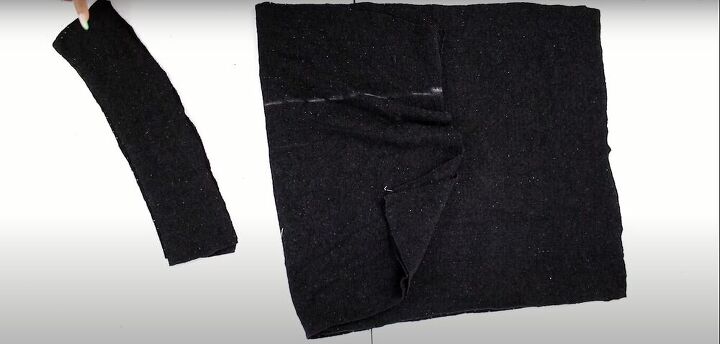
Using the pattern pieces I created, I cut out all the fabric pieces I would need for this project, which included the front and back of the skirt and the front and back facings.
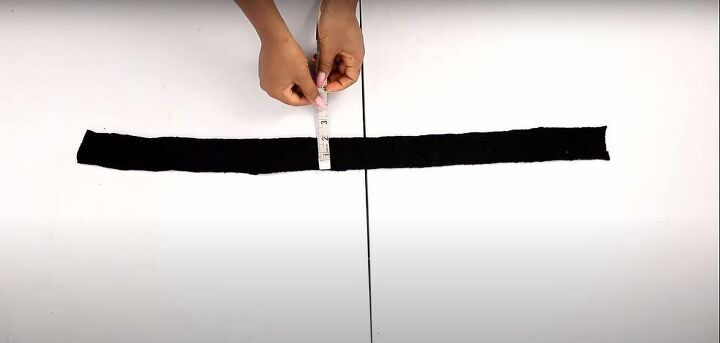
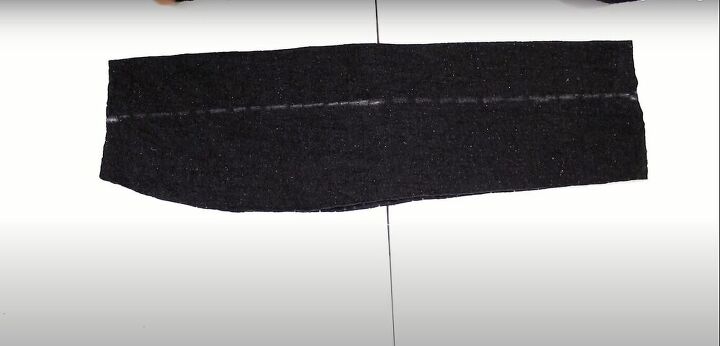
I also cut out a strip of fabric measuring 2 inches in width and the same length as the skirt. This will be the casing for the drawstrings.
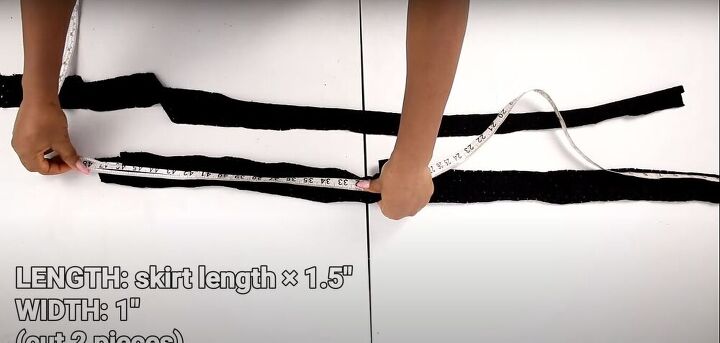
And lastly, I cut two long strips of fabric, each 1 inch wide. The length should be 1.5 times the length of your skirt.
Measure and mark
With the front skirt piece folded lengthwise, with the right sides facing each other, marked the midpoint of the waistline, and drew a straight line from that point to the bottom edge of the skirt.
I also marked my front facing piece, so I’d know which piece is which.
Sew
Next, I laid my front and back skirt pieces together, right sides facing, and sewed down both side seams.
Then I did the same for the facings.

Pin and sew
With the right sides together, I matched the side seams of the facing and the skirt and pinned the facing to the waistline of the skirt. Then I sewed the facing in place, leaving a ½-inch seam allowance.
Sew
Next, I hemmed the bottom of my skirt by folding it in twice to hide the raw edge. If you have a serger, you can serge the bottom edge, and hem it by folding it up just once.
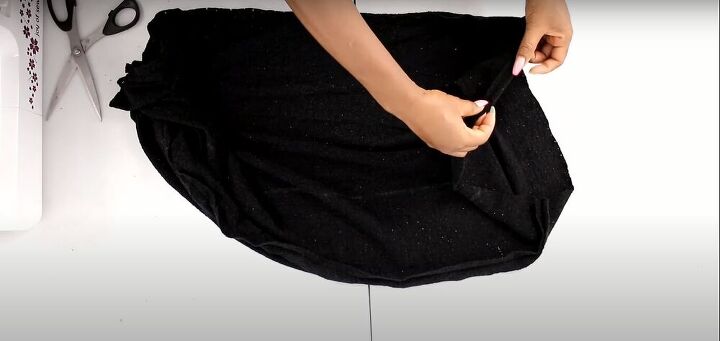
Prepare the drawstring casing
I hemmed both ends of the strip of fabric for the drawstring casing, to hide the raw edges. I placed the casing on the line I drew on the front piece of the skirt, with one end aligned with the waistline, and the other end aligned with the hem.
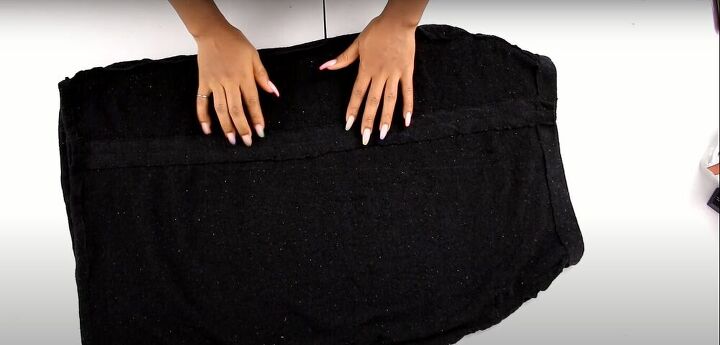
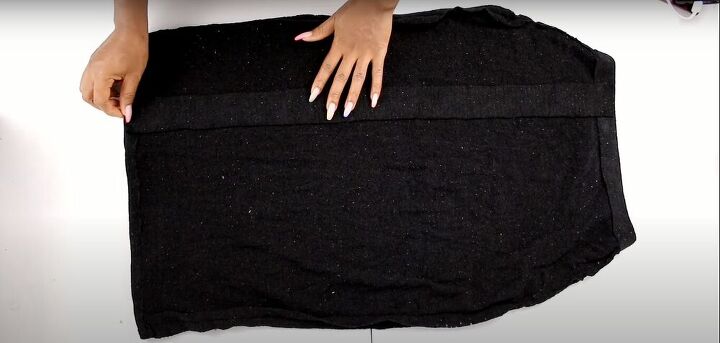
Sew
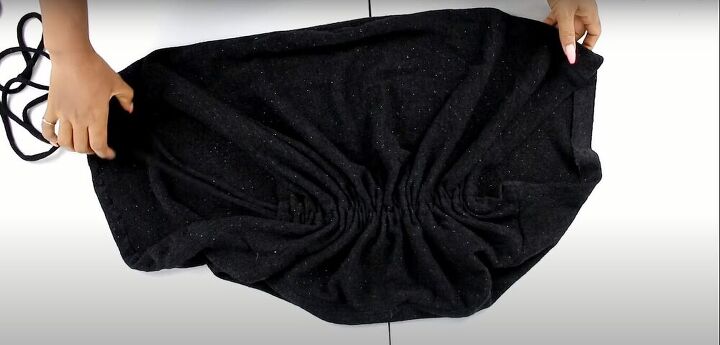
To sew down the casing, I made three rows of stitches. I sewed down both long sides of the casing, as close to the edges as possible. Then I made a row of stitches down the center of the strip, which created two channels for the drawstrings.
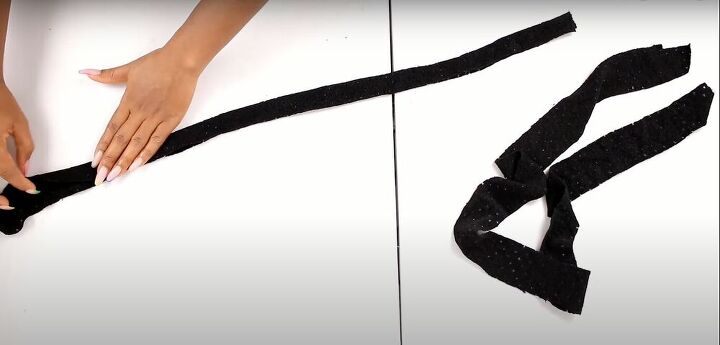
Fold and sew
For the drawstrings, I folded each long strip in half lengthwise, with the right sides of the fabric facing each other, and sewed it closed, leaving one end open to allow me to flip the fabric right side out.
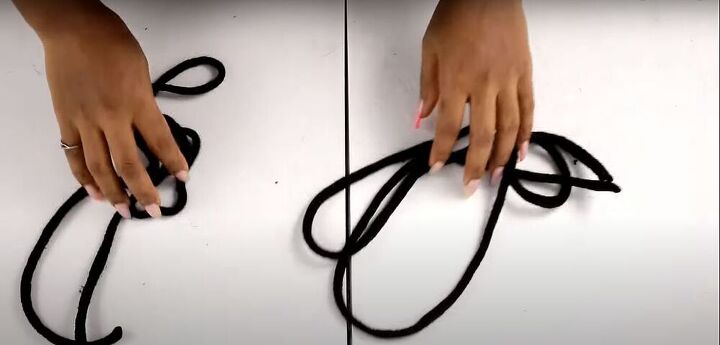
Flip
I used a hairpin to turn the drawstring right side out, but you can also use a loop turner or a knitting needle to push the fabric through to the open end of the strip.
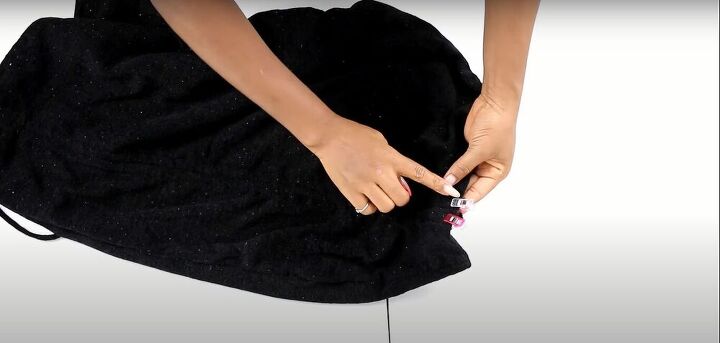
Insert drawstrings, pin, and sew
I attached the hairpin to the end of the drawstring and guided it through the casing until it came out the other end. Then I pinned the ends of the drawstrings at the waistline and sewed them in place.
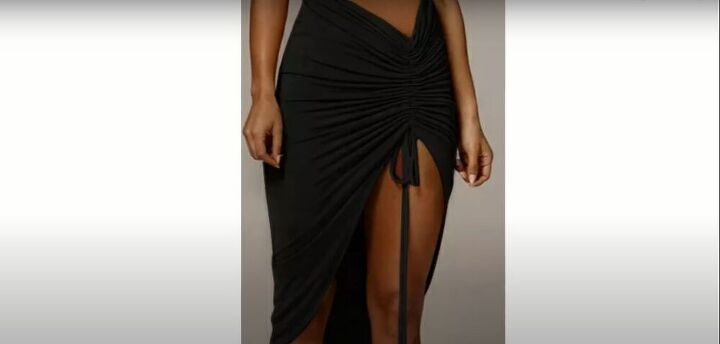
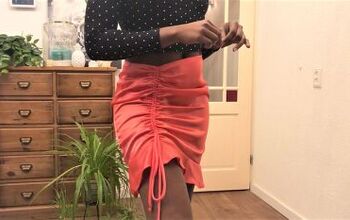
And that’s it! I’m so in love with this skirt. It’s so simple, but very interesting and special at the same time, and I’m looking forward to rocking this look!
I hope you enjoyed this ruched skirt tutorial. Let me know what you think of this piece. How would you style this skirt?
The author may collect a small share of sales from the links on this page.


Comments
Join the conversation