Make This Exquisite Ruffle Skirt & Crop Top From Upcycled Fabric

I’m so excited to show you this stunning ruffle skirt and off-the-shoulder crop top set that I recently made. I thrifted this curtain fabric and made a pretty DIY ruffle skirt and crop top out of it! This is an amazing upcycled ruffle skirt tutorial but, of course, if you don’t have a thrifted fabric piece, you can go ahead and get fabric to make this lovely matching set. Keep scrolling, and let me show you the process.
Tools and materials:
- Skirt
- Fabric
- Sewing machine
- Scissors
- Fabric marker
- Pins
- Thread
- Measuring tape
- Garter
- Elastic thread
- Zipper
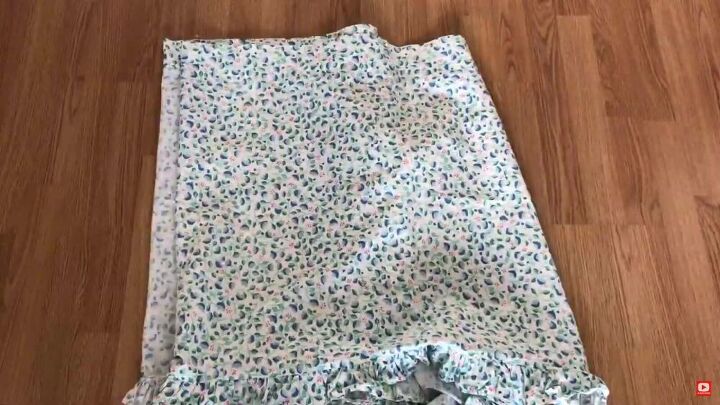
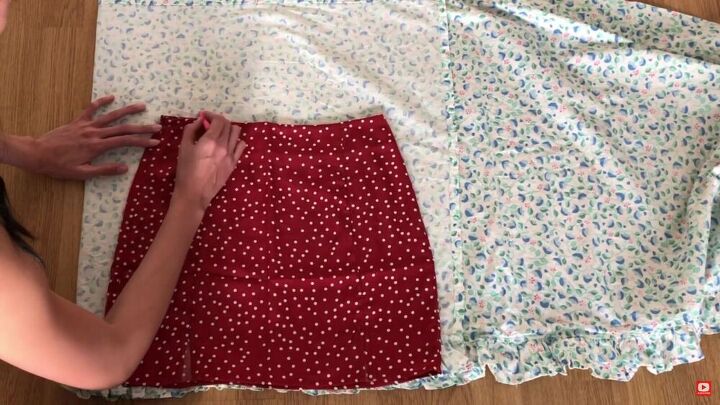
Make the ruffle skirt pattern
Take any skirt that fits you well and trace the outline on your folded fabric.
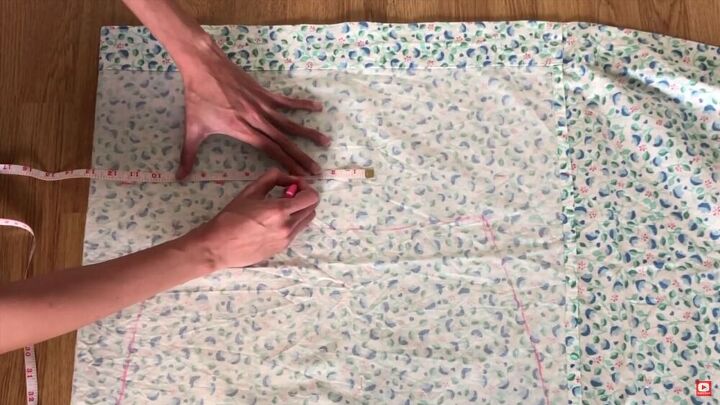
Make the crop top pattern
On top of the skirt, I had ample fabric to make the crop top. So I marked 8.5 inches widthways from the top and drew a line across.
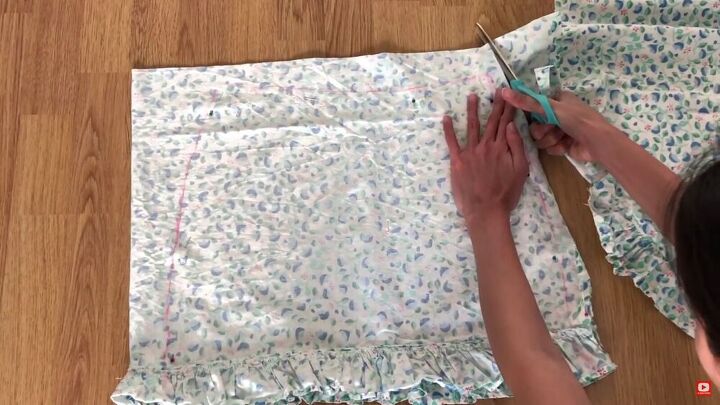
Now cut out both the crop top and the DIY ruffle skirt and add a little seam allowance as you cut around.
TIP-
Pin the fabric as you cut, so it doesn’t move out of place.
Make the crop top
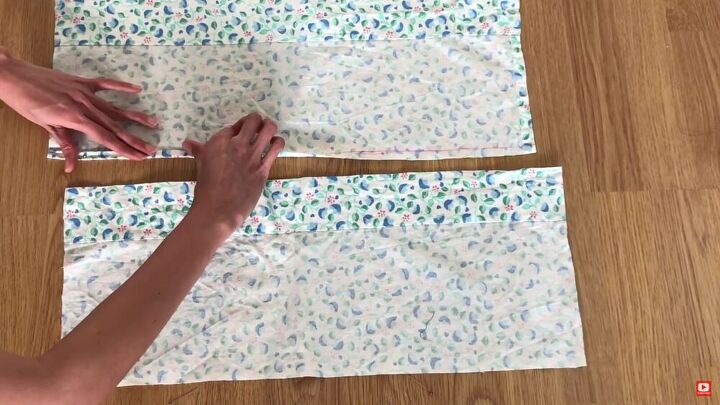
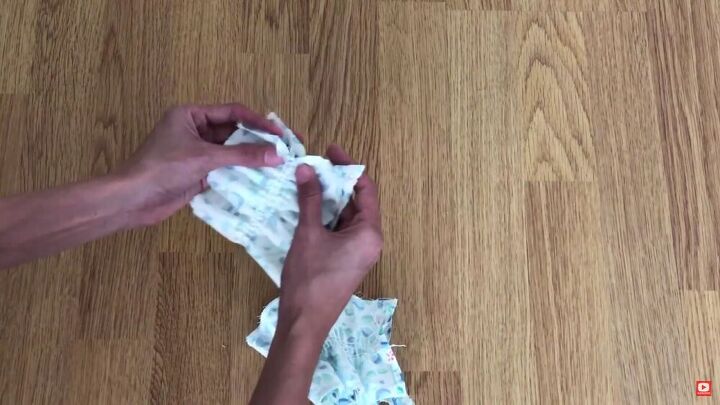
Fold the bottom edge of both crop top pieces twice and pin. Then, sew along the edge of the fold with a straight stitch.
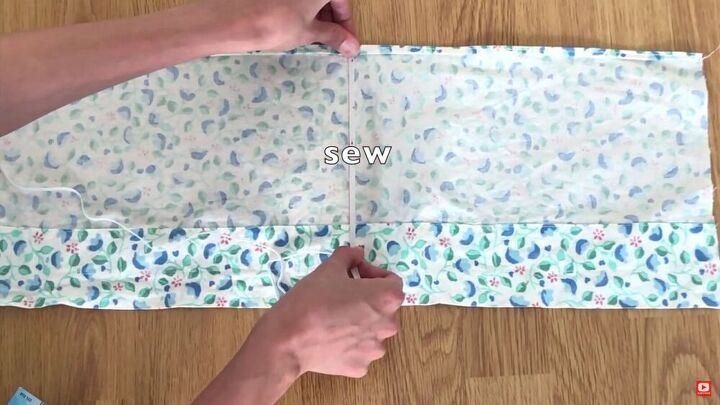
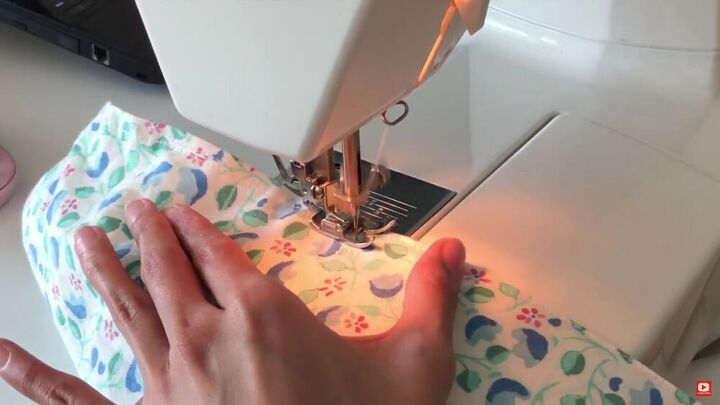
Now, take one of the bodice pieces, and mark the center. Then, sew a thin garter in the middle. I decided not to sew until the bottom but until where the fold ends.
When sewing, stretch the garter so that it creates a scrunching effect.
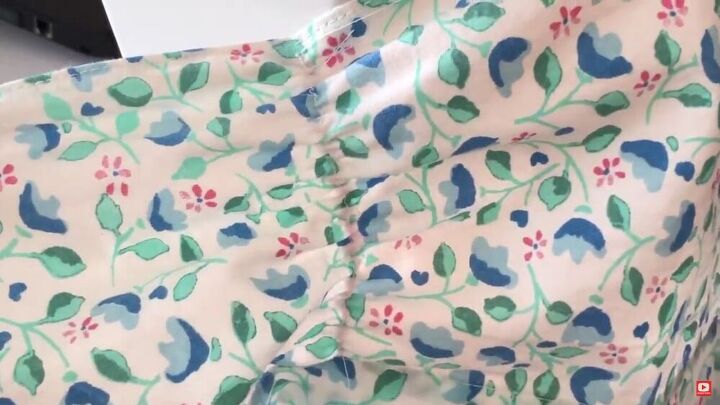
This is what it should look like.
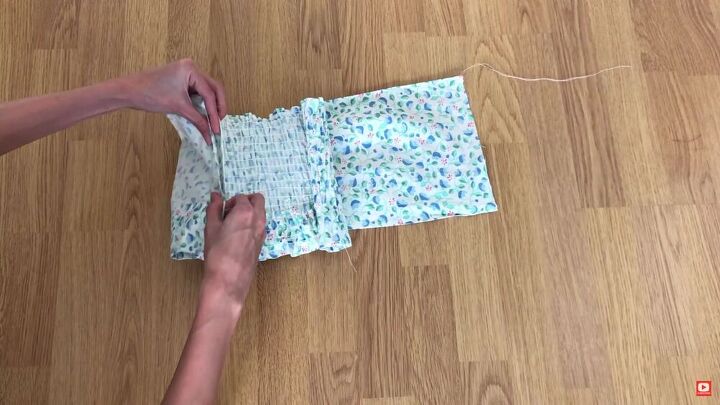
Make a shirred back
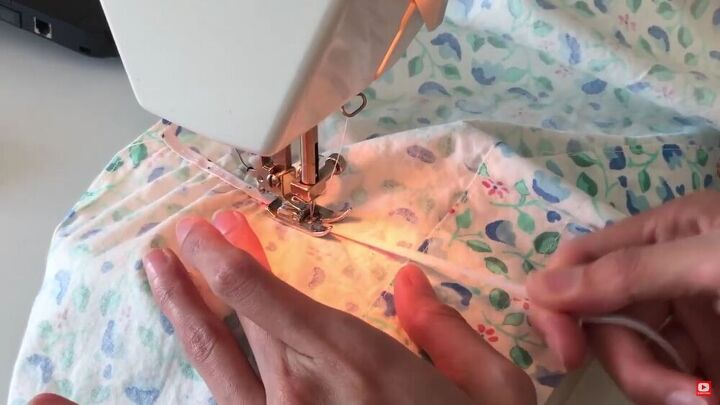
Change your thread to an elastic thread for this part. Take your back bodice and sew a straight stitch ½ an inch from the edge.
TIP-
When shirring, make sure to stitch on the right side of the fabric and stretch the fabric as you sew
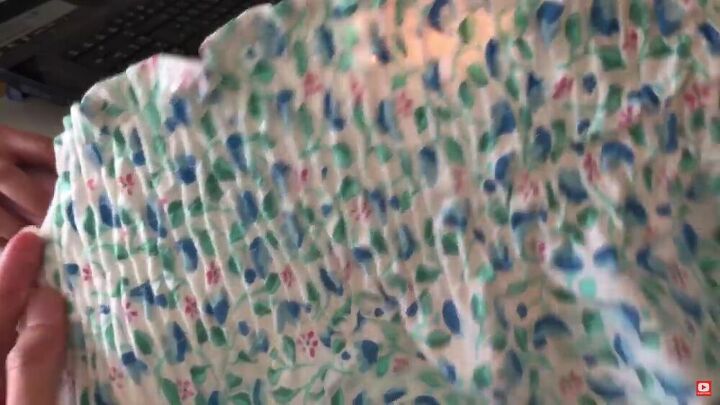
Place the second stitch about ⅓ inches away from the first. Repeat this along with the whole back piece.
Assemble the bodice
Now that both the front and back pieces are complete, stitch them together by placing the pieces together, right sides facing. Then go ahead, and sew the side seams with a straight stitch.
When I tried on the shirt, It was a little big for me, so I adjusted the measurements and sewed accordingly. I then cut off the excess fabric and completed the side seams with a zigzag stitch.
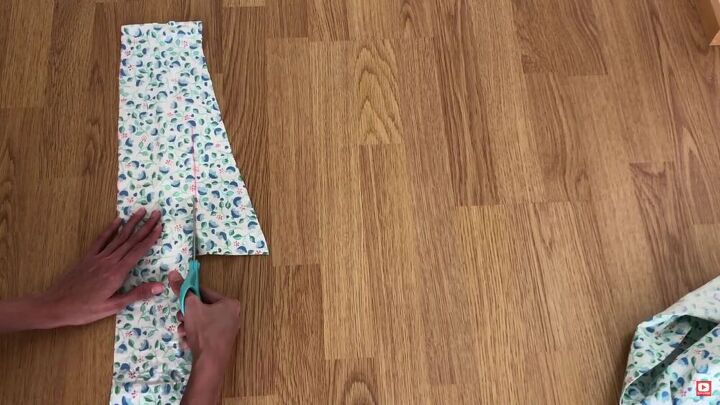
Make the sleeves
With your extra fabric, mark 4 inches all across to make a long strip. Then, cut it out.
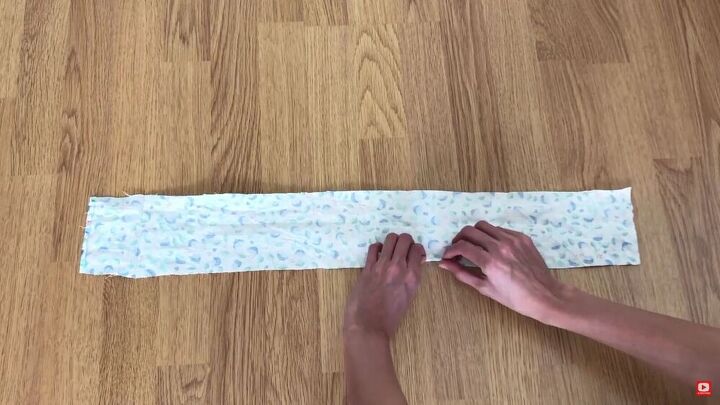
Sew the upper and lower edges with a zigzag stitch to prevent the fabric from fraying.
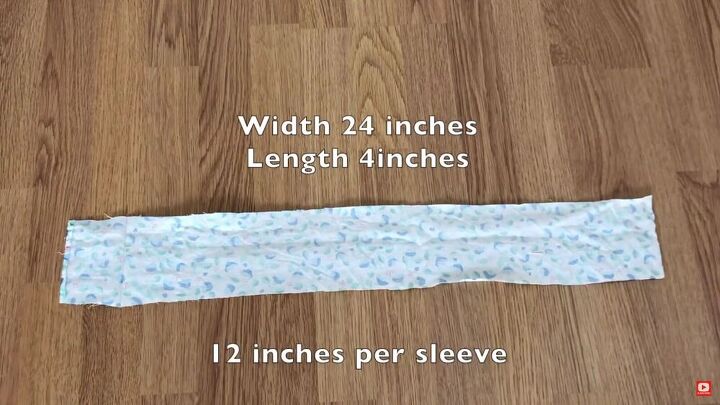
Cut the fabric into two; these are the measurements as shown above.
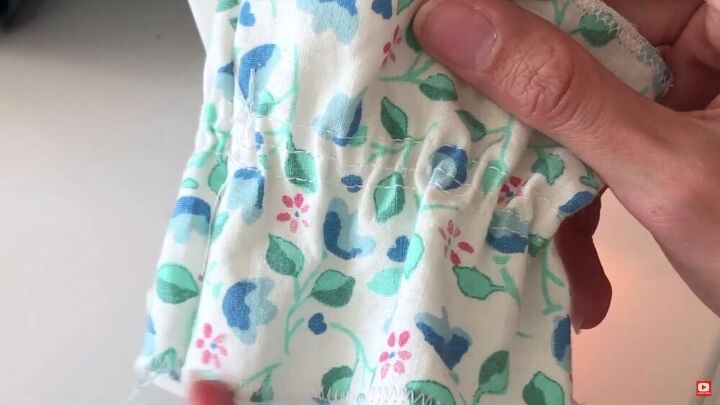
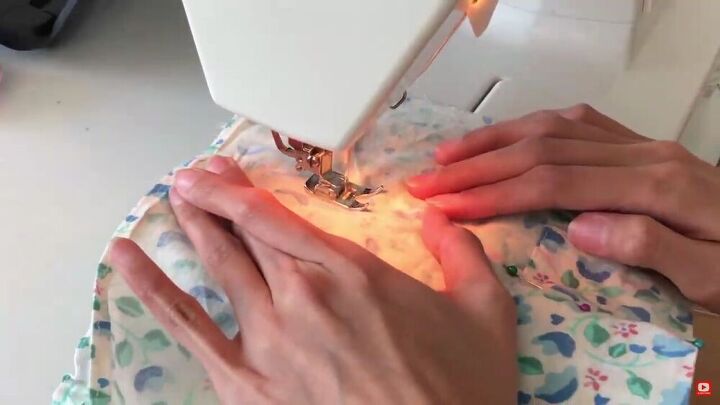
To create the ruffle for the sleeves, sew the center of each piece with elastic thread. I made three stitches at a ½ an inch distance from the center stitch.
Sew the edges of the sleeves and finish off the seams with a zigzag stitch.
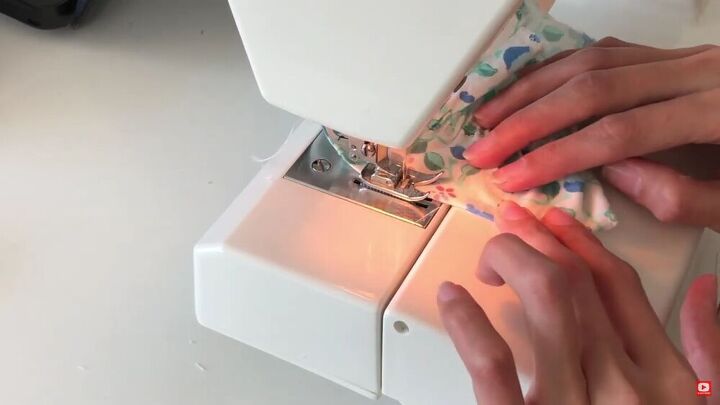
Fold the edge of the sleeve ( top and bottom) once and sew to secure with a straight stitch.
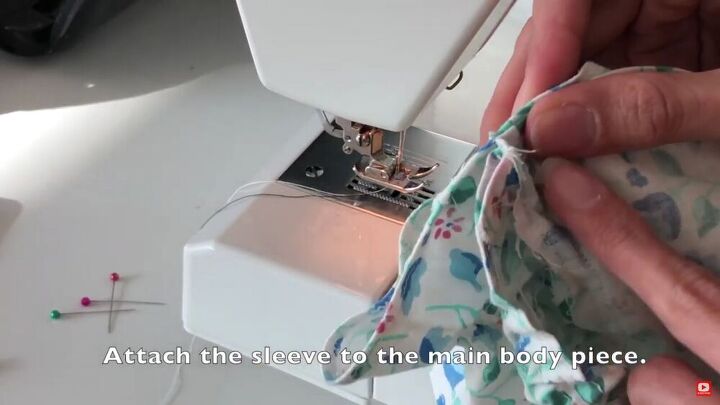
To see how I attach the sleeve to the main body piece, skip to 7:41 minutes on my video.
Sew the skirt
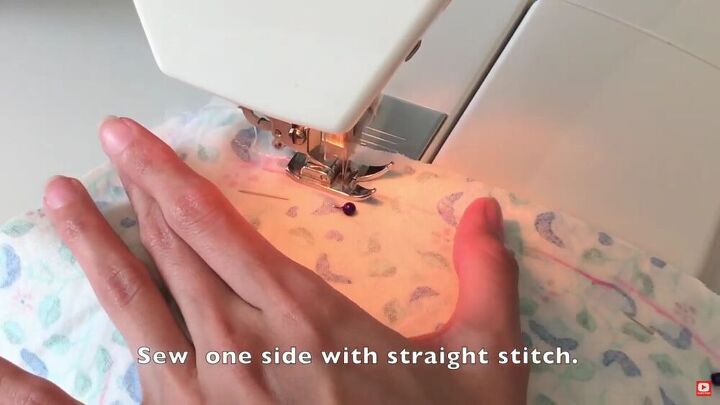
Layer the front and back pieces of the skirt right sides facing, and sew one side with a straight stitch. Cut the excess fabric, and finish it off with a zigzag stitch.

To make the waistband bigger, fold the extra fabric over as shown.
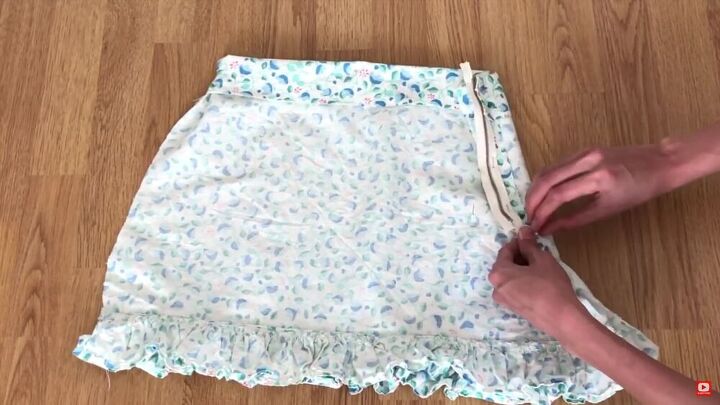
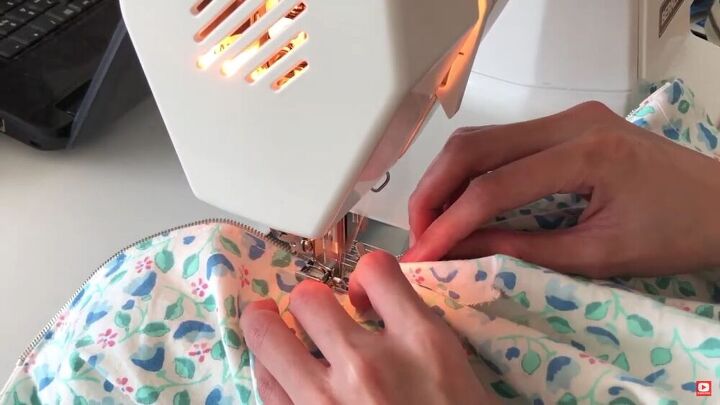
For the other unstitched side seam, I added a zipper. To see how I do this, skip to 8:10 minutes.
TIP-
Remember to change the foot on the sewing machine to a zipper foot for this part.
Go ahead and finish the bottom side of the skirt with a straight stitch.
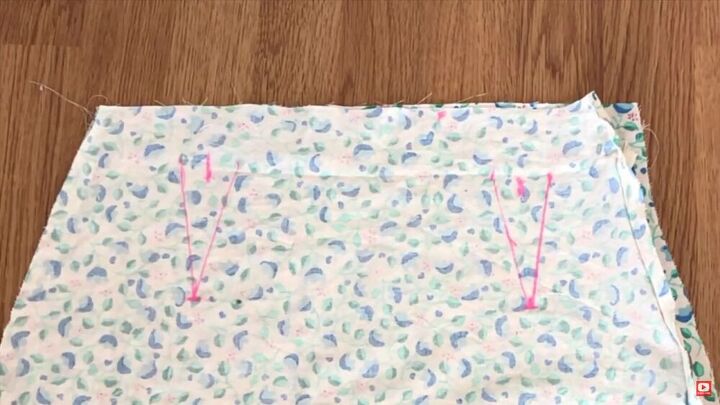
Now, make two darts on the front of the skirt. It’s simple to do, and you can see the exact method from 9:21 minutes on my ruffle skirt tutorial video.

So, there you have it! A sexy and comfy ensemble that is guaranteed to give off a lovely impression! I loved making this upcycle project. The off-the-shoulder crop top is simply unique and elegant, while the DIY ruffle skirt is downright gorgeous. Thanks for watching!
The author may collect a small share of sales from the links on this page.


Comments
Join the conversation