Make a Tiered Ruffle Skirt - Look Trendy for Spring and Summer

Looking for a spring or summer skirt with an extra element of fun? This tiered ruffle skirt is just the thing you need in your closet! It’s flowy, feminine, and just beautiful! The shape is lovely, too; giving any body type a chance to flaunt it! In this tutorial, I’m going to show you how to make a tiered ruffle skirt from scratch. You won’t need many materials for this tutorial and it’s super easy, even for beginners. So, before you go out and purchase a skirt for the next season, make one for yourself- you’ll love the result!
Tools and materials:
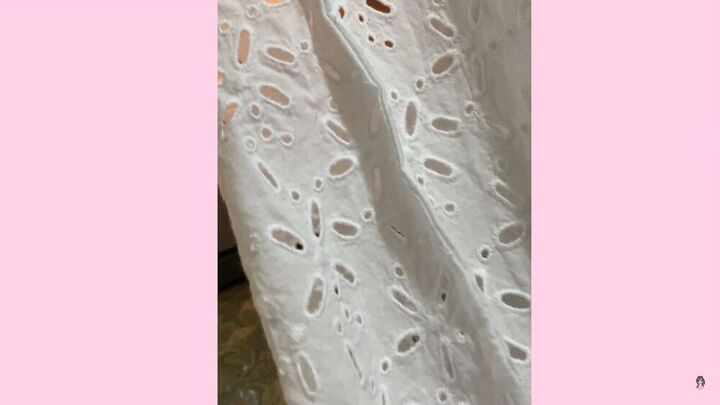
- 2 yards white cotton eyelet fabric
- Sewing Machine
- Cotton Jersey Lining
- Elastic
- Scissors
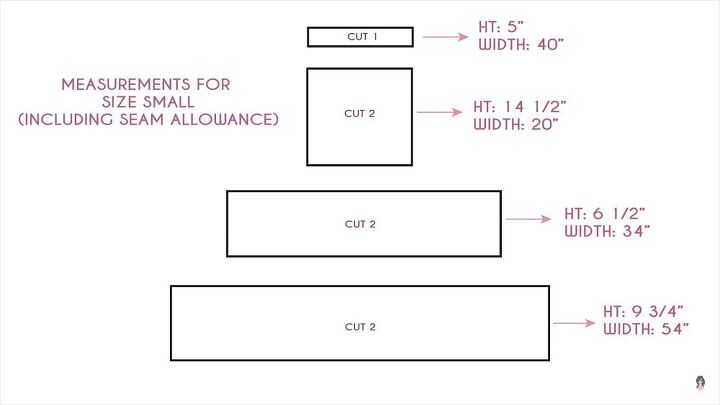
Measure and cut accordingly
To start, you’ll need a pattern. Follow the pattern as pictured, taking extra care that your measurements are correct. Once you have established and marked your pattern on the fabric with chalk, get your sharp scissors out and cut along the lines. Take your time with this one!
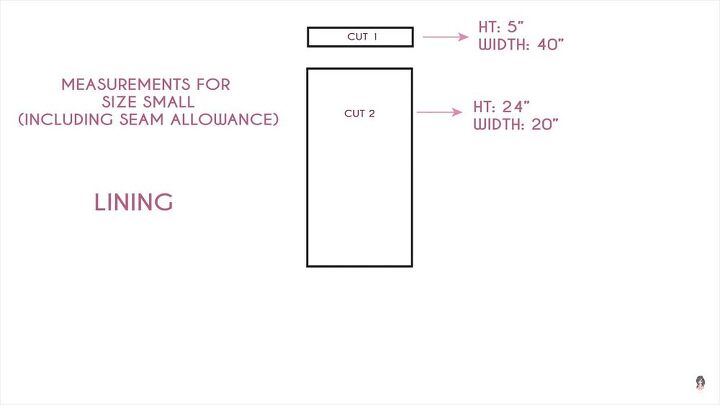
Here’s the pattern for the lining.
Join the sides together
I’m going to use a French seam method to join all the sides together. To get this done, face the wrong sides together, and stitch the sides. Then, turn it inside out and sew the sides again.
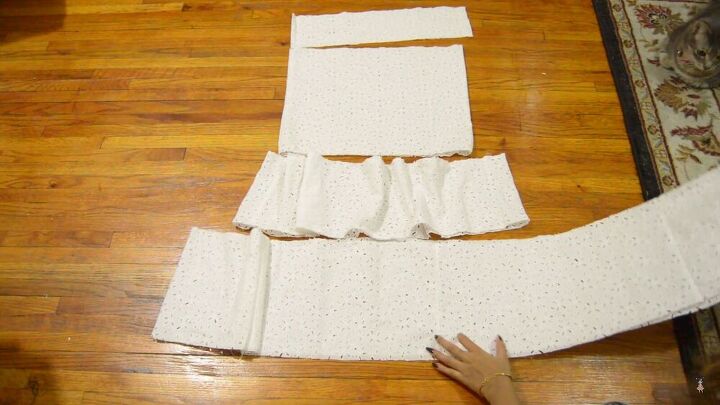
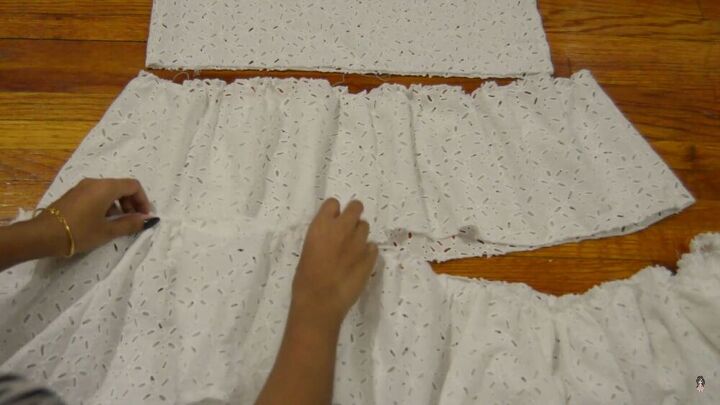
You should be left with 4 sewn pieces, from smallest to biggest. The longer, bigger rectangular piece will be one big ruffle.
Serge the tiers
Next, serge the top and bottom of the middle tier and the top of the bottom tier. When you are done, make sure to hem the bottom.
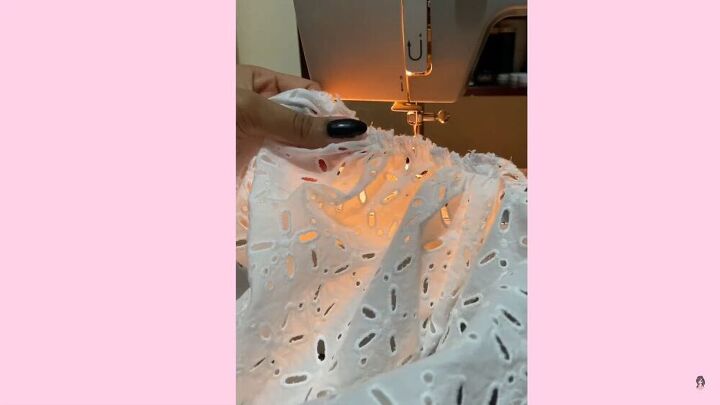
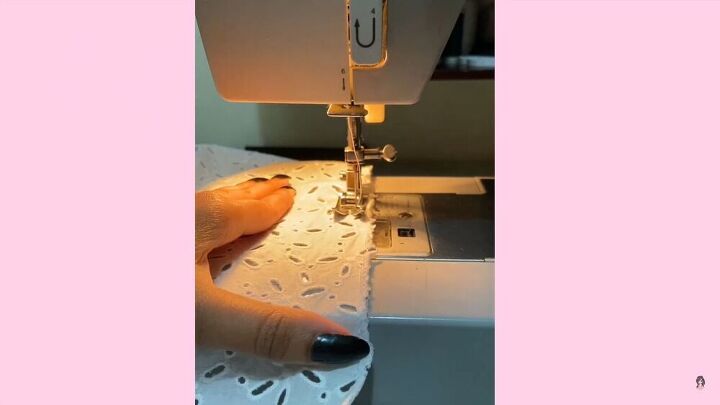
Time to ruffle it up!
Using a wide stitch, stitch along the top of the ruffle. When you’re done, pull the thread to gather it.
Top stitch the ruffle layers
When you’re done ruffling, topstitch the ruffle layers directly on top of each other.
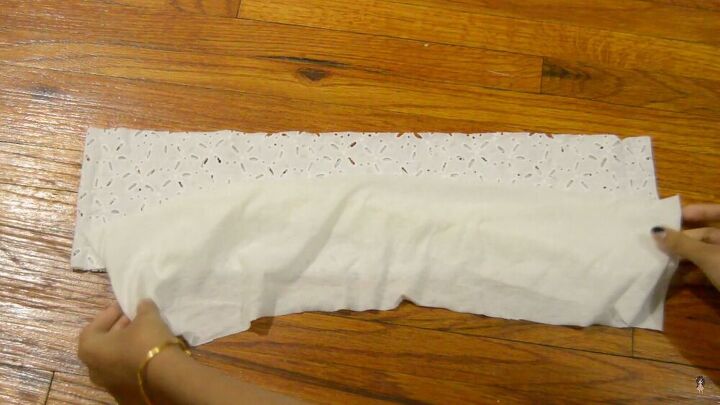
Join the lining
Now that the bottom pieces are ruffled, it’s time to add some lining to your top piece so that it adequately covers your torso area. Start with the smallest piece- the belt. Take your lining and attach it to the top piece by basically wrapping your lining outside your top piece. Your lining should be covering the top piece all around, as pictured.
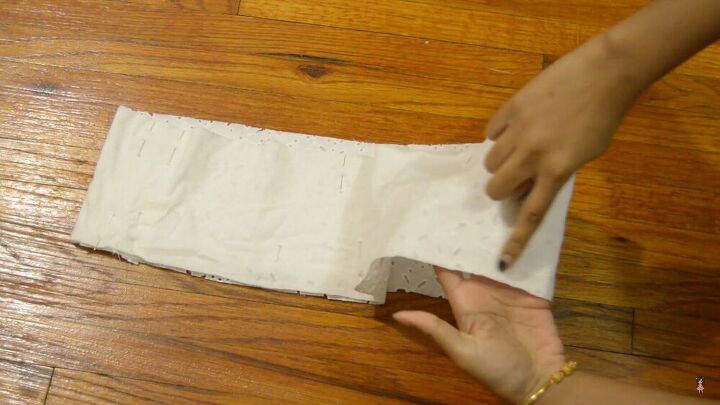
Pin it in place and stitch along the sides.
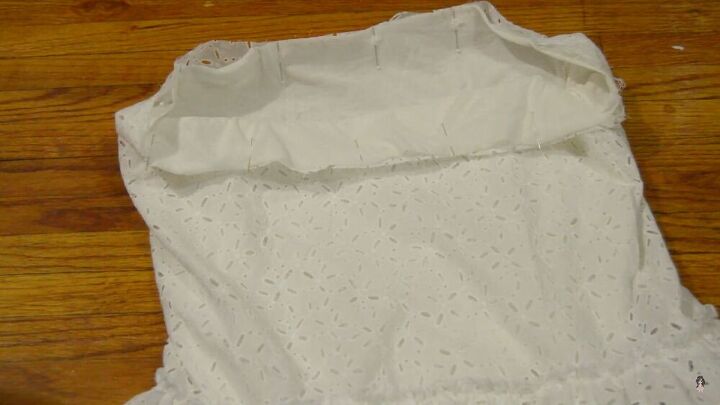
Repeat the process with the lining for the rest of the skirt by tucking in the lining under the skirt and sewing it along the hemline.
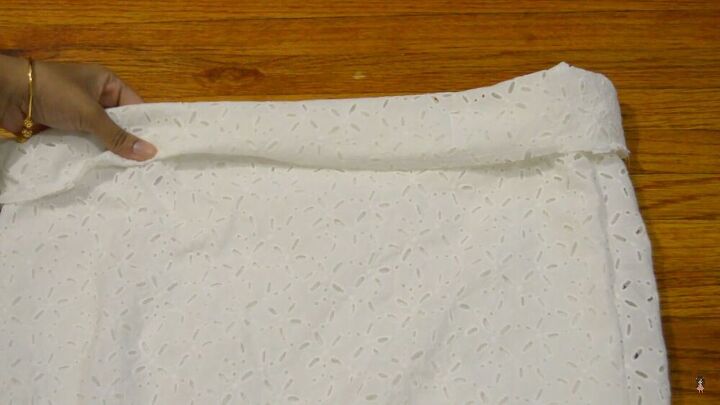
Attach the belt
Attach the belt to your white tiered ruffle skirt. The belt should overlap the skirt as shown. Next, to finish off the hem, fold a little material and pin- this is needed as it makes two tunnels for the waistband. Leave a tiny gap to add the elastic.
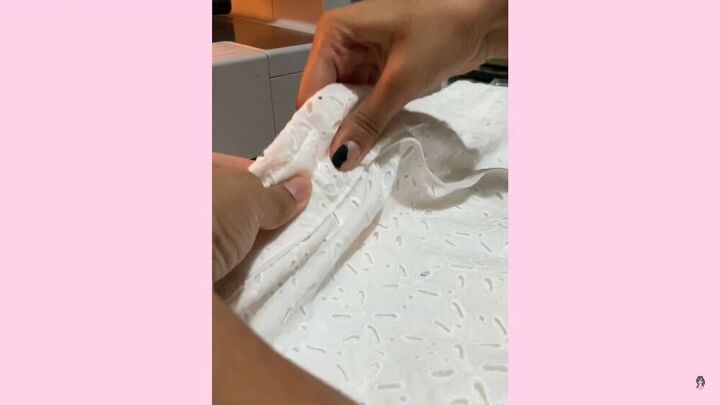
Add the elastic
Your elastic should be 1 inch smaller than your waist measurement. String through the elastic with the help of a safety pin. Attach the pin to your elastic and string the elastic, pin first through a small gap that you left when you stitched the waistband. Then, slowly maneuver your elastic with the help of the safety pin so that the elastic is fitted all around the waistband.
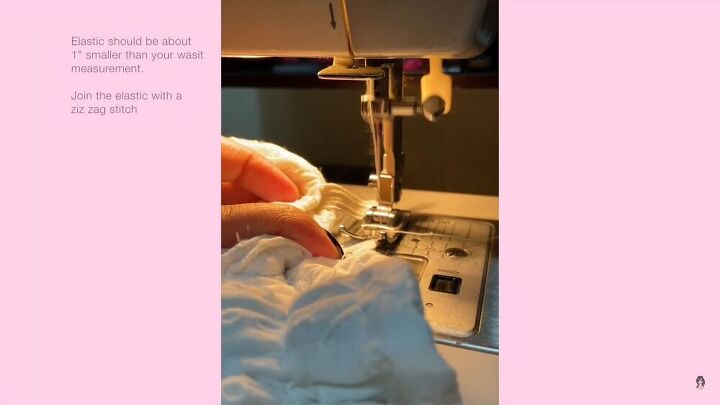
Sew the elastics together by using a zigzag stitch on your sewing machine and close your elastic opening.
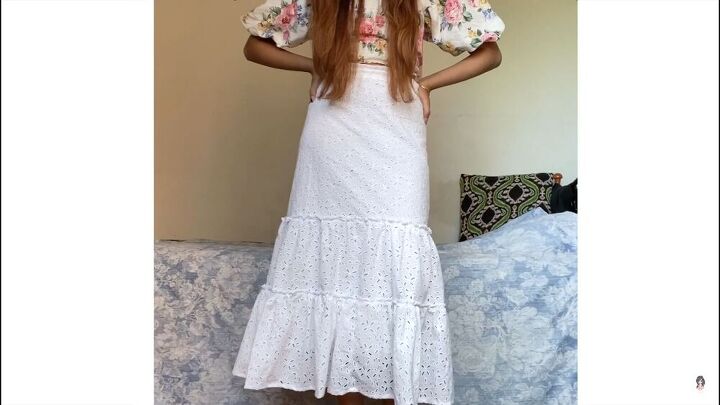
I guess you don’t need to go to the store anymore because you have just sewn a lovely, tiered ruffle skirt! I love how it fits snug on the body and I love how it just flows with every movement! This is a must for all skirt lovers!
The author may collect a small share of sales from the links on this page.


Comments
Join the conversation
Nicely done, I've made a ton of tiered skirts and dresses the same way.
How do I find out the measurements for size large?