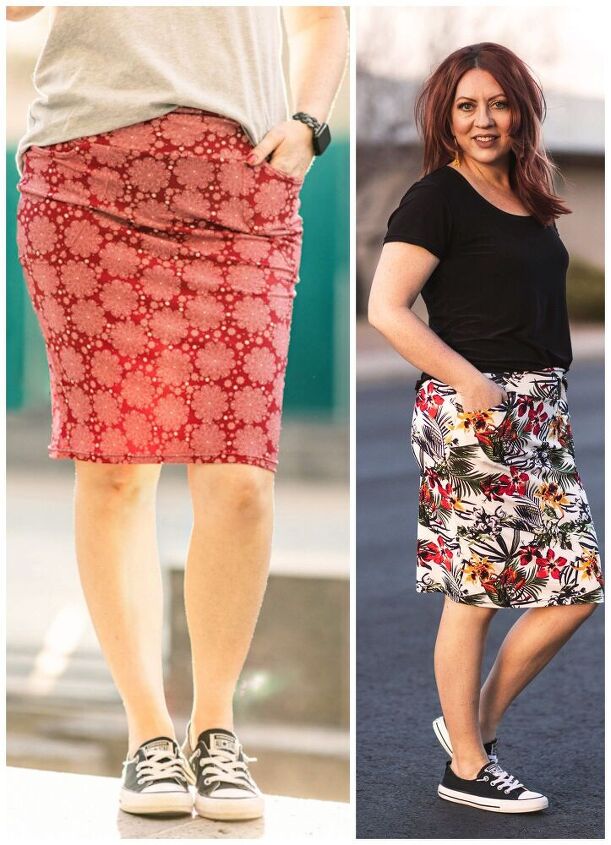
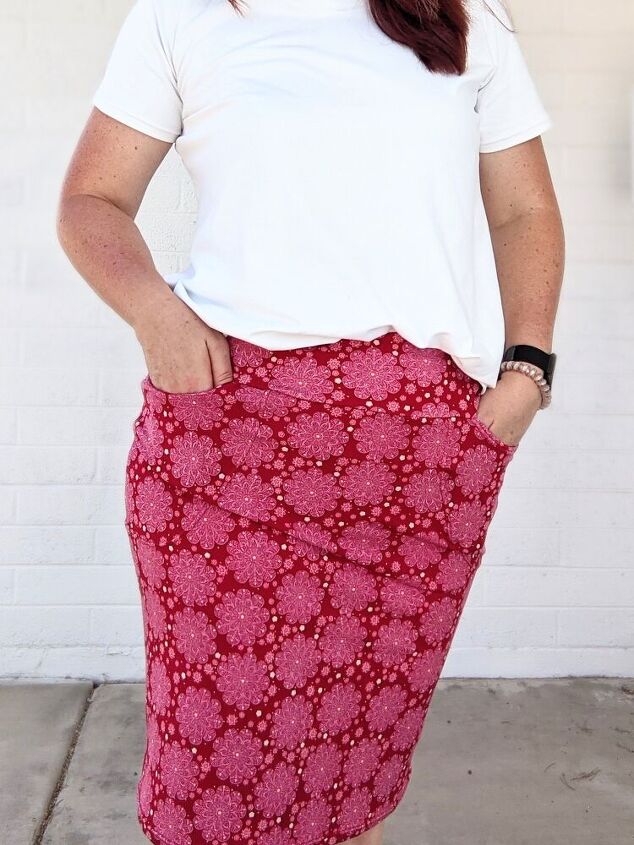
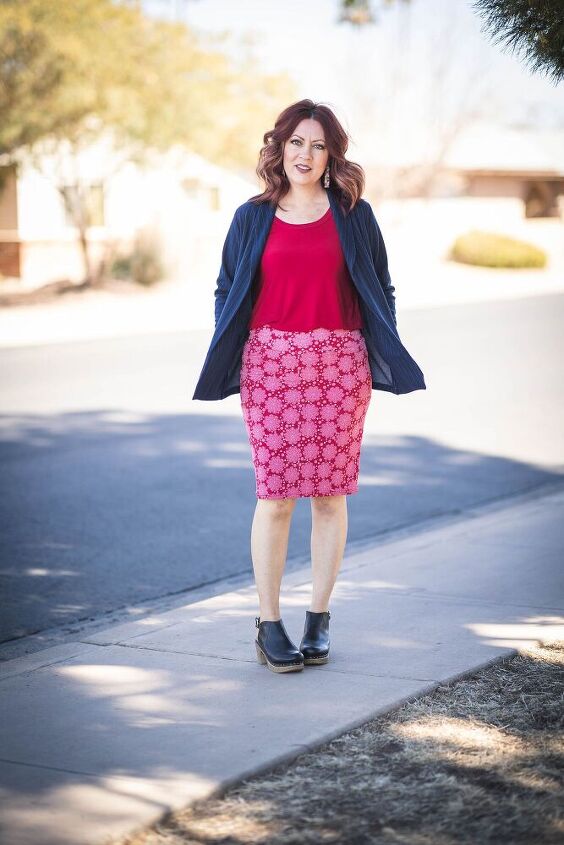
Two Kinds of Pockets Perfect for a Pencil Skirt!

My love for pencil skirts runs deep. Real deep. I have one problem with them though. They don’t have pockets! Like most sensible women, I find myself wanting everything to have pockets. Is that too much to ask? I think not. So I came up with two perfectly acceptable ways of adding pockets to my beloved pencil skirts.
The Pattern
If you have never made a pencil skirt and don't have a pattern, here is the one I used. This is the Sybil Skirt in the pencil view by Love Notions Patterns. It’s one of my favorite pencil skirt patterns. It was recently updated to be more size inclusive too.

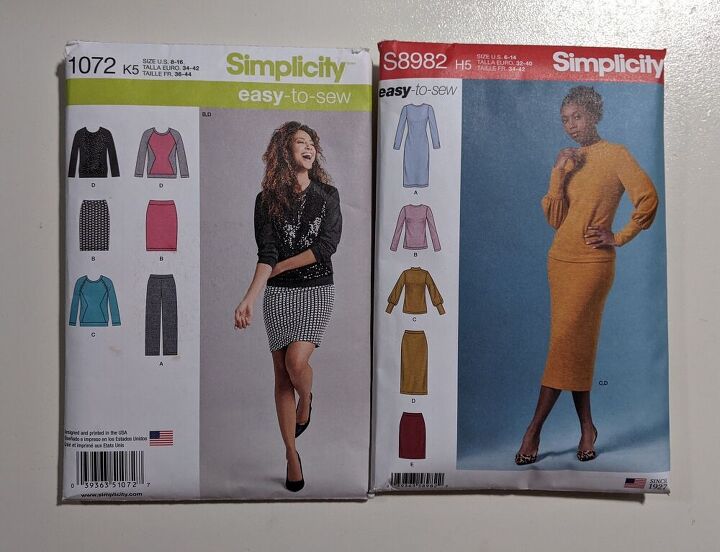
Or if you like Commercial patterns, here are two great ones by Simplicity that you could run grab from your local fabric store. I have used both of these patterns and although they are slightly different than the Sybil Skirt pattern, adding pockets would be done the same way.
Scroll to the bottom of this post for more info on the Sybil Skirt pattern.
The Pocket Pieces
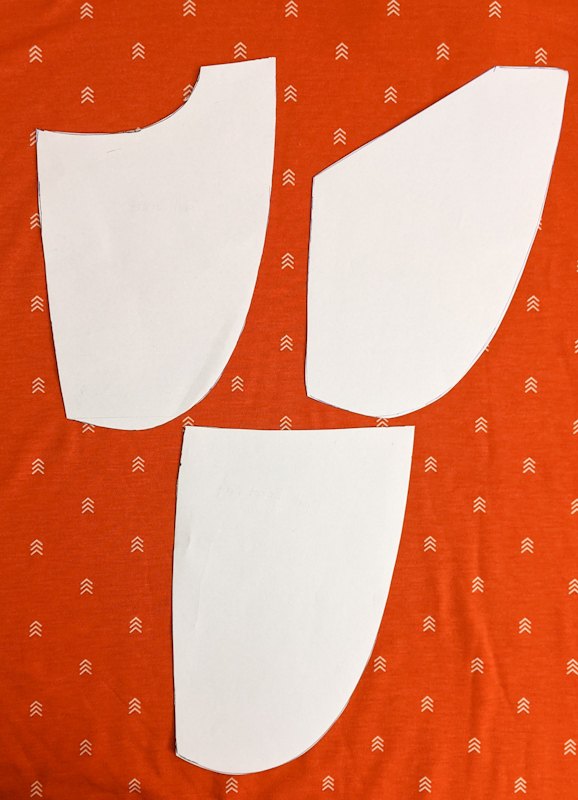
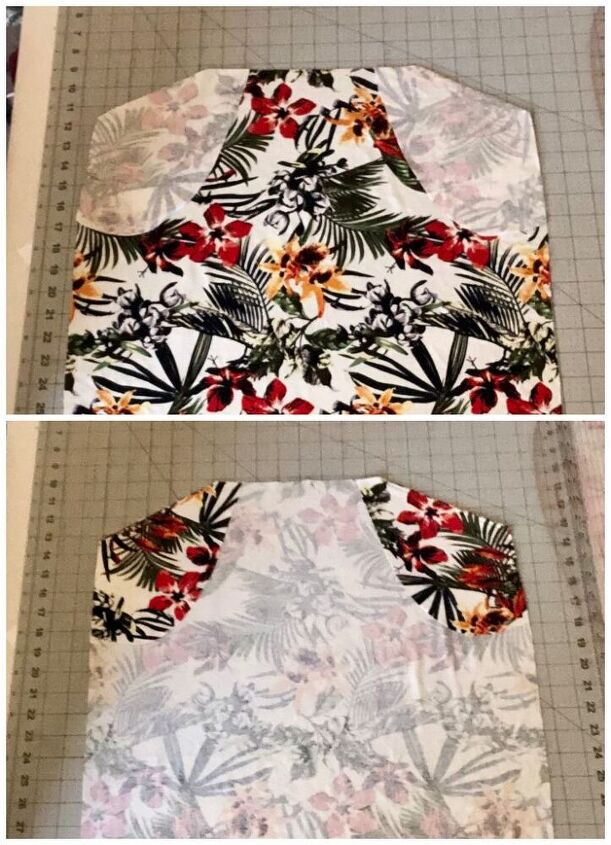
Below are the to different pocket linings and bag I made for my pencil skirts.
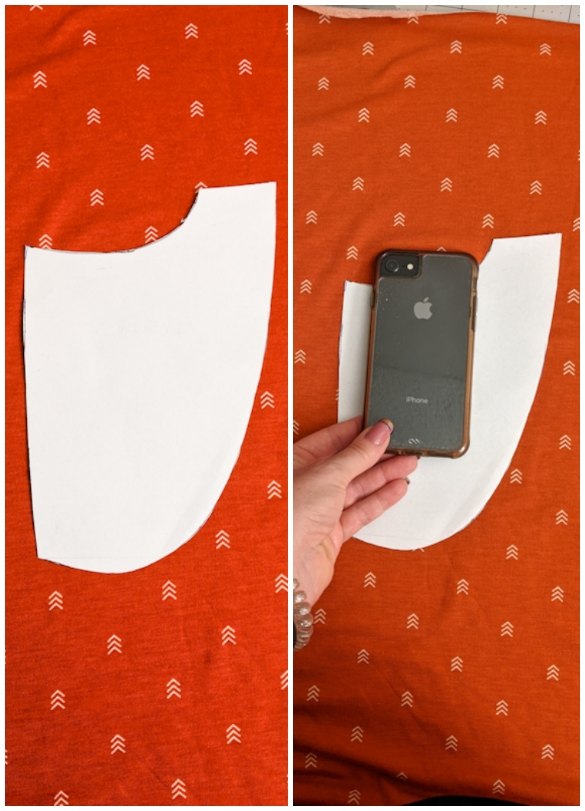
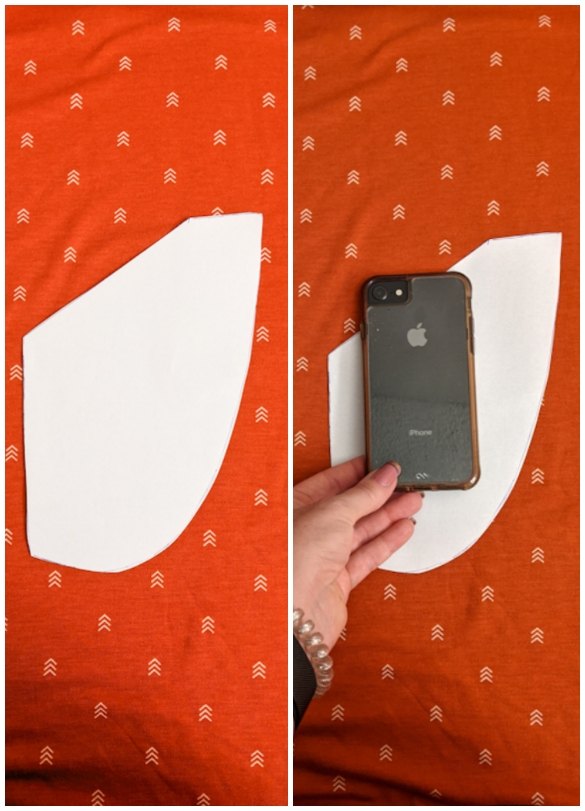
However, the picture below is the only piece I cut out for this first skirt's pockets. It's a really Simple pocket addition that will take no time at all.
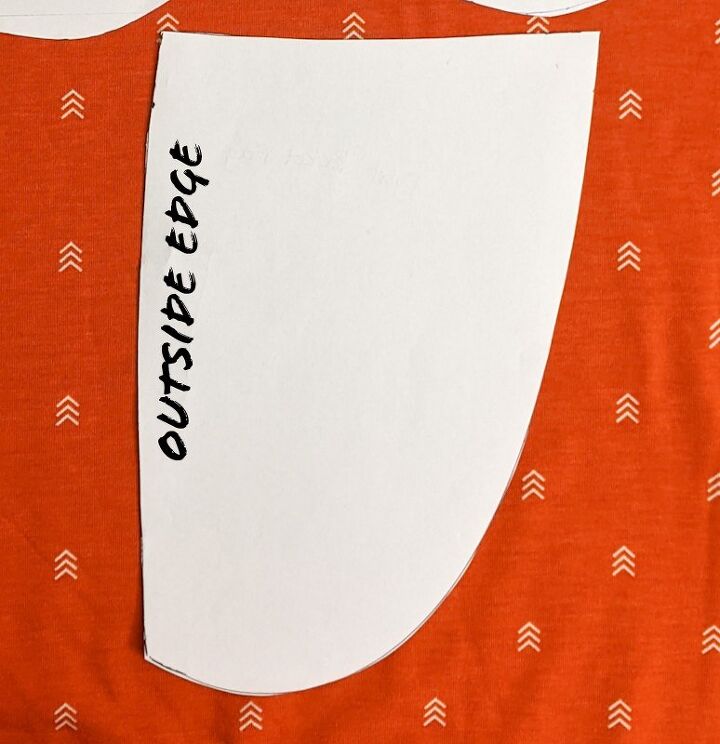
Determine the Pocket Size.
This pocket is ideal for skirts that are a bit tighter and don’t have room for a bulky pocket bag. To figure out the size I used my cell phone as a guide to see how wide and deep I wanted the pockets to be. Then I made a template for the pocket opening using a french curve ruler and also the top and outside edge of the pencil skirt pattern piece. I only used the below piece to cut the pocket opening on the skirt. The above piece is the only pattern piece I cut out for the actual pocket. This pocket is attached to the front of the skirt with a visible seam.
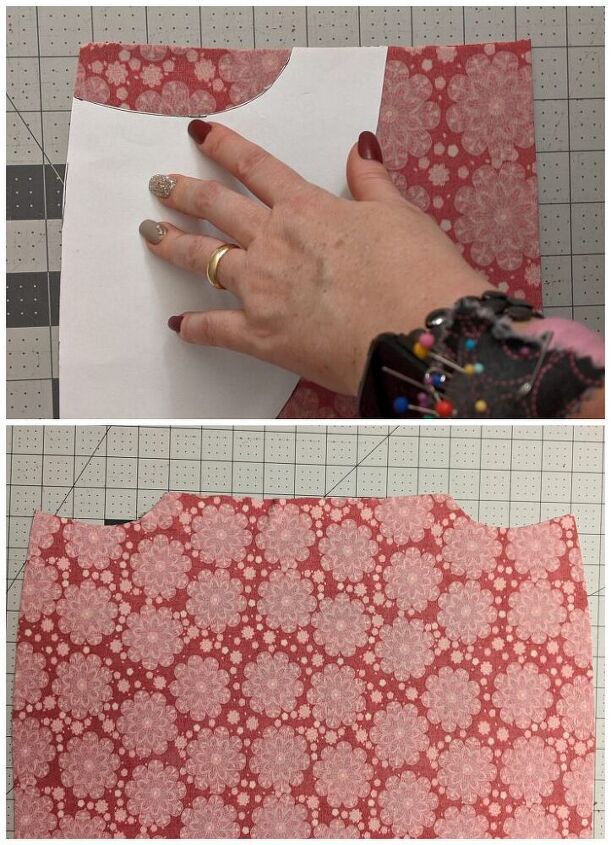
Make the Opening
First, I cut out the skirt and pocket pieces. Then using the template piece I cut a little curve at the top outside corners. I did this while the skirt front was folded in half so that both curves would be even.
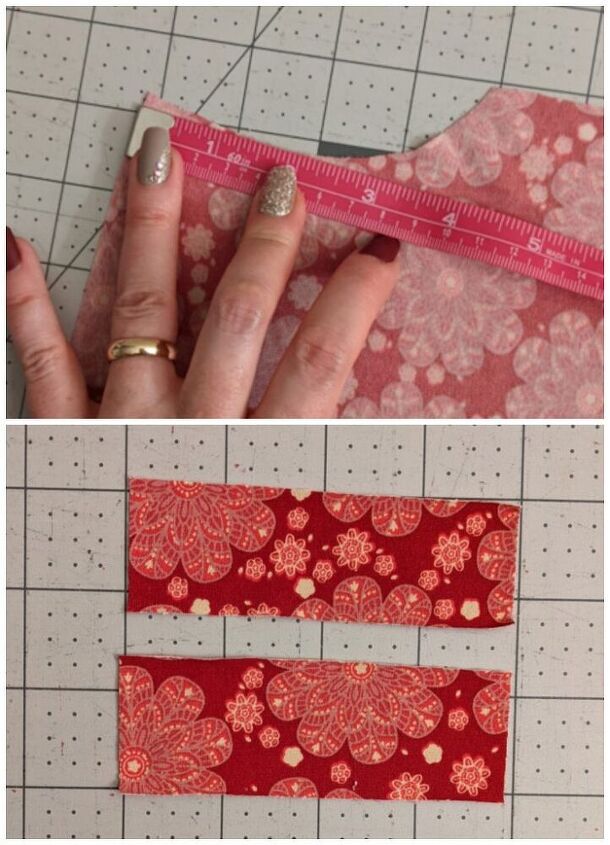
Then I measured the opening and cut little strips of fabric for a binding to finish the curved edges with. I attached the binding to the curve right sides together using a zig zag stitch. Then I folded it to the inside of the skirt and stitched it using a twin needle for a decorative look. If you don't have a twin needle you can absolutely use a zig zag stitch. But I highly reccomend trying a twin needle. It give things you make a professional look.
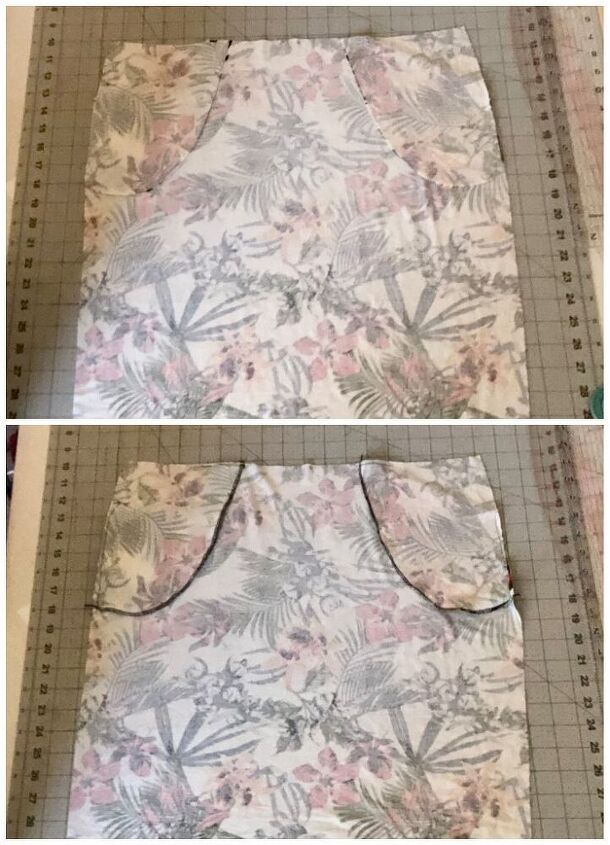
Attach the Pocket
Once that was done I attached the pocket lining to the wrong side of the skirt using a twin needle. I use a twin needle because it allows for stretch and makes the visible seam look decorative and intentional. Once the pockets were attached I finished the skirt per the pattern directions.
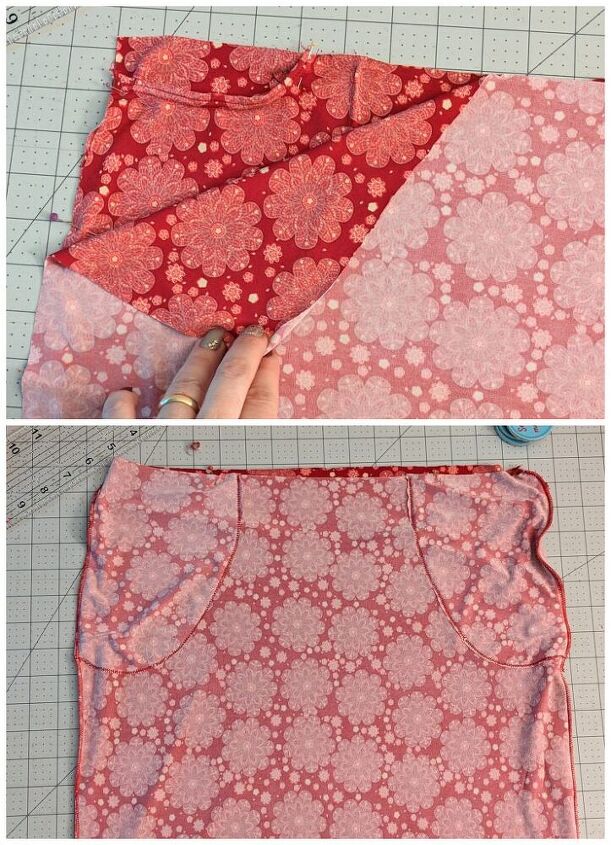
You can see in the picture above where I attached the pocket to the skirt. It’s a super quick and simple way to add pockets to a tighter fitting skirt. This could even be used for leggings or a tight pair of yoga waist pants.
The Slash Pocket
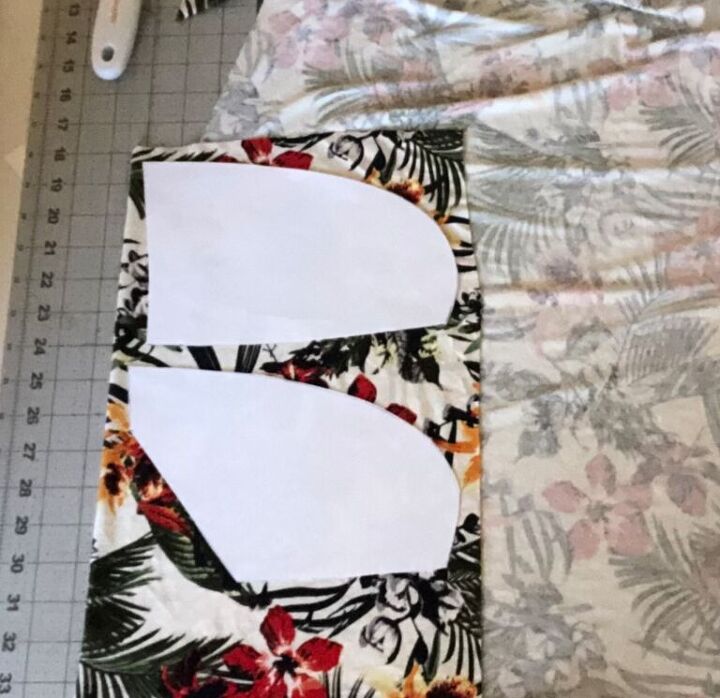
The next pocket, I use for pencil skirts that are a little less fitted. It’s a slash pocket with a traditional bag and lining. This way is not quite as quick as the first way but it doesn’t have a visible seam where the pocket attaches. The above curved pocket could be done this same way, but I like having pocket variations for different skirts. Once again, I used my cell phone as a guide to determine pocket width and depth. Then I made a template the same way as before only I made an angled opening rather than a curved one.
Since this pocket will have a bag and lining I needed to use these two pieces below.
After I cut out all the pocket and skirt pieces I use the pocket liner piece to cut a slash at the top corner of the skirt.
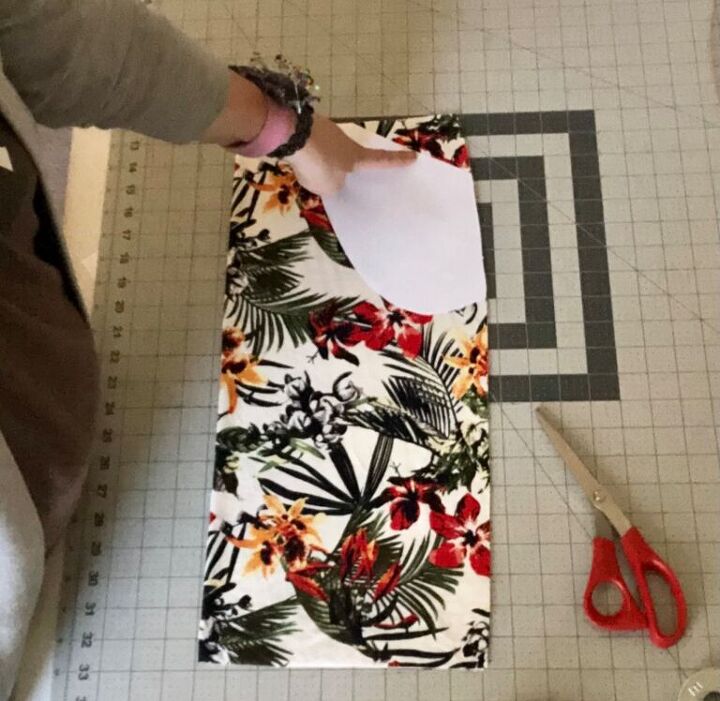
Then I attached the pocket liner right sides together at the slash opening. I flipped it to the inside of the skirt and top stitched the slash opening.
Next, I attached the bag and liner around the pocket curve. Once that was done, I used a stay stitch at the top and side to keep it in place on the skirt so I could finish it.
I wish I would have figured this out years ago when I first started making pencil skirts. It definitely would have helped me make my skirts more functional. Thank goodness I know how to do this now and will never have to make another pencil skirt without pockets ever again.

Have you even thought of adding pockets to something that doesn't normally have pockets? Let me know in the comments.
Thanks for Reading!
Happy sewing,
Koe
Here's some more info on the Sybil Skirt pattern I used.
I am an affilaiate for Love Notions Patterns. I recieve a small comission when my links are used to purchase patterns. It doesn't cost extra to use my affiliate links.

Sybil Illusion Skirt Collection Features:
- Meant for knit fabrics
- 7 styles: pencil, a-line, swing, drop yoke with swing, gored, asymmetrical wrap and pleated
- 2 lengths: knee and midi
- Optional inseam pockets
- Optional hidden control panel
- Yoga style waistband
- Mashable with Tessa Sheath Dress
Sizes: XS-5XL (See Size Charts here)
Skill Level: Beginner
The author may collect a small share of sales from the links on this page.


Comments
Join the conversation
Awesome! I love a skirt with pockets!