DIY Socks From an Old T-shirt: Easy, Simple, & Inexpensive

Do you have an unused, old t-shirt lying around? Put it to great use and make a pair of DIY socks. I had an old t-shirt lying around and I wanted to transform it into a dress, but that didn’t happen. I don’t like wasting things and if I can turn unused items into something functional, then that’s a huge win for me. This easy DIY socks tutorial is customizable and creative with very few materials required. I’m so excited to share this with you!
Tools and materials:
- Old or unused T-shirt
- Sock for pattern
- Pair of fabric scissors
- Elastic
- Sewing machine
- Measuring tape
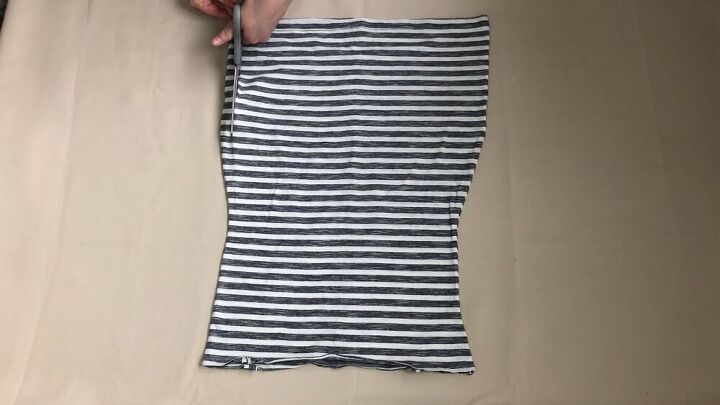
Cut seams along the sides
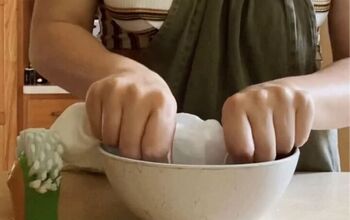
Grab an old t-shirt that you’d like to upcycle into socks. Cut along the side seams and shoulder of your t-shirt so that you have two separate pieces of fabric.
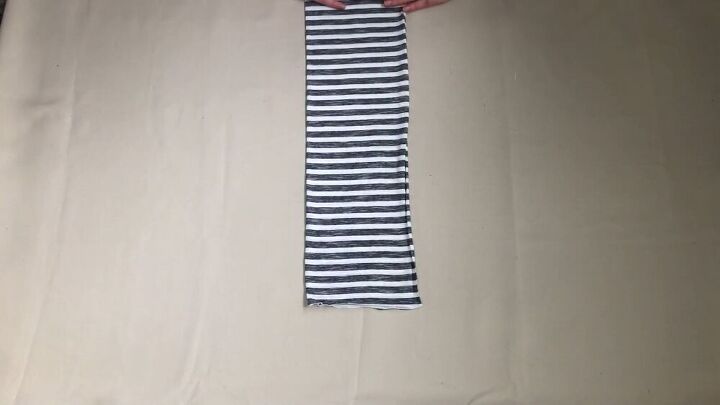
Fold your fabric in half
Fold one piece vertically in half, with the front side of the fabric facing up.
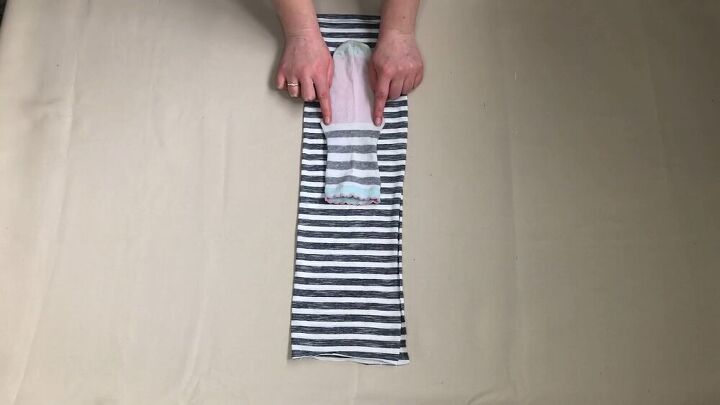
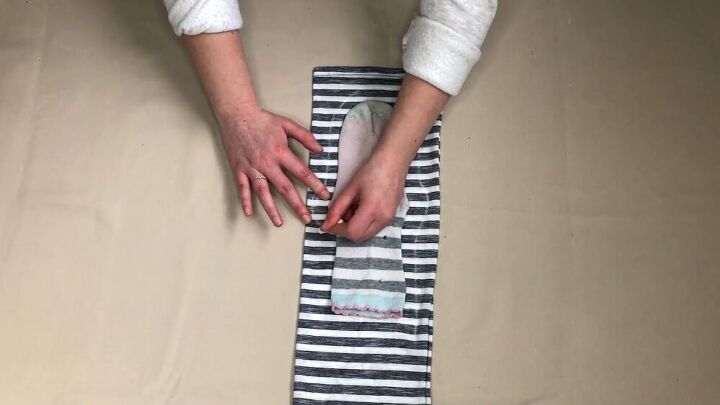
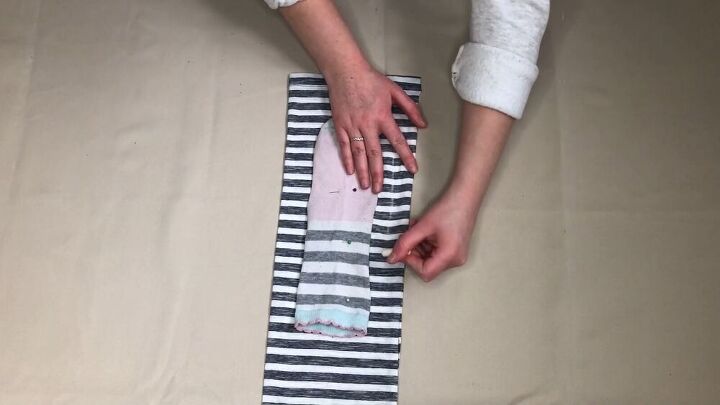
Lay back of the sock on fabric
For this step, you will need to use one of your favorite socks as an outline. Be sure to pull the heel out so that it lays flat on the fabric and that all of the sides are flat, too. What you should ideally have is the sides of the sock protruding in the middle.
Next, pin the sock to the fabric so that when you cut it, it won’t wiggle around. A few pins should suffice.
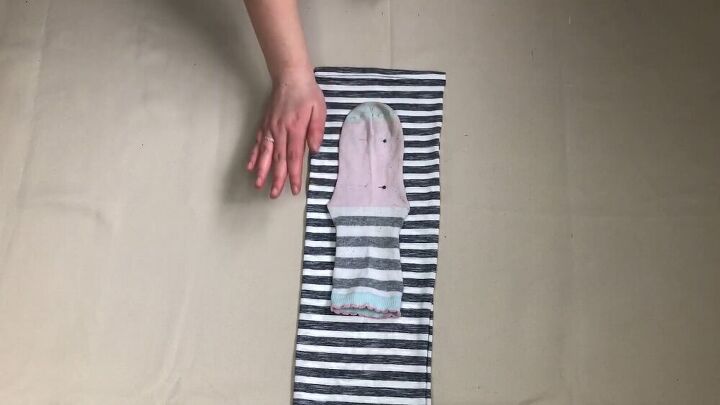
Trace outline 0.5 inches away
Now that your sock is pinned down firmly, in white chalk, draw around the sock. Draw about half an inch from the actual sock so that you have space for the sewing part.
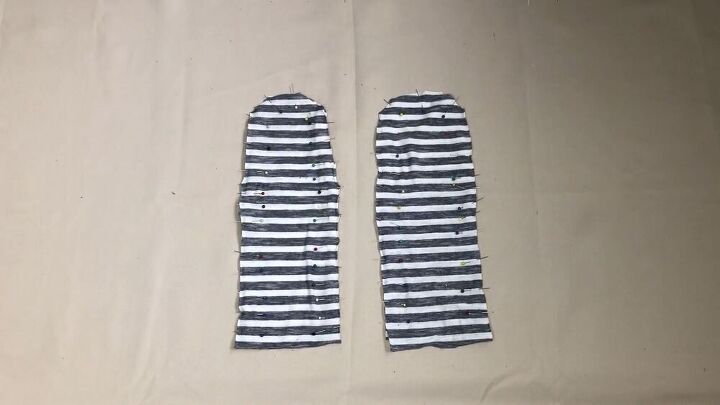
Cut the outline
Steadily cut along the line you have drawn using a pair of sharp scissors.
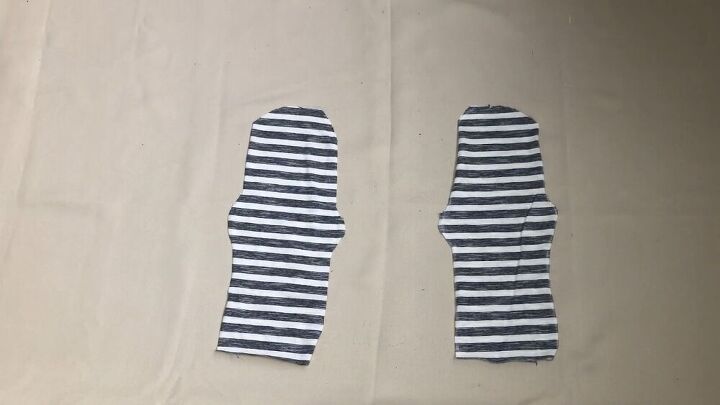
Great! Now you have two back pieces, with ear-like protrusions on each side.
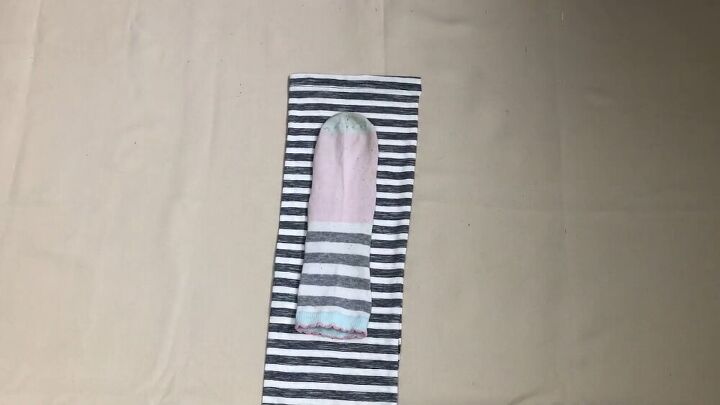
Lay the front part of the sock on fabric
Grab your second piece of fabric, fold it vertically in half and make sure the front part is facing up. To get the shape of the front part of the sock, simply turn your sock around so that the heel is facing down. Don’t stretch the sides this time.
Pin it down firmly to the fabric and draw half an inch around the shape. When you’re done, cut out your shape accordingly.
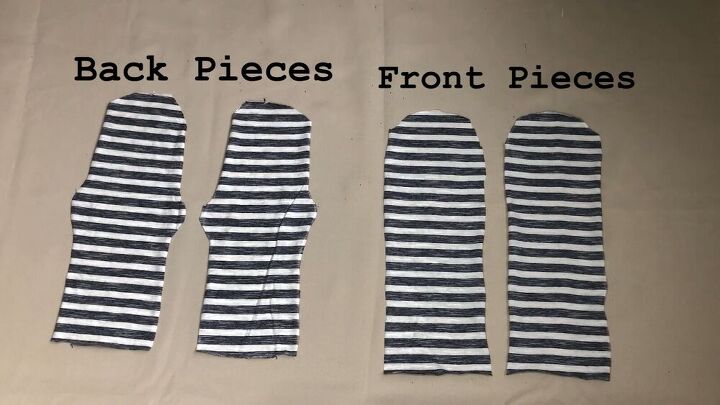
You now have two front pieces and two back pieces.
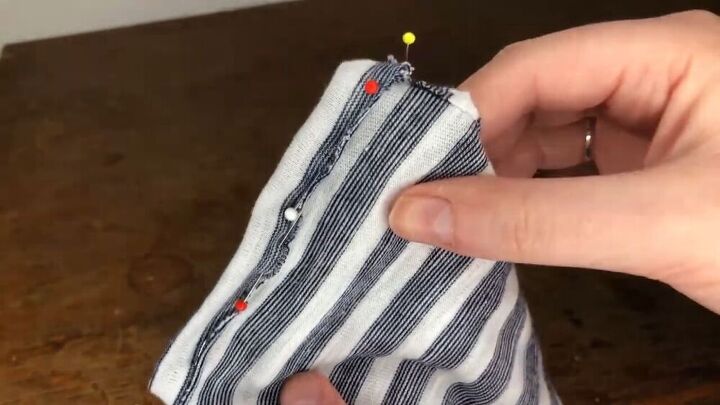
Pin back and front socks together
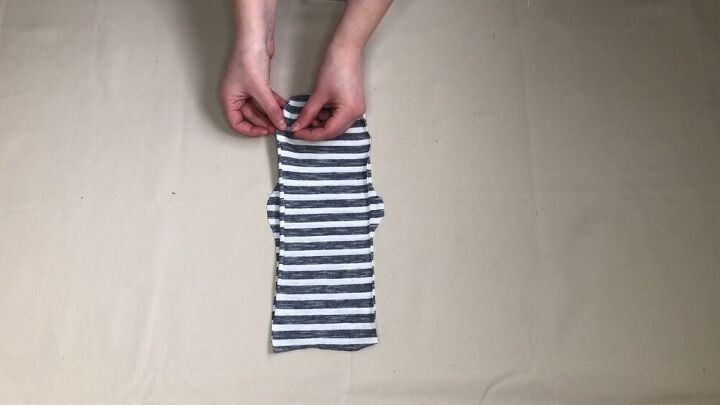
Here's the fun and cool part- It’s time to sew everything together! Pin one front part of the sock to the back, make sure to pin along the edges and that it's firmly in place.
Once you get to the sides where the heel is, stretch the front part so that it lines up with the protruding bits on the bottom sock. This will ensure that you have extra space for your heels.
Repeat this on the other two pieces, so that you are left with two socks, pinned in place.
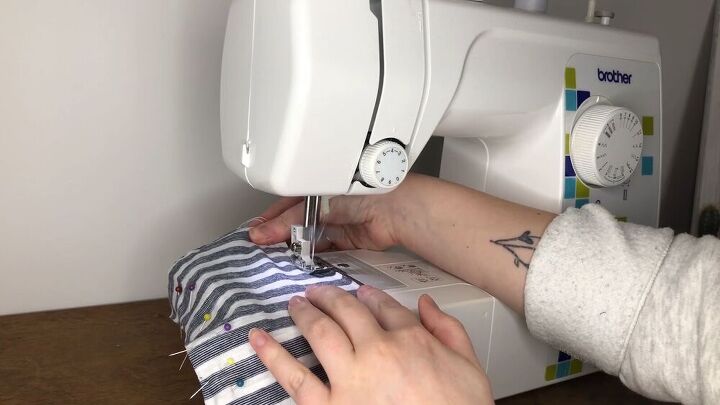
Sew the pieces together
It's time to take out your sewing machine and get sewing! Sew along the seams with a color thread of choice, ideally a color that will match your fabric.
Tip:
If you don’t have a sewing machine, you can do this by hand with a needle and thread.
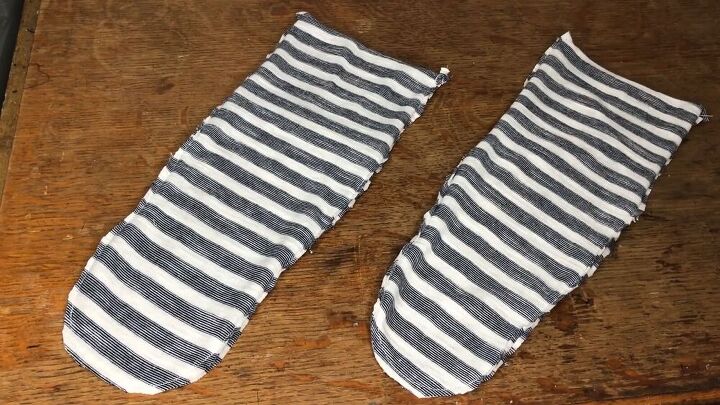
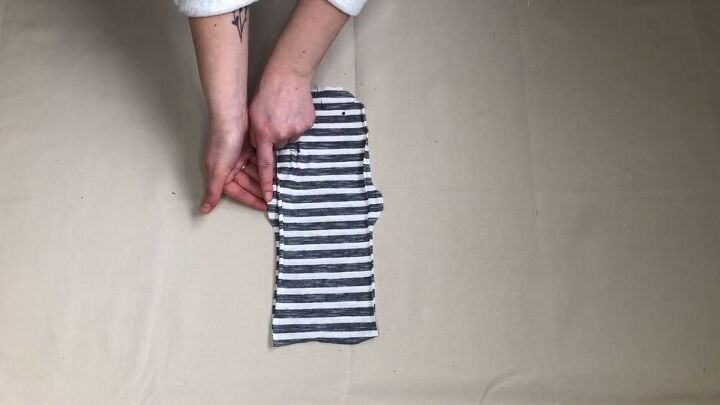
And….Voila! This is how your socks should look once sewn.

Measure elastic around your ankle
Try them on to make sure they fit. Take a piece of elastic, place it on top of the sock and wrap it around your leg. Make sure it’s not too tight, but rather snug; ensuring a comfortable fit. Once you've established the length, cut it and cut another pierce for the second sock.
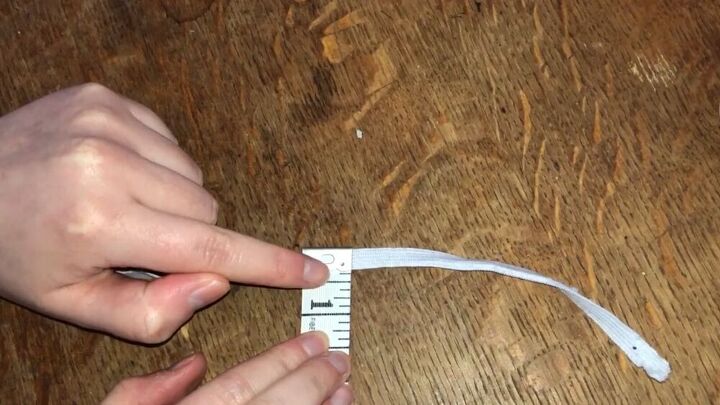
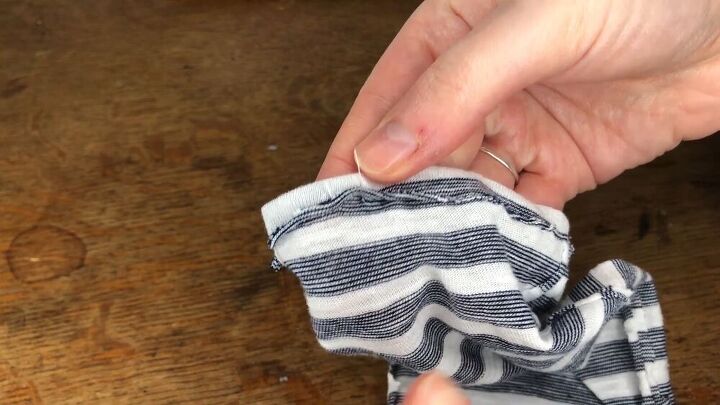
Measure the width of the elastic, fold back sock accordingly, and sew
Measure the width of the elastic. In my example, mine was just under half an inch
Take one sock and measure half an inch from the top, fold your sock inside out and pin the rim around. Do the same for the second sock. This will be your casing for the elastic.
Once your pins are placed, now you can sew around it, making sure you leave a small gap so that you can feed the elastic through.
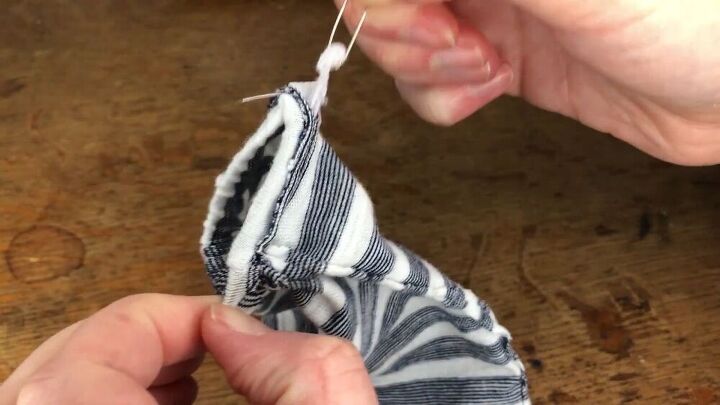
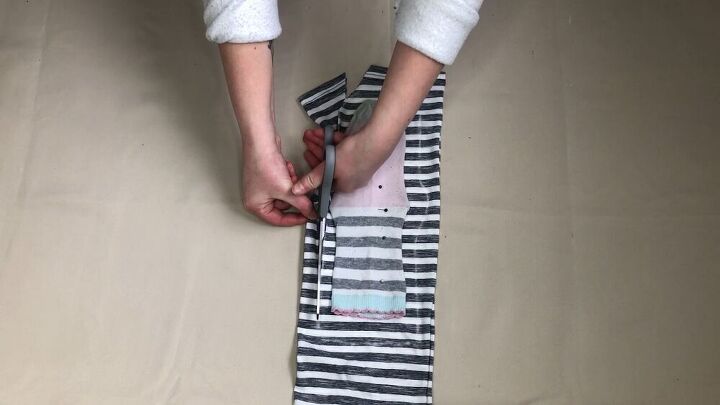
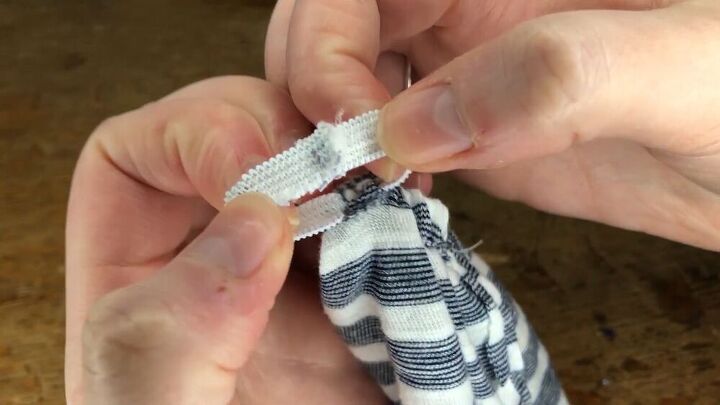
Feed through elastic with safety pin
Once your casing is done, take your elastic and attach it to a safety pin. Feed it through the casing through the gap you left open. Using a safety pin will quickly help you feed it through without the hassle of it getting lost.
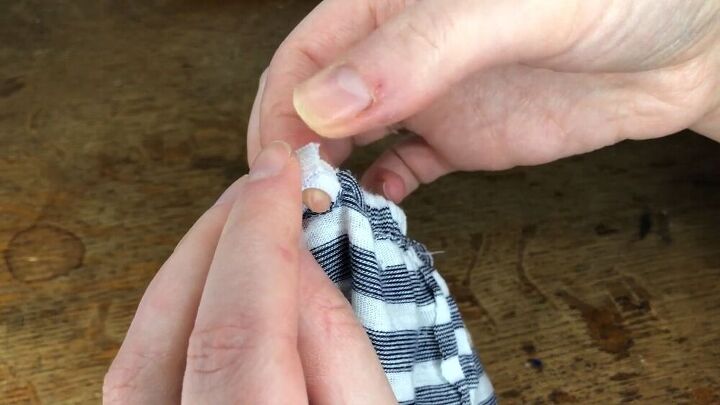
When the elastic is inside and all around the casing, overlap the ends and sew it together.
Tuck the elastic in the casing and sew the gap closed so it doesn’t stick out.
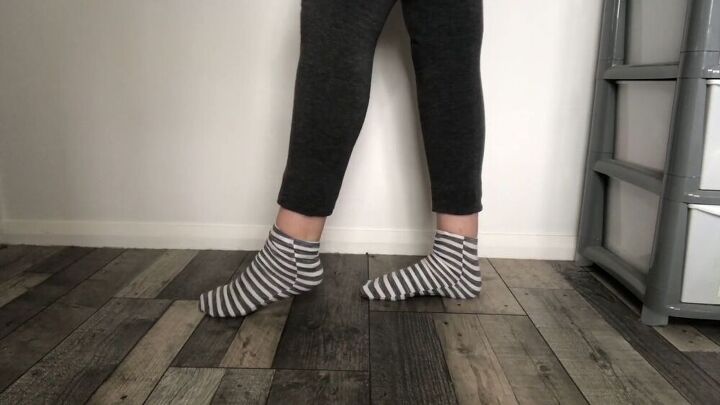
The socks are now complete!
I am so pleased with the outcome. I love that these DIY socks can be sewn with any pattern or fabric you like, making them personalized in every way! I hope you enjoyed my tutorial on how to make DIY socks, the easy way!
How to fold socks
The author may collect a small share of sales from the links on this page.


Comments
Join the conversation
No
Ty for this, last year I was assaulted by my fiancé and my leg was broken requiring multiple plates and screws, it will always have a problem with swelling and reduced blood flow, must if my socks I can not wear because of the swelling if my leg is Not elevated at least every 10 mins. I plan on trying this without the elastic. Any ideas on what to do with all of my old socks? I already donated all of my shoes since I have to wear specially made shoes now to help stabilize walking with assist of cane