How to Do Fun Spider Web Nail Designs For Halloween

In this tutorial, I’m going to show you how to do a spider web nail design so your hands can be just as spooky as the season. These spider web Halloween nails are black and orange, the key colors of the sinister holiday, so if you’re looking for nail art that says “This is Halloween,” you’re in luck.
These nails are the perfect thing to top off your costume for that upcoming Halloween party you’re planning on going to! Let’s get started.
Tools and materials:
- Base coat
- Orange nail polish
- Clear nail polish
- Dotting tool
- Thin brush

1. Apply base coat
Apply a clear, glossy base coat on your nails.

2. Apply orange nail polish
Cover the entire nail with orange nail polish.

Apply a second coat after the first one dries, and then let it dry.

3. Draw a spider web
Use a thin brush and black nail polish to draw a spider web design.

The design can be achieved by drawing out seven lines from a singular point.

Connect them with a curved line, and add two additional curved lines in the center to add more detail to the spider web.
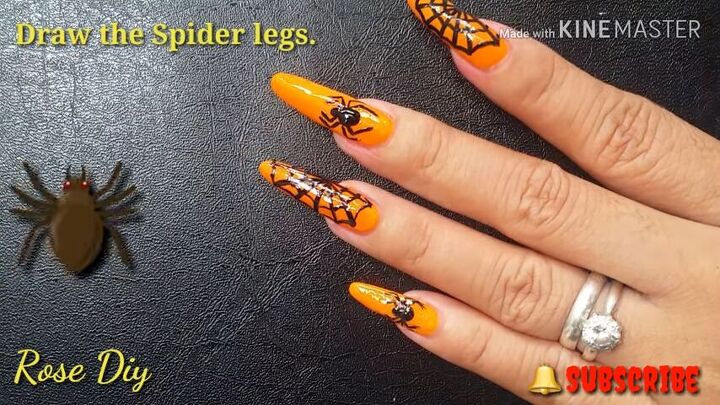
4. Draw a spider
Next, let’s draw a spider.

To achieve this design, use a dotting tool to create a large dot and then add a smaller dot next to it. This will create the body of the spider.
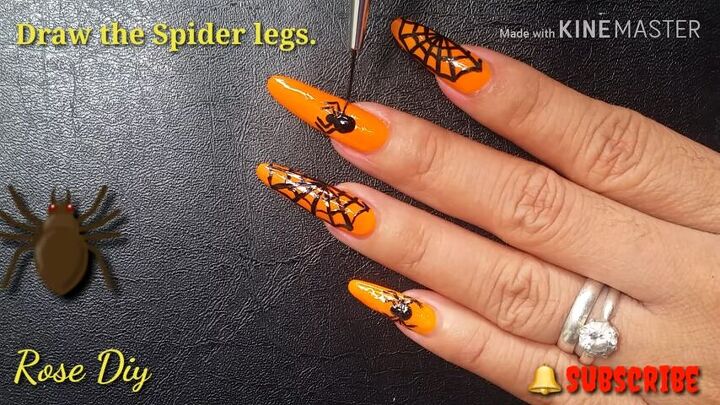
Then, use a thin brush to create the legs with multiple angled lines. Don’t forget spiders have eight legs! After you finished, let it dry.

5. Apply top coat
Once all of the nails are dry, apply a top coat over the entire nail.
Spider web nail design
Here are the finished Halloween spider web nails! This design may look complicated but with our tutorial and a few careful strokes, it’s actually quite easy and a quick way to impress all the goblins and ghouls this year. Let me know what you think down below!
The author may collect a small share of sales from the links on this page.


Comments
Join the conversation