Halloween Nail Tutorial: How to DIY a Glam Spider Web Nail Design

In this tutorial, I’m going to show you how to do an easy spider web nail design and still look glamorous. Let’s get started!
Tools and materials:
- Gray gel polish
- Sheer pink gel polish
- Black gel polish
- Glossy top coat
- Matte top coat
- Rhinestones
- Rhinestone adhesive
- Detail brush
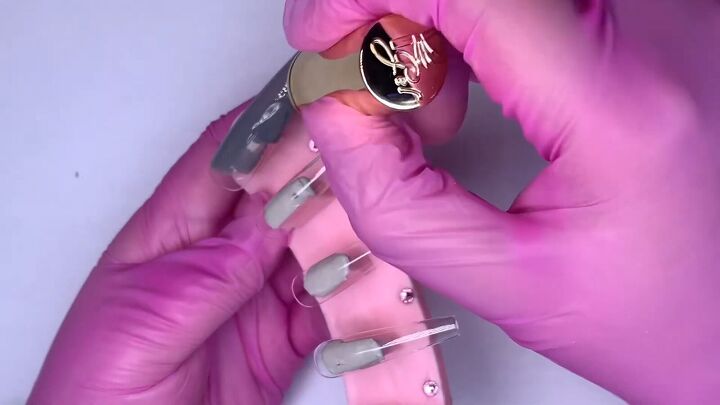
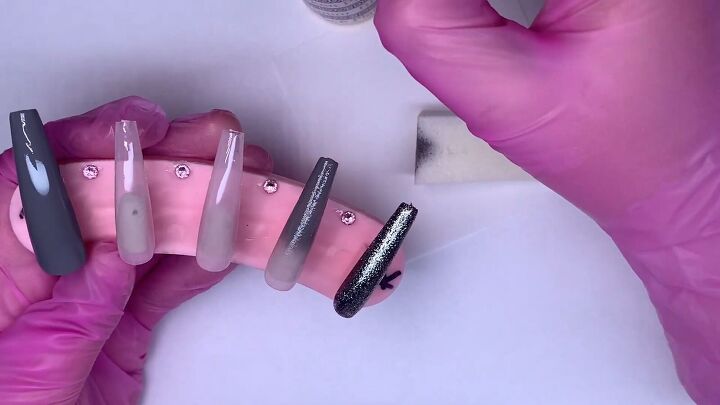
1. Paint the thumbnail
Paint the entire thumbnail with a deep gray gel polish.
2. Paint the next three nails
Paint the next three nails with a very light and sheer pink gel polish.
3. Paint the pinky
Paint the pinky a black glittery shade.
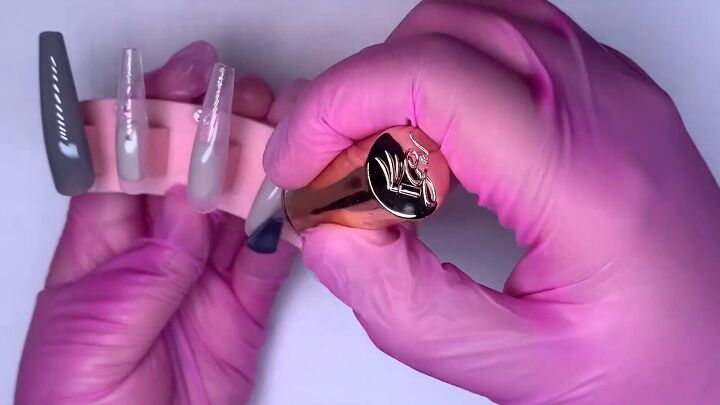
4. Add additional coats
Add two more coats of paint to each of the nails.
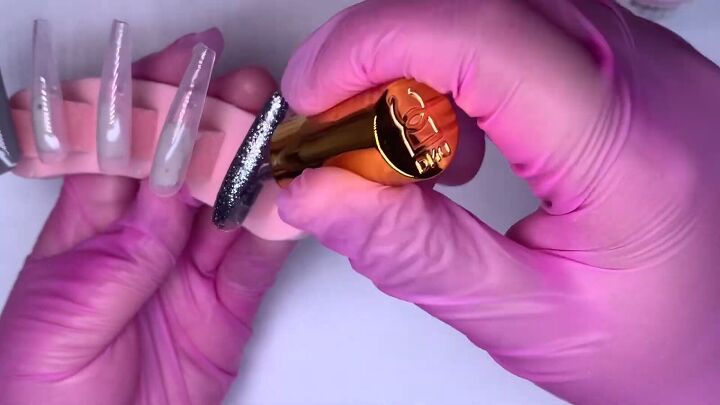
5. Create an ombre pattern on the ring finger
An easy technique to create an ombre pattern is to apply your nail polish to a sponge and tap it onto the nail.
I’m using the same deep gray I used on the thumbnail, and creating the ombre pattern on the ring finger.
Here’s what the ombre looks like when I’m finished.
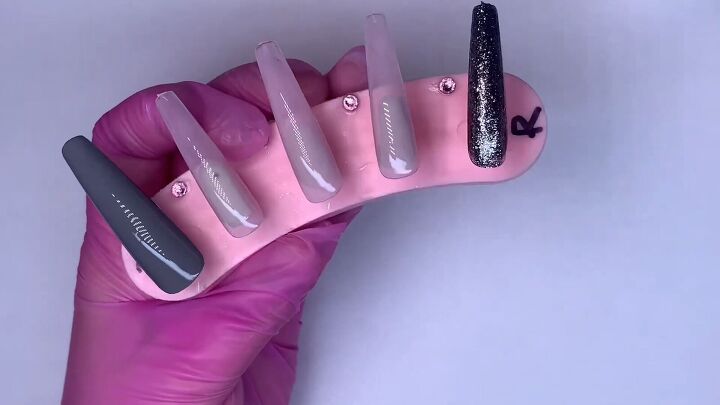
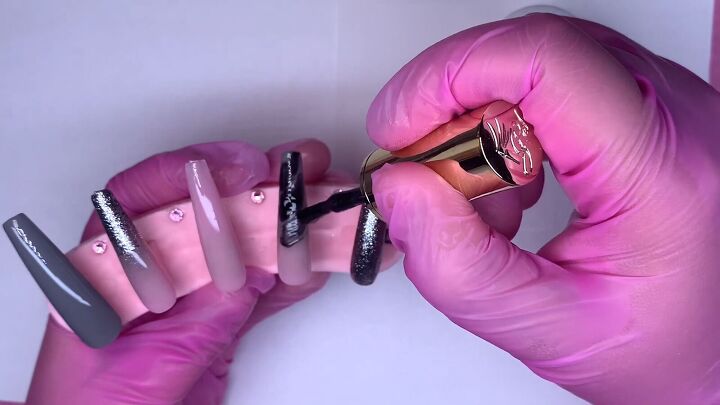
6. Create a black glitter ombre on the pointer finger
Paint the tip of the nail with the black glitter polish you used on the pinky, and then ombre it out with the gray on the sponge.
Use multiple layers to make the effect more dramatic.

7. Apply a base coat to the ring finger
Apply a clear base coat to the ring finger to prep it for the black swirl design.
8. Draw three stripes with black polish
Use black gel polish to lay down three stripes right on top of the base coat. It will feather out by itself.
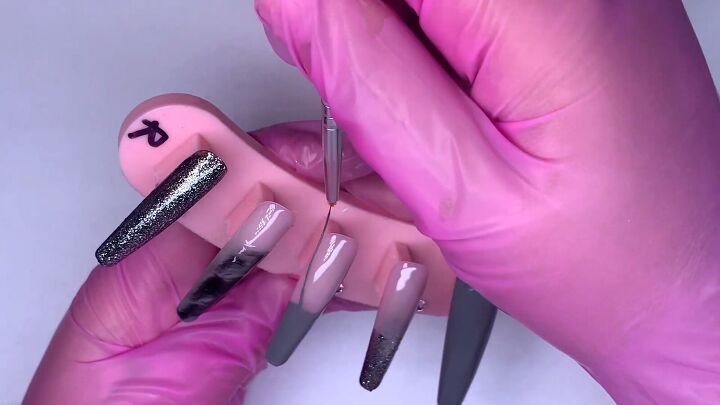
9. Do a French tip nail on the middle finger
For the middle finger, I’m doing a French tip nail with a deep gray.
Start by laying down the gray polish at the top of the nail, then use a fine detail brush to draw sharp lines down the side of the nail.
Fill it in. This nail doesn’t need to be perfect, because we’re going over it with rhinestones.
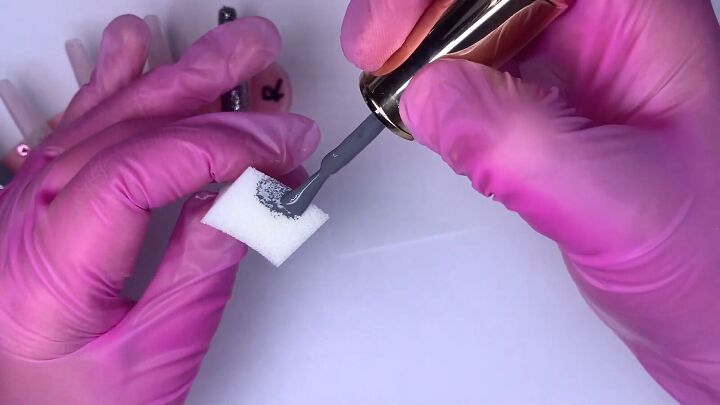
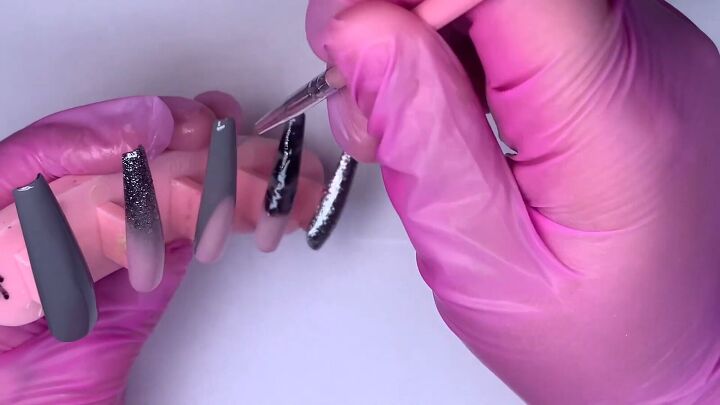
10. Apply rhinestone adhesive
Apply rhinestone glue or gel to the nail you’ll be applying rhinestones.
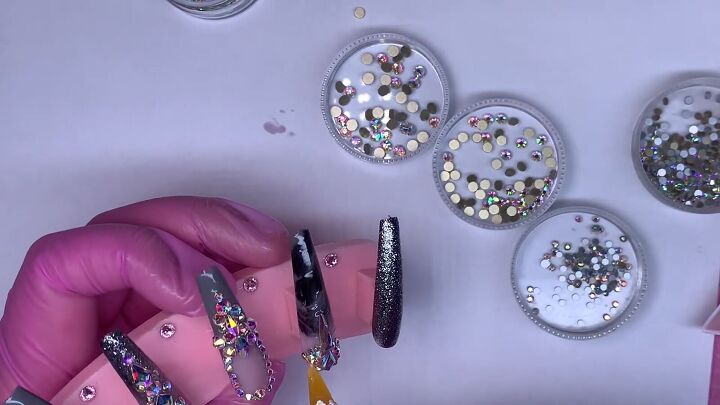
11. Apply the rhinestones
Apply the rhinestones in any pattern you like.
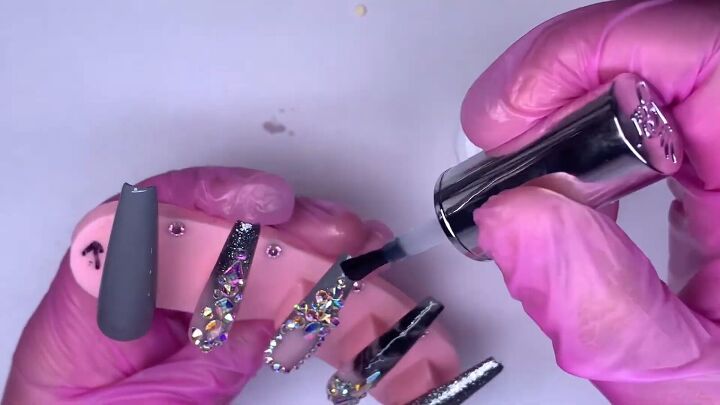
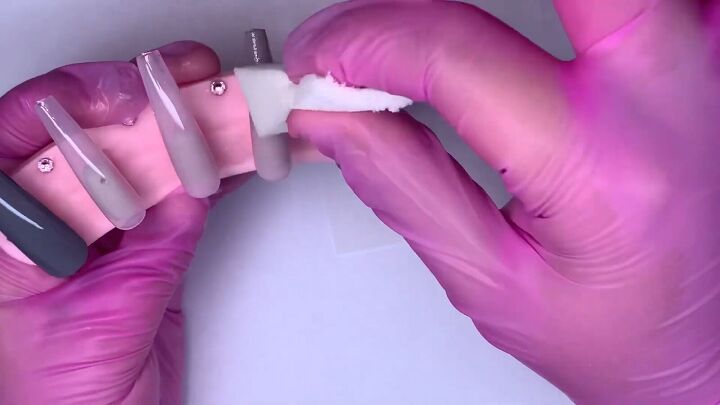
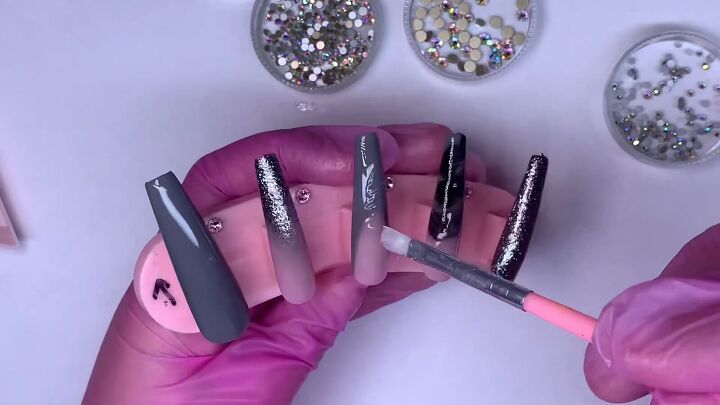
12. Apply a matte top coat
Apply a matte top coat to all of the nails. Work carefully to apply the top coat around the rhinestones.
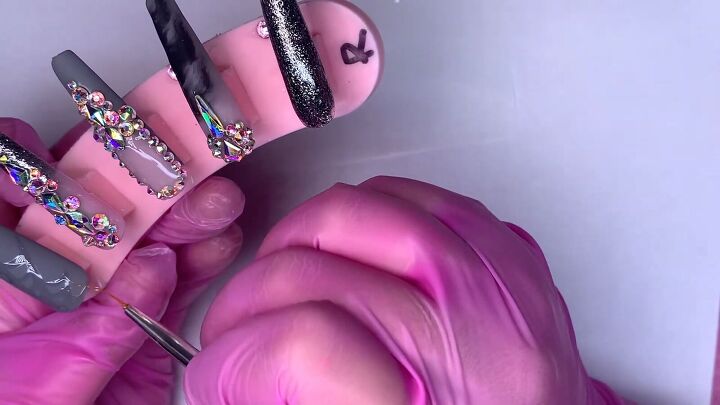
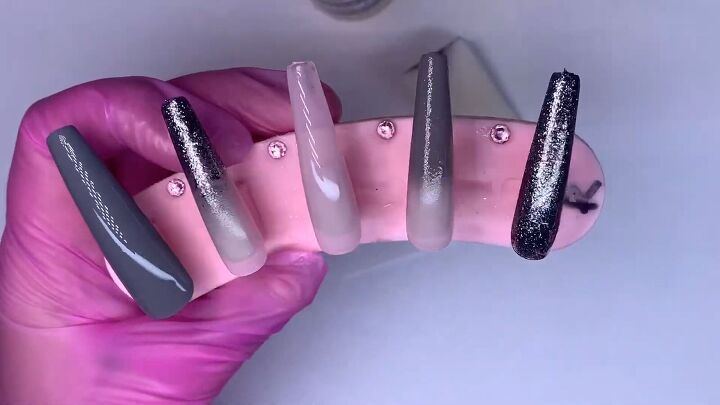
13. Apply a glossy top coat
Apply the glossy top coat over the matte top coat in the shape of a spiderweb.
The lines of the spiderweb will branch out from the bottom left corner of the nail.
Use smaller, curved lines to connect the web.
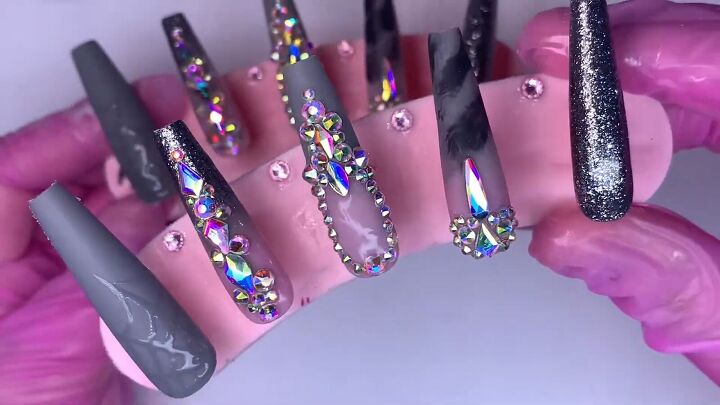
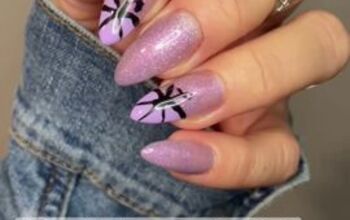
Spider web nail design
Here’s the finished spider web nail design! I love this look because it’s glamorous spooky, not scary spooky.
Let me know if you’ll try this out below!
Next, check out this Cute and Easy Brown Fall Nail Design Tutorial.
The author may collect a small share of sales from the links on this page.


Comments
Join the conversation