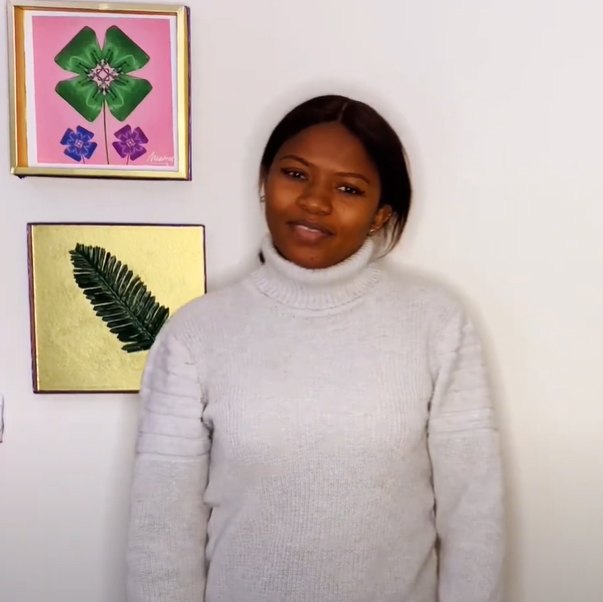
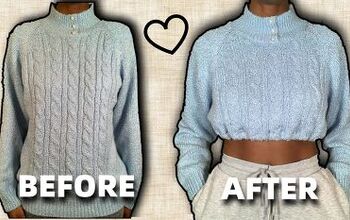
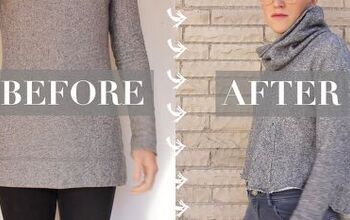
Easy Cropped Sweater DIY Tutorial

I took a boring, high neck woolen sweater and thrift flipped it into a stunning Zara-inspired DIY cropped sweater.
Tools and materials:
- High neck sweater
- Measuring tape
- Fabric marker
- Pins
- Scissors
- Sewing machine
This is one of the easiest thrift flip ideas I’ve come up with.
All you need are some accurate measuring and cutting skills. It’s a really simple transformation. Take a look!
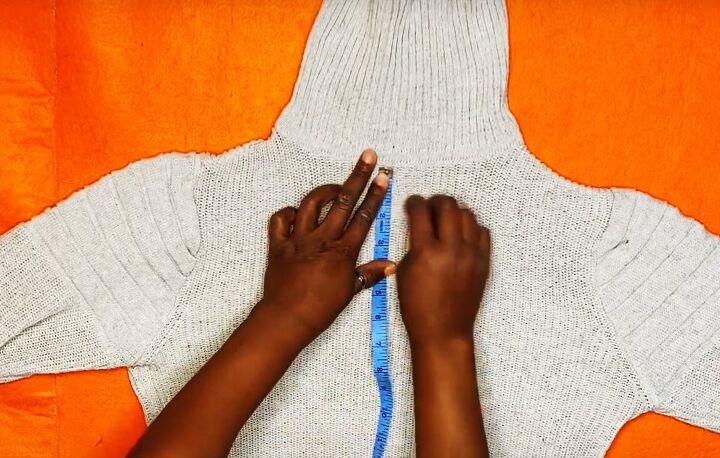
1. Measure
Lay the sweater flat and right side out.
Mark the depth of the band you want below the roll neck. I decided on 1.5 inches so I marked it in the center of the front.

Measure the distance between the shoulder seams at that height and divide the measurement into three. Mine was 15.5 inches.
Mark the width of the middle section at the band level. This is the position of the cropped center front of the sweater.
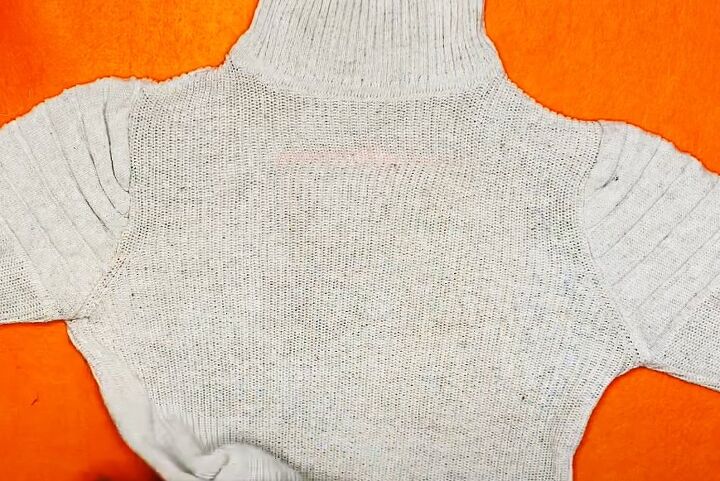
2. Pin
Turn up the bottom of the sweater.
Make sure the side seams are aligned and straight and that you have enough room for a seam allowance below the armhole.
Pin the sides in position first.
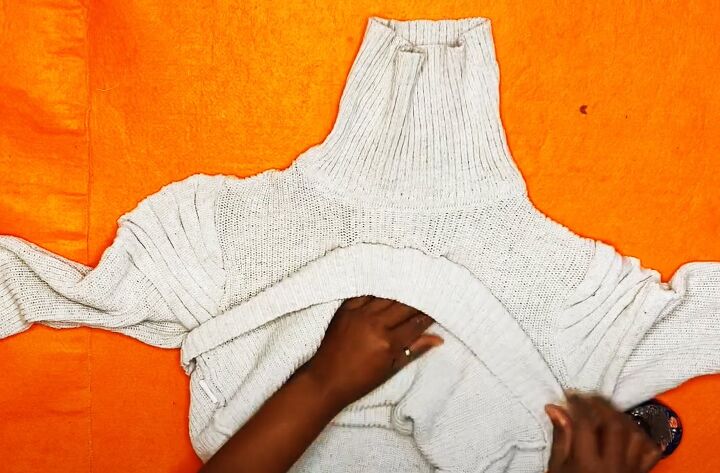
Fold the top of the ribbed edge of the sweater to the marked line at the center front and pin it.
Make sure that each side of the center front curves down evenly to the side seams.
Measure from the shoulder seam in several places to check that both sides are at equal heights.

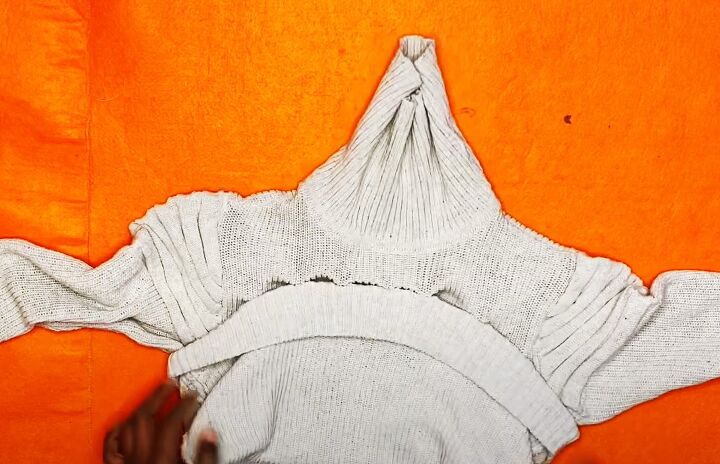
When you’ve finished pinning the front, flip the sweater over.
Pin the ribbing straight across at the back.
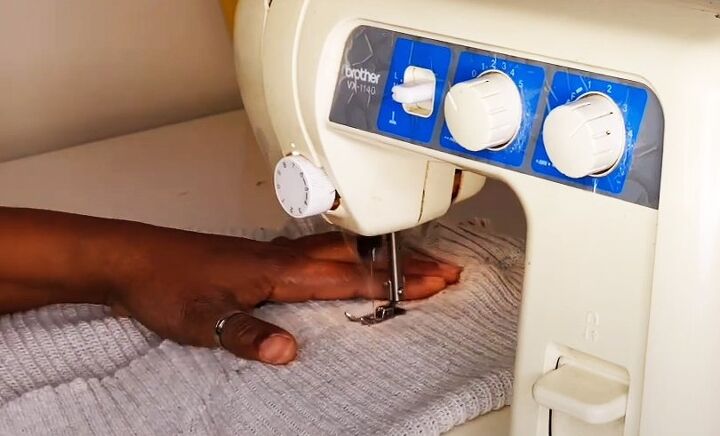
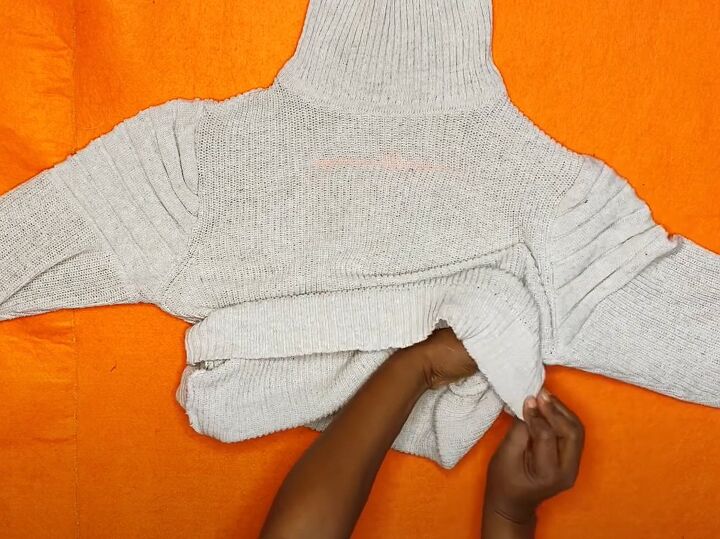
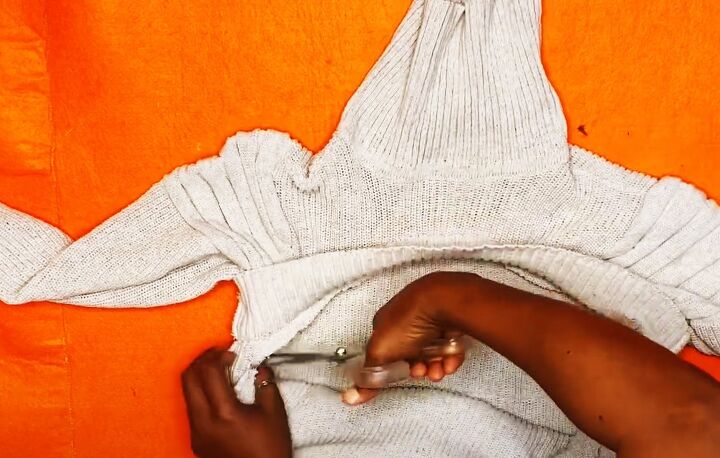
3. Sew
Sew all around the sweater, stitching as closely as you can to the edge of the ribbing.
You may need to stretch the ribbing slightly as you sew, as it will be narrower than the width across the bust.
Make sure you keep the folded fabric flat, so you don’t catch any of it in the stitches.
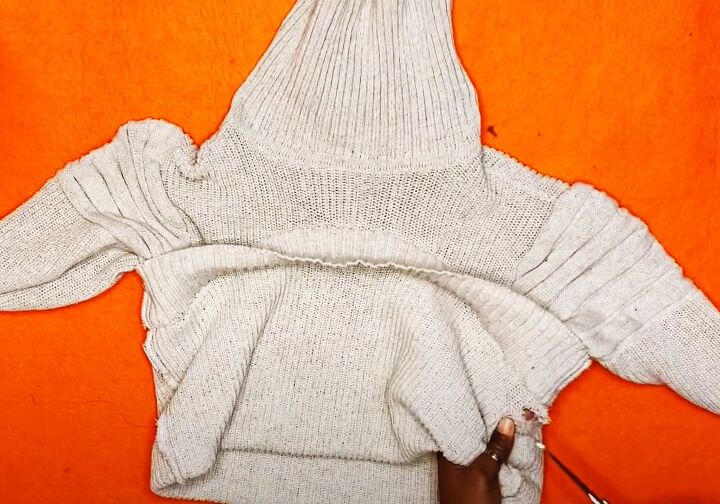
4. Cut
Now you’re going to cut away the excess material about half an inch below the seam you’ve just made.
Start by cutting a small hole at the side seam through both layers of the folded fabric.
Then cut away the excess fabric as evenly as you can all around the sweater.
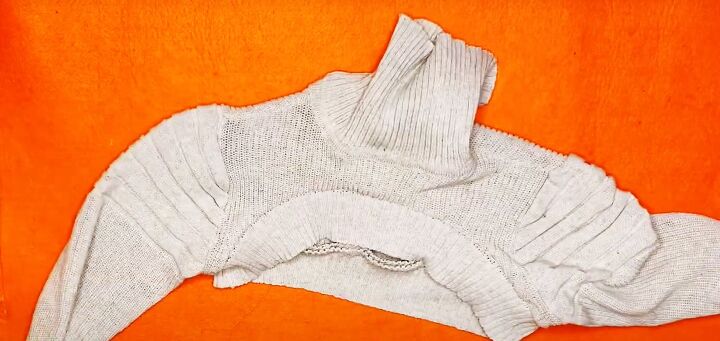
Trim the seam allowance so that it’s an equal depth at the front and back.
If the cut edges have curled up, steam press them flat.

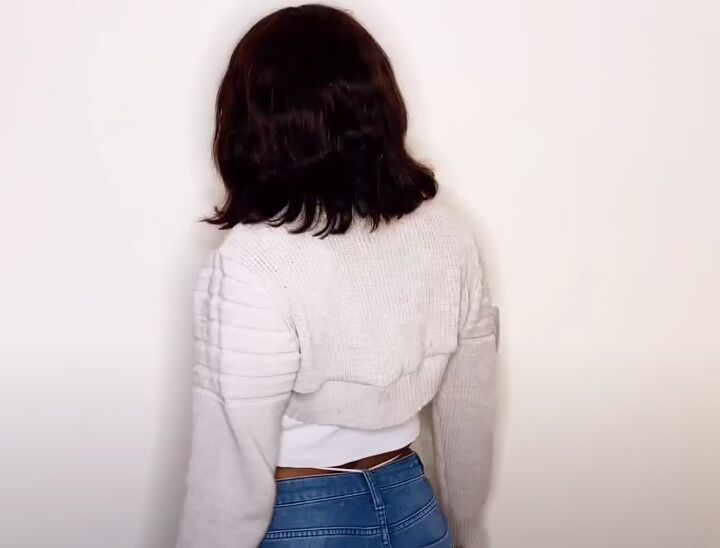
Crop sweater DIY
And wow! I can’t believe how well this turned out! It really does pay to spend time in the pinning stage to make sure the front curve looks good and that the back is straight.
This is one of my favorite thrift flips now and I’m going to be wearing it a lot.
Do you like the end result? I’d love to know what you think of this crop sweater DIY.
Then, check out my post on How to DIY a Cute Bandana Dress.
The author may collect a small share of sales from the links on this page.


Comments
Join the conversation