Zara Dupe Tutorial: Easy Crop Sweater DIY Idea

Today, I’m turning an old cowl neck sweater into a Zara dupe!
I’m making a DIY cropped sweater that’s inspired by one I saw at Zara.
It’s easy and fun to do and it’s very quick too! Just grab a fabric marker and your scissors and let’s go.
Tools and materials:
- Cowl neck or turtleneck sweater
- Fabric marker
- Measuring tape
- Scissors
- Pins
- Sewing machine

1. Mark the shape
Try on the sweater.
Mark at the center front how high you want the cropped sweater to come. We’ll work down from this point.
2. Shape the turtleneck
If your sweater is already a turtleneck, you can skip this step. Mine was a deep and wide cowl neck, which wasn’t the look I wanted.
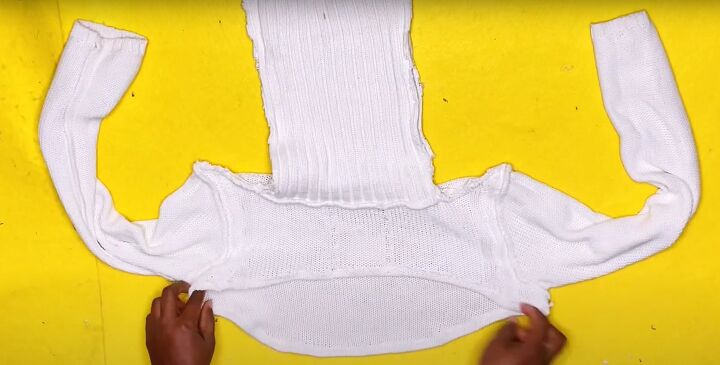
Lay the sweater flat, right side out.
Carefully line up the neckline at the front and back.
Fold the sweater in half lengthways.
Measure 5 inches across the collar from the folded edge in several places and connect the marks.
At the bottom of the collar, connect the line you drew to the end of the shoulder seam with a slightly slanting line.
Cut out the new collar shape.
Unfold the sweater and trim off any excess or uneven fabric from the collar.
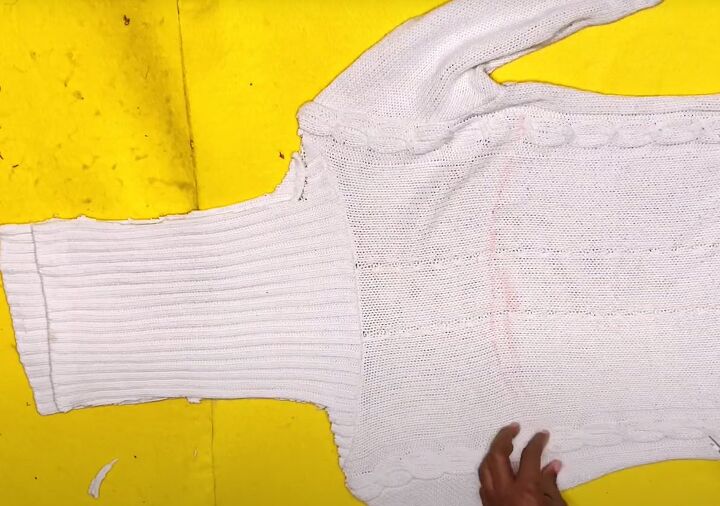
3. Shape the lower edge
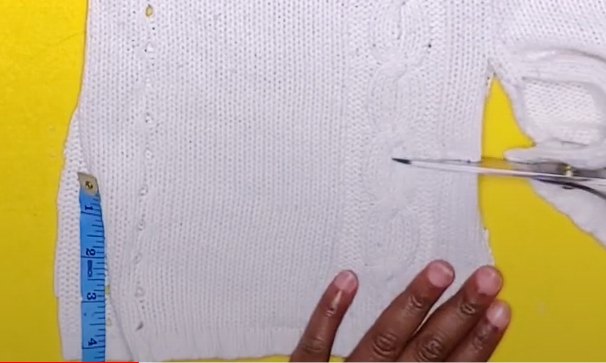
Draw a curve from the point you marked down to the side edges on the front of the sweater.
Make sure it’s even on both sides. If you’re not good at drawing freehand, use a measuring tape to help you.
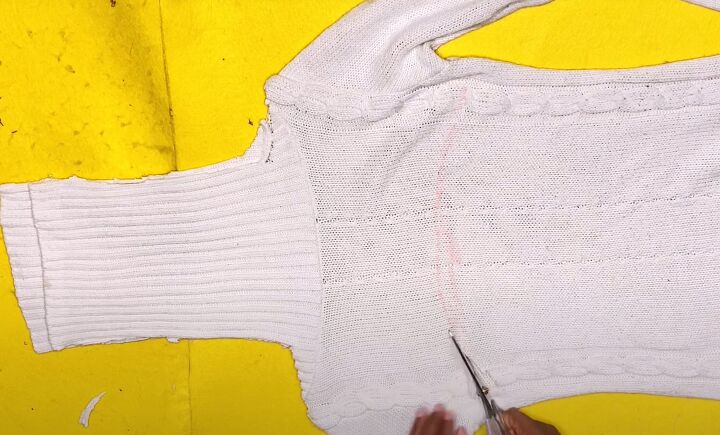
Cut out the front curve first between the side seams, as the back will be lower.
You may want to put a piece of cardboard inside the sweater to protect the back.
Fold the cut edge of the front down and use it as a template to shape the back.

Cut out the back curve and put the excess fabric to one side.
4. Finish the edges
Turn in the lower edges of the curve twice and pin them in place.
If your sweater is very bulky, you may want to sew tape to the cut edges and only fold them in once.
5. Sew up the sweater
Sew the side seams of the collar with the wrong sides facing, as the turtle neck will be rolled to the outside.
Turn the sweater inside out and sew the shoulder seams as usual.
Sew the hem at the lower edges of the curve.
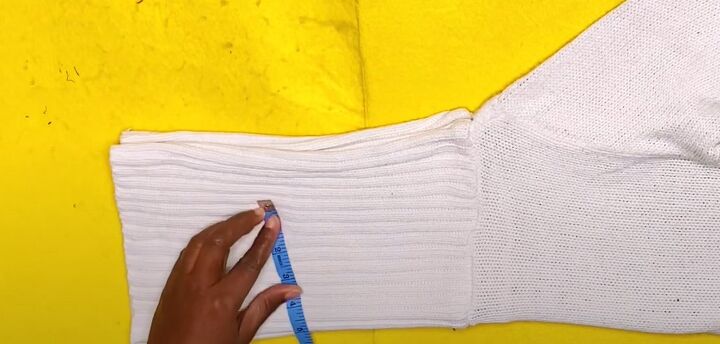
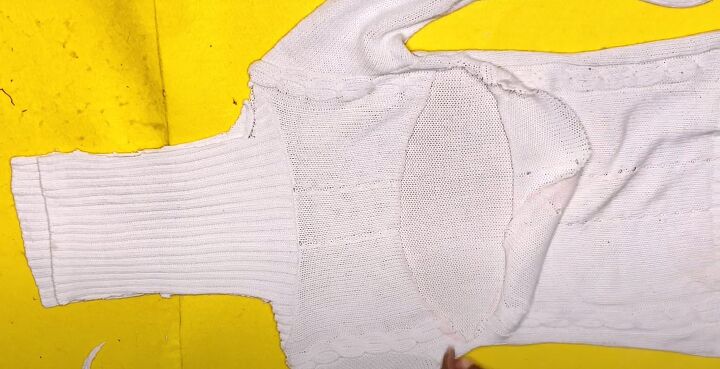
6. Extend the sleeves
Retrieve the excess fabric that you put aside.
Fold the front in half lengthways.
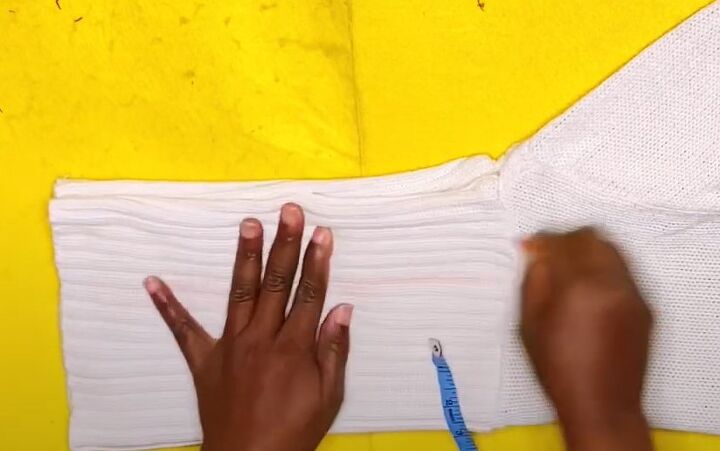
Measure 4.5 inches up from the ribbed edge.
Cut across the front at that point.
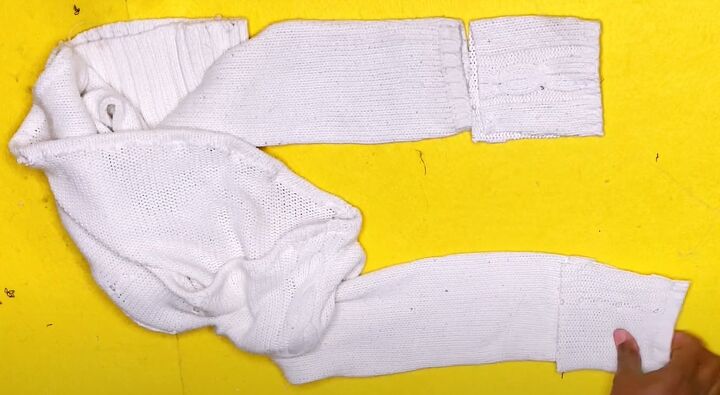
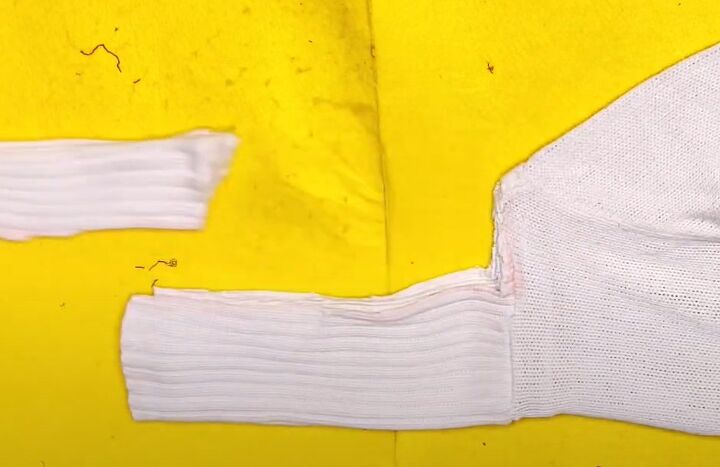
Cut open the side seam and the center front fold to make two cuffs.
Fold each cuff in half lengthways and sew the short edge.
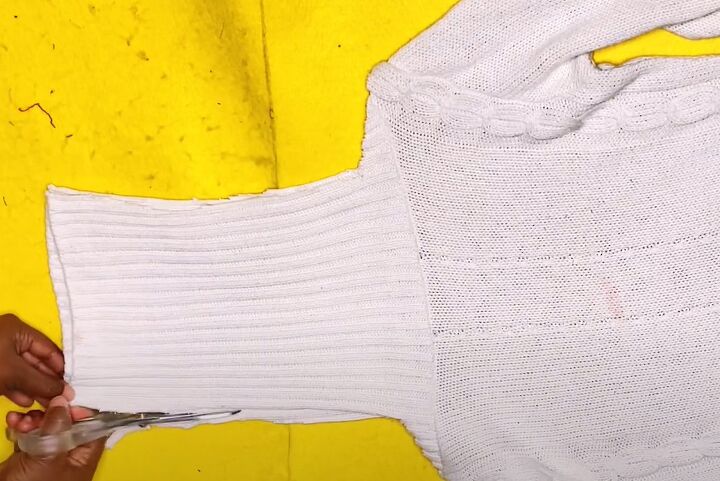
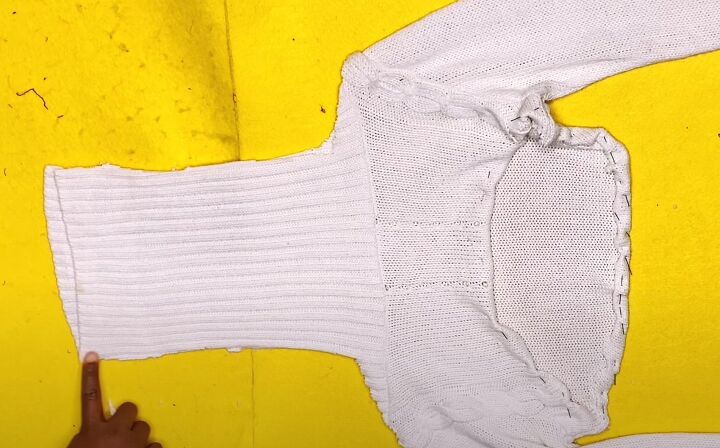
Attach the raw edge of the cuffs inside the bottom edge of the sleeves, so the original sleeve ribbing is visible.

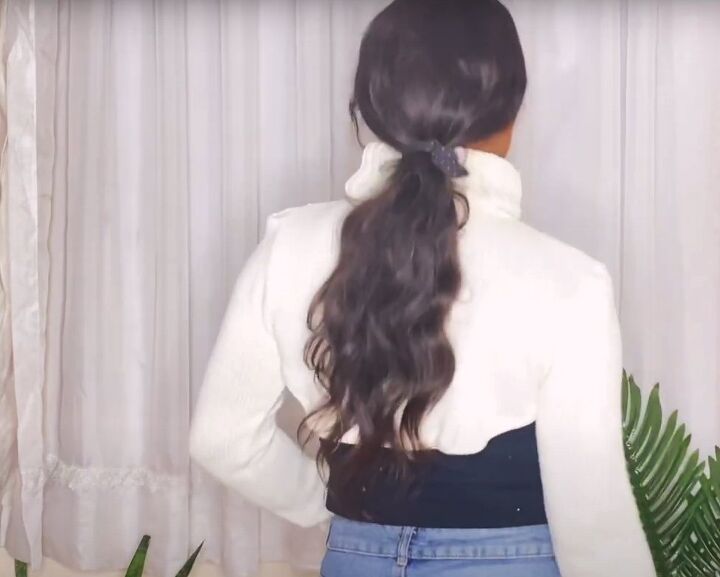
Crop sweater DIY
And there you go! That was a simple and quick crop sweater DIY. Now you have a trendy Zara look-alike for free - or almost free. I think the extra-long sleeves make the perfect finishing touch.
What do you think, though? Is this something you would wear? Let me know in the comments.
Next, learn How to DIY a Cute and Easy Sherpa Shoulder Bag.
The author may collect a small share of sales from the links on this page.


Comments
Join the conversation
I’ve been thinking of doing something like this with some of my old tops for a while now. Thanks for your tutorial. I now have a better idea of what to do. 👍🏻
Very cute & it looks pretty simple to create.
Thank you!