Cute and Easy DIY Sherpa Shoulder Bag Tutorial

Today’s project is a bag making tutorial for beginners.
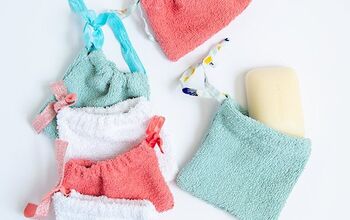
We’re going to make a lined mini DIY shoulder bag with a zipper closure.
I’m going to give you the bag sewing pattern template to work from, to make it even easier. So let’s get started!
Tools and materials:
- Faux fur or sherpa fabric
- Lining fabric
- Fusible interfacing
- 7 inch (18 cm) zipper
- Paper for pattern
- Ruler
- Pencil
- Pins
- Scissors
- Sewing machine
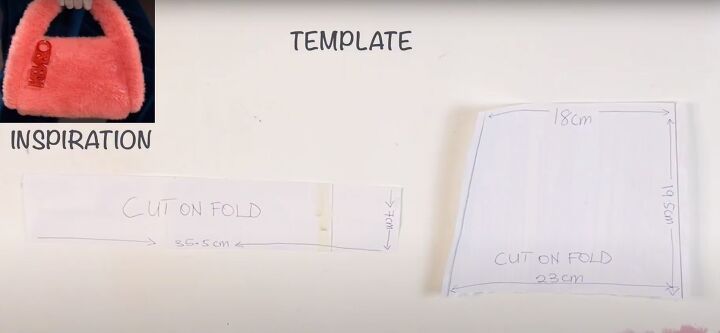
1. Bag sewing pattern
The bag is made of two pattern pieces.
The strap pattern is a rectangle 2.75 inches (7 cm) wide by 14 inches (35.5 cm) long.
The main bag is a trapezoid which is 7 inches wide (18 cm) on the top edge, 9 inches (23 cm) wide on the bottom edge and sides of 7.70 inches (19.5 cm).
Draw out the templates and cut them out.
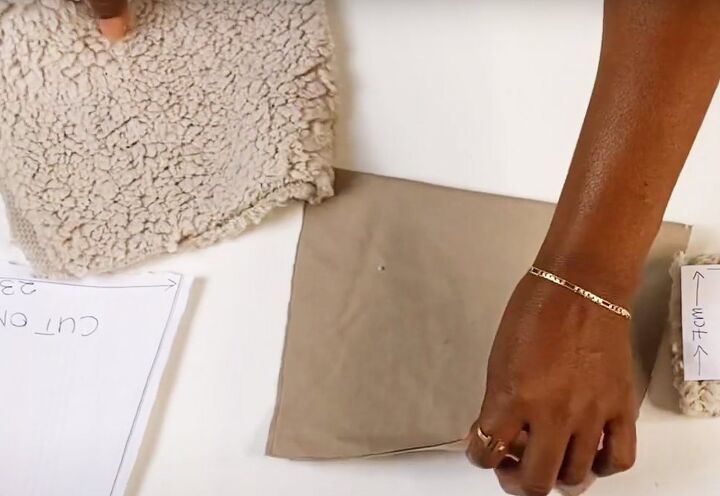
2. Cut out the bag pieces
Both pattern pieces should be cut on the fold.
You will need one bag piece in the sherpa fabric and one in the lining fabric.
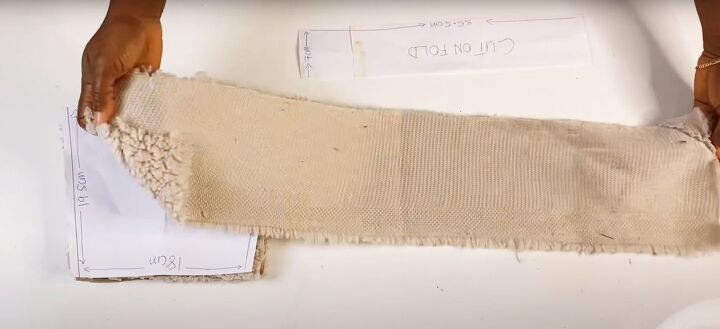
Cut one handle on the fold in both directions in the sherpa fabric, so the handle is 28 inches (71 cm) long by 5.5 inches (14 cm) wide.
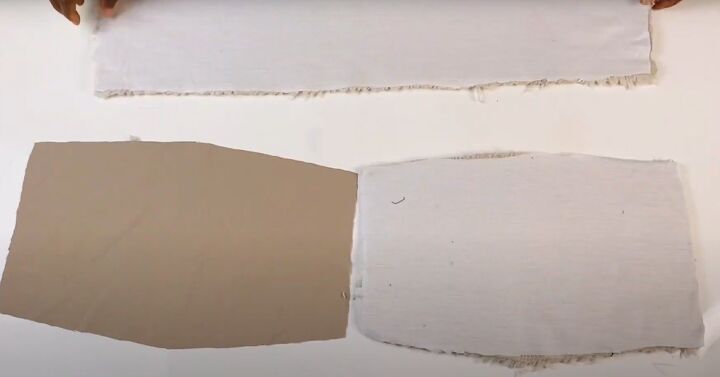
Cut a piece of fusible interfacing for the handle and the main bag section and apply it to the wrong side.
3. Insert the zipper
Open the zipper.
Place it on the shorter edge of the bag with the right sides facing.
Put the lining piece on top, matching the edges.
Pin and sew the three layers together.
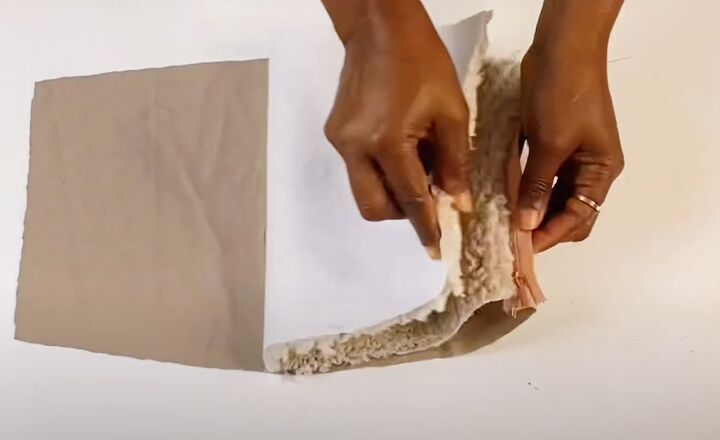
Fold the main bag piece with the right sides together to the free edge of the zipper.

Flip the bag over and fold the lining up to the same edge, sandwiching the zipper tape between the main bag and the lining.
Pin and sew through the three layers as before.
Turn the bag right side out and top stitch on the right side close to the zipper teeth on both sides.
4. Make the bag strap
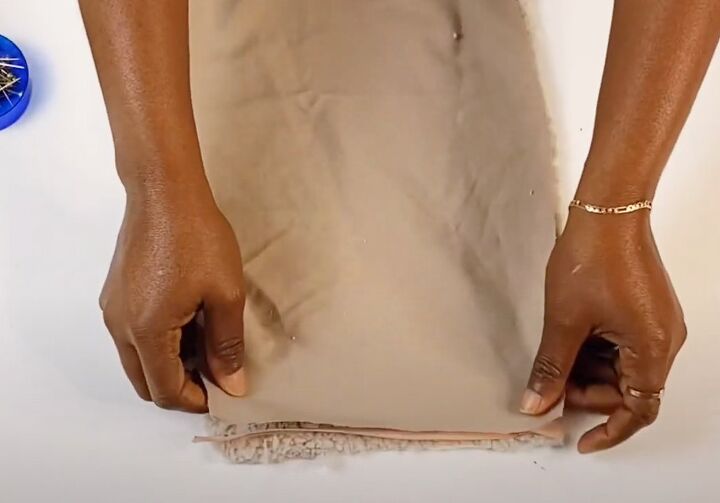
Measure the depth of the folded bag. Mine is 7.5 inches (19 cm)
Fold the handle in half lengthways with the right sides together.
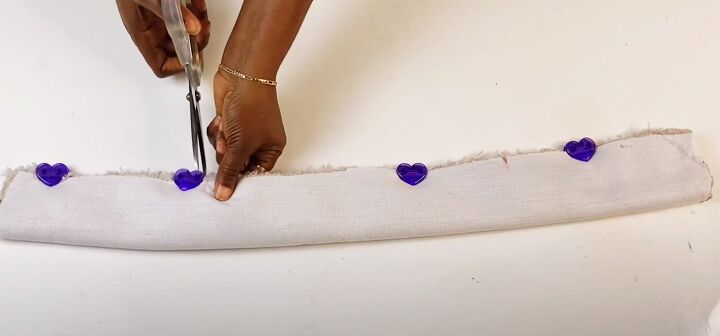
Measure in 7.5 inches (19 cm), or the depth of your bag, from each end and mark with a notch.
Sew the edges of the handle together between the two notches.
Turn the strap right side out.

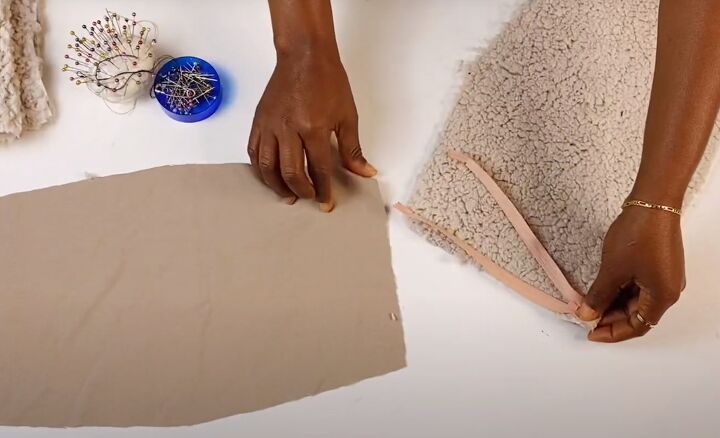
5. Attach the bag strap
Turn the bag wrong side out.
Trim the lower corners of the bag.
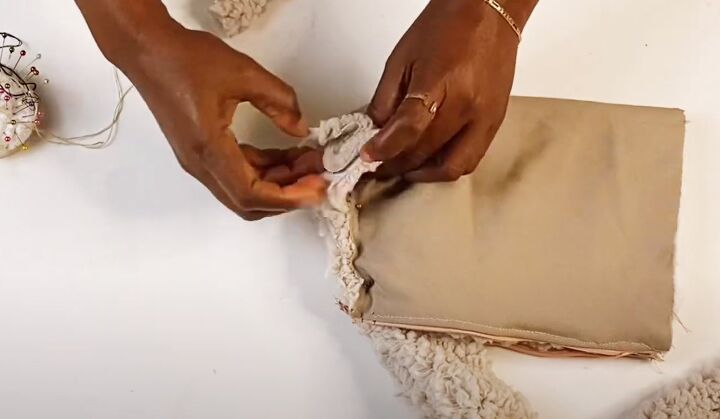
Insert one open end of the strap into the bag, trimming the length if necessary.
Pin it between the front and back of the bag at the side edges.
The fabric is very bulky, so it needs a bit of patience to get this stage right.
You may need to pleat the end of the strap inwards to make it fit properly.
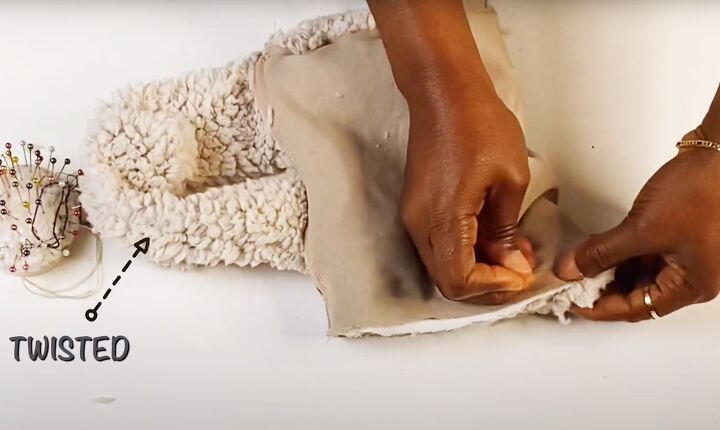
You can optionally twist the strap once before inserting the other end. It makes the handle shorter but gives a braided effect that I like.
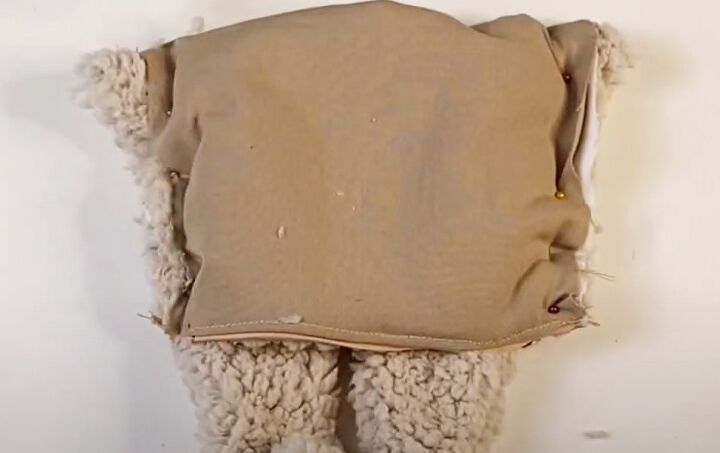
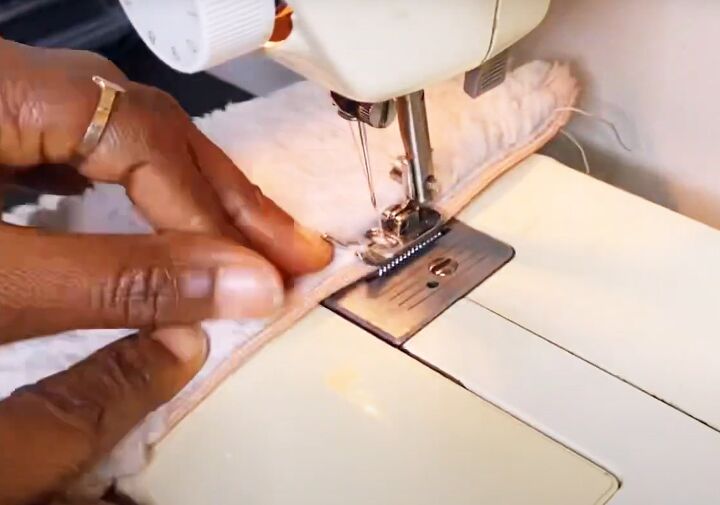
Slowly and carefully sew through all the layers on each side.
If you have a needle for sewing denim or leather, you might find it easier to use that.
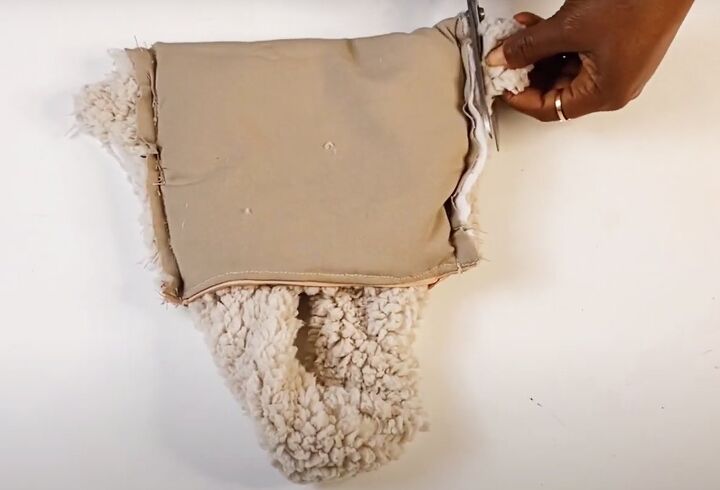
Trim off any excess fabric after sewing.
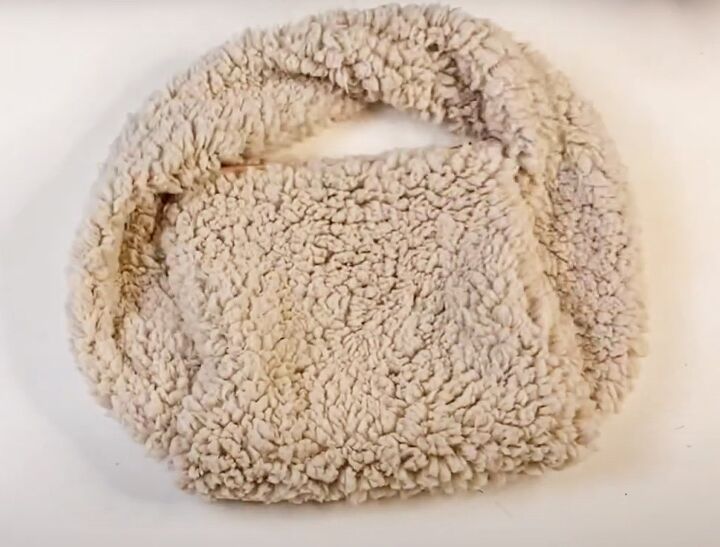
Turn the bag right side out through the zipper opening.

It’s amazing how much will fit in this mini bag! You can wear it as a shoulder bag or a regular purse.
DIY shoulder bag
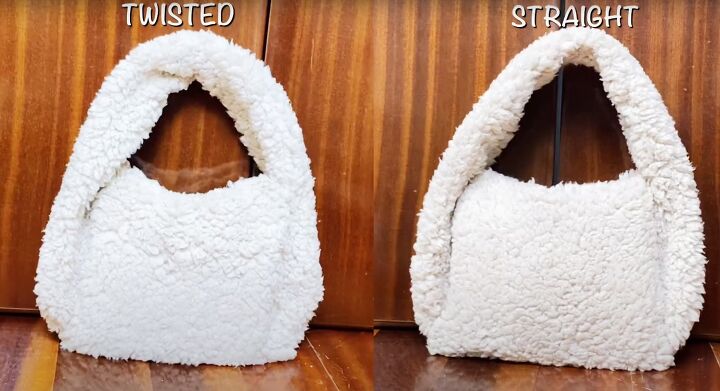
I made a second one with a straight handle so you could see the difference and choose the version you prefer.
Which do you like better? Please let me know in the comments below.
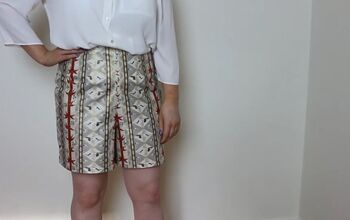
Zara Dupe Tutorial: Easy Crop Sweater DIY Idea
The author may collect a small share of sales from the links on this page.


Comments
Join the conversation