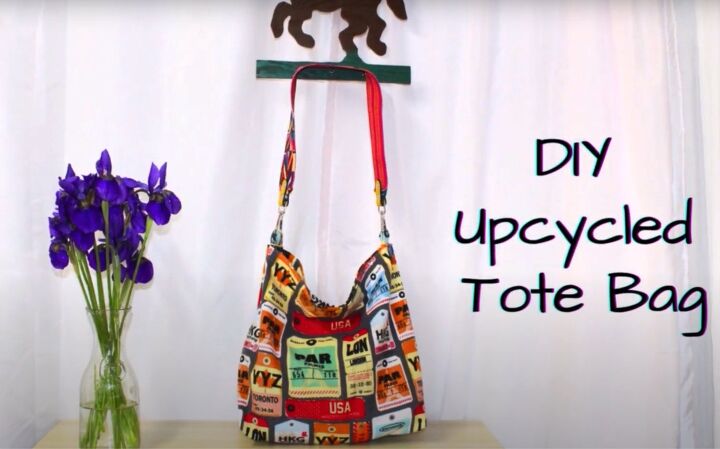
Cute and Easy DIY Tote Bag Tutorial

I found this very colorful pillowcase in the thrift shop and realized what a great DIY tote bag it would make.
It’s very easy to put together because most of the seams are already sewn for you.
Use pinking shears if you have them, so you don’t even need to finish the raw edges!
Tools and materials:
- Printed pillowcase 20” x 32.5”
- 2 large buttons
- Snap fastener or press button
- Bag strap with swivel hook clips
- Measuring tape
- Fabric marker
- Pinking shears
- Iron
- Sewing machine
- Hand sewing needle and thread

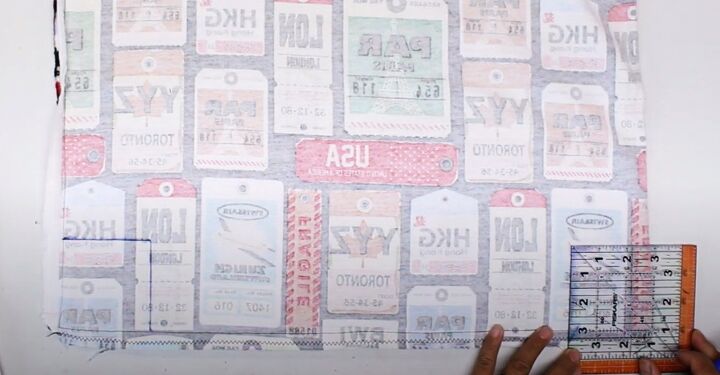
1. Cut out the bag
Turn the pillowcase inside out.
Measure 18 inches along the length from the closed side seam in several places.
Draw a line connecting the marks and cut along the line with pinking shears.
Put the rest of the pillowcase aside.
2. Make the base
Draw and cut out a 3.5 inch square from both the two lower corners of the bag.
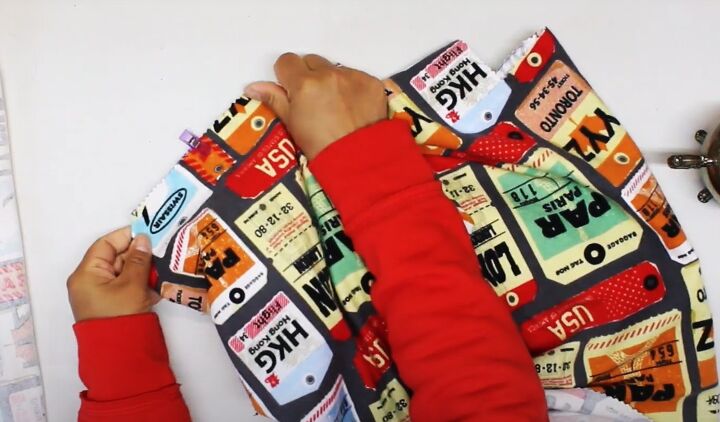
Turn the bag right side out.
Pin the edges of each cut-out together across the side seam, with the wrong sides facing.
Sew, taking a quarter inch seam allowance.
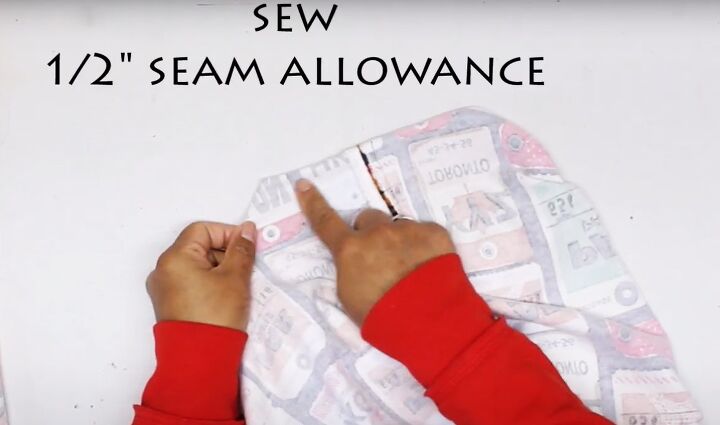
Turn the bag with the wrong side out again and push out the corners.
Sew across the cut-out seams again from the inside, taking a half inch seam allowance.
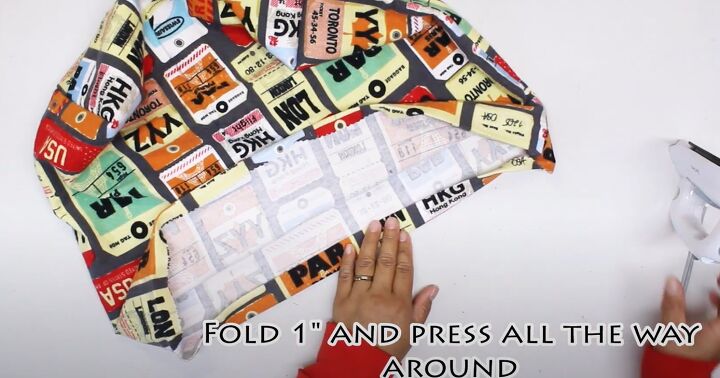
3. Sew the top edge
Turn the bag right side out.
Fold in the top edge by half an inch all the way around and press in place.
Fold it in again by 1 inch and press.
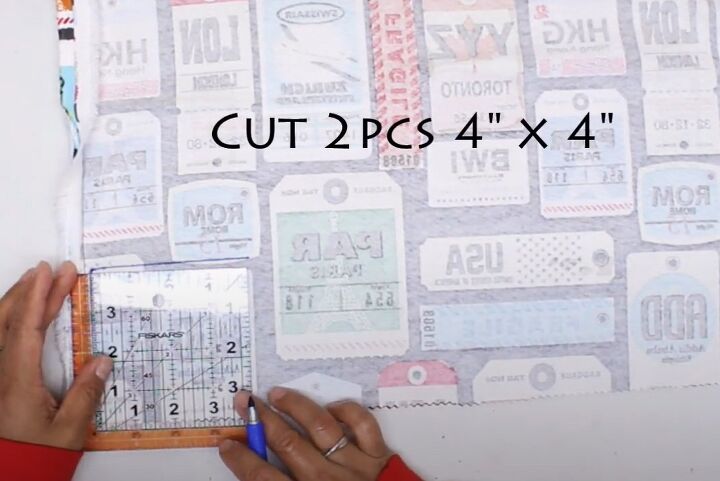
4. Make the strap loops
Cut two 4 inch by 4 inch pieces from the surplus fabric.
Fold one piece in half with the wrong sides together.
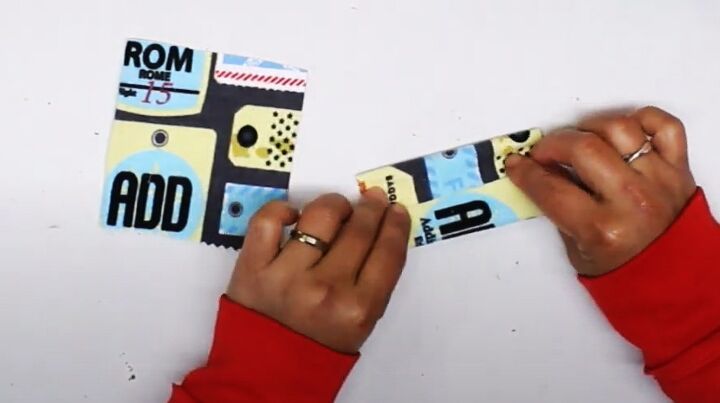
Open it out and fold the two edges towards the center.
Fold the strip in half again and pin.
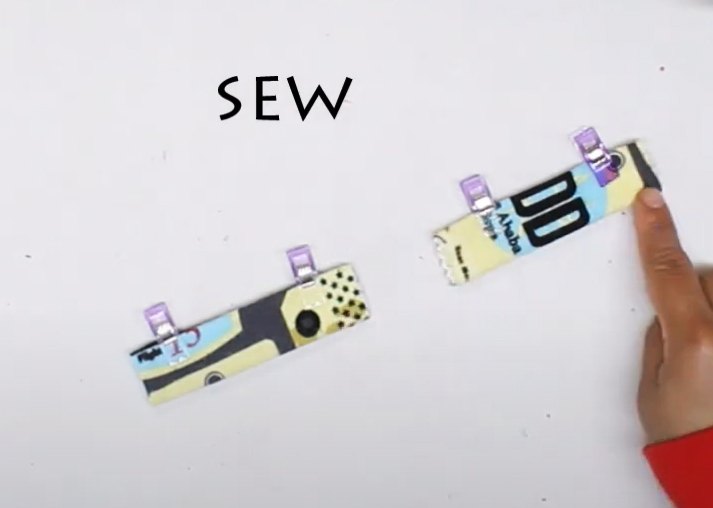
Sew both long edges.
Repeat for the second loop.
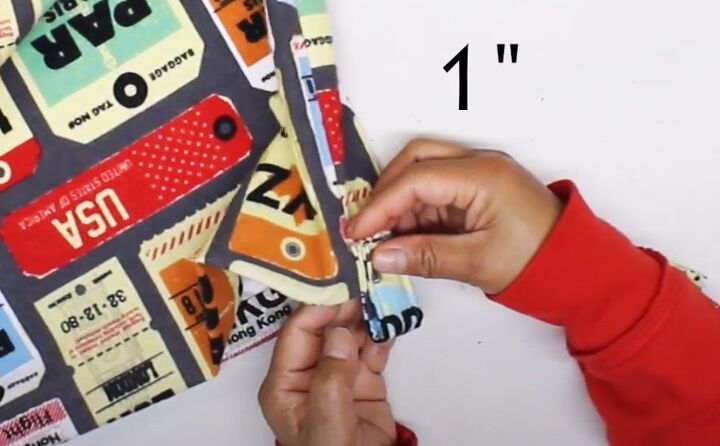
5. Attach the strap loops
Fold one of the strips in half widthways.
Find the center of the side gusset. This will be the side seam on one side of the bag and on the fold at the other side.
Pin it to the outside of the bag centrally over the side gusset, with the loop extending 1 inch above the top edge of the bag.
Sew in place at the top and bottom edges of the lower square of the loop.
Attach the second loop to the other side of the bag in the same way.
6. Attach the buttons
Sew around the top and bottom folds of the top edge of the bag, so you further secure the loops in place.
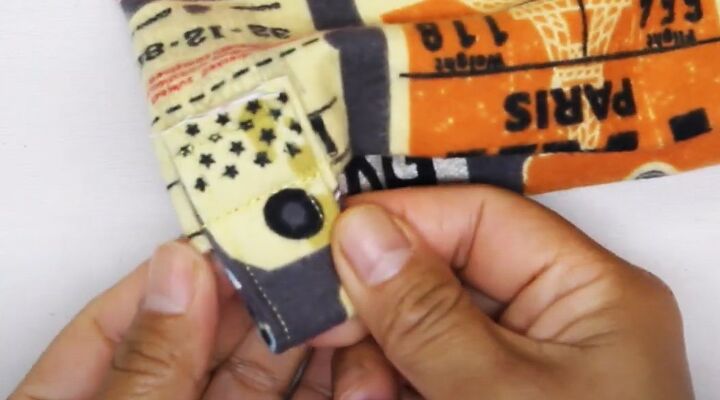
Fold the top edge of the bag over the loops from both sides, to make a pleat in the side gusset.
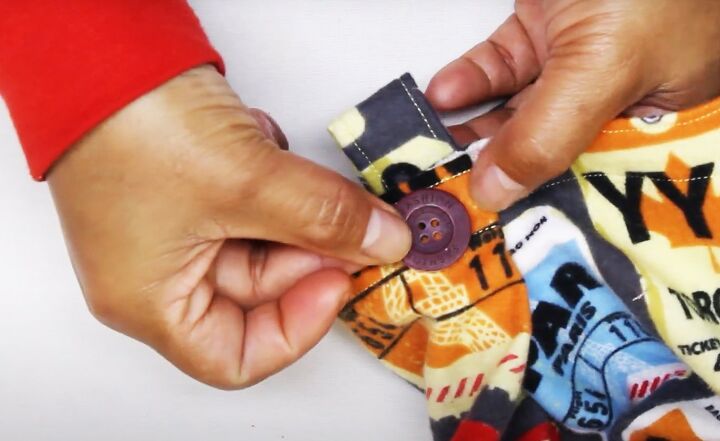
Hand sew a button in the center of the pleat through all layers.
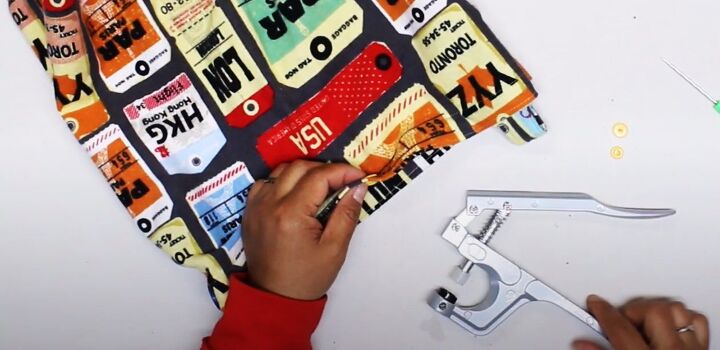
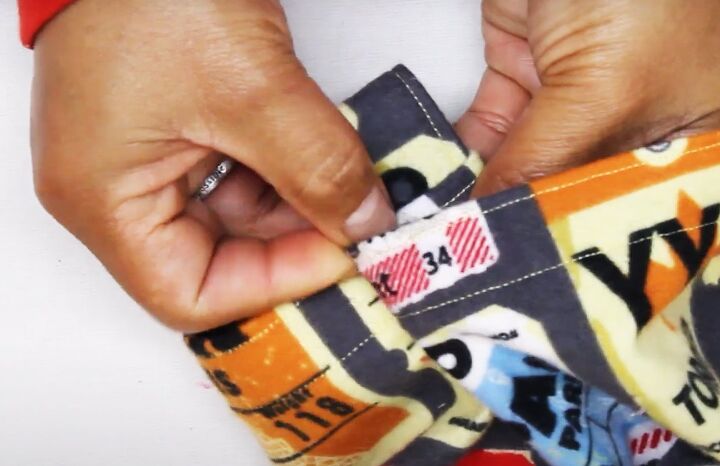
Find the center of the top edge and attach a snap fastener or press button.
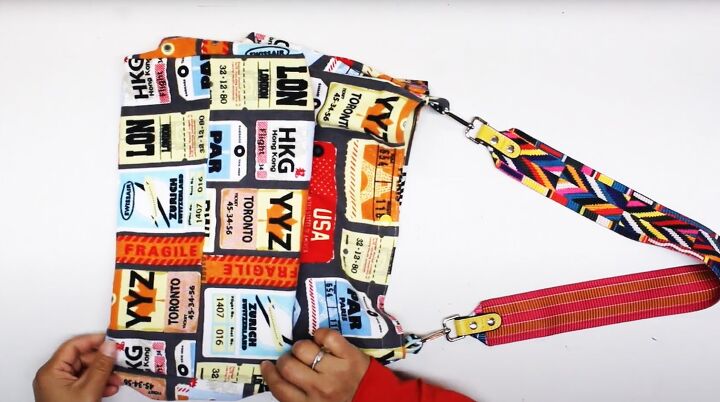
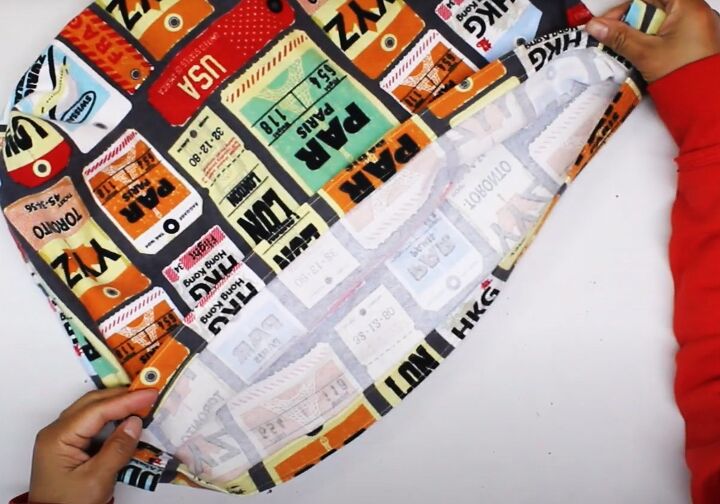
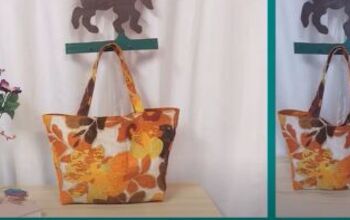
DIY tote bag
I used a purchased strap to finish it off.
You could certainly make your own strap from the rest of the fabric and attach it with spring swivel hooks or lobster clips to the loops on the top edge, if you prefer. I thought the strap I found was a perfect match for the bag.
This pillowcase DIY makes a soft, slouchy tote bag without much structure, so it’s perfect for casual outfits and has a great summer vibe.
I’d love to know what you think of it!
The author may collect a small share of sales from the links on this page.


Comments
Join the conversation