DIY Sloth Sweater Refashion Tutorial
Who doesn’t love sloths?

Those adorable slow moving creatures can brighten up even the greyest of days so go ahead and create a wearable version with my DIY sloth sweater refashion tutorial!
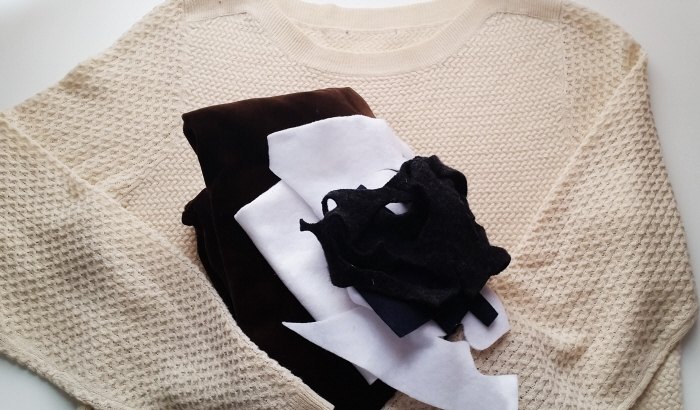
Grab a plain sweater and a few touchably textured fabric scraps in sloth-y colours.
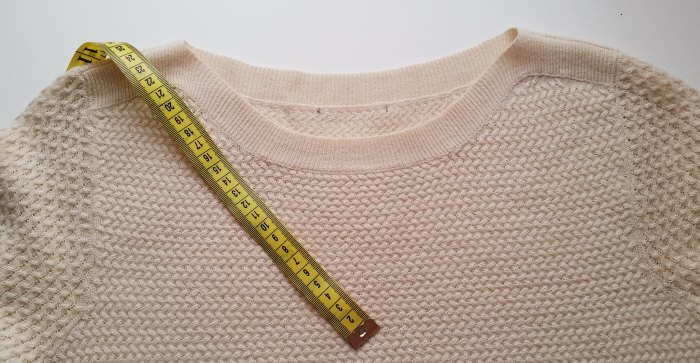
Take the basic measurement of the length of the area you want your sloth to hang on your sweater. (mine was 50cm)
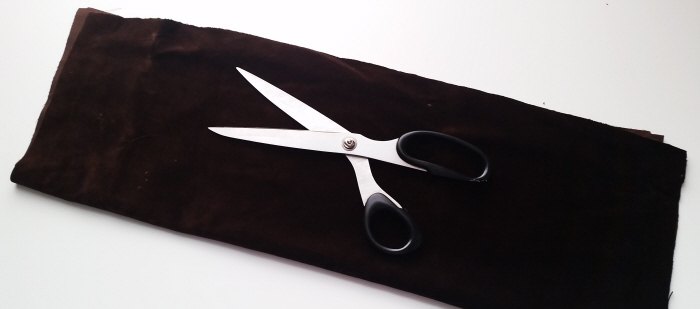
Chop your sloth body fabric to your measured length.
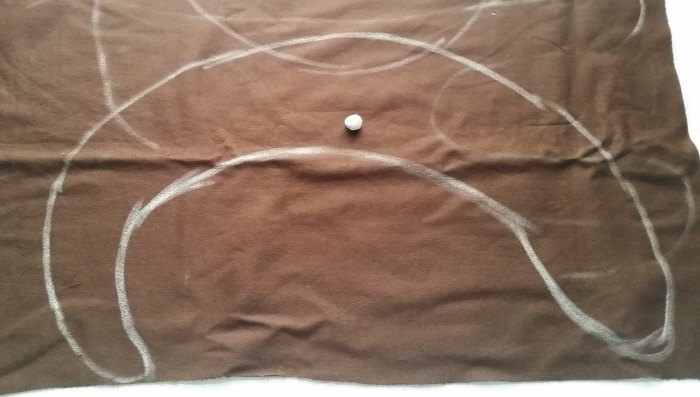
Sketch out a super basic sloth body on the back of the fabric.
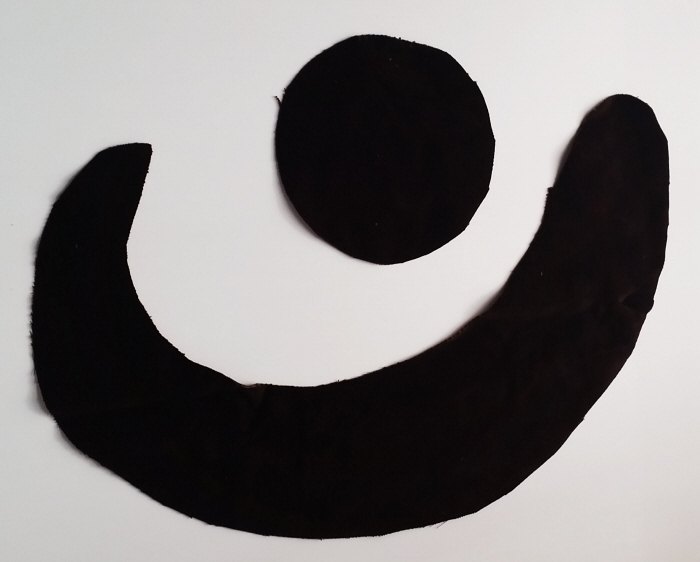
Chop out the body shape + a lovely circle for the head too!
If you’re using non-fraying fabric you can skip the following steps however as I used vintage velvet for my body & head shapes I had to ensure that the edges wouldn’t fray:
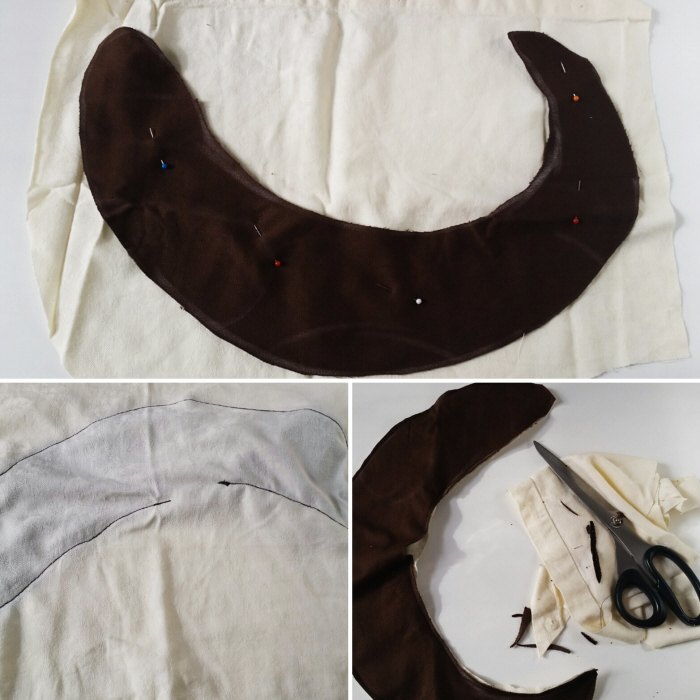
1. Lay the velvet face down on some soft cotton and pin together.
2. Stitch the cotton and velvet together leaving a small opening for turning.
3. Trim off the excess fabric and flip right side out.
4. Tuck in the open bit then top stitch all around to create a clean edge.
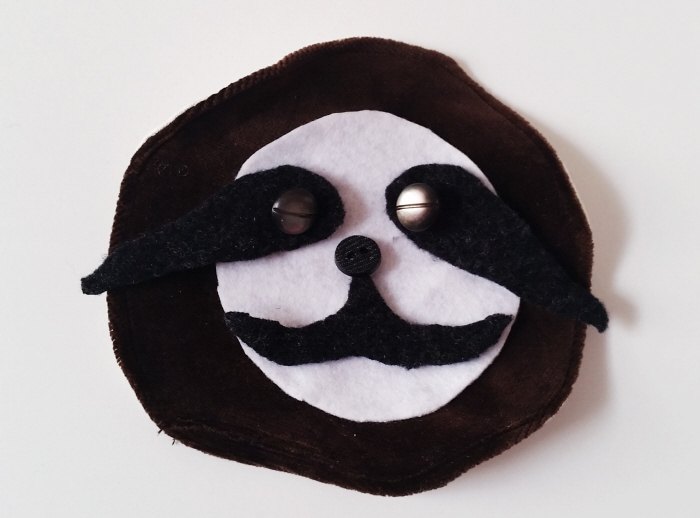
Once the head and body shapes are complete create your sloth face from those scrappy bits + a couple of button eyes.
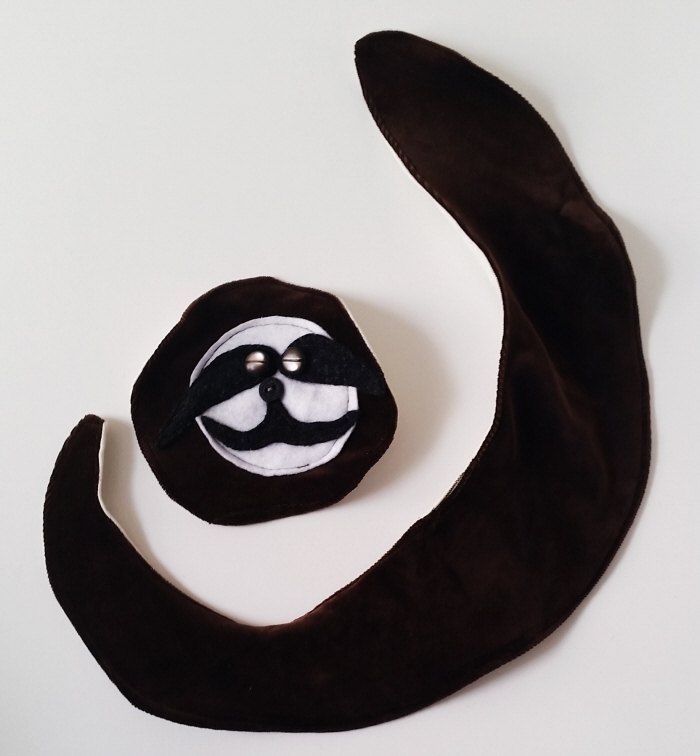
Almost done!
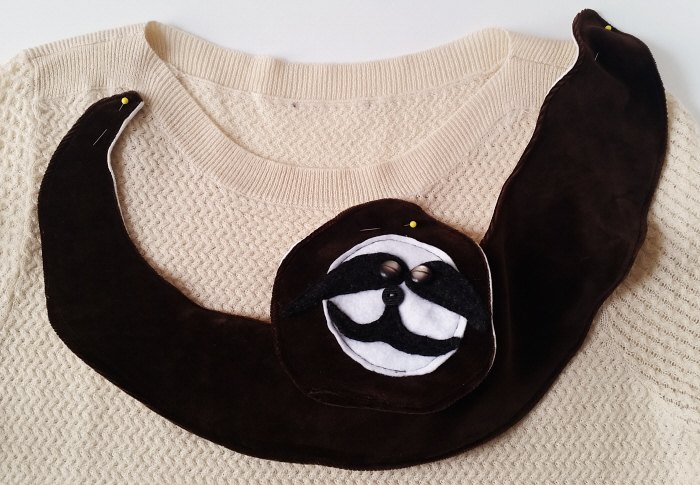
Arrange the sloth pieces on the sweater and pin in place.
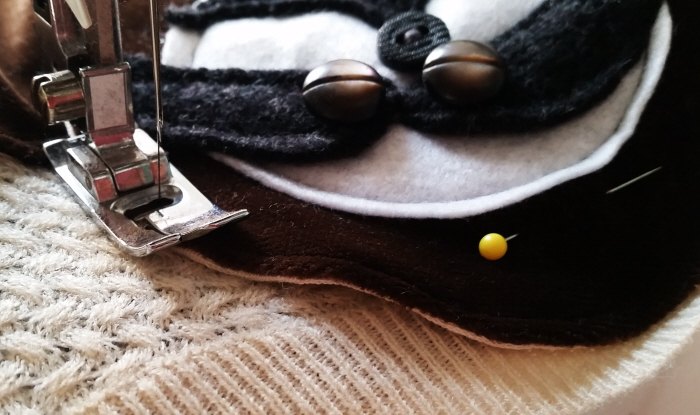
Stitch together with a tight zigzag.
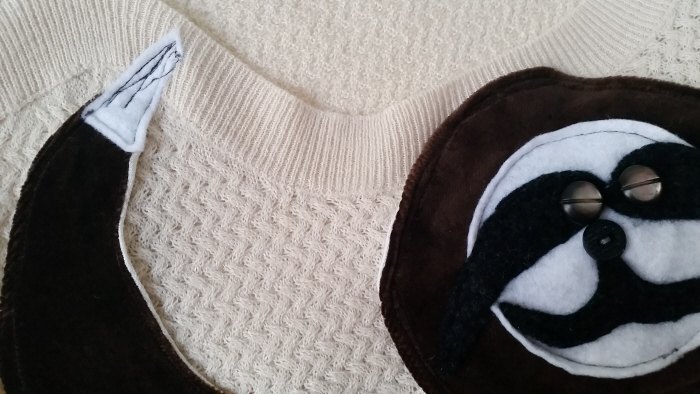
Don’t forget to add those long claws for gripping!

Grab more of my fab top transforming tutorials right here!

The author may collect a small share of sales from the links on this page.


Comments
Join the conversation
This is truly adorable! Thanks!