2 Easy DIY Sweatshirt Refashions: Making Bandana & Flannel Sleeves

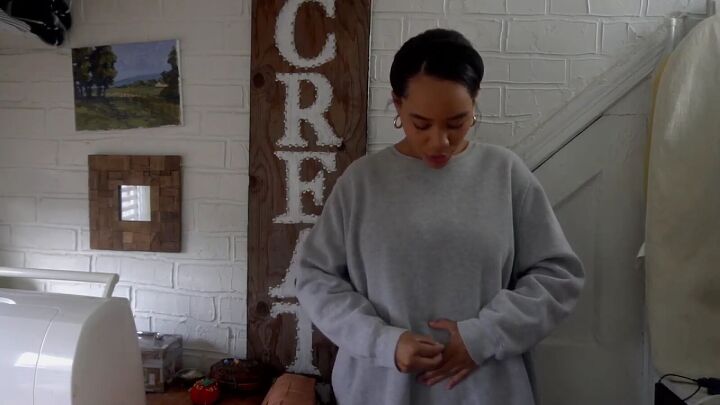
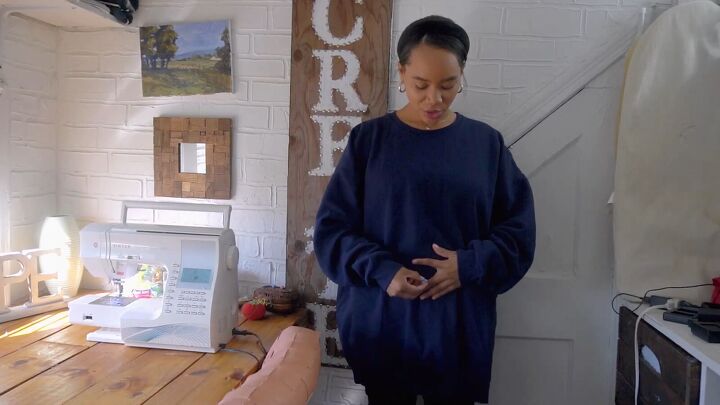
Let’s get our DIY sweatshirt refashion game on! Winter fashion doesn’t have to be boring; you can transform your old sweatshirt into something magical and trendy with a few easy modifications.
I’ll show you two sweatshirt refashion tutorials to give you instant tips and inspiration.
Tools and materials:
- Bandanas
- Sweaters
- Scissors
- Measuring tape
- Ruler
- Sewing machine
- Matching thread
Bandana sleeve sweatshirt refashion

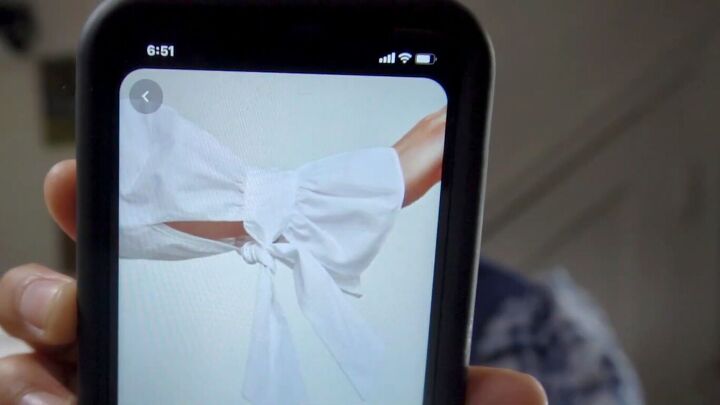
For the first DIY sweatshirt refashion, I wanted to recreate these bandana sleeve sweatshirts I've been seeing on Pinterest.

1. Cut and modify the sweatshirt
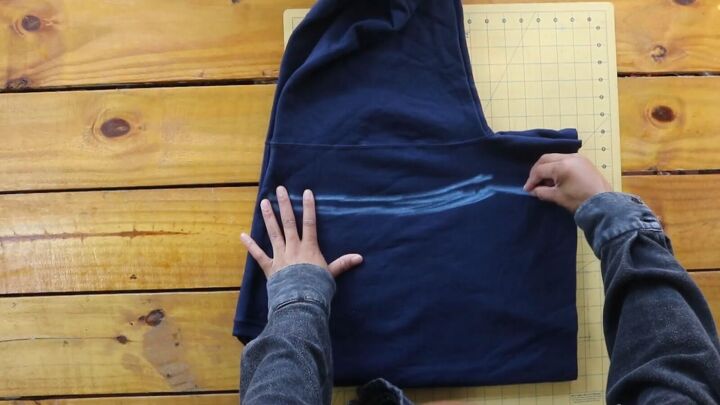
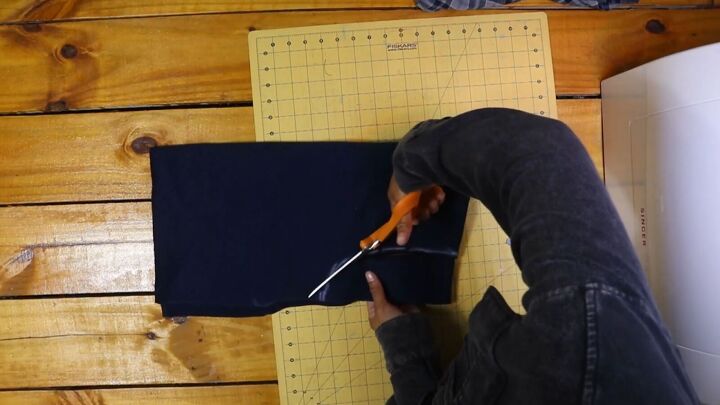
Wear your sweatshirt and mark where you want to cut it.
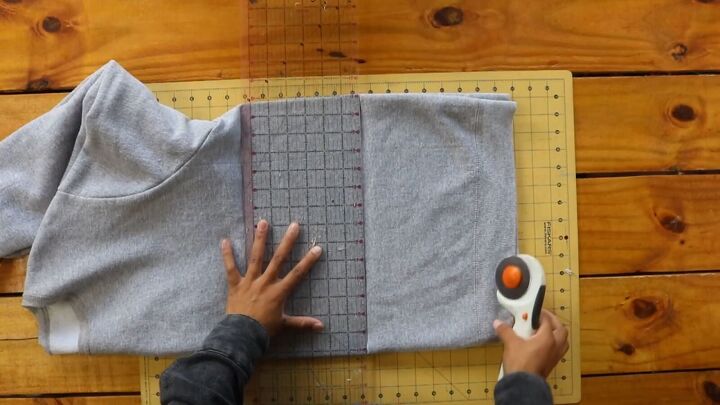
Then, cut the sweater along the marking.
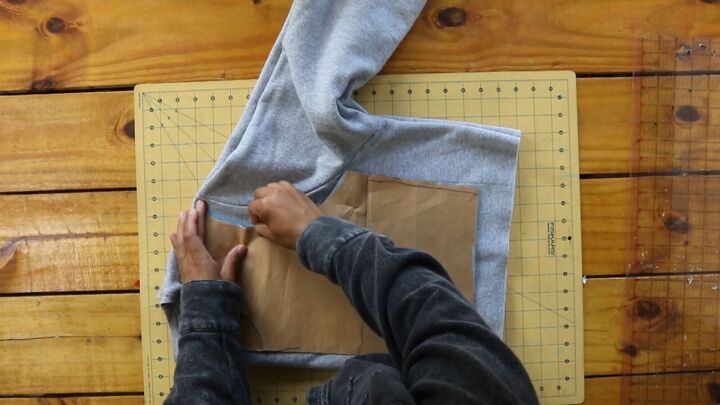
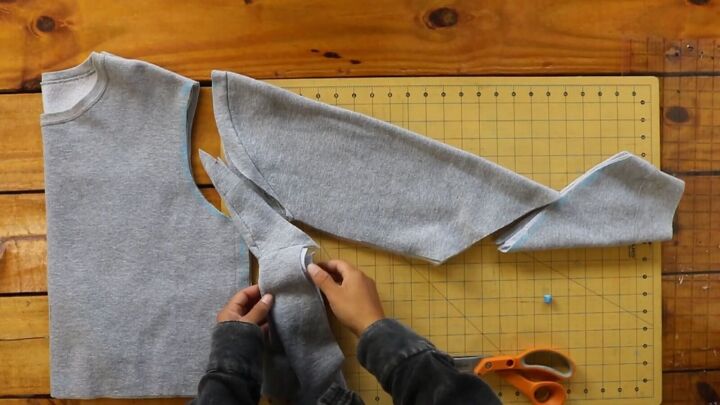
Take a pattern or a shirt that fits you well and place it on your folded sweatshirt. I made this pattern using a shirt I already own.
Trace around it, as shown. I left space from the fold as I wanted room for the fit.
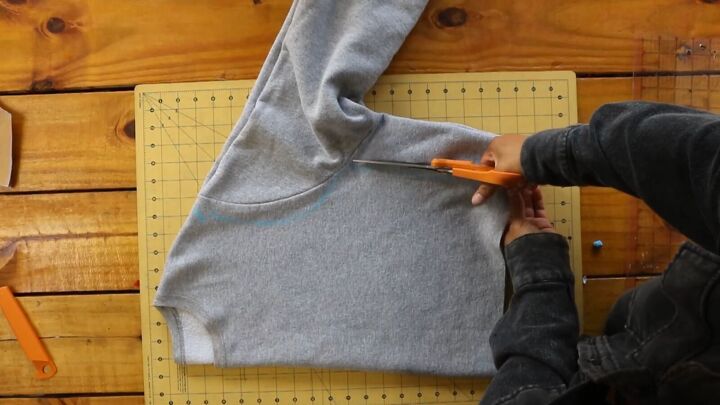
Cut on the lines and discard the sleeve area.
2. Make the bandana sleeves
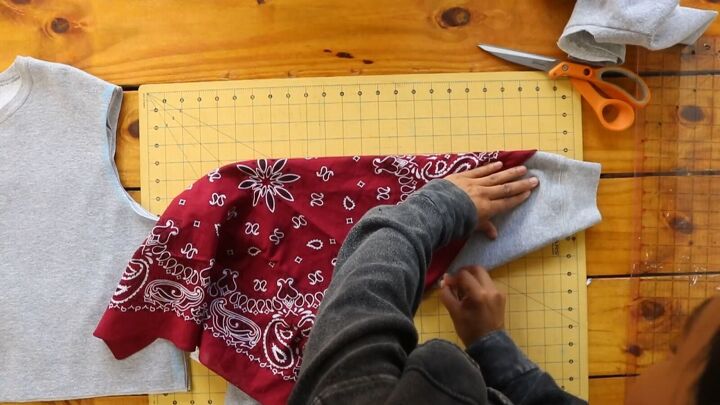
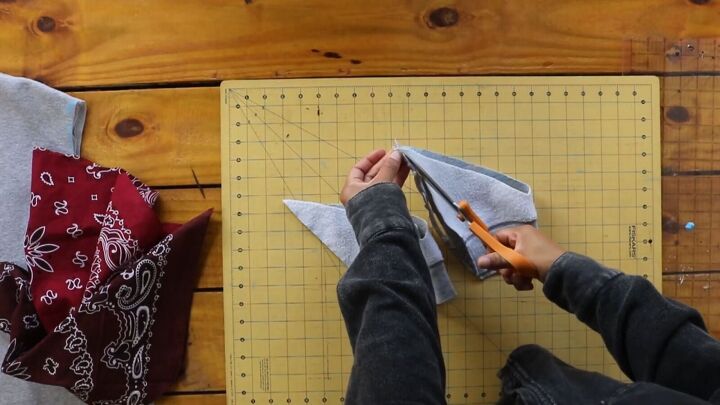
Fold the bandana in half around the sleeve and mark the angle you want to cut for the bottom part of the sleeve.

Now, cut the line and do the same for the second sleeve,
Cut out this extra piece from under the sleeves so that the sleeve curves would match the length of the armhole.
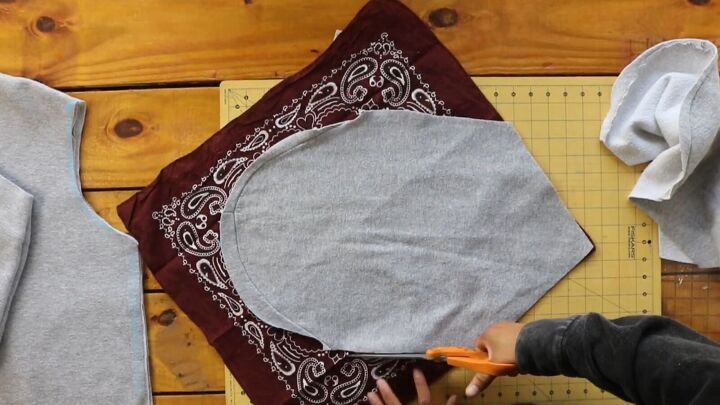
Open your sleeve and cut out the shape onto your bandana. You can sew the sweatshirt sleeve onto the bandana if you want a warmer sweatshirt. I opted not to do this.
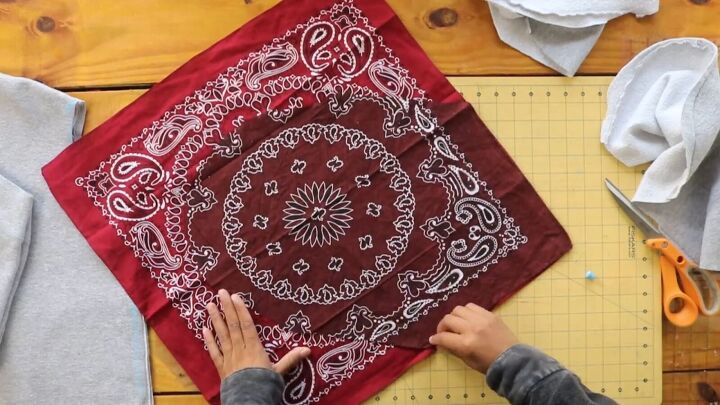
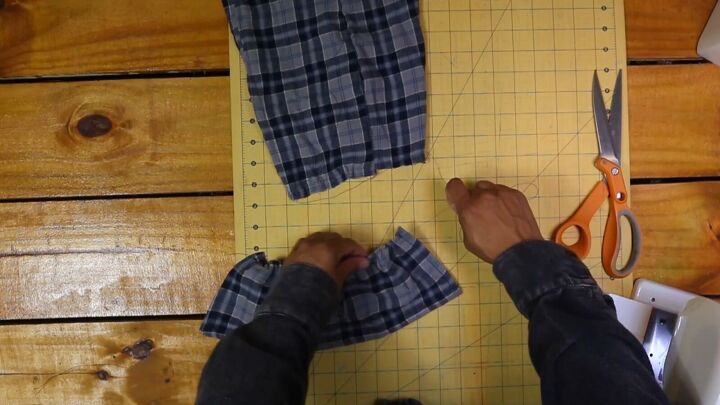
Cut the second bandana to match the first.
Open the cuffs by cutting off the side seams. You can also seam rip the sides if you prefer not to cut the seams out completely.

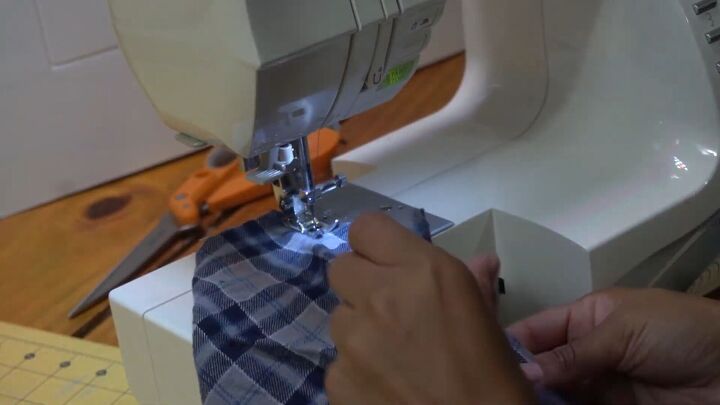
3. Sew the bandana sleeves
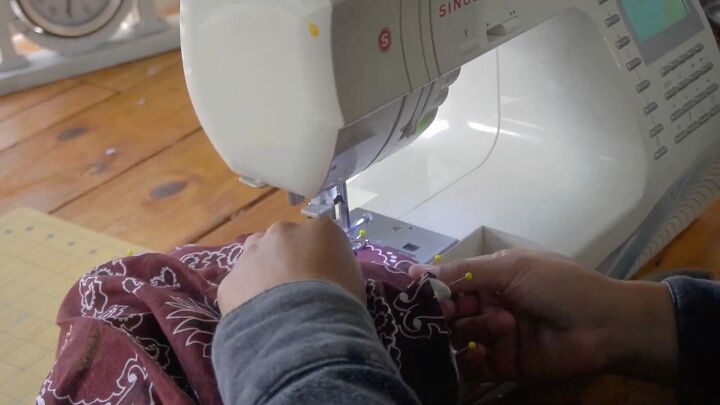
Pin your bandana to the sweatshirt cuff portion of the sleeves.
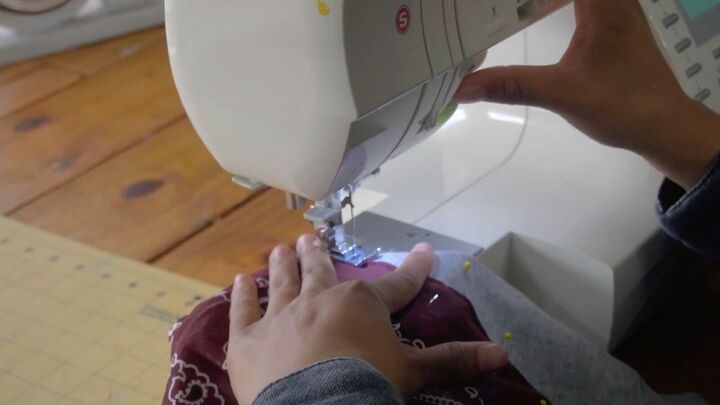
Then, sew to secure. Be sure to pivot when you get to the triangular point.
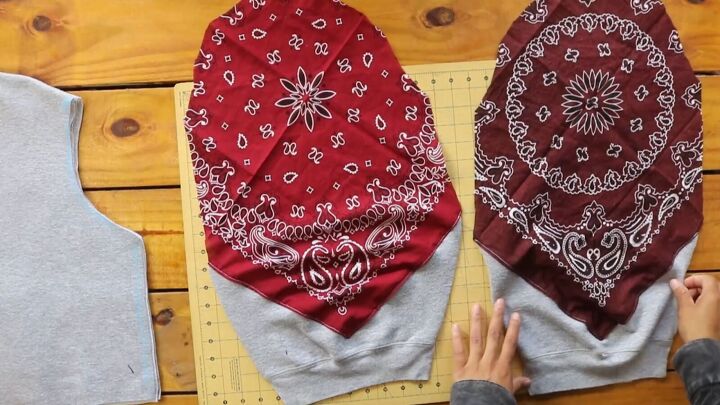
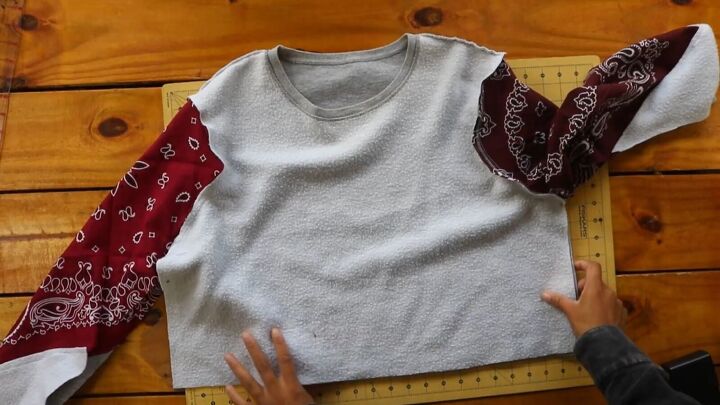
This is what it should look like.
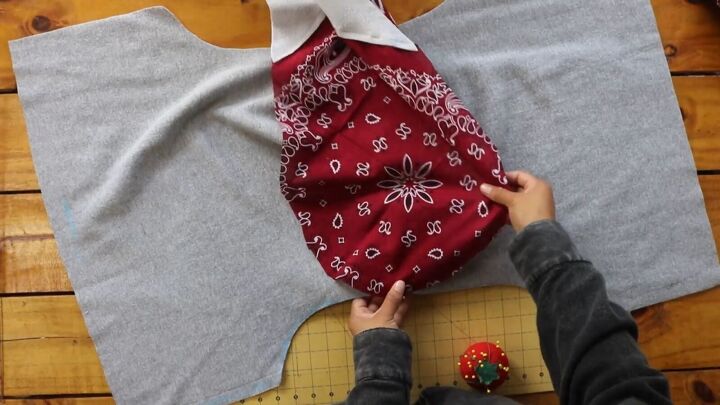
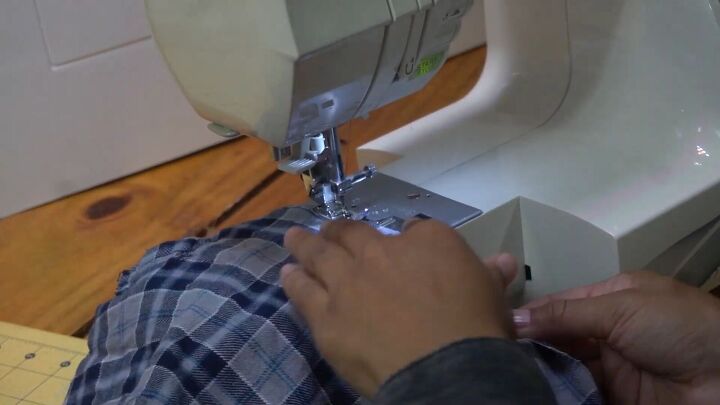
4. Attach the sleeves to the sweatshirt
Next, match your sleeves to the armhole and pin all around. Both pieces of fabric should be right sides facing.
Stitch to secure, finish the raw edges, and repeat the process on the other sleeve as well.
To finish the sleeves, flip the open sweatshirt right sides facing, pin the armholes and sleeves, as well as the side seams. Then, sew to secure.
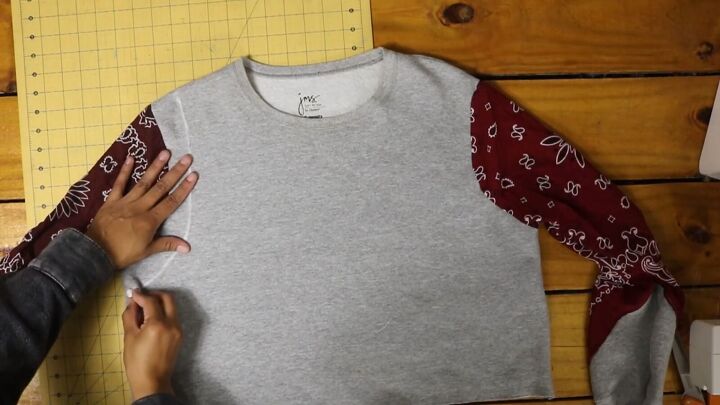
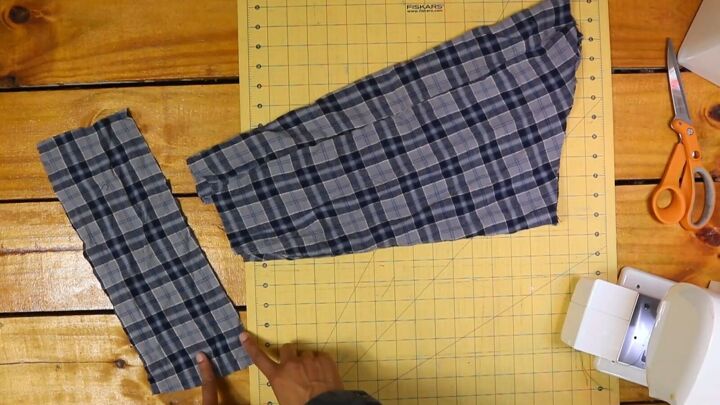
I wanted to make the sleeve area a little bigger as it felt a little tight when worn. So, if the same happens with you, extend the armhole area of the sleeves.

Then, trace out bigger sleeves.
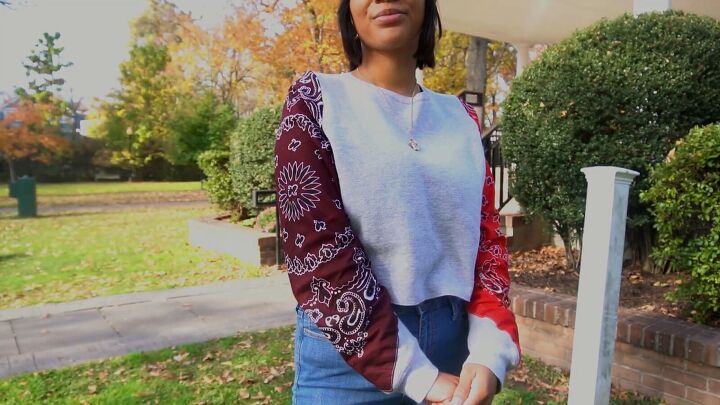
Ladies, this is how to refashion a sweatshirt! I love the lovely details of the bandana and how it cohesively goes with the sweatshirt as a whole.
Flannel sleeve sweatshirt refashion
For this DIY sweatshirt refashion, I wanted to mix shirt sleeves with a sweatshirt, and include some tie detailing on the cuffs.

1. Modify the sweatshirt
Following the same principles of the first sweatshirt refashion tutorial, I cut the length, marked the armhole and side, and cut along the markings.
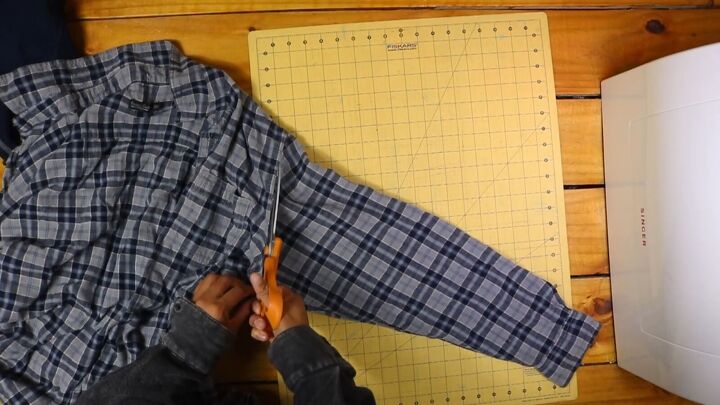
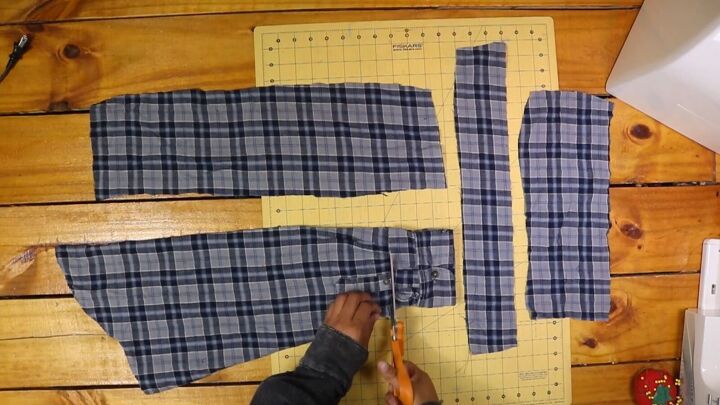
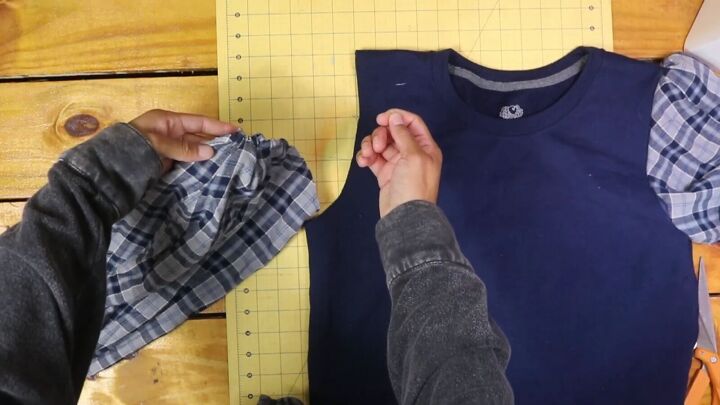
Then, take a shirt of your choice and cut off the sleeves.
Reshape the armholes on the sweatshirt.

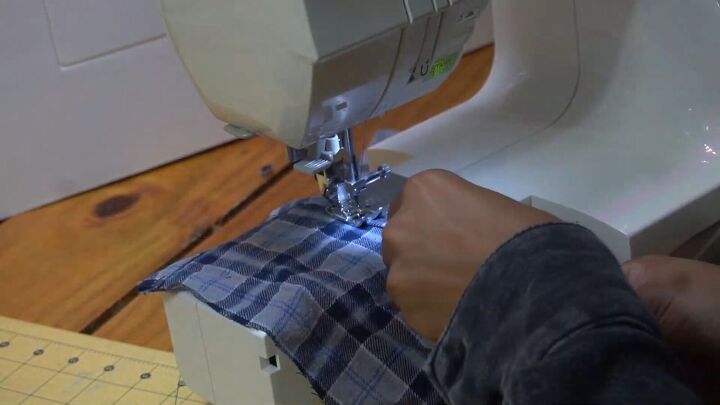
Sew the sides of the sweatshirt closed, right sides facing.
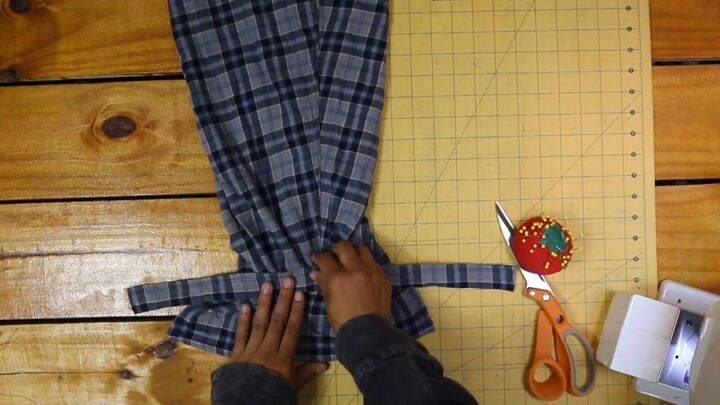
2. Make the tie sleeves
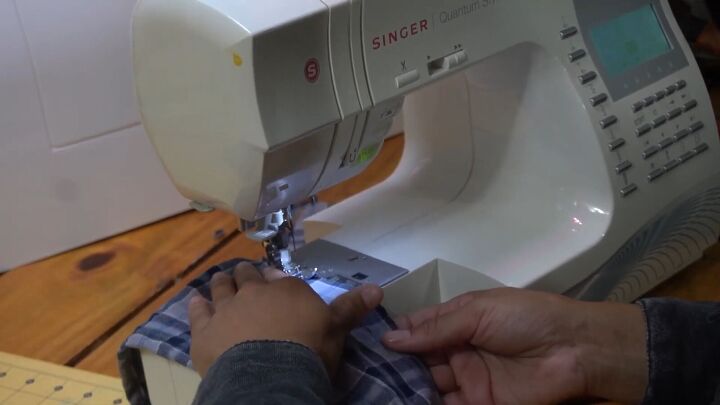
Cut the cuffs off the shirt sleeves around 2 inches up from where the cuff starts.
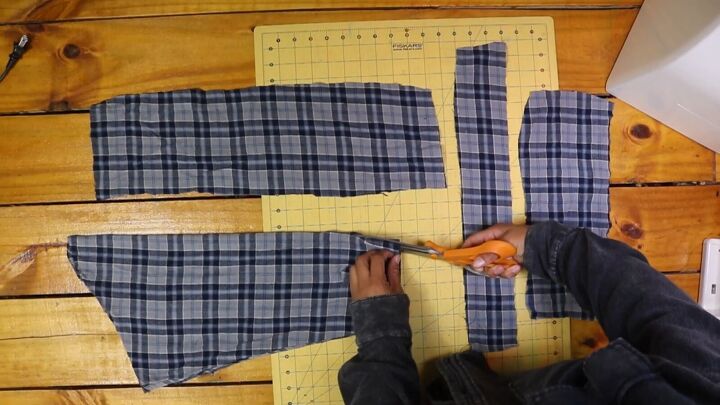
Seam rip the button off the cuff placket and cut your sleeve open along the top edge.
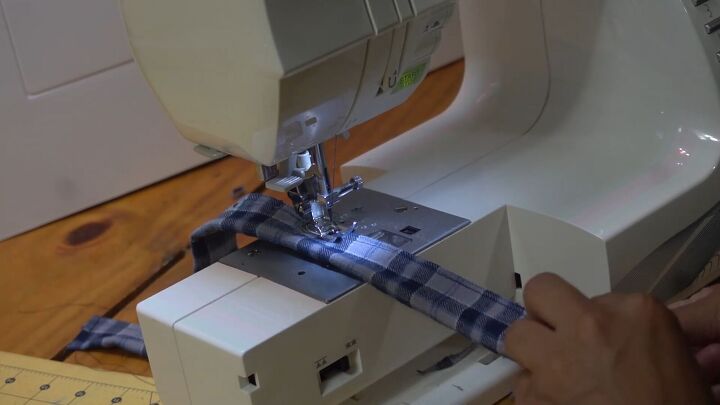
Widen the sleeve by cutting an extra piece of fabric from the shirt. Make sure it’s the same length as the sleeve.
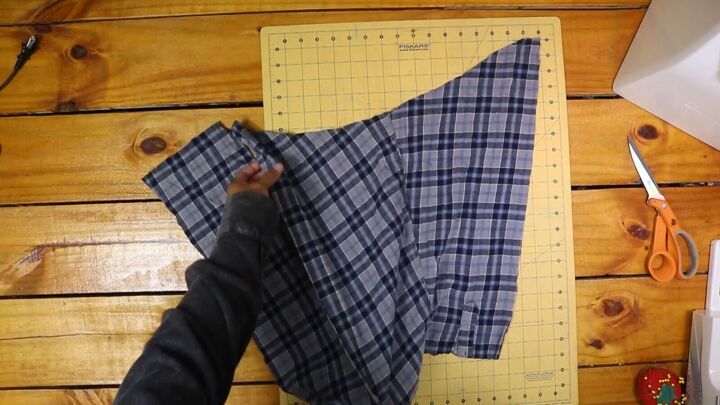
To do this, sew the panel to the sleeve wrong sides facing. Then, fold in the seam and sew the right sides facing to create a French seam.
For the outer raw edges, fold the edge by about an inch to the wrong side and sew to secure.

Then, sew the two edges together, right sides facing. Stop sewing from around 5 inches from the bottom; this will be the slit around your wrist area.

Topstitch each side seam, too.
Cut a piece of fabric that’s about 5 inches longer than your wrist measurement.
Hem the short ends and one long side of this fabric piece.
Sew a basting stitch along the remaining raw edge. Do this by increasing the stitch length on your sewing machine. Also, be sure to backstitch when you start sewing.
Afterward, sew a basting stitch to the bottom of the sleeve.
Next, pull the thread to create gathers.
Make sure the edges fit around your wrist snugly.

Attach the wristband to the sleeve, wrong sides facing. Then, sew both pieces together.
Next, fold in the edges of the tie, fold the whole panel in half, and sew to secure.
Pin the sleeve tie to your sleeve, with the seam centered beneath the sleeve tie, then sew.
Sew a basting stitch along the top edge of the sleeve and gather it until the sleeve becomes the width of your armhole.
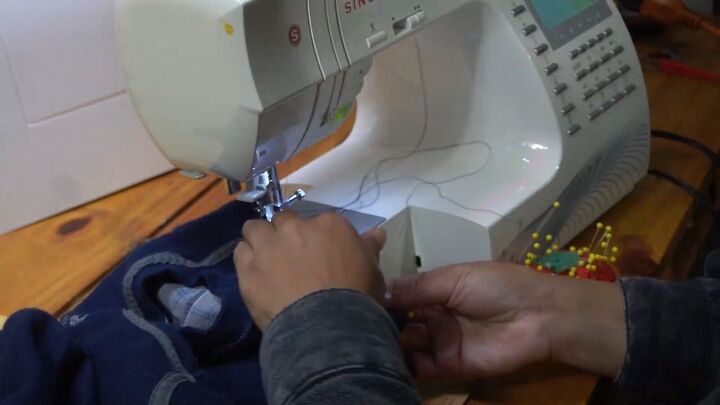
Pin the sleeve to the armhole and sew to secure. Then, zigzag stitch the bottom edge of the sweatshirt.

Here’s the final result!
DIY sweatshirt refashion tutorial
I hope you enjoyed this DIY sweatshirt refashion guide. Let me know which was your favorite design in the comments below. Thanks for joining.
The author may collect a small share of sales from the links on this page.


Comments
Join the conversation
Very nice! Seems like you could put the sweatshirt sleeves onto the flannel shirt to make a reverse style.
wonderful! I love both options!!