How To Sew On A Patch 3 Simple Ways
This post may contain affiliate links for products I love and recommend.
It doesn’t matter if you want to update your old clothes or need to include a new work logo to a uniform, it’s helpful to know how to sew on a patch.
There seems to especially be a need to add patches to my kids clothes. Maybe it’s to hide a hole in my sons knees or to add some character to a shirt my daughter refuses to wear. Patches are awesome. Plus, now they come in so many colors and styles and textures!
In this tutorial, I’ll cover how to sew on a patch in 3 simple ways. That way, if you find yourself in a bind and don’t have time to take out your sewing machine, you’ll still have two options!
Like I said, I’ve got you covered.
How To Attach An Iron-On Patch
- Turn your iron on “high” or the “cotton/ linen” setting.
- Place your iron-on patch on your fabric wherever you’d like to apply it.
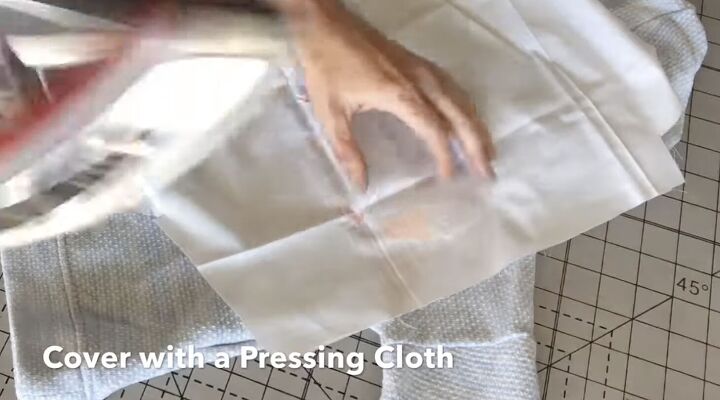
- Place a sheet of cotton or a pressing cloth over your patch.
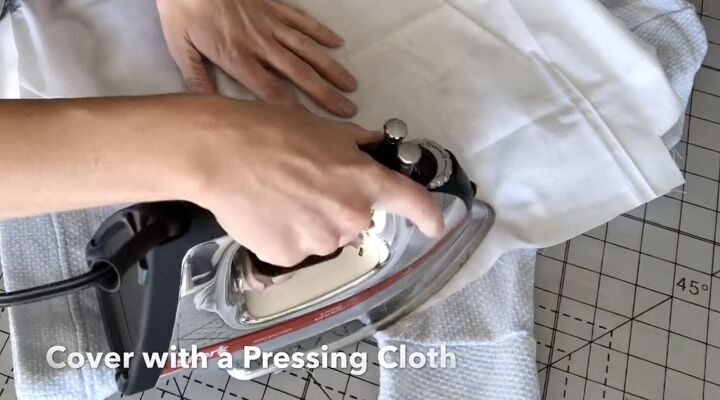
4. Iron by pressing your iron onto your pressing cloth and holding in place for 15-20 seconds.
5. Remove both your iron and pressing cloth and let the fabric cool for one minute.

6. Flip your garment inside out.
7. Place your pressing cloth over your Iron-on patch on the wrong side.
8. Iron by pressing the backside of your patch for 15-20 seconds. By applying heat to both sides of your patch, you insure the patch’s adhesive will bond to your fabric and create a more permanent hold.
9. Let your fabric cool and flip right-side out.
10. Enjoy your new patch!

How To Sew On A Patch With A Sewing Machine
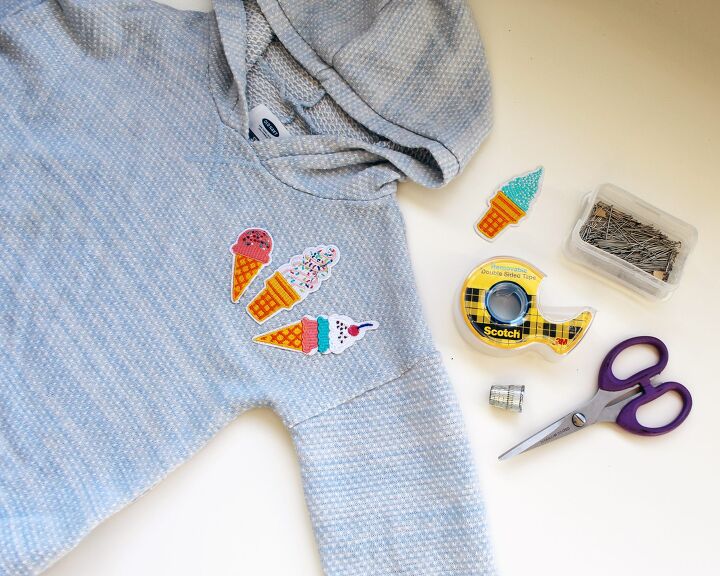
- Use a small piece of double stick tape to hold your patch in place during the hand-sewing process.
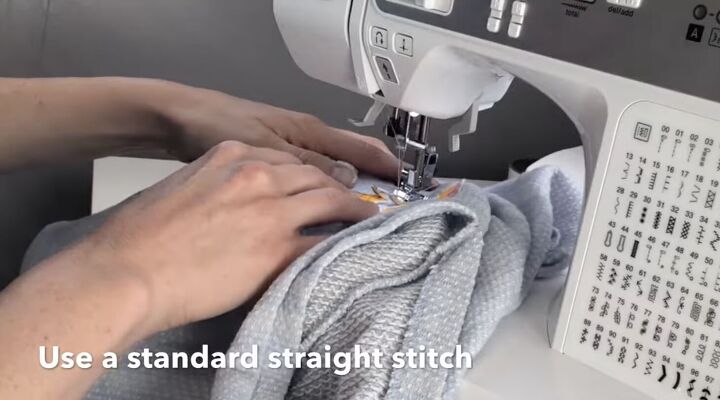
2. Set your sewing machine to a standard straight stitch with the stitch length around 2.5-3 and switch out your thread to coordinate with your patch.
3. Start at the bottom of your patch and sew as closely to the outside edge of your patch as you can as you make your way around the perimeter of your patch.
4. Raise and lower your presser foot to adjust any hard corners and make sure the stitches remain as close to the outside edge as possible.
5. Once you have circled the perimeter of your patch, backstitch and trim away the excess threads.

How To Sew On A Patch By Hand
- Use a small piece of double stick tape to hold your patch in place during the hand-sewing process.
- Thread a hand-sewing needle by trimming several inches of thread from your spool and sliding one end through the hole at the top of your hand-sewing needle.
- Tie a knot at the base of your thread to secure.
- Starting from the inside (or backside) of your garment, press your needle through the perimeter of your patch and pull tight. (Most patches have a 1/8″ fabric perimeter outlining the details of the patch to allow for easier sewing.)
- Press your needle through the top of your patch 1/4″ away (or less) from where your needle came through.
- Pull tight on the inside of your garment to secure.
- Repeat steps 4-6 around the perimeter of your patch.
- When you have reached the point where you began, slide your needle to the backside of your garment and pick up just a few threads from the back of your fabric.
- As you begin to pull your thread through this stitch, glide your needle through the loop your threads create between the needle and the base of your fabric. Now, pull tight to secure.
- Trim your excess thread to remove the needle from your project.


I hope these 3 simple methods helped you out and now you know how to sew on a patch!
The author may collect a small share of sales from the links on this page.


Comments
Join the conversation