3 Cute & Easy Ways You Can Sew a Scrunchie

Today, I’m going to show you how to make three different kinds of hair accessories that are very trendy right now: one basic scrunchie, one scrunchie with a wide elastic, and one with bunny ears. So if you’re ready to learn how to sew a scrunchie quickly and easily, keep reading!
Tools and materials:
- Fabric
- Elastic band
- Scissors
- Pins
- Safety pin
- Measuring tape
- Sewing machine
Basic Scrunchie
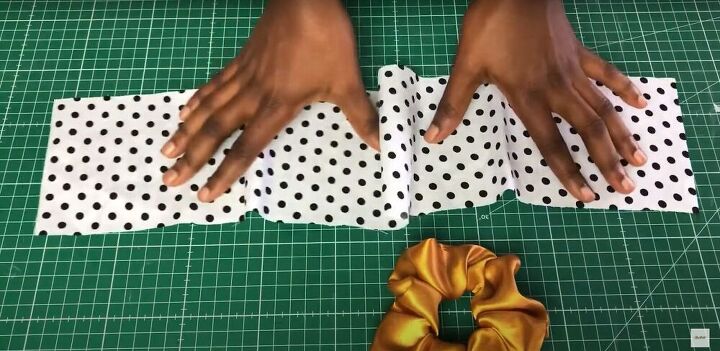
1. Cut the fabric
Cut a rectangle of fabric 23 inches long and 4.5 inches wide.
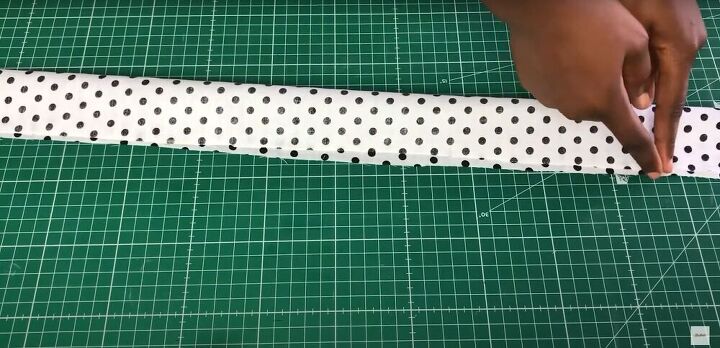
2. Fold and sew
Fold the fabric in half lengthwise, with right sides together. Sew down the edge, leaving an inch on either end unsewn.
3. Turn right side out
Use a safety pin attached to one end of the strip to pull the fabric from one end through the center of the fabric strip and out the other side to turn the fabric right side out.
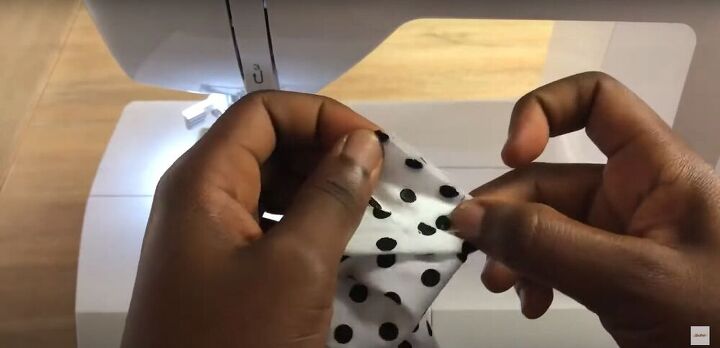
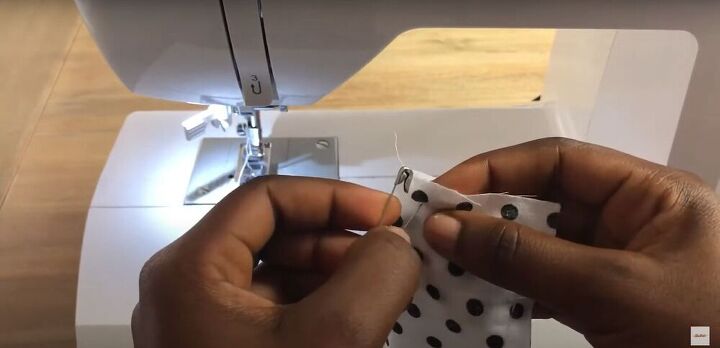
4. Sew the ends
Sew the two ends of the fabric together, from one corner to the other.
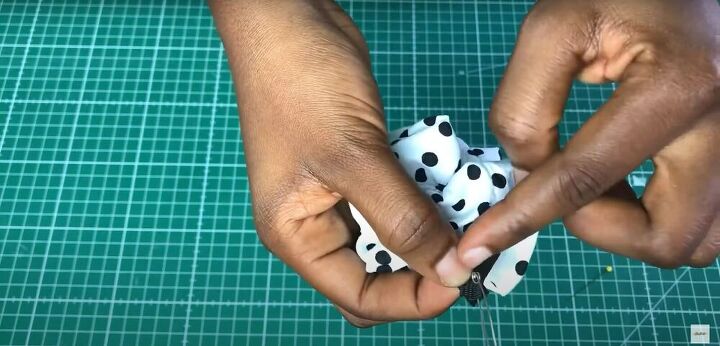
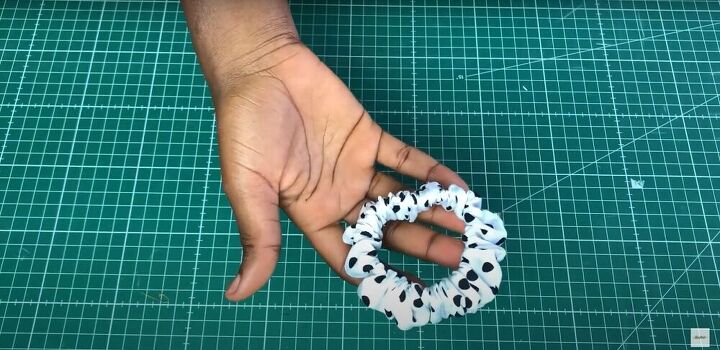
5. Insert elastic and sew
Once the ends are sewn together, your fabric should look like a circle with a gap in the stitching along the edge. Use a safety pin to run a piece of elastic into the gap, through the circle of fabric, and back out through the gap. Then, sew the ends of the elastic together.
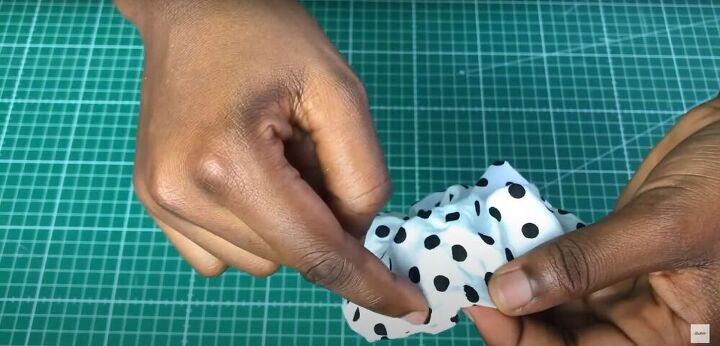
6. Sew the gap closed
Fold in the raw edges of the gap in the stitching, and sew it closed with a topstitch.
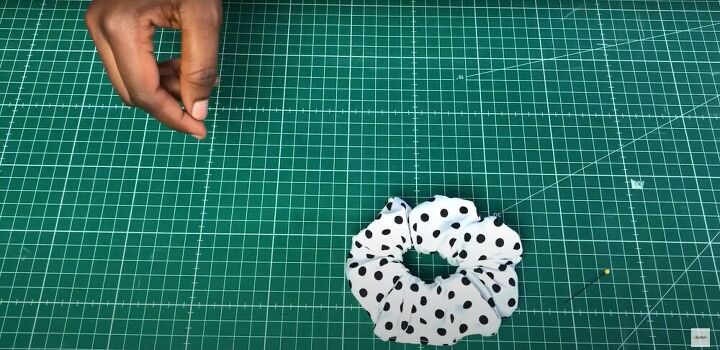
The first scrunchie is done!
Wide elastic scrunchie
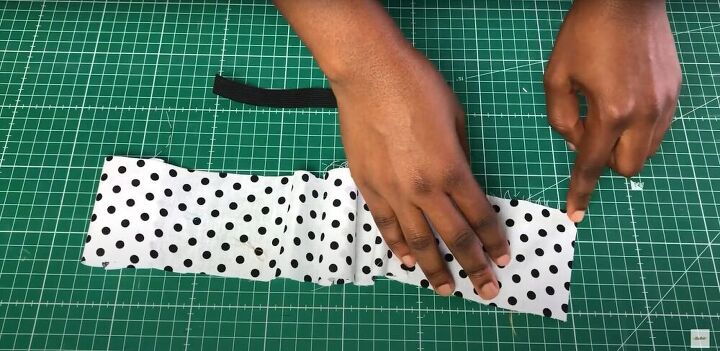
1. Cut
Cut a piece of fabric 23 inches long and 3 inches wide.

Also, cut a piece of wide elastic band that is 7-8 inches in length.
2. See previous instructions
The instructions to assemble this scrunchie are the same as above--sew the edge, turn right side out, insert elastic, and close up the gap in the stitching. But because the fabric is narrower and the elastic is wider, the look will be slightly different.
Scrunchie with bunny ears
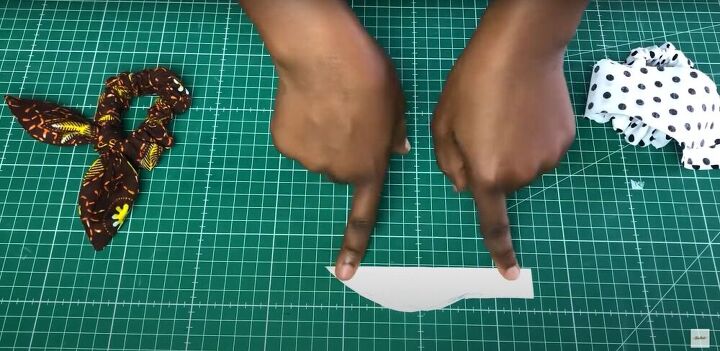
1. Cut a pattern
Use a piece of paper folded in half to create the shape shown above. The length of the folded edge should be about 5 inches.
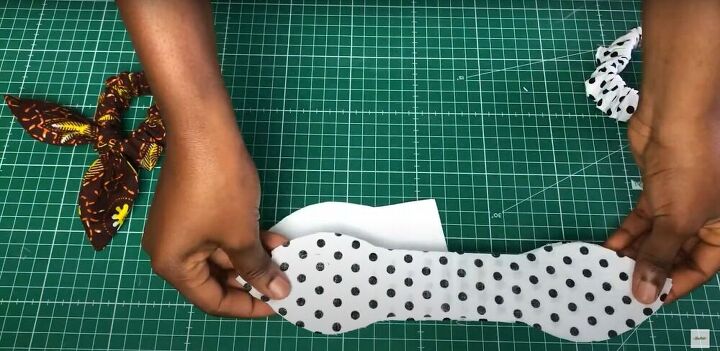
2. Cut the fabric
Fold a piece of fabric in half. Place the square end of the pattern on the fold of the fabric, and cut around the pattern. You should be left with a piece of fabric in the shape shown above. Then, repeat the process, so you have two identical pieces.
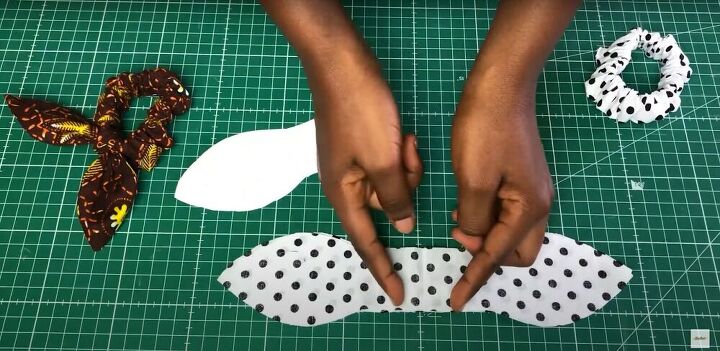
3. Sew the sides
Lay the two pieces right sides together, and sew all around the edge, leaving a 1-inch gap in the stitching in the center of one edge.
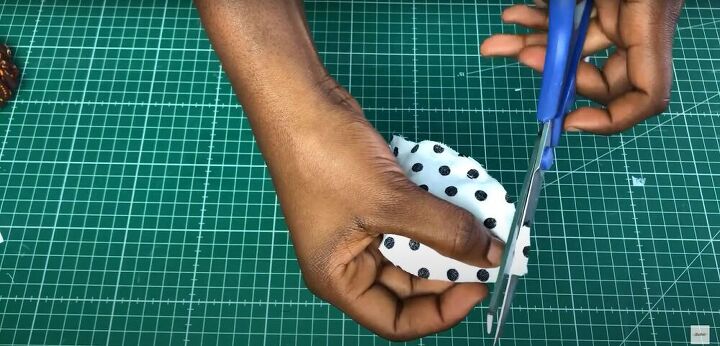
4. Trim
Once it’s sewn together, trim the excess fabric from the seam allowance at the corners on either end.

5. Turn the fabric
Pull the fabric through the gap in the stitching to turn it right side out.
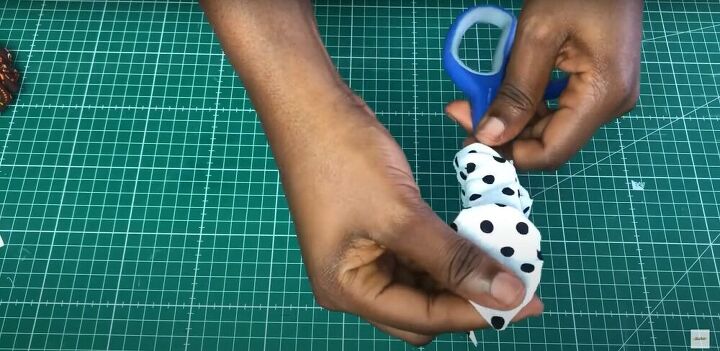
6. Push out the corners
Once the fabric is right side out, insert the end of the scissors into the gap in the stitching and gently push out the corners. This will make the corners as pointed as possible.
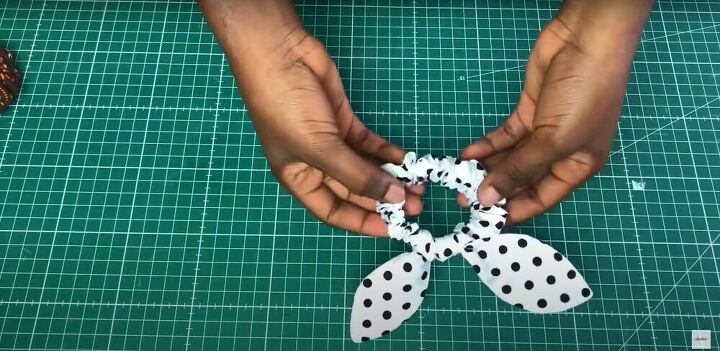
7. Iron and tie
Finally, iron the fabric flat, and then tie it to the scrunchie of your choice. In the picture above, it is tied to the wide elastic scrunchie shown previously.
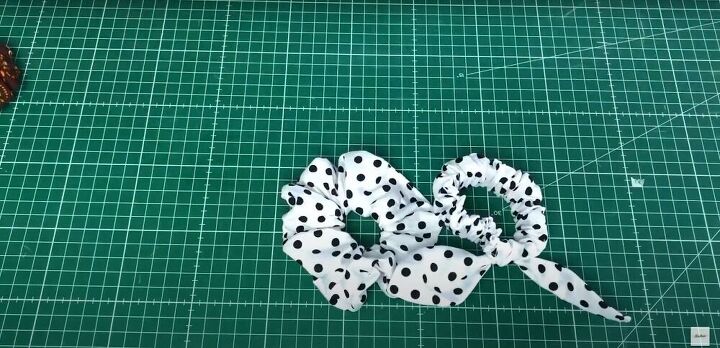
And we’re done!
3 Ways you can sew a scrunchie
I hope you liked this tutorial on three variations of scrunchies you can make. Let me know which style you like the best!
The author may collect a small share of sales from the links on this page.


Comments
Join the conversation