3 Easy Ways You Can Make Cute & Unique DIY Embellished Heels

Guess what? It’s time to give your heels a makeover. That’s right, makeovers aren’t just for the face. In this tutorial, I’m going to show you how to make DIY embellished heels in three different ways. We’re going to take those plain shoes and add some personality to them with these DIY techniques.
Tools and materials:
- Strappy heels
- Pearl stickers
- Glue
- Tweezers
- Laced bootie heels
- Glitter
- Foam brush
- Heels
- Fabric
- Scissors
Pearly heels
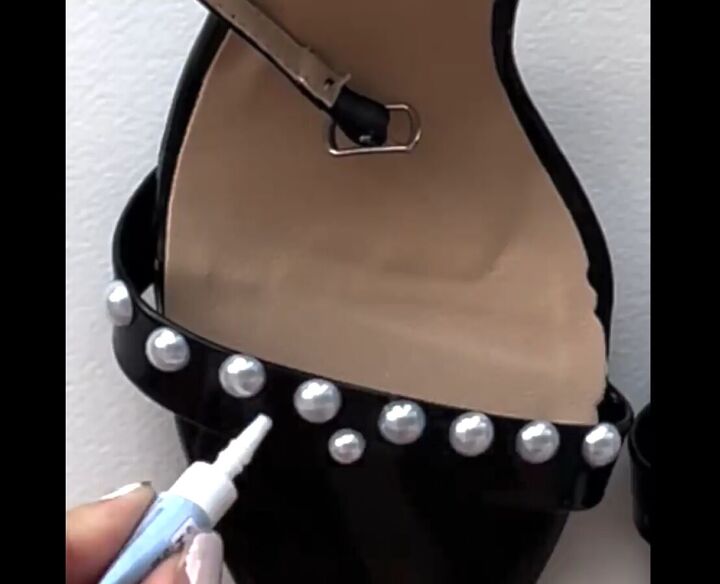
1. Decorate the straps
Start off by decorating the straps of your heels with some pearly 3D stickers, using glue to apply them.
Here, we have made a line of larger pearl stickers, leaving a small and even gap in between each of them. Beneath, you can proceed to make another line, this time using slightly smaller stickers and placing them in the gaps below.
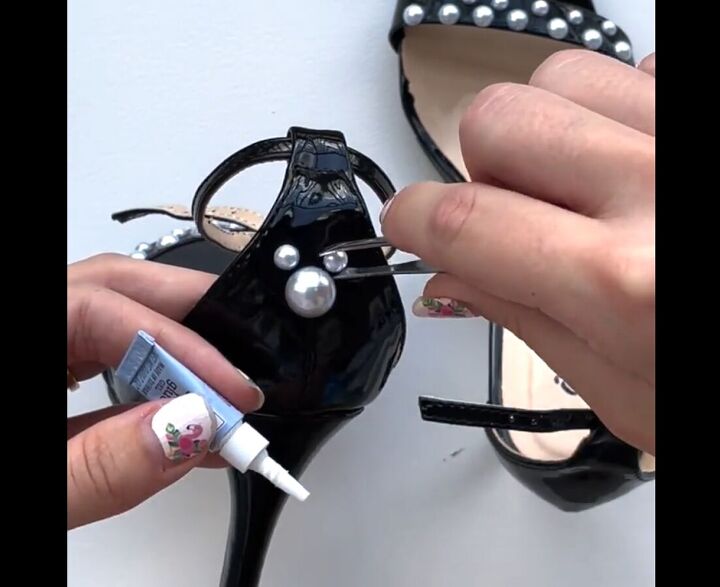
2. Decorate the backs of the heels
Once done, continue to decorate the backs of the heels. Here, we placed a large pearl sticker in the center and two smaller ones on either side at the top.
Again, use some glue to stick the pearl stickers on, and you can also use tweezers to hold them in place if that helps.
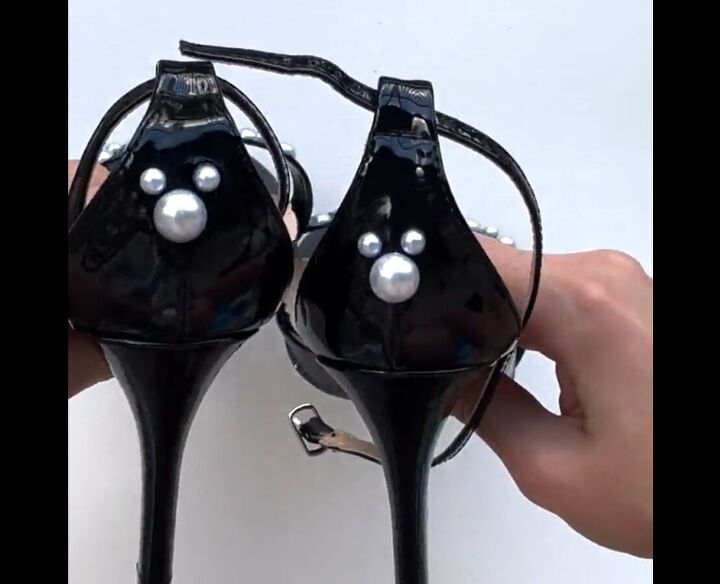
Here are the finished heels.
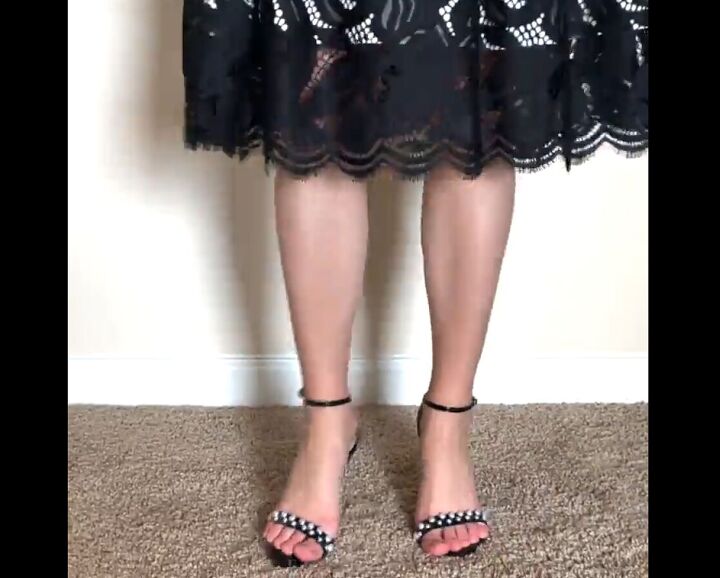
The pearl stickers add some really fancy detail to these heels, elevating them and making them look ultra-stylish and sophisticated.
Glitter heels
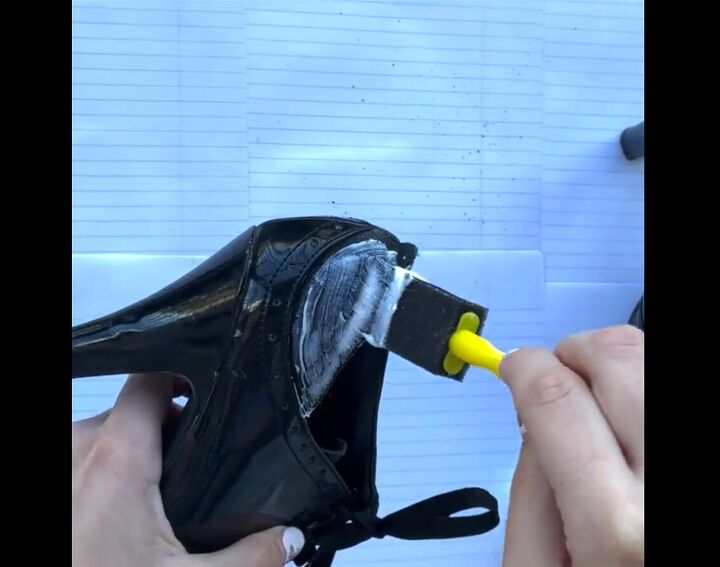
1. Apply glue
Take a pair of bootie heels and apply some glue with a foam brush to the fabric part.
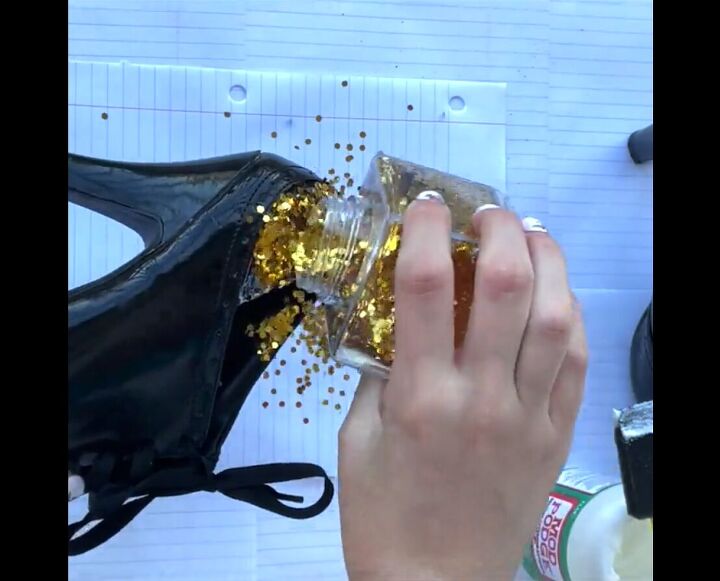
2. Add glitter
Once done, pour glitter onto the part where you just placed the glue and pat it on so that it sticks. Repeat this process on the other shoe. Then just brush away any stray bits of glitter from anywhere else on the shoes.

Here are the finished shoes. Watch them twinkle and sparkle as you walk!
Fabric heels
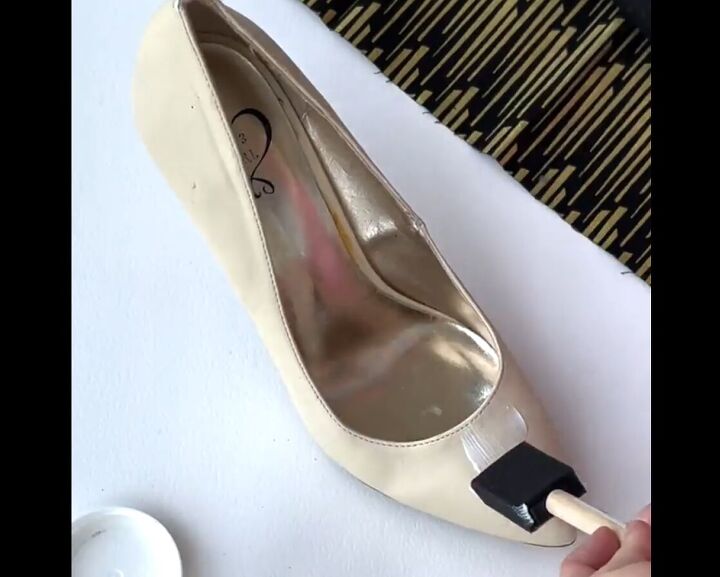
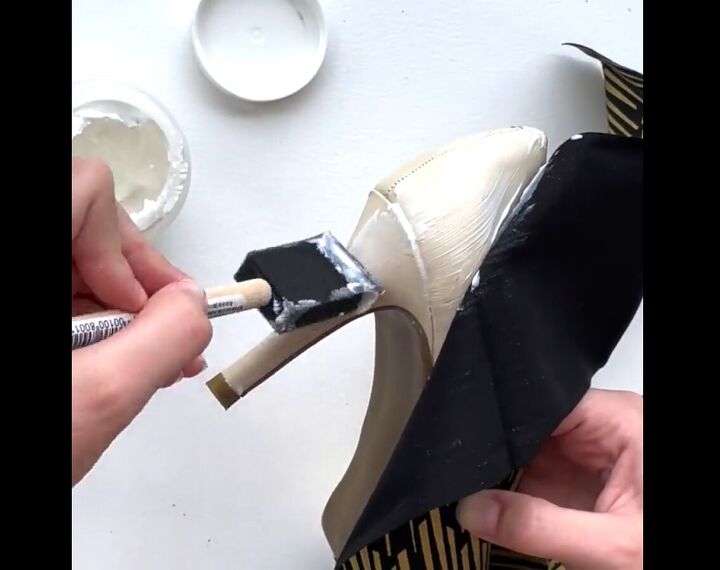
1. Apply glue to the shoes
For the last makeover look, start by brushing glue onto a section (not all) of your heels with a foam brush.
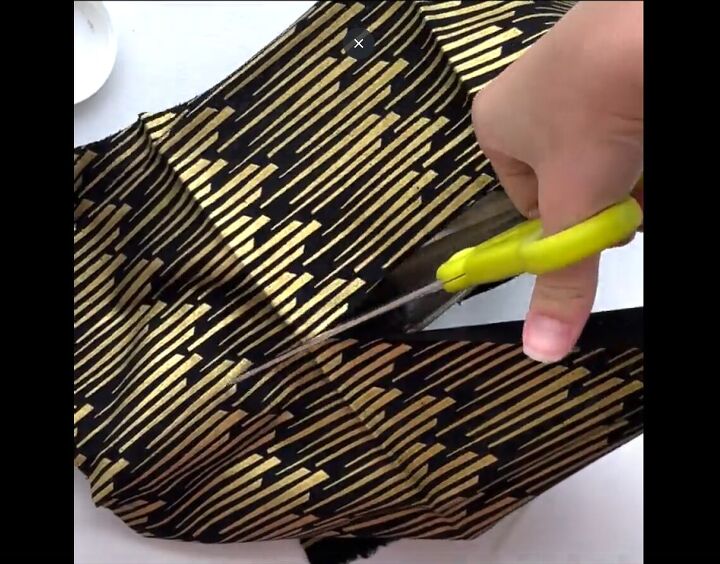
2. Stick on fabric
Then, lay some fabric on top of the glued section and press it down. Once done, cut around the glued-down part of the fabric to remove the excess.
3. Repeat
Repeat these first two steps all around the shoes - first gluing a section and then laying the fabric on top and cutting off any excess.
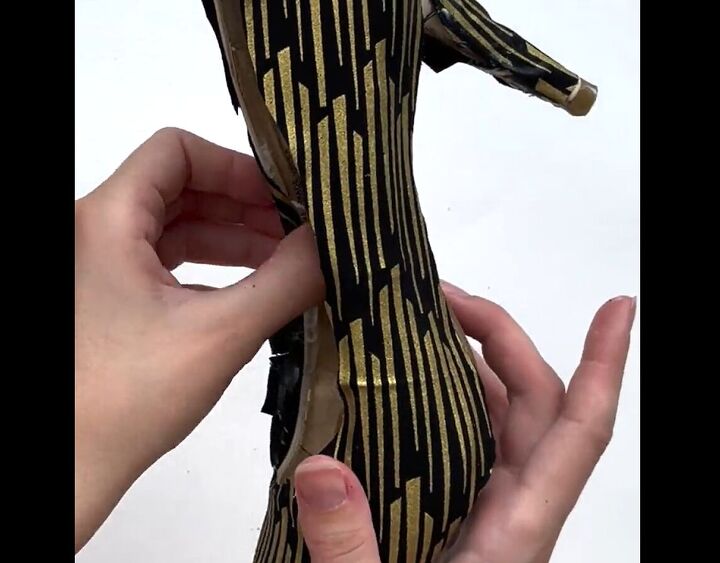
4. Finish off
Finish off by neatening up the shoes. Fold any bits of material sticking out at the top inside the shoes and glue them down.
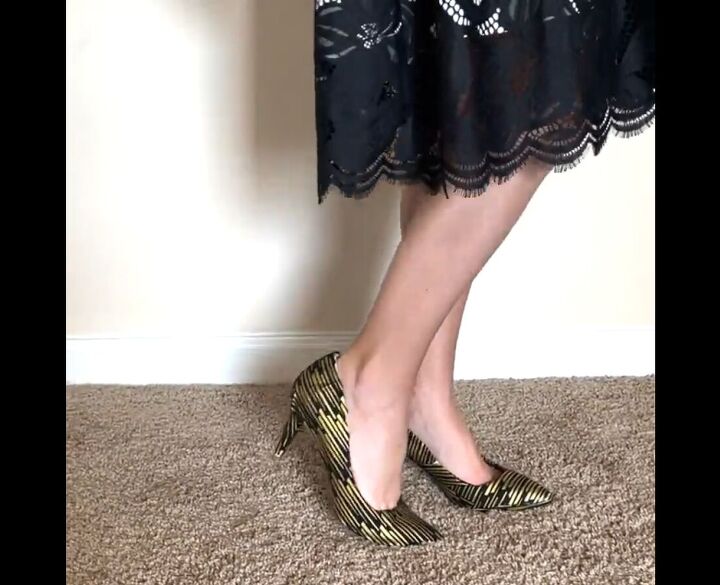
Here are the finished heels! We have completely transformed them from a pair of plain cream heels to a gorgeous patterned pair with a black and gold design.
DIY embellished heels
I hope you enjoyed this tutorial on how to make DIY embellished heels. If you’ve never customized your high-heeled shoes before, hopefully now you’ll have the inspiration and confidence to do so.
Let me know which upstyle was your favorite in the comment below.
The author may collect a small share of sales from the links on this page.


Comments
Join the conversation
I almost forgot this question. What glue did you use for the pearl strap heels?
Love the idea of redesigned heels. What kind of glue did you paint on the shoe and what was the material tha didn’t wrinkle as you placed it on the shoe?