DIY a Simple and Fun Sweatshirt

Sweaters are the ultimate piece of clothing! They are super comfortable and keep you feeling cozy in the colder weather. I decided to create an amazing and simple sweater and the end result was totally amazing! If you want to get started on making your own sweater in just a few simple and easy steps, this tutorial is what you need! Follow my step-by-step guide and DIY a gorgeous new sweater to add to your cozy collection.
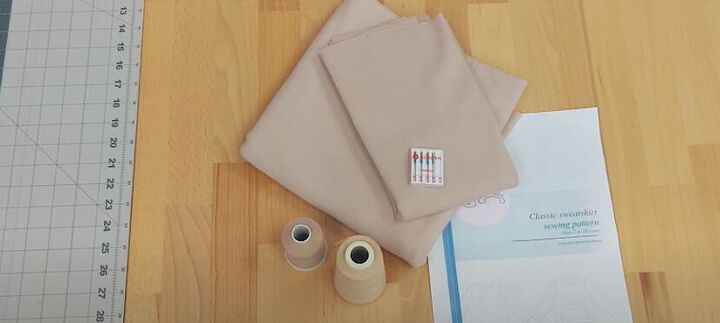
Tools and materials:
- Sweatshirt pattern
- 1 yard jersey knit
- ½ yard ribbing
- Multi-purpose poly thread
- Stretch needle
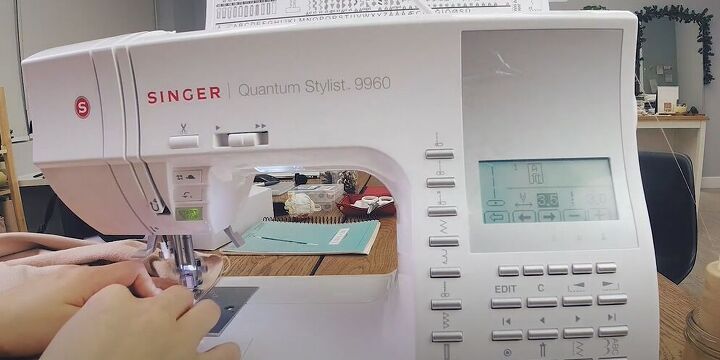
- Sewing machine
- Scissors
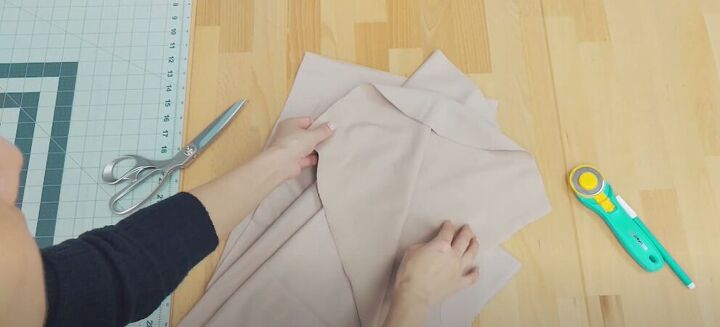
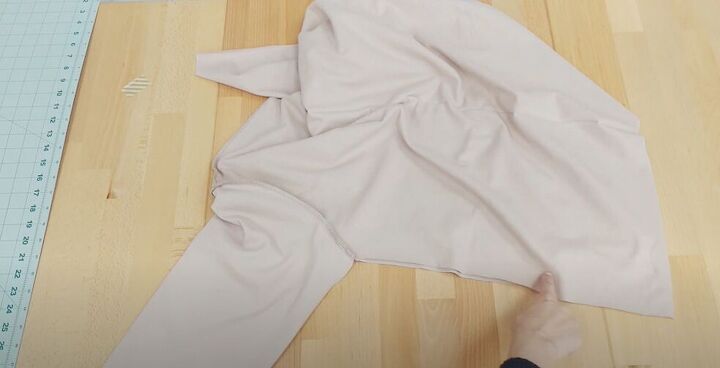
To get started on making your amazing sweatshirt, you will need to start by cutting the right pieces of fabric. First, cut 1 front bodice piece on the fold from your main piece of fabric. Cut the back bodice piece on the fold as well. Once you have your bodice pieces, cut two sleeves on the fold of the main fabric. Next, cut a neckband with a 2-inch width and a hemband with a 6-inch width
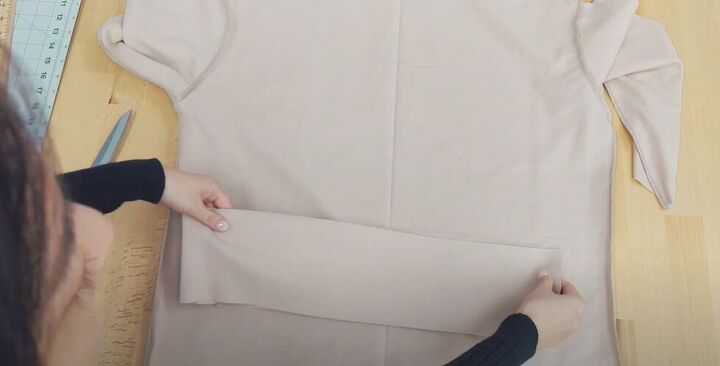
Once all your pieces have been cut to size, place the two bodice pieces, right sides together, and sew at the shoulders. Make sure to serge the seams one you have sewed.
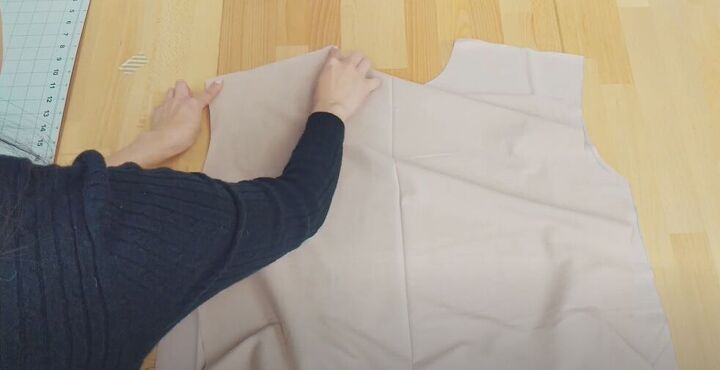
To attach the sleeves to the bodice, line the center of the sleeve along the shoulder seam, right sides together. Pin the pieces in place and then hop back over to your sewing machine to sew them together. Once again, make sure to serge the seams to get that professional finish!
The next step is to sew the side seams of this stunning sweater. Make sure that the fabric is inside out and then sew along the side seams of the front and back bodice pieces. Don’t forget to serge the seams one you have sewed.

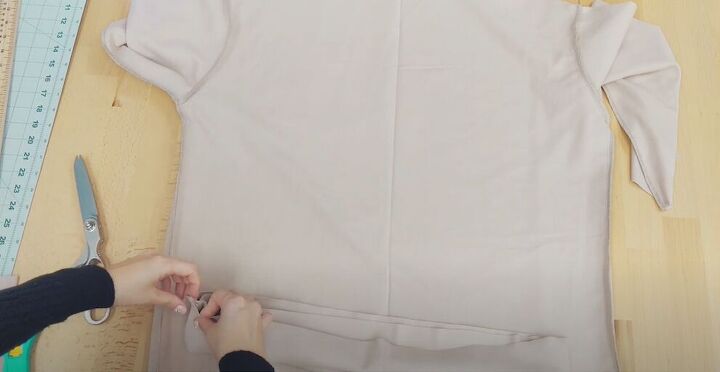
To add the hemband it’s important to know that it should be 85% of the length of your hem. Start by measuring the waist of your sweatshirt. My waist was 24 inches. Do some quick maths to get the length for your hemband. Mine came to 20 inches plus 0.5 inches seam allowance. Cut the hemband to size on the fold of your fabric.
Fold the band in half, right sides together, and then sew along the short edge.
Next, fold the band in half, lengthwise making sure the fabric is wrong sides together.
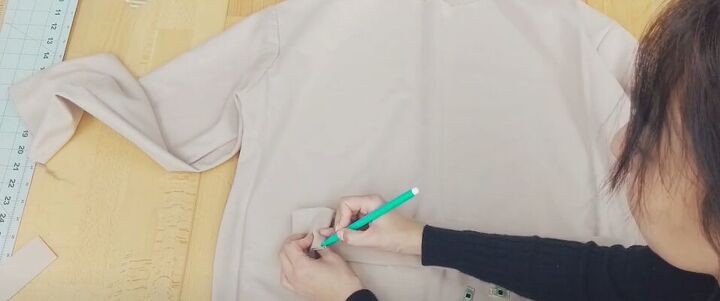
Then mark the sides and centers of the front and back of the band and on the bottom raw edge of the bodice.
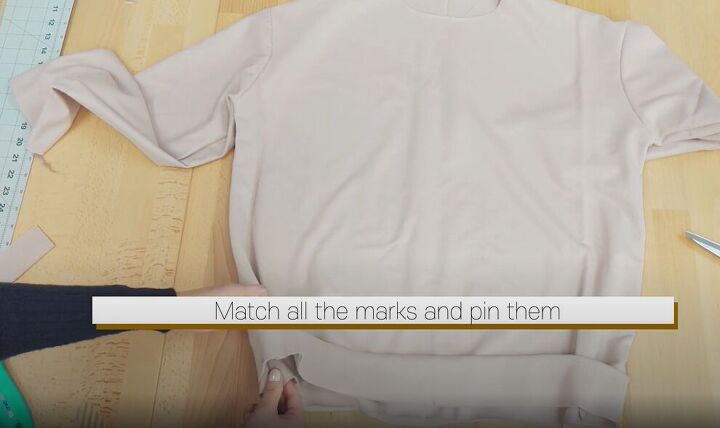
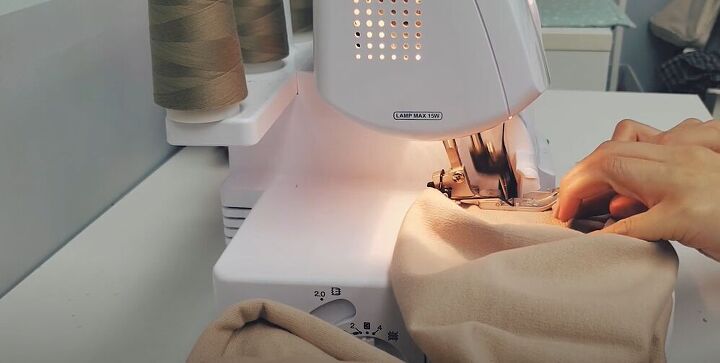
Slide the band over the bottom of the bodice, right sides together. Match all the marks you just made and pin the band in place. The band will be a bit smaller than the bottom edge. Sew the band onto the sweatshirt making sure to stretch the fabric to fit as you sew. Don’t forget to serge the seam!
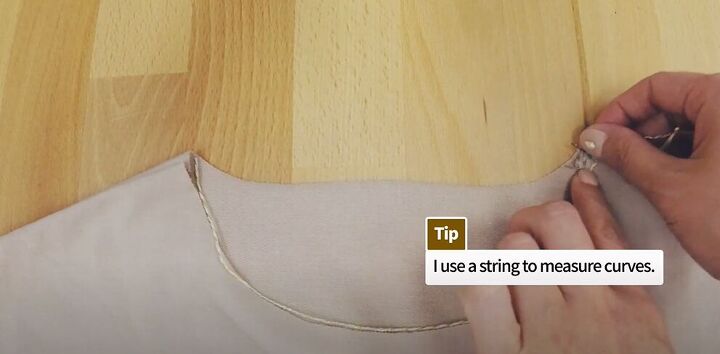
This amazing sweater is so close to being finished! In order to add the neckband, you need to measure the neckline. A great tip is to use a piece of string when measuring curves. Just like the hemband, the neckband is 85% of the neckline plus a 1-inch seam allowance

Once you have cut the band to size, fold it in half, right sides together, and sew along the edge.
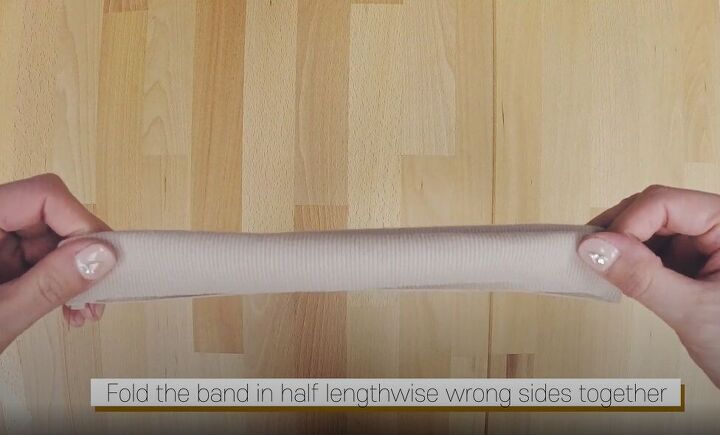
Next, fold the band in half lengthwise, making sure the fabric is wrong sides together.
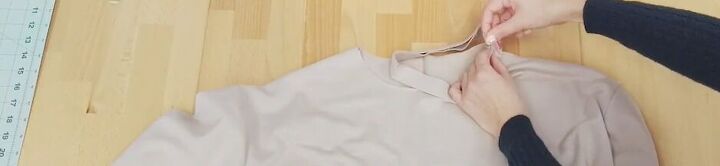
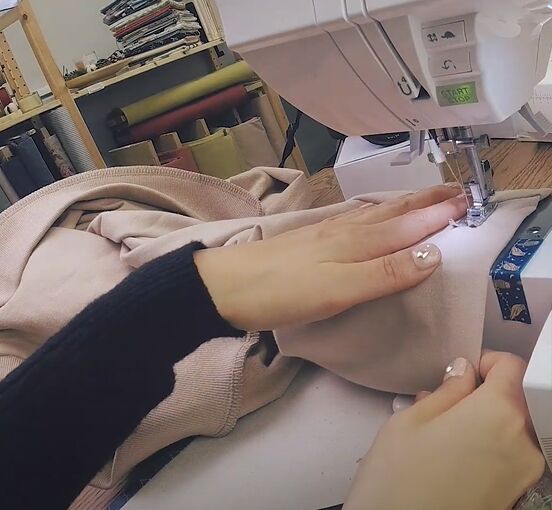
Repeat the marking step you did for the hemband and then pin the neckband in place. Once your pins are in, head back over to the sewing machine and sew on the neckband making sure to serge the seams afterward.
For one of the final touches on this awesome sweatshirt, serge the sleeve hem.
You can then fold 2 inches at the edge of your sleeve and sew the hem. A great tip is using tape to make sure you sew a straight stitch.
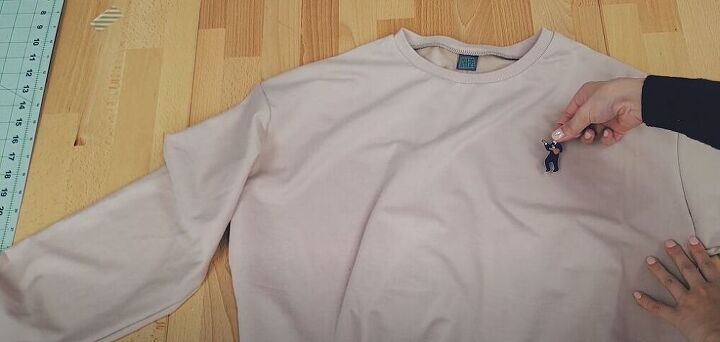
If you want to add a little something extra to your sweatshirt, an iron-on patch is the perfect option. Press it on to give your piece a cute, little finish.

These sweatshirts are so fun and easy to make! What color fabric would you use? Let me know in the comments below!
The author may collect a small share of sales from the links on this page.


Comments
Join the conversation
I would like 1 whit out the sleeves
I do love this.. But where do I get a sweatshirt pattern?