How to Make a DIY Sweatshirt With Your Own Pattern in 6 Simple Steps

Want to feel cozy when lazing around at home or with friends? Looking for an easy sweatshirt sewing pattern so you can make your own sweatshirt? Look no further! This DIY sweatshirt is simple to make, with a raglan sleeve and optional drawstring front.
I’ll show you how to sew a sweatshirt in a few simple steps. Please refer to my video linked below that shows you a sweatshirt sewing pattern you make using your own top as a template. Let’s get cozy!
Tools and materials:
- DIY sweatshirt pattern
- Fabric: sweatshirt type about 1.5 to 2 yards
- Scissors
- Pins
- Measuring tape/ruler
- Tailor's chalk
- Drawstring (optional)
- Sewing machine: stretch and double needles
- Serger (optional)
- Iron
1. Make the pattern
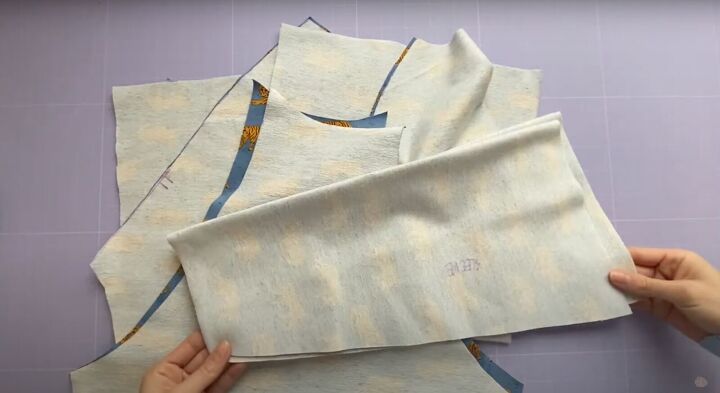
Using the pattern you made in my previous tutorial from your own top, cut out the front, back, and sleeves that come in 2 pieces. Mark all your pieces on the wrong side so you know what’s what.
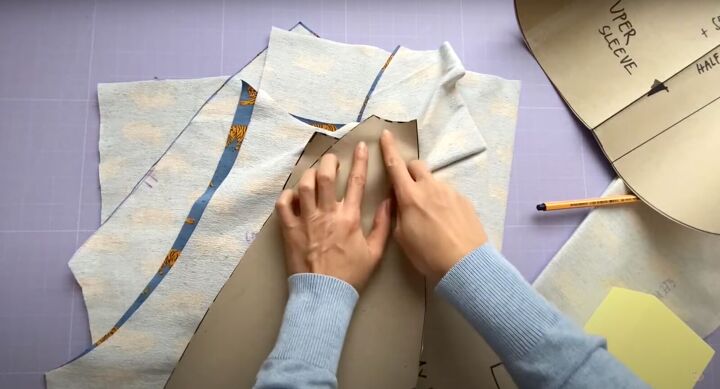
Take your pattern pieces and measure your neckline circumference.
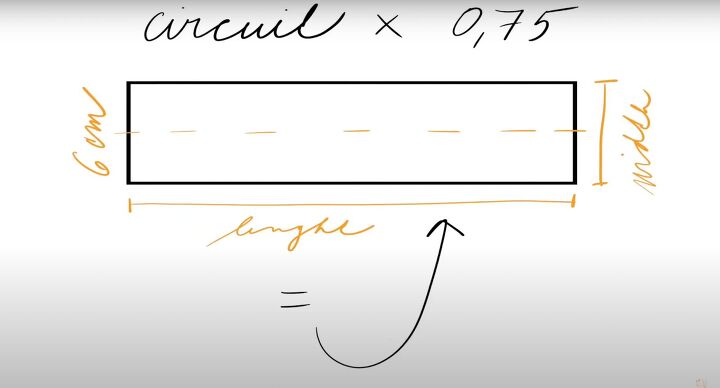
Use your neck measurement multiplied by 0.75 for the length of your neckband with a width of about 2½ inches and a ¼-inch seam allowance all around.

Cut the cuffs. They are 7 X 5.5 inches. You’ll need 2.
2. Make the sleeves
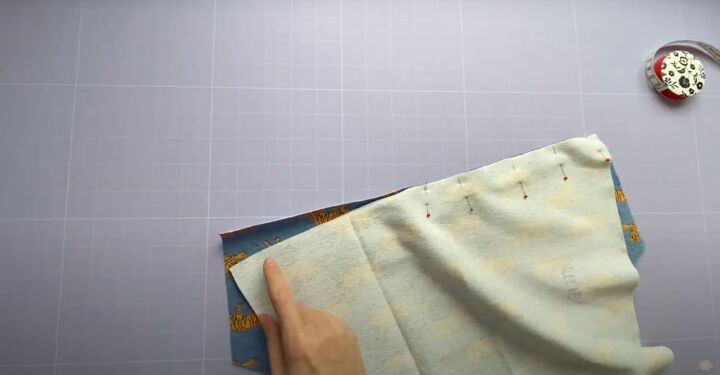
Start with the 2 pieces of each sleeve for the dropped or raglan shoulder. Put them right sides together and match up the marks.
Pin from the center point to the edges on both sleeves.
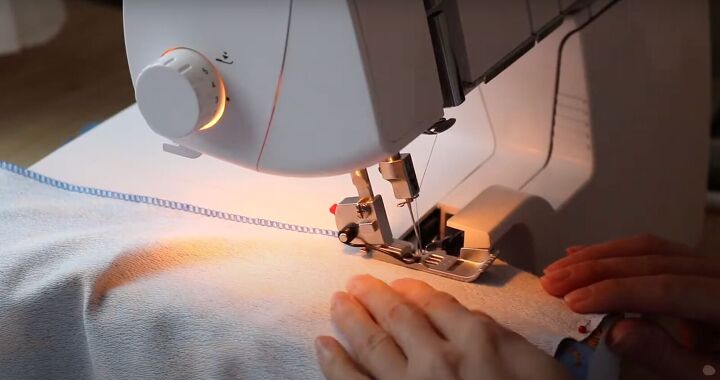
Serge each sleeve on the pinned area. If you don’t have a serger, use a stretch needle and a narrow zigzag stitch or your preferred stretch stitch.
Press the seams with an iron to keep them nice and tidy.
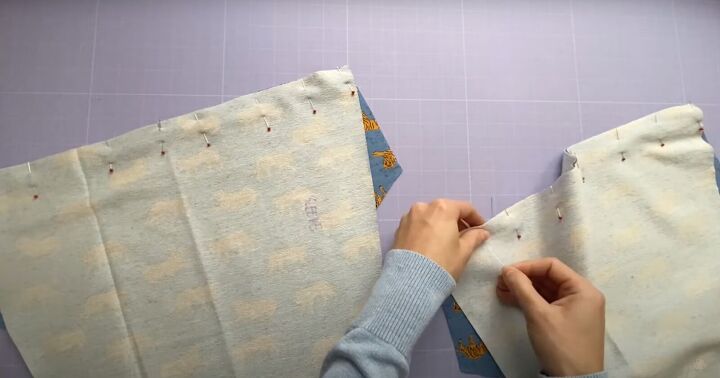
3. Attach the sleeves
The front part of the sleeve is different from the back. When making the pattern, you should have placed two marks on the front bodice and the sleeve to match. Place them right sides together.
At first, you may struggle with these sleeve pieces but don’t give up! Each edge has a different curve so it might be more challenging.
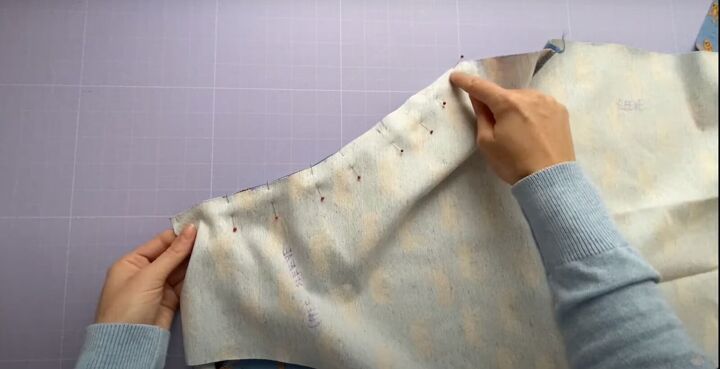
Keep adjusting your pinning unil you are satisfied and the edges match and align perfectly.
Do this to both sleeves. Serge together.
Whether you are serging or sewing with a zigzag stitch, be careful not to stretch the fabric. This prevents puckers and pleats where they are not wanted!
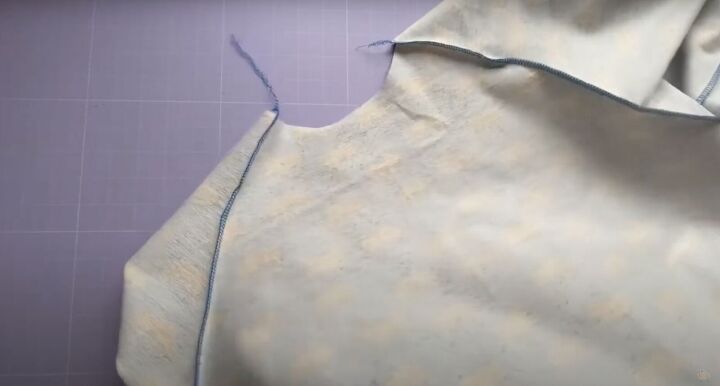
Once they’re sewn, press with an iron. I highly recommend pressing for a smooth, professional finish.
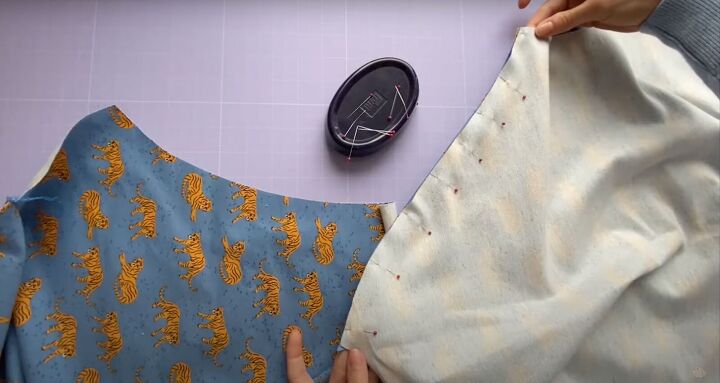
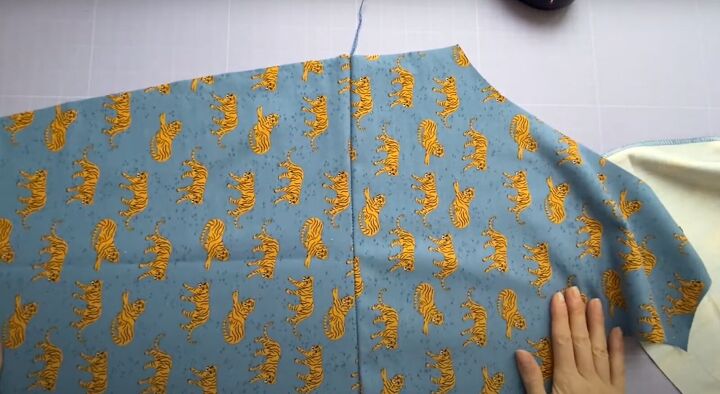
4. Sew the sides
Lay the front piece flat with the right side facing up. Lay the back piece down so their right sides are together. Pin them together.
Raglan sleeves have a straight line compared to a classic sleeve and may be easier to sew for beginners. If you’re just starting out, this type of shirt may be the best!
Repeat for the other side. Sew them together.
You’ll see your neckline forming!
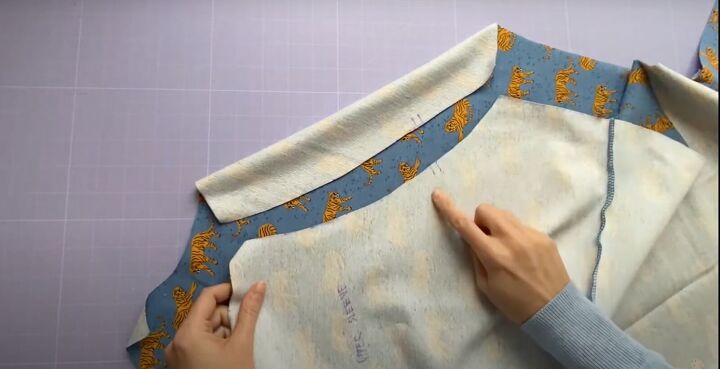
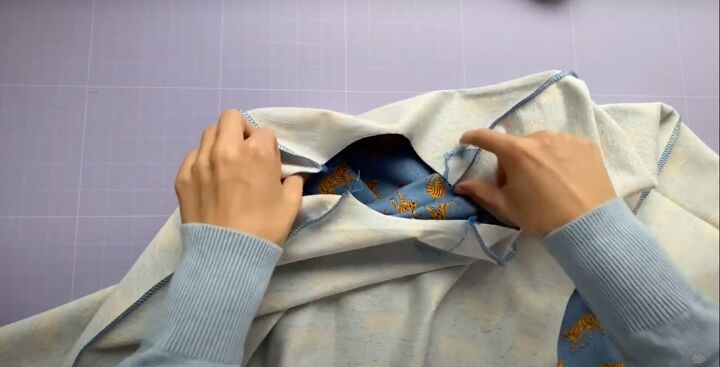
It’s important to match up the seams together before sewing so everything is aligned.
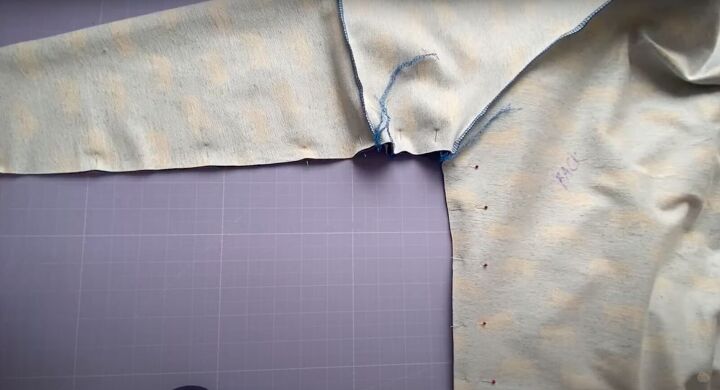
Once pinned, sew up the inner sleeve and side seams.
5. Sew the neckband and cuffs
In this tutorial, the neckband measures 16 X 3 inches or 39.5 X 8 cm.
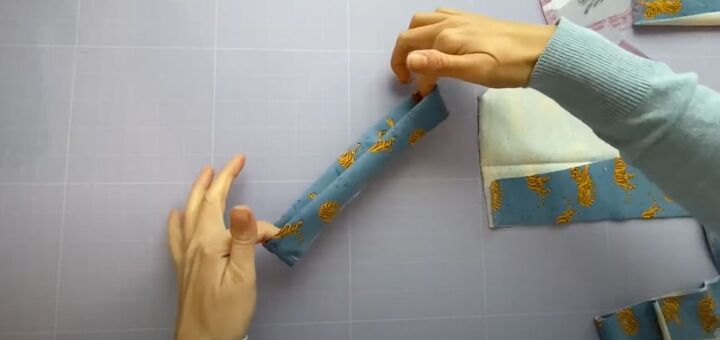
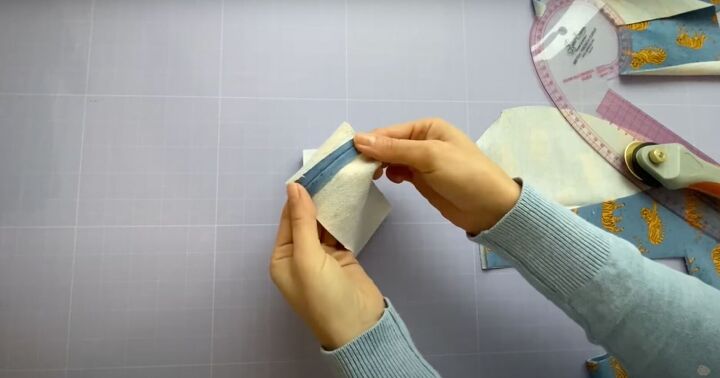
Sew them together to make a circle. Flatten the seam allowance and fold in half, wrong sides together.
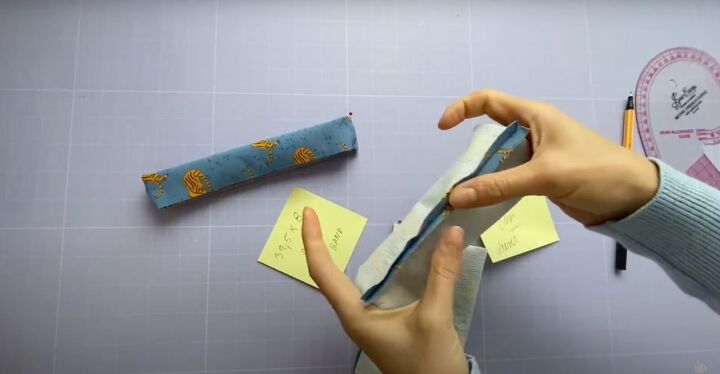
Sew the cuffs down the width, rather than the length. Fold them so their wrong sides are together.
Mark the quarter points on the neckband and each cuff: center front and back and the two sides. This helps you distribute and pin evenly.
Mark these points on the sleeves and neckline as well so you can align them perfectly.
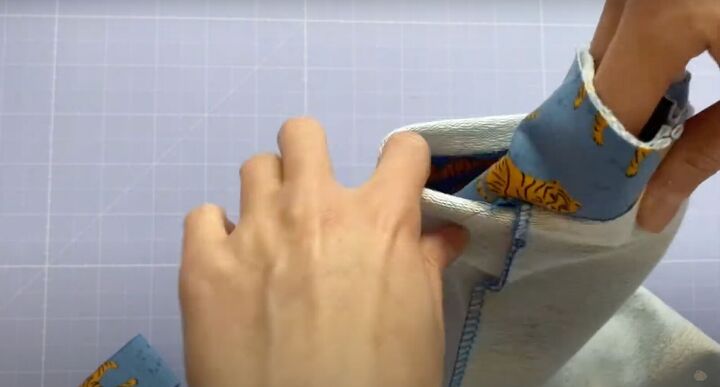
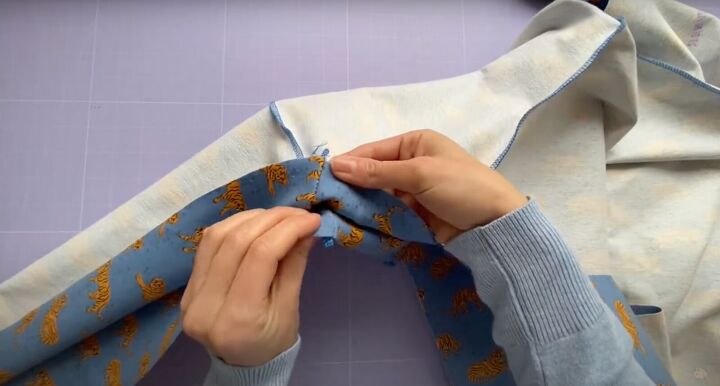
Insert the cuff into the sleeve, right sides together. Both the cuffs and neckband are smaller than the pattern pieces. You will need to evenly stretch them while sewing.
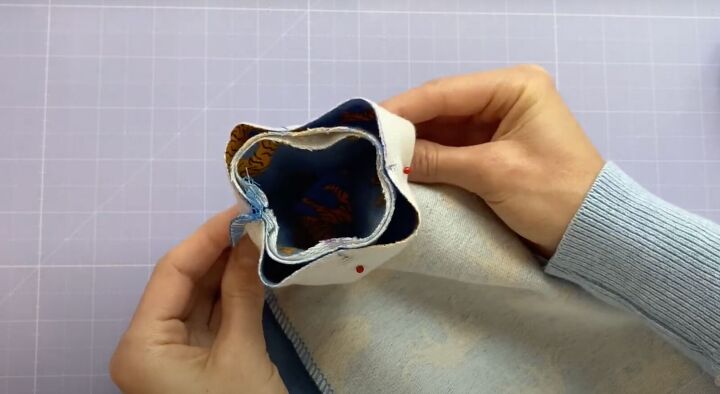
Pin at the quarter marks.
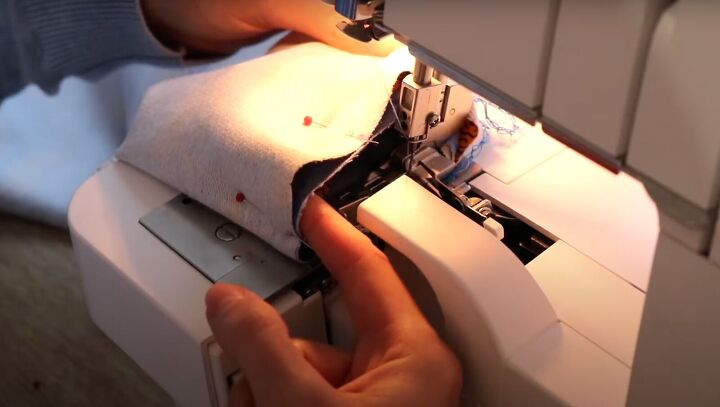
Put the presser foot into the sleeve. Then pull on the cuff when sewing by placing your finger inside and gently pulling the cuff only, rather than pulling the sleeve as you sew along. Sew both cuffs.
Follow the same technique for the neckband.
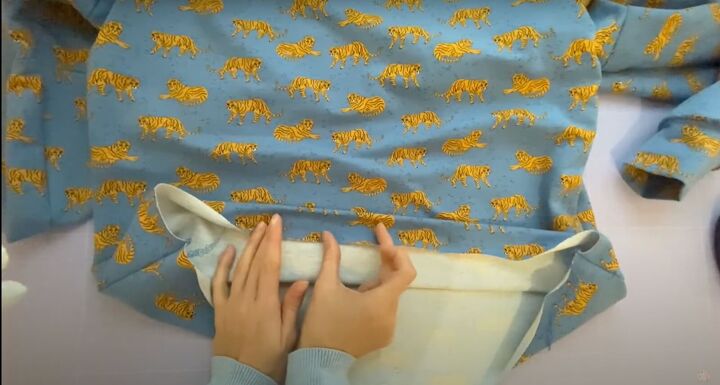
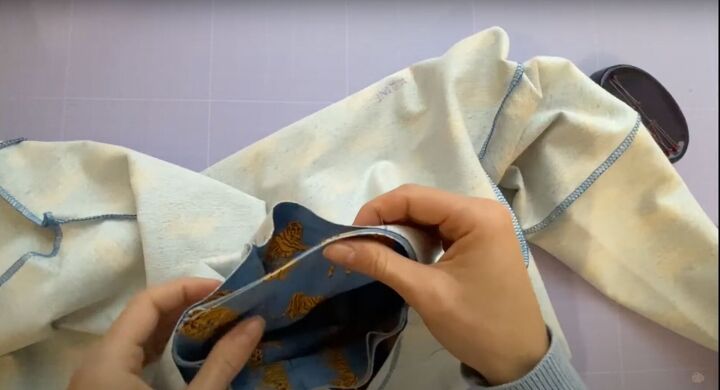
6. Hem
Fold the hem inside and stitch it with a twin or double needle.
7. Add a drawstring (optional)
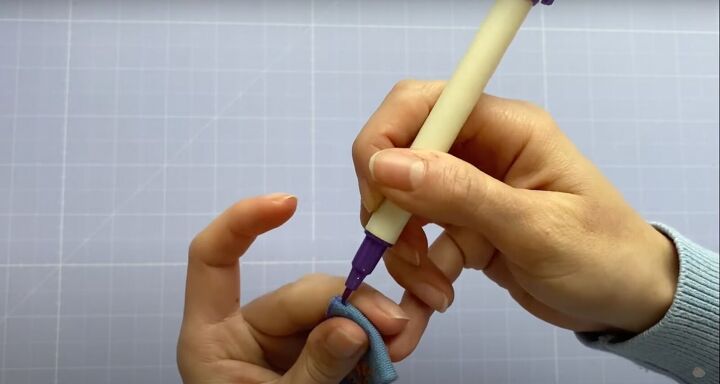
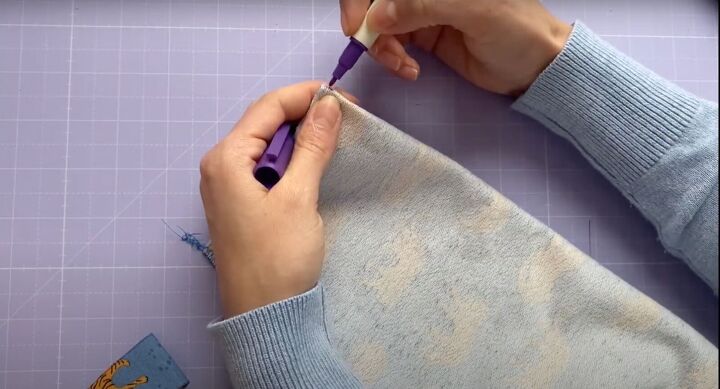
If you want to insert a drawstring, find the center of the top along the folded hemline, and mark 2 lines with the tailor’s chalk. Cut a small hole only in the outer layer of the hem.
Insert a drawstring through the first hole, using a safety pin to pull it through. When you get to the other side, pull the string out of the second hole.
Remove the safety pin. Knot both ends of the drawstring to keep them from sliding back in.

DIY sweatshirt tutorial
You’ve made a DIY sweatshirt that’s perfect to keep you comfy and cozy!

Please let me know in the comments if you made this DIY sweatshirt or if you have any questions about it. Thanks for joining!
The author may collect a small share of sales from the links on this page.


Comments
Join the conversation