DIY an Amazing Turtleneck Sweater

If you have been looking for your next fashion DIY, the search is finally over! I decided to draft and sew the most amazing oversized sweater. I love wearing clothes that are comfortable and cozy and this sweater is just perfect! I decided to add an extra element to this piece by making it a turtleneck. If you want to learn how to make the most gorgeous turtleneck sweater, my tutorial is definitely for you! Follow my simple, step-by-step guide and get started on making this awesome DIY sweater in just 2 hours.
Tools and materials:
- 2 Yards of stretch fabric
- Paper
- Ruler
- Measuring tape
- Marker
- Scissors
- Pins
- Serger/sewing machine
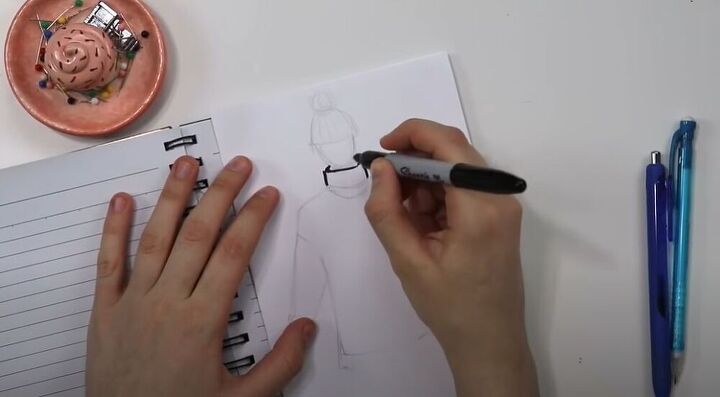
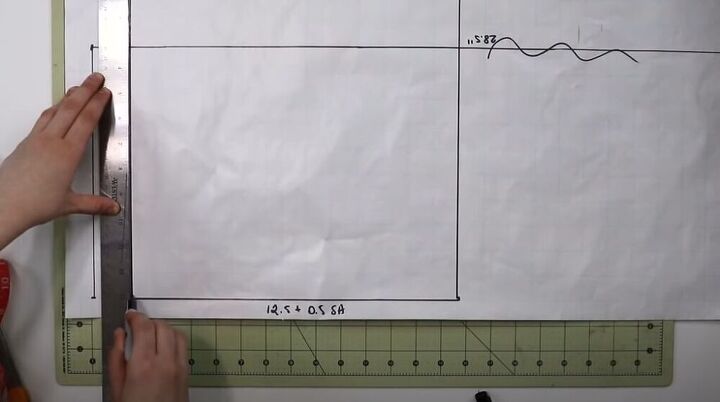
To get started on this amazing, easy DIY I sketched out my idea for this sweater. To draft this sweater, I would start from a simple rectangle. This sweater has a drop shoulder which makes it easier to sew.
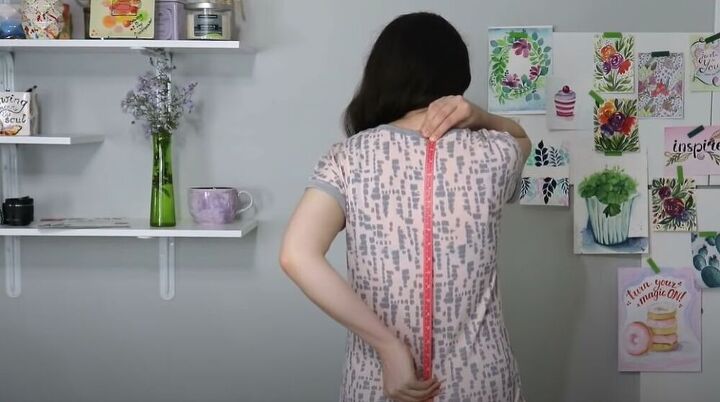
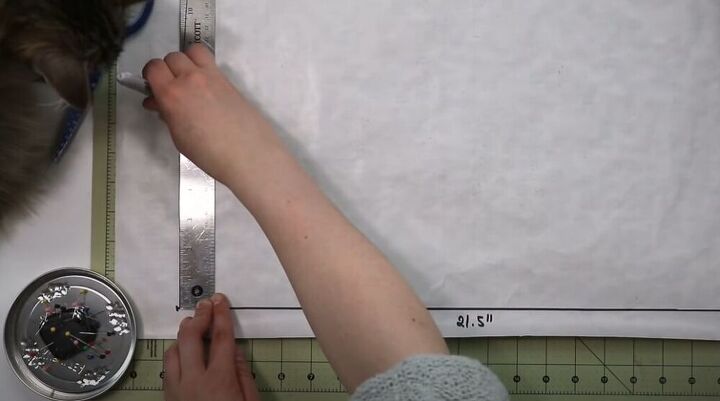
Next, it was time to get the measurements I would need for this DIY. I started with the length of the sweater. To do this, I measured starting at the base of my neck to where I wanted the sweater to be.
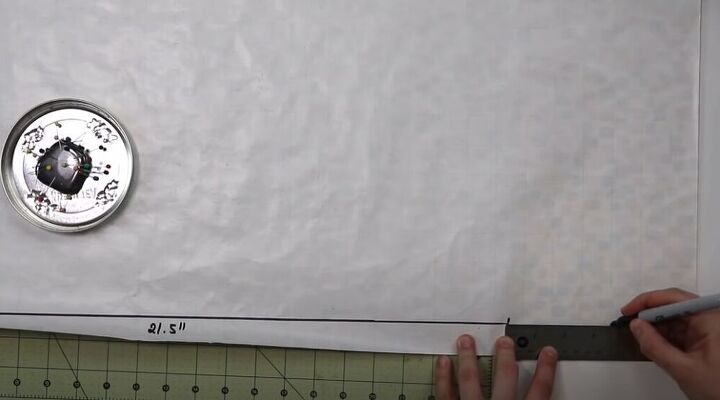
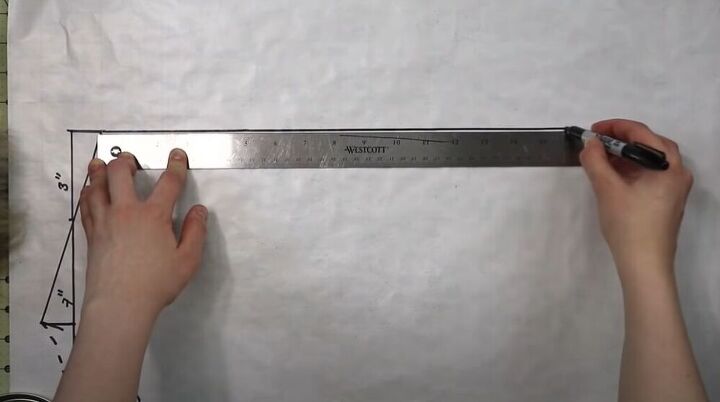
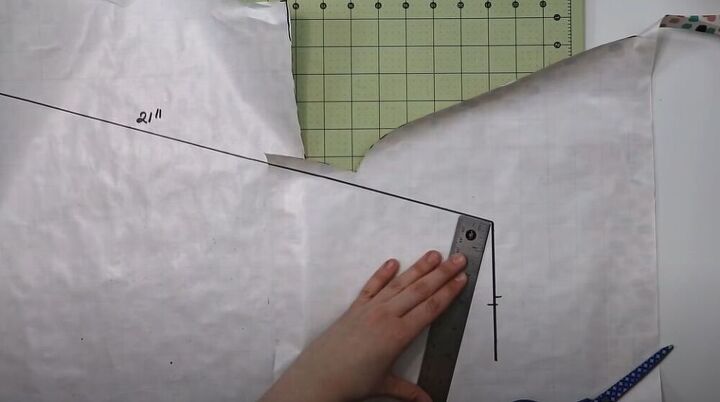
I then used a ruler and marker to mark this measurement on my paper. I added a few more inches because I wanted to make the sweater a little bit longer than I had originally planned.
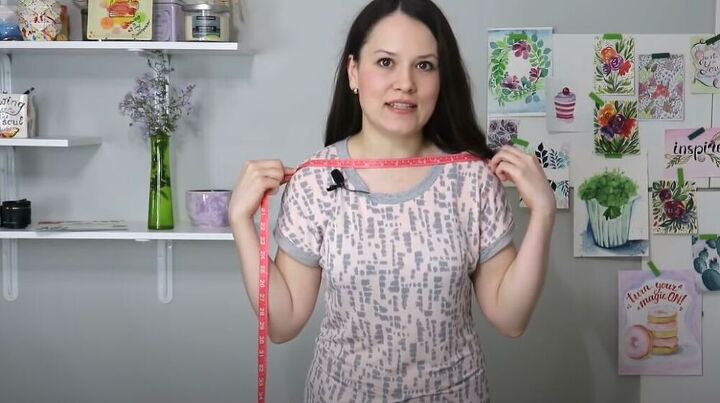
The next measurement I took was across my shoulders making sure that I placed the tape on the points where my shoulder ends.
I marked half my shoulder measurement on my paper and then added about 3 inches to it to create that gorgeous drop shoulder. A great tip is to look at a drop shoulder sweater or top you already own and use it as a cheat sheet for drawing your pattern.
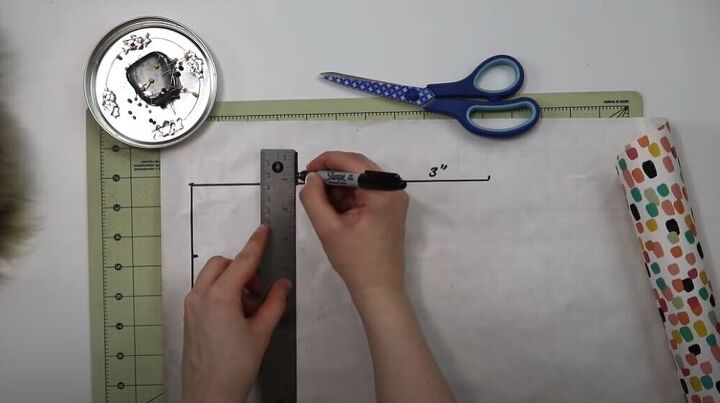
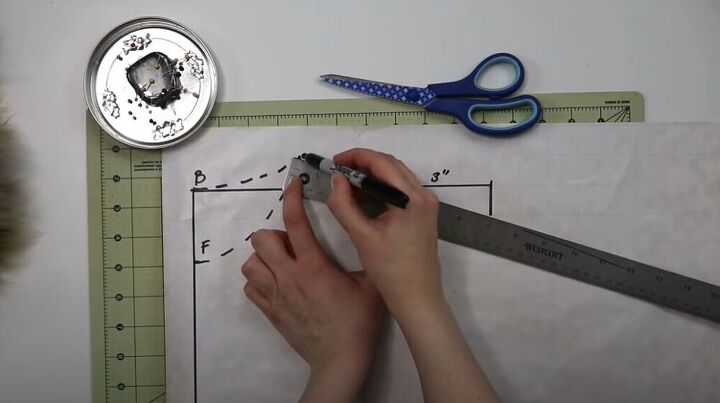
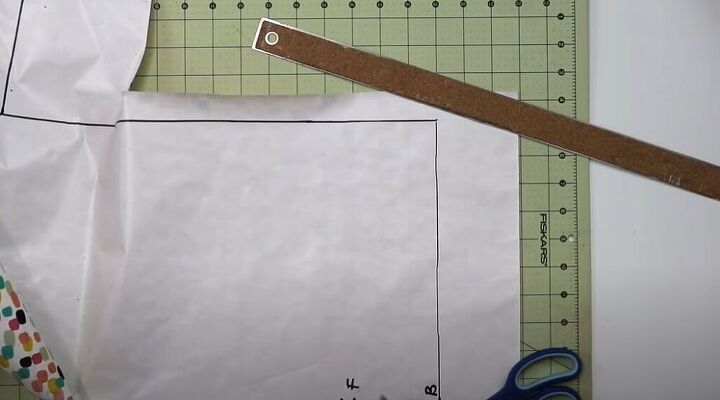
Next, I needed to draft the neckline for this stunning sweater. I always mark 3.5-inches to the right and then 2.5-inches for the depth when marking the neckline.
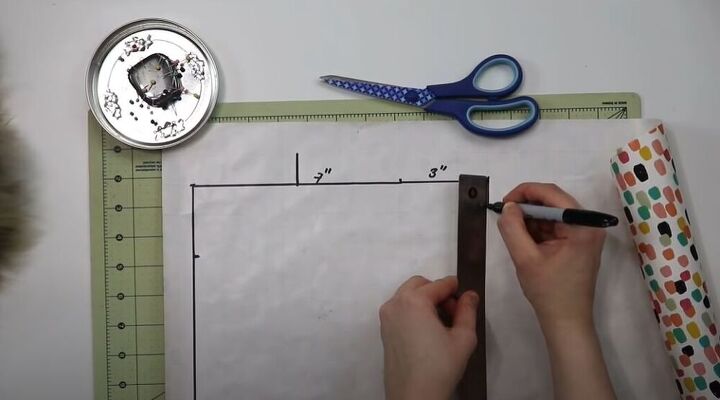
I then marked 1-inch above the edge of the neckline and 1-inch below the edge of the shoulder line.
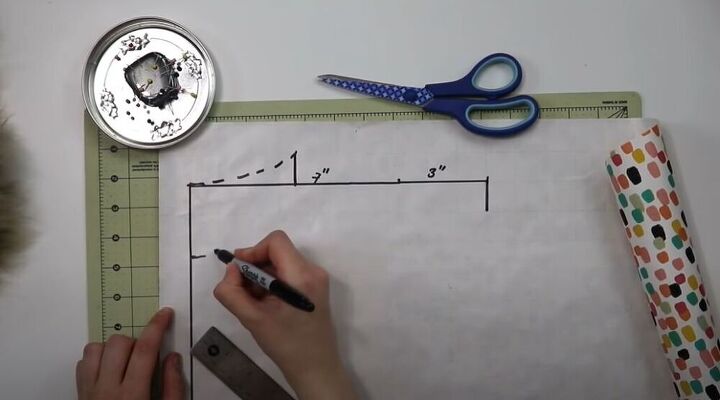
I went ahead and marked the front and back necklines on my pattern. A great tip is to draw with a dashed line so that it’s easier to control. I made sure to mark the front and back neckline so that my DIY would go smoothly.
I then connected the two 1-inch markings I had made earlier which created the new shoulder line.
Lastly, I drew a straight line from the edge of the shoulder down the length of the sweater.
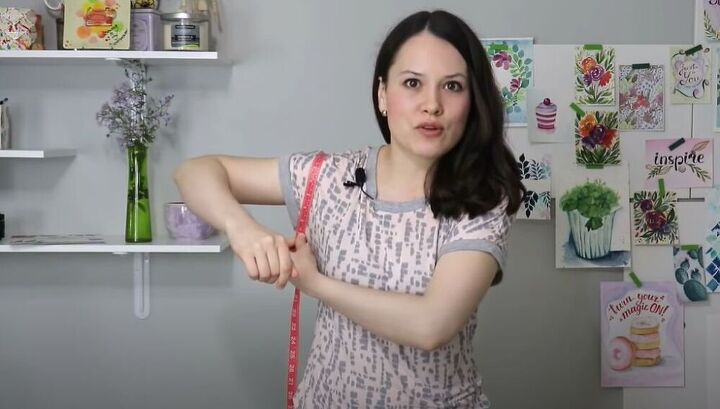
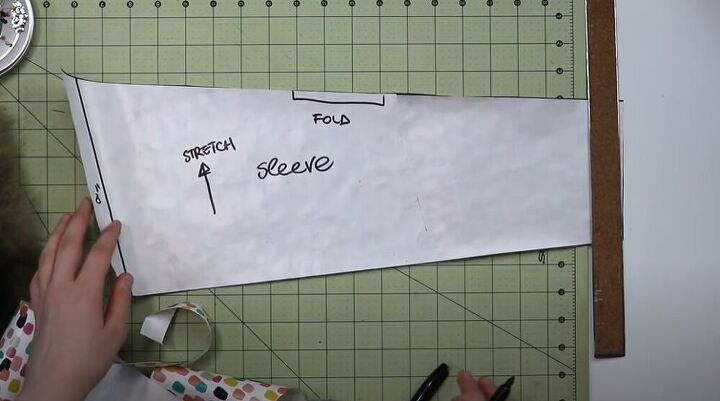
Now it was time to move onto making the pattern for the sleeves of the sweater. I started by measuring loosely around my arm because I really wanted this to be a comfy, oversized sweater.
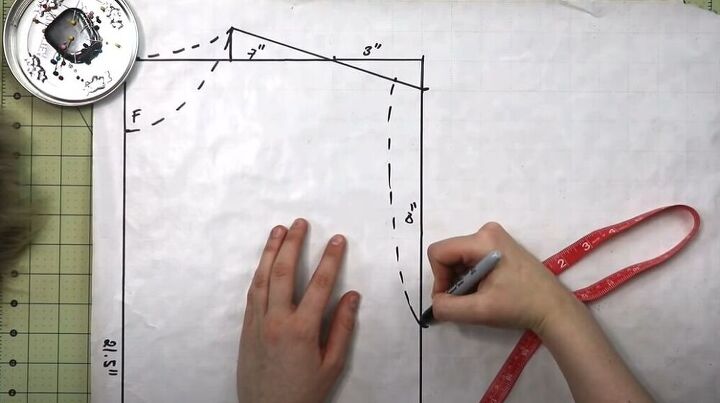
I halved my sleeve width measurement and marked it on my pattern. I then drew a curved line from the shoulder to the bottom of the sleeve measurement to create the armhole.

Next, it was time to draw the length of the sleeve. I made sure to keep the drop shoulder in mind and then drew the length I wanted my sleeve to be, following from the shoulder marking.
For the bottom of the sleeve, I measure around my wrist, added a few extra inches, and then drew half of that measured length. I made sure the line I drew on the pattern was at a 90-degree angle to the sleeve. I then connected the bottom of the armhole marking to the bottom of the sleeve marking.
For the last detail, I wanted the front of my sweater to be shorter than the back, so I made sure to mark the front a few inches shorter than the back on my pattern.
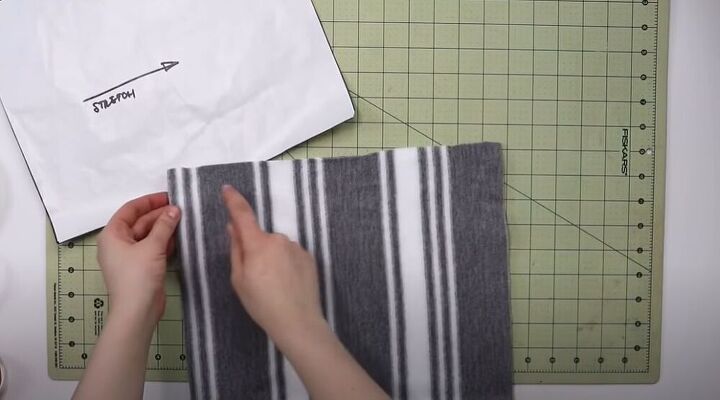
Finally, I could cut out my pattern pieces and I made sure to mark them for references when working with my fabric.
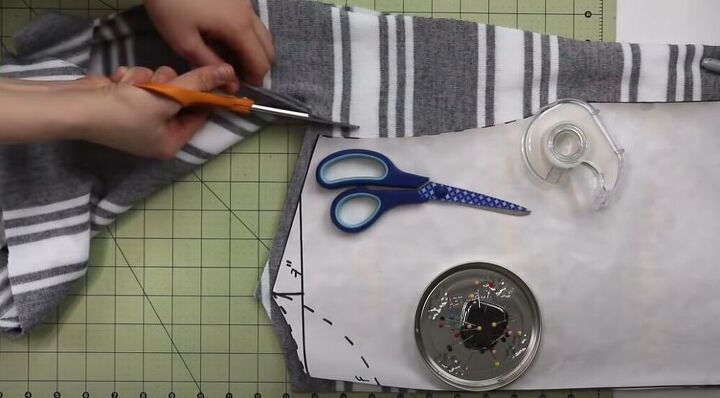
It was finally time to cut my fabric. I always start with the back piece and I add my seam allowance to the fabric as I cut.
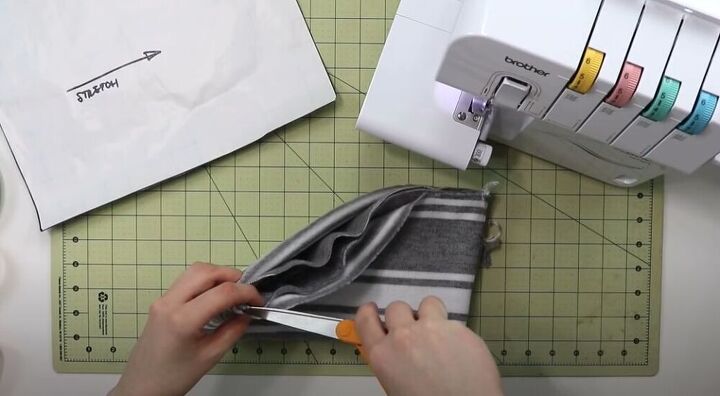
Once all my fabric pieces were cut out, I could start putting the fabric together. I placed the front and back pieces, right sides together, and pinned the shoulder seams. I love working with stretch fabric! I then sewed the shoulder seams with a serger but you can use a zig-zag stitch for this type of fabric as well.
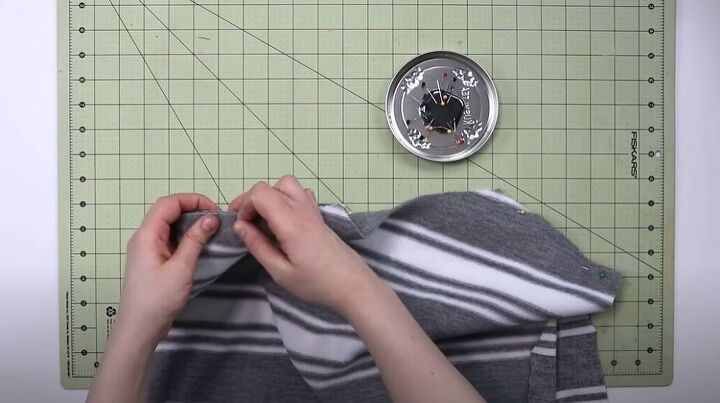
Next, I moved on to the sleeves. I folded the sleeve in half and then marked the center that I would be attaching at the shoulder seam.
I laid my sweater flat and then lined up the shoulder seam with the small slit I had just made in my sleeve with the fabric right sides together. I pinned the fabric together and then serged the pieces together.
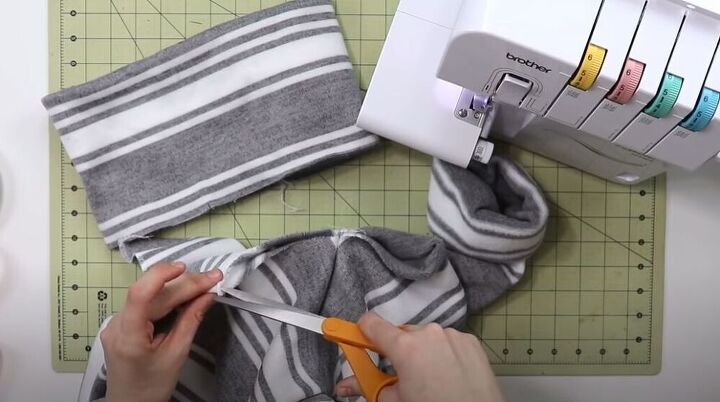
I serged the edges of the split hem as well to give the sweater a really nice finish. I was then ready to serge the sides of the sweater together up until the split hem that I had marked with the serger. While I was at the serger, I serged the sides of sleeves together as well.
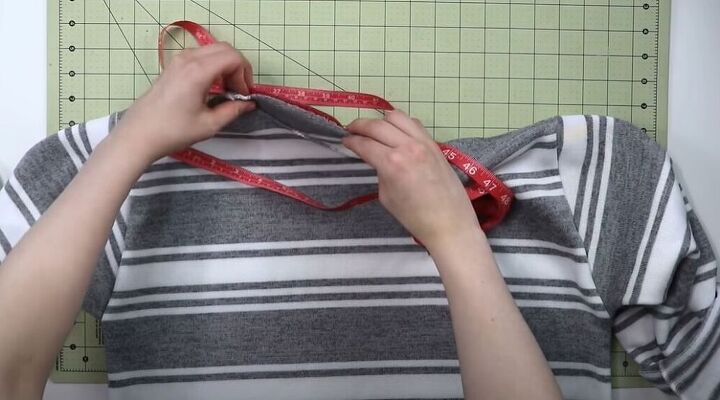
It was time to measure the neckline. I carefully used my measuring tape to measure around the neckline of the sweater.
To draft the pattern for this turtleneck, I marked half the measurement I had just made with an added 0.5-inches for the seam allowance. For the length of the turtleneck, I just played around to see how long I wanted it to be until I was happy with the length.
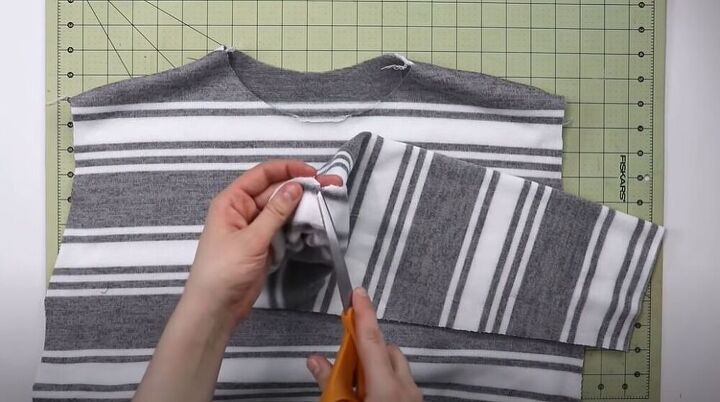
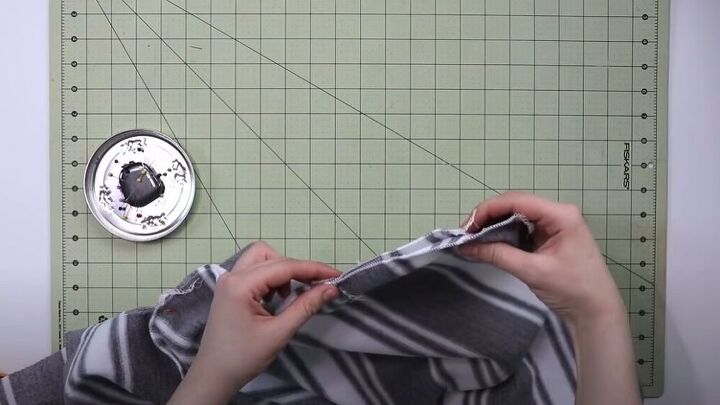
I cut out the fabric for my turtleneck, placed the right sides together, and then sewed the side seam together.
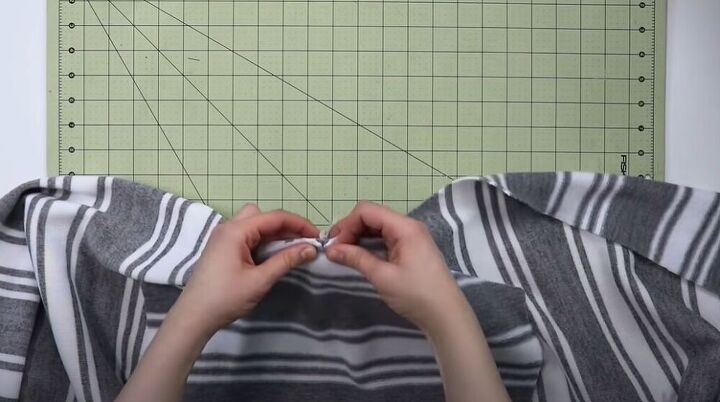
I folded the fabric, lengthwise, and then made a little slit in the center front.
Next, I folded the sweater shoulder seam to shoulder seam and made a small slit in the center front and center back of the sweater.
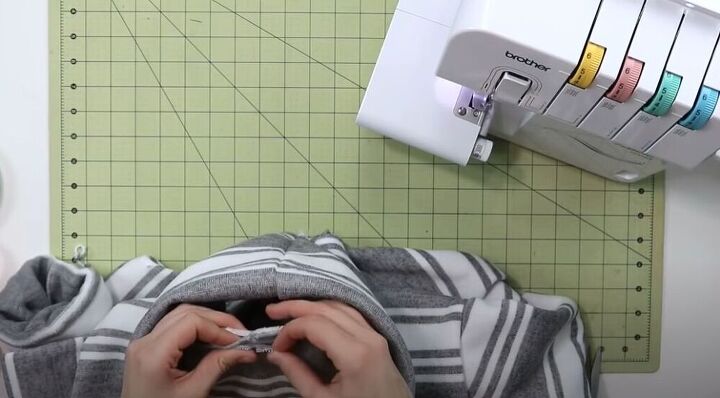
I then matched up the two front slits and pinned them together. I matched the back slit with the back of the turtleneck and then serged all the way around.
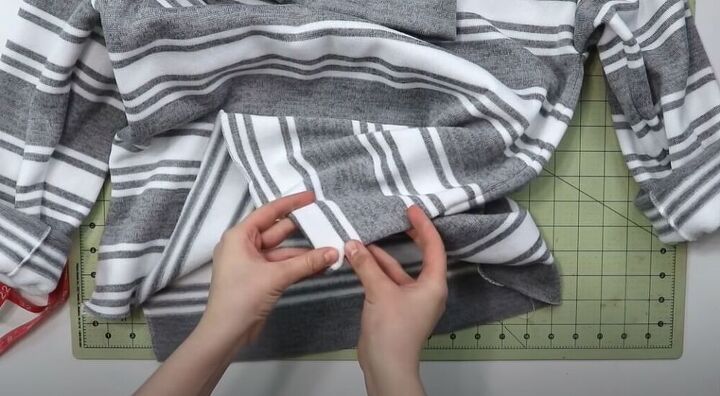
Lastly, I wanted to hem the split hem and bottom of the sweater. This step was very simple with my serger but if you have a sewing machine, fold in the fabric and sew a zig-zag stitch.

I am obsessed with this oversized sweater! How would you style this amazing piece? Let me know in the comments below!
The author may collect a small share of sales from the links on this page.


Comments
Join the conversation
Thank you for your tutorial, I do not have a sewing machine , but now I am interested in trying, very inspirational, for a wanna be sewer!
Great job! Impressed with your pattern making abilities. Would love to try making it. I think this turtleneck would look good worn under a vest or make it longer and make a dress!