How to DIY a Cute Embroidered Hoodie for Spring

Adding some color and texture with embroidery is a wonderful way to update a spring hoodie!
I'm finding that the more I embroider, the better I get at it and the more I want to do.
Today, I'm going to show you some simple stitches to get you started on an embroidered hoodie with a folksy feel.
You can buy embroidery floss in mixed color packs or in single colors and it's always helpful to take the garment with you when you're choosing them.
Best embroidery floss!
Tools and materials:
- Embroidery floss in assorted colors
- Embroidery needle
- Hoodie
- Scissors
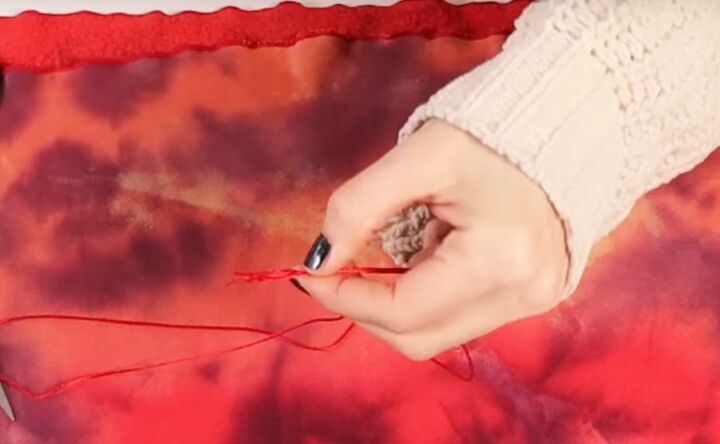
1. Getting started
For something chunky like a hoodie, you'll probably want to use your embroidery floss doubled.
So draw out about 3 feet of floss from the packet and thread one end through the needle. Pull it through until the two sides are of equal length and knot the ends together.
If you prefer to work with a single thread, knot the longer end.
Start stitching by bringing the needle through from the inside of the garment so the knot anchors the thread.
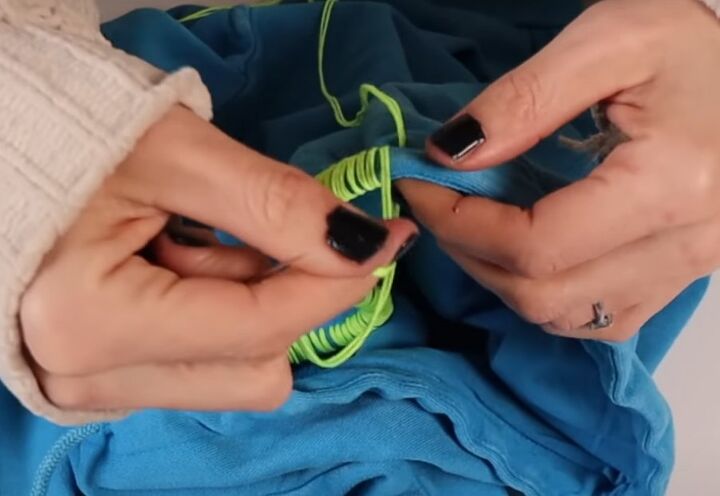
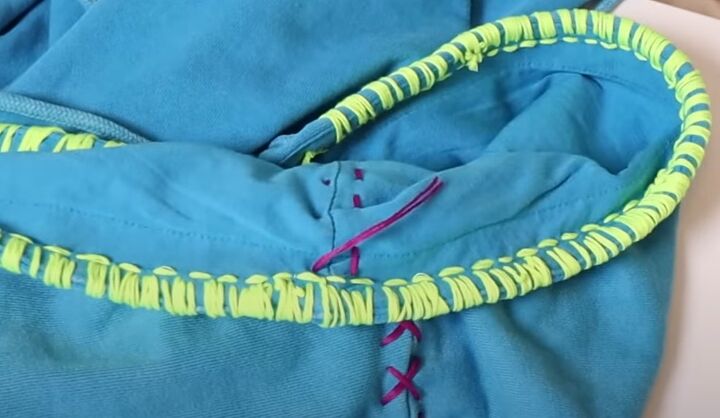
2. Satin stitch edging
This is a very simple way to add a pop of color to the edge of your hood.
I stitched over the drawstring cord, so I used the thumb of my non-sewing hand to push the cord towards the edge and made sure I didn't catch it in my sewing.
Bring your needle through the fabric from the inside below the cord.
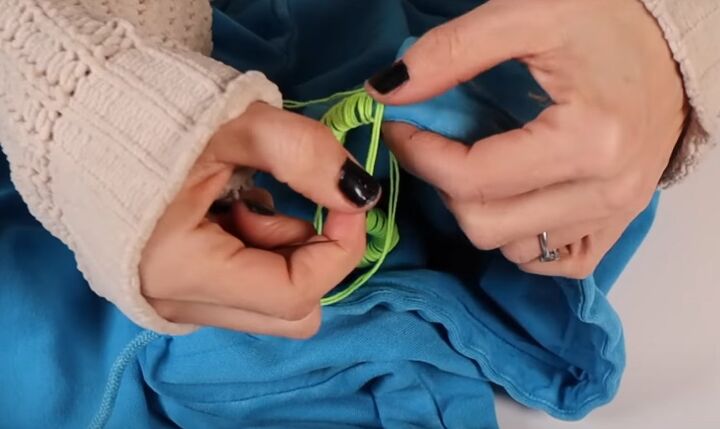
Loop the thread over the cord and the edge of the hood and hold it in place with the thumb of your other hand.
Take the needle behind the edge and insert it again a little way past the first stitch. You're creating a loop of thread over the edge.
You can make the loops as close together or as far apart as you like.
You can make them all the same length or alternate short and long stitches in any combination.
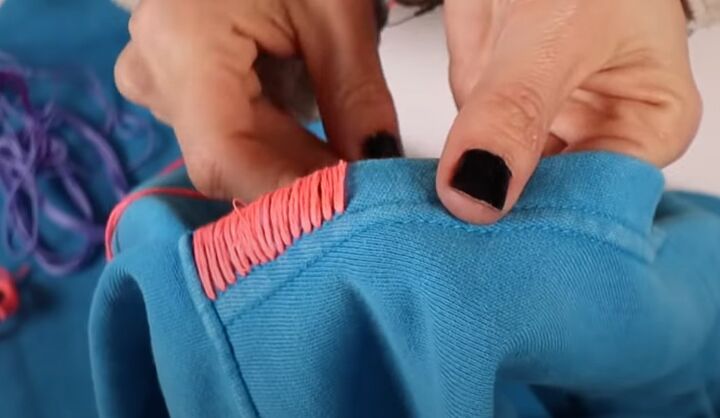
You can do the same stitch over a flat edge such as a pocket opening and get a different look.
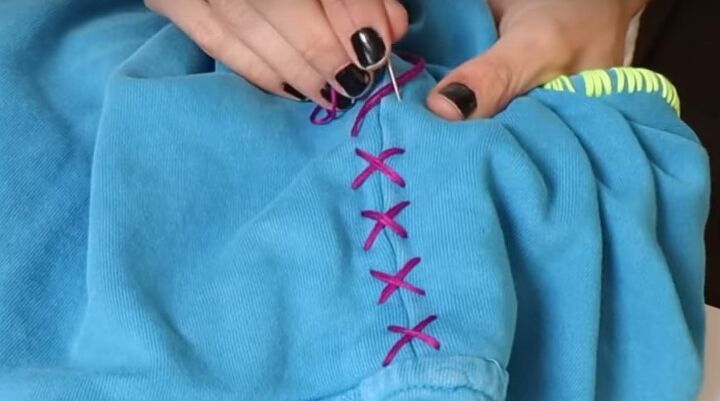
3. Cross stitch
You may have learned cross stitch using a special fabric called Aida cloth. You use the same technique for embroidering it on plain fabric.
Take your needle from the inside to the bottom of the first diagonal to start. Then insert the needle at the top of that diagonal but don't push it all the way through to the back.
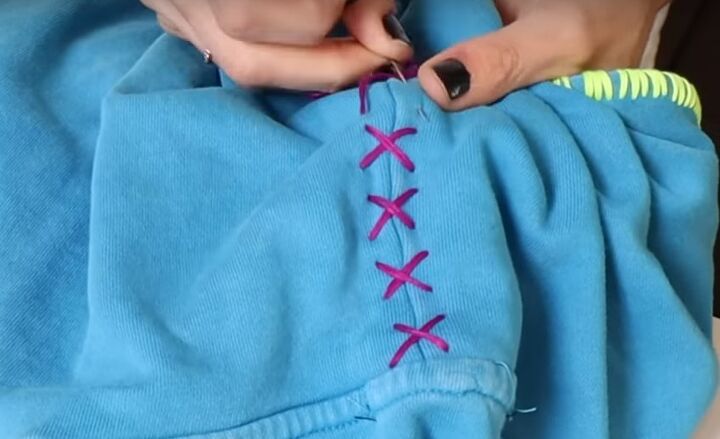
Instead, bring it back out at the top of the next diagonal.
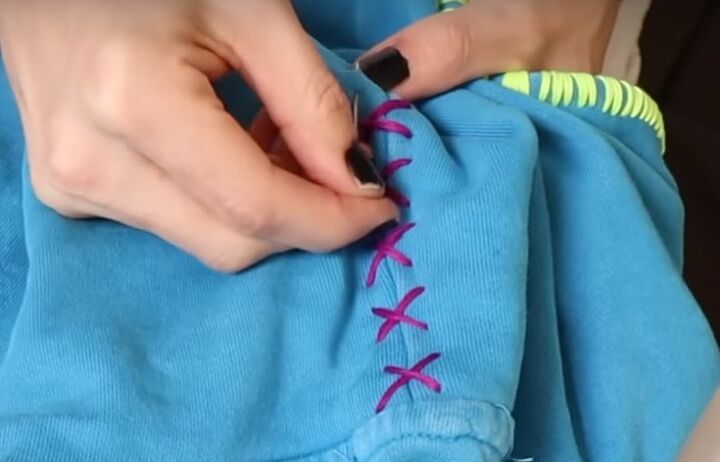
Complete the cross by inserting the needle at the bottom of the diagonal and bringing it out at the bottom of the next stitch.
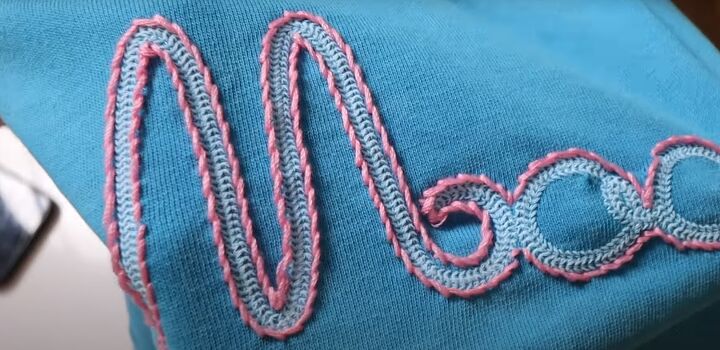
4. Outline stitch
My hoodie had a print already marked on the back that I used. You could draw out your own simple pattern or shape and outline it using this stitch that my mother showed me.
Thread your needle with a single piece of floss, knot the end and bring your needle through to the front of the hoodie.
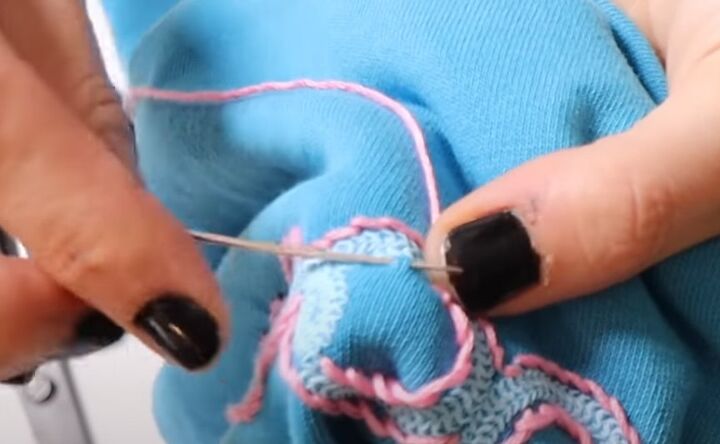
Make a small backstitch picking up a few threads of your fabric and pull the floss through.
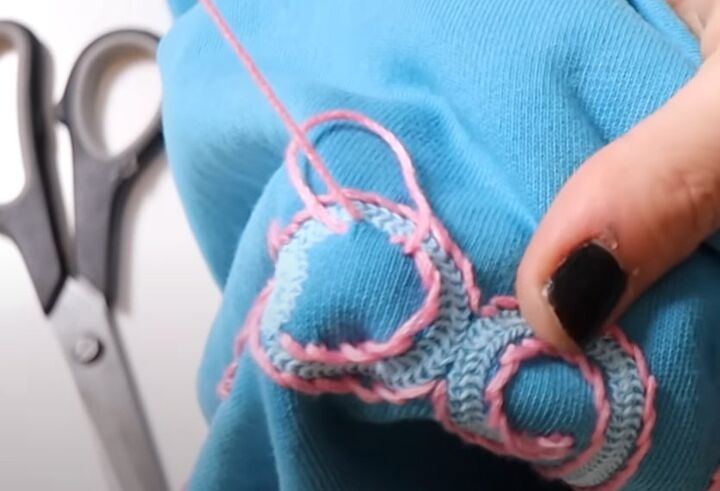
Keeping the floss out of the way below your needle, move the needle a small way along the fabric and make another small backstitch.
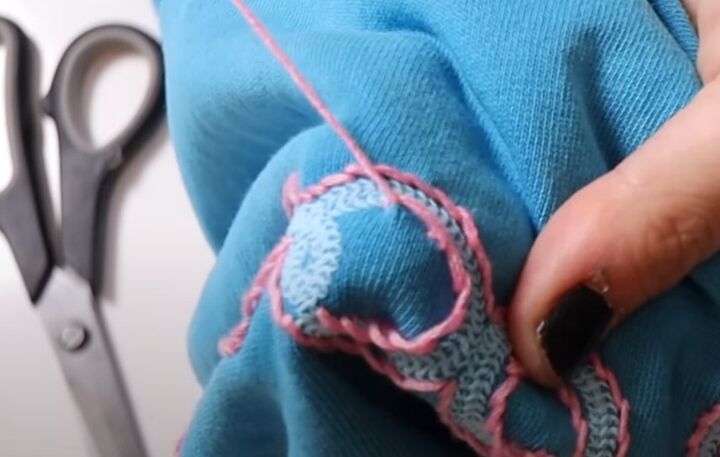
The distance you move your needle each time before inserting it determines the length of your stitch.
5. Securing the thread
When you're ready to change thread, cut it off leaving a 2 inch tail and knot the ends together.


DIY spring hoodie
Don't be afraid to have fun and experiment. If you don't like any part of your design, it's easy to pull it out and start again.
You can add embroidery to just about anything you can push a needle through. This could be t-shirts, jackets, jeans, even canvas shoes.
And you’re not limited to embroidery floss. You can use other threads such as crewel wool. Once you get started, it's addictive!
I really would love to know if you try this and get as addicted to it as I am.
Please leave me a comment and tell me what you’ve embroidered and how it turned out.
Check out my post on How to DIY a Cute Safety Pin Sweater.
The author may collect a small share of sales from the links on this page.


Comments
Join the conversation
Love Love Love this!!!! Who knew!!!! U r so creative!!!!!🤩🤩